Yes, you can paint furniture without sanding, as long as you clean the surface properly and use a paint or primer that bonds chemically instead of gripping on scratches. Most no-sand projects take a weekend: an hour of cleaning, a primer coat, two or three thin paint coats and a sealer on top. The method works about nine times out of ten, and the tenth is usually a surface that needed sanding anyway.
That tenth case is worth knowing upfront, so nothing below pretends the shortcut is magic. If you skip the two things that actually matter — removing grease and giving the new paint something to hold onto — you will get peeling within weeks. That is the failure most people hit, and the one that sends them back to the sanding block anyway.
Updated for 2026 — the details below cover the five no-sand paint systems, the surface each one suits, and how to tell whether the finish has worked.
Table of Contents
- What You Need
- Cleaning supplies
- Paint tools
- Prep products and paint
- Step-by-Step: How to Paint Furniture Without Sanding
- 1. Inspect the Furniture and Choose the Paint
- 2. Clean and Degrease the Surface
- 3. Lightly Scuff Glossy Areas
- 4. Apply an Adhesion-Promoting Primer
- 5. Paint Thin, Even Coats
- 6. Finish, Seal, and Cure the Furniture
- Common Mistakes That Make No-Sand Paint Peel
- Frequently Asked Questions
- Can I just paint over old paint on furniture?
- Can I paint straight over varnished wood?
- Do you have to seal chalk paint?
- What does poor paint adhesion look like?
- Is it better to brush paint or spray paint wood furniture?
- Conclusion
What You Need
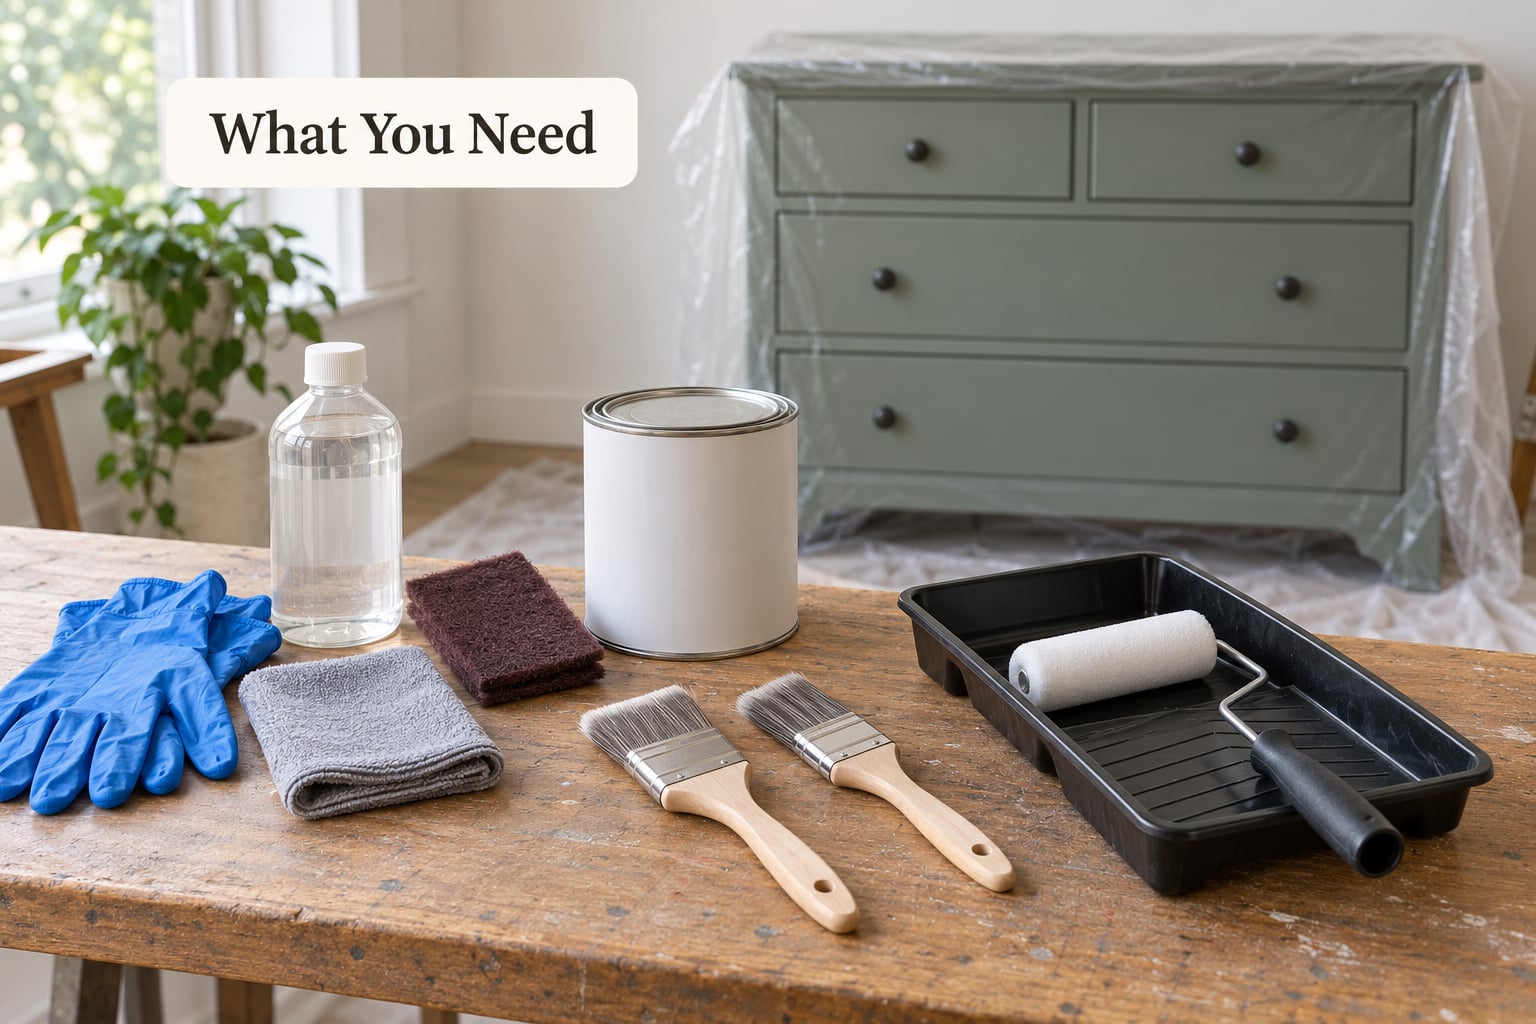
Gather everything before the piece comes out of the room. The list is short, but the wrong version of one item is what ruins finishes.
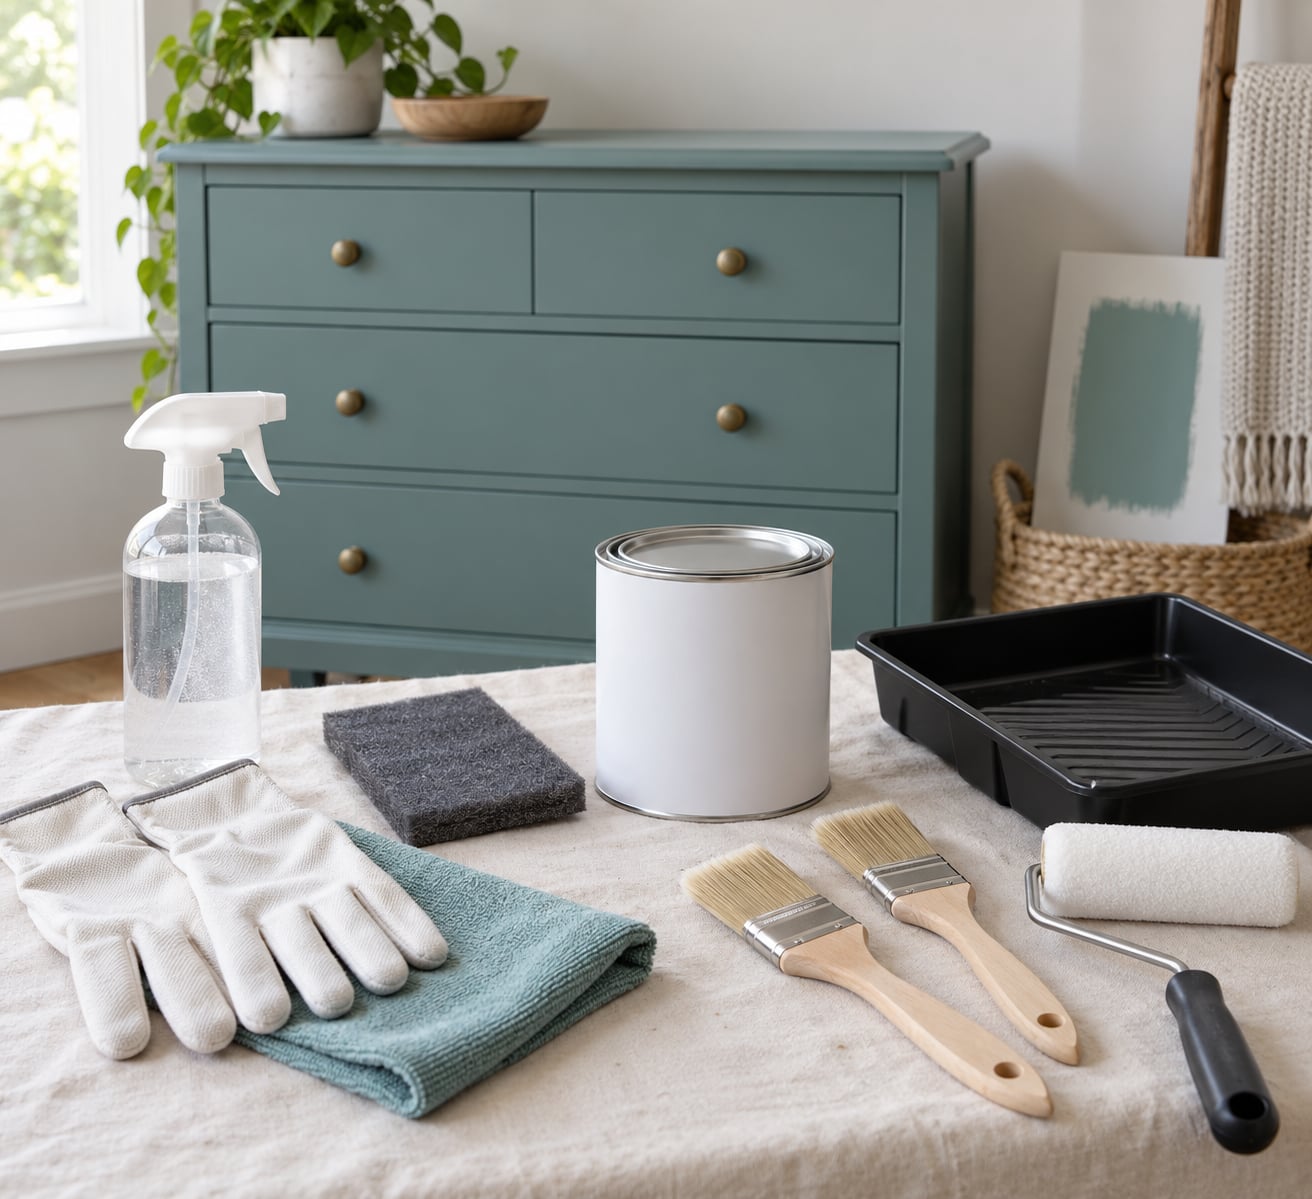
Cleaning supplies
- Degreaser or a TSP substitute, for the oils that hands and furniture leave behind
- Microfiber or lint-free cloths, plus a tack cloth for the final dust pass
- Abrasive pad or 220-320 grit scuff pad
- Bucket, warm water and a drop of dish soap
Paint tools
- A quality angled sash brush for edges and scrollwork
- A small 3-inch roller for flat panels, which leaves fewer brush marks than people expect
- A paint tray and a synthetic or natural bristle brush matched to your paint type
- Masking tape and a plastic sheet to protect the floor
Prep products and paint
- An adhesion-promoting primer, which grips smooth surfaces rather than filling scratches
- A stain-blocking shellac primer if you are going dark over dark or fighting tannin bleed-through
- Your chosen topcoat: furniture wax, water-based polyurethane or a water-based topcoat
Pick the paint for the surface, not for the look of the sample chip. Chalk paint and mineral paint are formulated to grab onto almost anything, so they suit most DIY projects. A bonding primer lets you use ordinary cabinet enamel, which is tougher and easier to clean. On laminate, MDF and melamine, that bonding primer plus a durable topcoat is the combination I trust most, because those surfaces have no grain to grip and a hard factory coating underneath.
Metal hardware takes the same route: clean it, scuff the shine off lightly, and use a primer rated for metal.
Step-by-Step: How to Paint Furniture Without Sanding
1. Inspect the Furniture and Choose the Paint
Start by identifying what you are actually painting. Solid wood, veneer over particle board, MDF, melamine, laminate, metal and an existing painted or lacquered finish all behave differently, and the paint choice follows from that.
Next, press on every area with your thumb and look for lifting, cracking or loose flakes. Paint that is already peeling tells you the previous finish failed, and nothing you put on top will hold permanently. Scrape or sand those spots back to sound material first, even in a no-sand project.
2. Clean and Degrease the Surface
This is the step people skip, and it is the one that matters most. Skin oils, wax, furniture polish and years of dust sit on top of the old finish, and paint will not bond to any of it.
- Mix the degreaser with water as the label directs and wipe the whole piece down.
- Pay attention to handles, drawer pulls, knobs, the top edge and any place hands rest.
- Rinse with a clean damp cloth if the product says to, then dry with a dry cloth.
- Go over everything once more with a tack cloth to lift fine dust.
Run a fingertip across the surface when you are done. If it feels slick or waxy, clean it again.
3. Lightly Scuff Glossy Areas
No-sand does not mean no preparation. A satin or gloss finish is too smooth for most paint to grab, and a quick scuff with a 220-320 grit pad dulls the sheen and creates micro-texture without removing anything.
Work in even strokes, keep light pressure, and pay special attention to the parts that get handled. For carved details, mouldings and scrollwork where a pad will not reach, a liquid sandpaper or liquid deglosser chemically dissolves the shine instead. It is a genuinely good tool here, though it will not strip old paint or varnish, so it is no substitute for sanding a thick failing finish.
Dust the piece off with a tack cloth when you finish. Dust under paint is invisible at first and then shows up as a fine bumpy texture after you can do nothing about it.
4. Apply an Adhesion-Promoting Primer
Two different primers get confused constantly, and picking the wrong one causes problems. An adhesion primer, sometimes labelled a bonding primer or grip primer, is designed to stick to smooth, slick surfaces and give the topcoat something to grab.
A shellac-based stain-blocking primer does something else: it seals the surface so dark colours and tannins cannot bleed up through the finish. If you are painting white or a pale colour over a dark piece, or over pine and other tannin-heavy woods, use the shellac primer. If you need both jobs, look for a product that claims adhesion and stain blocking in the same can.
Apply a thin coat with the brush or a roller. Thick primer coats take forever to dry and can stay tacky underneath, which then pulls the paint off later. Follow the drying time on the can rather than your sense of how long it feels, then check that the surface is uniformly dull and dry before moving on.
5. Paint Thin, Even Coats
Thin coats are the difference between a furniture-paint finish and a DIY finish. Thick coats stay soft underneath, stay tacky for days, and peel when something scratches them.
Work from the detailed areas outward — mouldings, edges and inside corners first, then flat panels last. That way you blend the tight spots into the open ones. Keep a wet edge and do not go back over a coat that has started to set, or you will lift it.
Coat counts vary by product. Chalk paint typically needs two coats and often three for full coverage on a dark piece. Mineral paint usually covers in two. Milk paint mixed with a bonding agent is thin and transparent, so count on three or four. Paint applied over a bonding primer usually needs two.
Let each coat dry fully before the next. A surface that feels dry to the touch can still be soft underneath, and a second coat applied too early can lift the first. A hairdryer on cool moves air across the piece and speeds things along without causing runs.
6. Finish, Seal, and Cure the Furniture
Paint is not finished until it is protected. Left alone, most no-sand finishes are matte and porous, and a matte porous surface marks and wipes clean badly.
- Furniture wax — low to moderate durability, soft satin sheen, ready in days to a few weeks. Needs buffing, shows fingerprints and has to be refreshed every few months.
- Water-based polyurethane — high durability, gloss to satin sheen, about 72 hours before heavy use. Older formulas yellow, so pick a non-yellowing water-based version.
- Water-based topcoat — moderate to high durability, matte to satin sheen, and usually faster to cure than polyurethane. It builds less film, so lay down two or three thin coats.
On a dining table, an end table or kitchen cabinet, two or three coats of a durable water-based polyurethane give far better protection than wax. Wax works nicely on a dresser top or a decorative piece that gets handled lightly, though it needs re-buffing every few months.
Keep the room ventilated while you work and while the finish cures, and leave dust out. Open a window and a door, run a fan, and give the piece at least the cure time on the label before setting anything on it. Dry to the touch and ready for use are two different things.
Common Mistakes That Make No-Sand Paint Peel
Almost every failed no-sand project comes down to one of a handful of mistakes.
- Painting over peeling or loose finish. No product stops peeling paint permanently. Sand or scrape the failing areas back to something solid first.
- Skipping the degreasing step. Polish and oils stay on the surface and block everything above them.
- Using an ordinary primer. Standard primer fills scratches; it does not grip a glossy finish. You need a product that says bonding, adhesion or grip on the label.
- Laying on thick coats. Thick paint stays soft, dries slowly and peels under the first real scratch.
- Rushing the dry time between coats. Painting over a coat that has not hardened lifts it.
- Leaving high-traffic surfaces unsealed. Dining tables and cabinets need a hard topcoat, not wax alone.
- Ignoring bleed-through. Dark colours and tannins coming through a pale finish look like adhesion failure but are actually stains. Only a stain-blocking primer fixes them.
Frequently Asked Questions
Can I just paint over old paint on furniture?
Usually yes, if the old paint is sound. Clean and degrease the piece, scuff the shine lightly, then use an adhesion primer before painting. If the existing finish is already lifting, cracking or flaking, strip or sand those areas back to bare material first, because nothing applied on top of loose paint will stay attached. Painting over stable old paint is a normal shortcut and gives a better result than many first attempts with heavy sanding.
Can I paint straight over varnished wood?
You can, but varnish is one of the hardest surfaces to skip prep on. Gloss varnish has to be dulled first, either with a light scuff pad or a liquid deglosser, and then primed with an adhesion primer. Experienced refinishers still scuff glossy pieces even when a label says no prep is needed. If the varnish is thick, crazed or flaking, sand it instead — no-sand methods will not save a failing finish.
Do you have to seal chalk paint?
You do not have to, but furniture lasts much longer if you do. Chalk paint is porous and matte, so it scuffs, picks up dirt and wipes clean poorly. A coat or two of water-based polyurethane gives a hard, wipeable surface on tables, cabinets and end tables. Wax is an easier option for lightly used pieces, though it needs buffing and refreshing every few months. Plan on sealing before you paint, so you can build it into your coat schedule.
What does poor paint adhesion look like?
It shows up as peeling, lifting or flaking that starts in patches, often along edges and handled areas, and usually within the first few weeks. Chipping that leaves bare wood underneath is another sign. Rough, uneven sheen or a tacky surface that never hardened points to thick coats or inadequate drying time instead. Smudges that never quite come off point to a missing topcoat rather than bad adhesion.
Is it better to brush paint or spray paint wood furniture?
Brush or roll for furniture with any detail, because spray overspray settles into crevices and dries as texture on the surface. A small roller on flat panels gives a smoother, more even result than most people expect from a brush. Spray is faster on large, simple pieces like a plain cabinet door, but it needs a clear, ventilated space and light coats to avoid runs. Whichever you use, thin coats and full drying time matter more than the tool.
Conclusion
The method is simple: identify the surface, clean every trace of grease off it, dull any shine, prime with a product built for adhesion, lay on thin coats with a full dry between each, and seal the piece once it has hardened. That sequence works on wood, laminate, MDF, melamine and metal without a sanding block anywhere in the process.
Start by identifying your surface and cleaning it thoroughly. Once that is done, choose a compatible adhesion primer, and most of the rest of the project takes care of itself.