Brush marks show up on a white dresser for one reason: the paint was too thick, too dry, or too heavily loaded on the tool. To paint a dresser white without brush marks, work in thin coats, load the brush lightly enough that nothing pools on the surface, give every coat its full dry time, and knock each one down with a light 220 to 320 grit sand before the next goes on. Budget a weekend for a six-drawer piece, with most of that time spent waiting rather than painting.
The good news is that white is only unforgiving because it has nothing to hide behind. Every ridge, lap line and fingerprint reads clearly on a bright, even surface, which means the finish tells you exactly how good your technique was. Get the technique right and a thrifted dresser can look factory fresh.
Here is the process I would follow, in the order that matters.
Table of Contents
- What You Need
- Step-by-Step: How to Paint a Dresser White Without Brush Marks
- Step 1: Prepare and Clean the Dresser
- Step 2: Sand the Surface Smooth
- Step 3: Apply the Right Primer
- Step 4: Paint With Thin, Even Coats
- Step 5: Let Each Coat Dry and Sand Lightly
- Step 6: Add the Final Coats and Finish
- Common Mistakes That Leave Brush Marks
- Tips for a Smooth, Professional White Finish
- Frequently Asked Questions
- How do I fix brush marks that are already dry on a white dresser?
- Is there something I can put in paint to stop brush marks?
- What type of roller is best for painting a wood dresser?
- How long should I wait between coats when painting furniture?
- Can I paint furniture white without sanding it first?
- Is it better to brush or spray paint a dresser?
- Conclusion
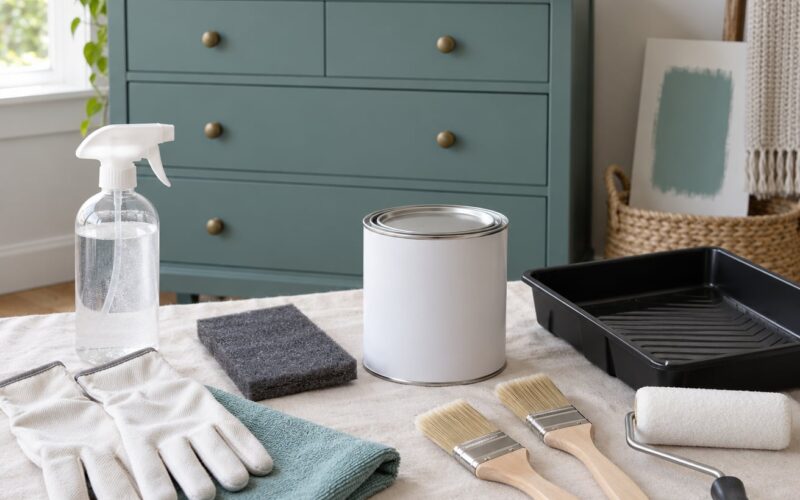
What You Need
Gather everything before you take a drawer off, because stopping halfway to find a clean brush is how thin coats turn into thick ones.
| Item | What to look for | Used for |
|---|---|---|
| Degreaser | TSP substitute, Krud Kutter or Simple Green | Cutting grease and hand oil off the old finish |
| Sandpaper | 180, 220 and 320 grit sheets plus a sanding sponge | Scuffing the surface and knocking down between coats |
| Filler | Spackle for small holes, wood putty for dents, Bondo for bigger breaks | Leveling gouges and nail holes |
| Stain-blocking primer | Shellac or oil-based, such as Zinsser BIN or KILZ Restoration | Blocking tannin bleed-through over dark or red wood |
| White paint | Enamel or self-leveling acrylic in eggshell or satin | The color coats |
| Brush | 2 inch angled synthetic bristle or a foam brush | Crevices, mouldings, drawer sides |
| Roller | Microfiber or velour, 3/8 inch nap, plus a tray | Flat drawer fronts and the case sides |
| Cleaning cloths | Tack cloths and a mix of water and denatured alcohol | Dust removal between coats |
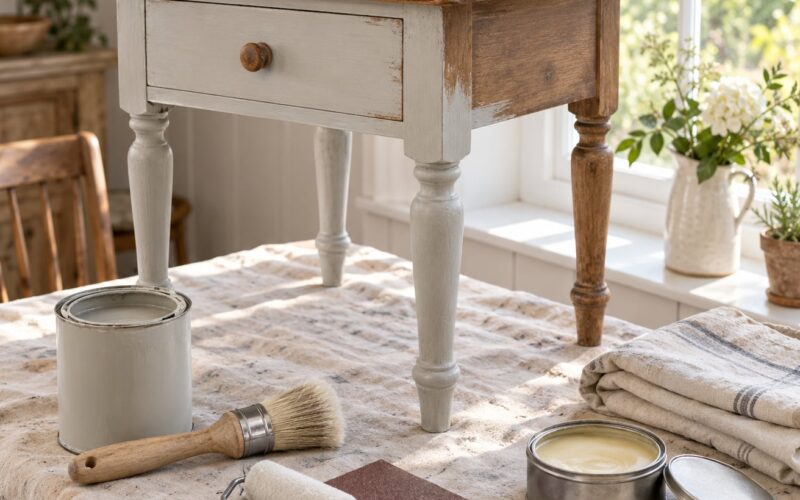
| Top coat | Self-leveling water-based polyurethane, optional | Extra durability on high-traffic pieces |
Mask off anything you are not painting, and lay a dust sheet down first, because you will be sanding indoors and the dust finds every other room in the house.
If your dresser is solid wood, a thin diagnostic coat of watered-down paint will show every dent and gouge in a way that full-strength paint hides. On a laminate or particle board piece, spend the effort on cleaning and scuff sanding instead, since those surfaces need the mechanical bite more than the wood does.
Step-by-Step: How to Paint a Dresser White Without Brush Marks
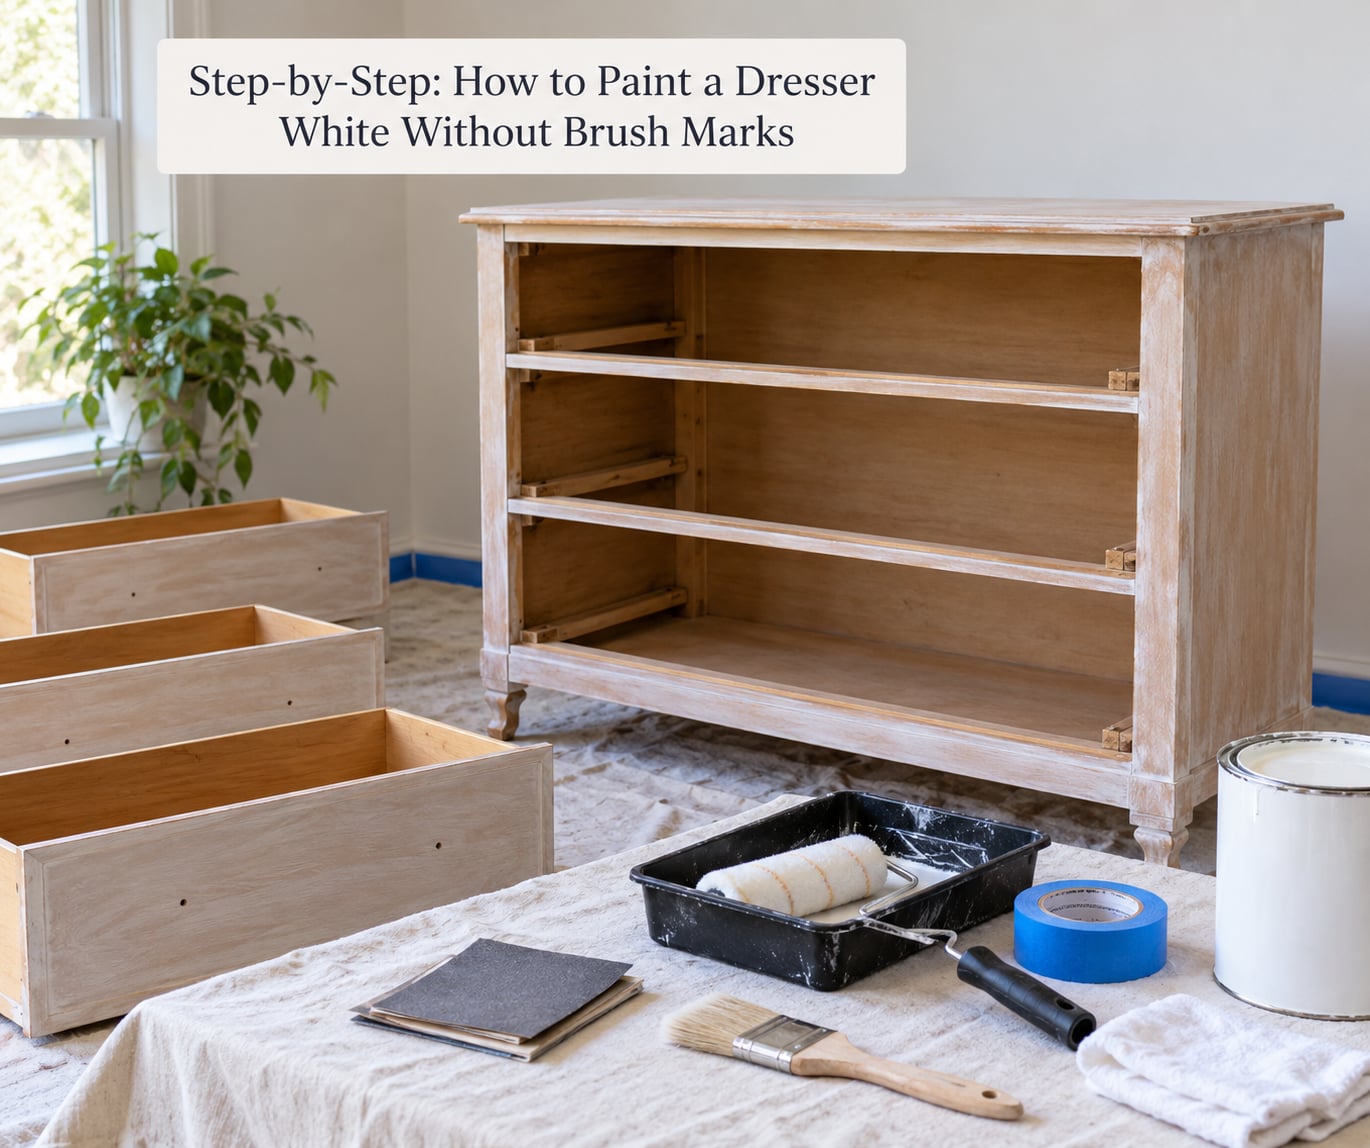
Step 1: Prepare and Clean the Dresser
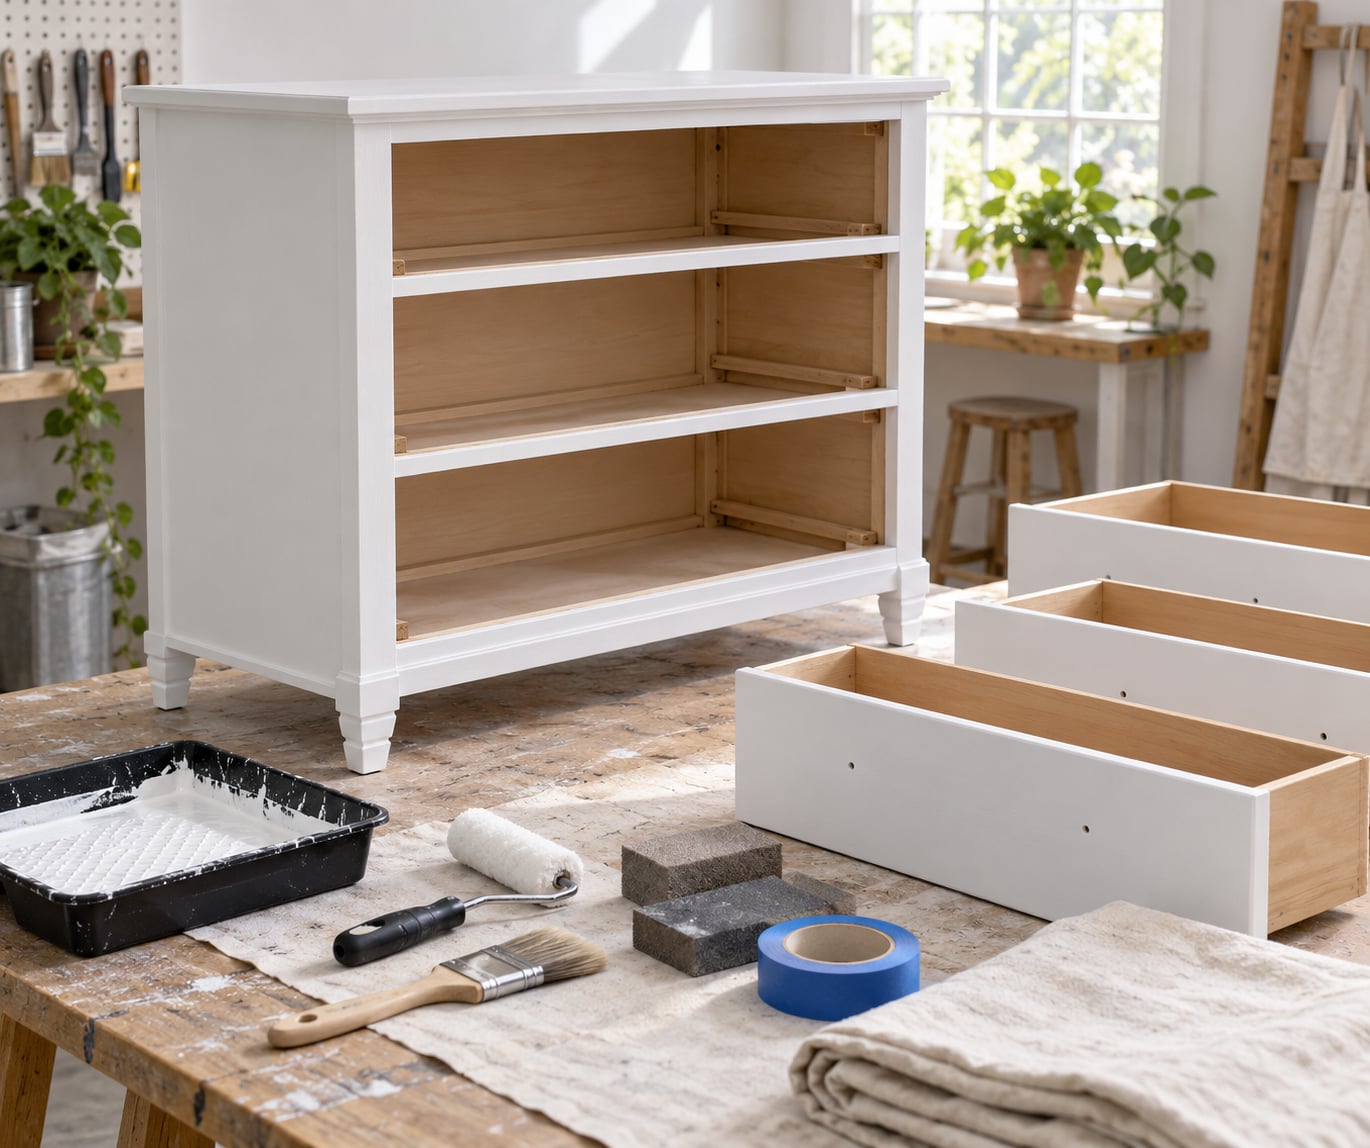
Pull the drawers, photograph how the hardware sits, and bag the screws with a strip of tape pressed onto the back of each drawer front. Label them if the piece has more than one size of pull.
Mix TSP or a degreaser with warm water and wipe every surface, including the insides of the drawer openings where years of lotion and dust have collected. Rinse with a damp cloth and let the wood dry completely, usually overnight for a solid piece.
Glue any loose joints, then fill nail holes, chips and dents with spackle or wood putty. Once it dries hard, sand the repairs flush with 180 grit and keep going until a fingernail run across the repair finds no catch.
Dust is the enemy of adhesion. Wipe with a tack cloth and follow up with a clean cloth dampened with water and denatured alcohol, mixed roughly half and half, then let the surface go completely dry.
Step 2: Sand the Surface Smooth
Your goal here is not to remove the old finish, only to give the new paint something to grip. Work with 180 grit on glossy or varnished surfaces and 220 grit on a piece that is already painted, using light even pressure.
Scuff sanding means just that, a quick pass to knock the sheen off, and it is what stops a new coat from peeling off in sheets later. If you can see bare shiny wood in the grain after a pass, go one step finer rather than pressing harder.
Work along the grain on solid wood so you do not round off the edges of the drawer fronts. On MDF, laminate and veneer, be gentler still, since those surfaces dent easily and the paper skin on laminate tears if you push too hard.
How long should you sand a dresser before painting? Until the sheen is gone everywhere and the surface feels slightly rough to a fingertip, with no glossy patches hiding in corners. Vacuum or tack cloth thoroughly afterwards, and remember that dust left in the drawer runners will show up as specks in your finish.
Step 3: Apply the Right Primer
Use a stain-blocking primer whenever the old color is dark, red, or a stain you could not sand away, or when the wood is pine or oak, both of which carry tannins that migrate upward through water-based paint.
What is bleed-through? It is the stain, tannin or dark wood color wicking up through the new paint as it dries, which turns supposedly white paint pink, yellow or brown. It cannot be fixed on top; it has to be blocked from below, which is the primer’s whole job.
Shellac-based primers such as Zinsser BIN block the fastest and are the near-universal recommendation on forums for slick factory finishes and IKEA dressers, where paint otherwise peels off in strips. On bare or already-painted wood, a water-based bonding primer is easier to clean up and works fine.
Brush or roll the primer on thin, following the same technique you will use for paint, and let it dry for the full time printed on the can. Do not rush this, because a primer recoated too early will drag and pill just like paint does.
Step 4: Paint With Thin, Even Coats
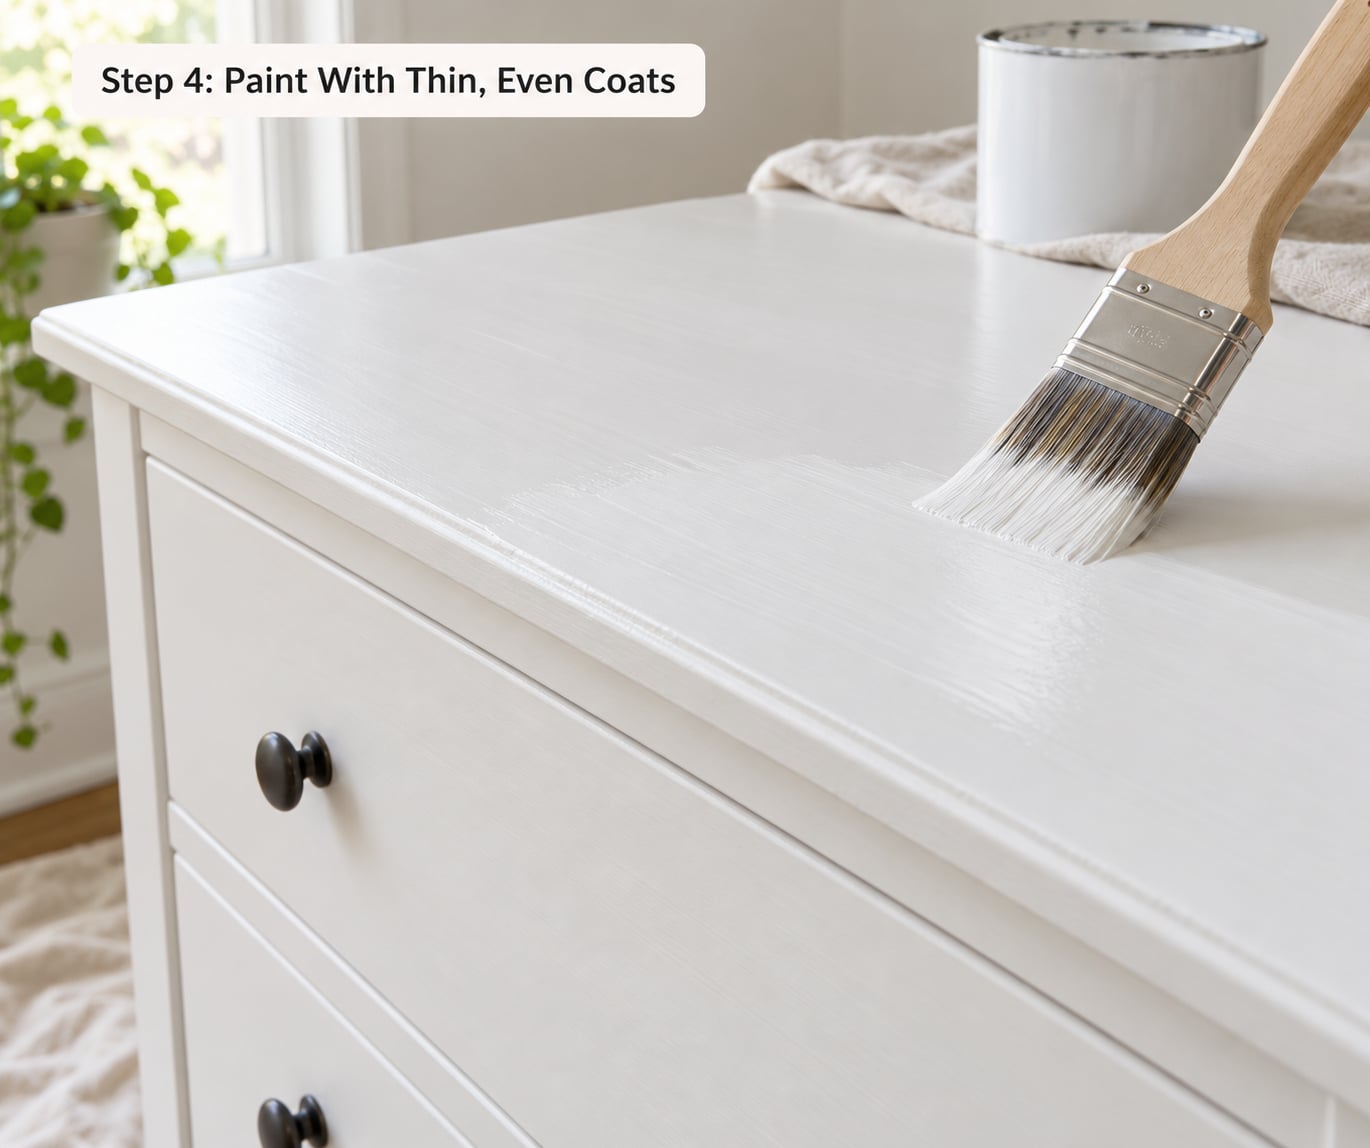
Stir the paint with a paint stick for a full two minutes. Shaking it pumps air into the paint, and that trapped air is what makes a coat look like orange peel once it dries.
Load the brush by dipping one third of the bristle length, tap one side against the rim of the can and wipe the other. You should not see paint pooling or dripping as you pull away, which is the single most repeated piece of advice across furniture painting groups.
Brush in long strokes with the grain and keep a wet edge moving in front of you. Start at the top of the case and work down, so any slight edge you catch gets painted over rather than sitting on top.
Do the crevices first. Cut in around the top lip, the beading and the sides of each drawer front with the angled brush, then run the roller over the flat middle. Corners and mouldings brushed last always look worse than the same corners brushed before the flat surface.
Then cross-coat at 90 degrees. If the first coat went on with the grain, lay the second coat across it. This rule comes up constantly on woodworking forums and it works because a thin coat spread perpendicular to the previous strokes covers the ridges of each bristle mark instead of laying right into them.
Using a roller? Tray-load it rather than rolling it directly out of the can, apply even pressure, and leave no excess paint in the nap. A microfiber or velour cover lays down a smoother surface than foam or a cheap polyester sleeve, both of which tend to leave a fine bumpy texture on a large flat panel.
If your paint is drying too fast to work with, add a paint extender such as Floetrol at roughly a quarter to a third of the paint volume and mix it in. That lengthens the working time so you can keep a wet edge across a whole drawer front instead of restarting halfway.
Step 5: Let Each Coat Dry and Sand Lightly
Dry time is when the paint is touchable. Cure time is when it is hard enough to take a scuff without marking, and those two numbers are hours and days apart. Recoating during the window between them is the number one reported cause of marks that never sand out, because the second coat drags the tacky first coat with it.
For a water-based paint, give each coat four hours before recoating, and go overnight if the room is cool or humid. Check a spot out of sight first: press a fingernail into a hidden edge, and if it dents or leaves a shiny mark, wait longer.
Once dry, knock the coat down with 220 grit, moving in light circular motions, and use 320 grit on the final coat before the last one goes on. The sanding dust matters more than the grit number, so wipe with a tack cloth and a water-and-alcohol cloth afterward.
Do not sand down to bare wood chasing a brush ridge. You want a smooth surface, not a thin one, and a missed spot is far cheaper to fix with another coat than to fill, prime and repaint.
Step 6: Add the Final Coats and Finish
Two full color coats over primer usually give an even white, though a very dark piece or a badly stained one may need three. Judge by coverage rather than by count, and keep the coats thin to the end.
The second coat goes on across the grain from the first. After that final coat is fully dry, a light 320 grit pass followed by a wax or top coat is optional rather than required, provided you used a hard finish such as enamel or self-leveling acrylic.
Add a water-based polyurethane if the dresser lives in a kid’s room, a hallway or anywhere it gets scrubbed. Self-leveling varieties flow out of their own brush lines, which is exactly what you want over a hand-painted surface. Apply two thin coats with a brush or a foam applicator and let each dry fully.
Then reattach the hardware, tightening screws into the original holes so you do not split the wood, and wipe the finished piece with a soft cloth before it goes back into the room.
Common Mistakes That Leave Brush Marks
Brush marks are not random. Something specific is happening, and identifying it is faster than redoing the piece.
| Mistake | What it looks like | Fix |
|---|---|---|
| Overloading the brush | Thick ridges, drips setting in | Load to one third of the bristle length and wipe both sides |
| Dragging a drying brush | Fine scratchy lines that catch a fingernail | Rinse and reload every 3 to 4 strokes, or switch to a second brush |
| One thick coat | Visible furrows and sagging | Sand back and lay two thinner coats instead |
| Recoating too soon | Lap lines, wrinkling, marks that will not sand out | Wait the full dry time, then test with a fingernail out of sight |
| Brushing over a dry coat without knocking it down | New brush texture sitting on top of old texture | Sand 220 grit and clean between every coat |
| Natural bristle brush with water-based paint | Stiff, scratchy finish, bristles swelling | Use synthetic bristle or a foam brush |
| Shaking the paint | Orange peel texture across flat panels | Stir with a paint stick for two full minutes |
| Dust left on the surface | Specks and dull patches that sand out of nowhere | Tack cloth plus a water and denatured alcohol wipe |
What causes orange peel on a painted dresser? Paint applied too thick or too slowly loses its flow before it levels out, and trapped air from shaking the can does the same thing faster. Fix it by sanding with 320 grit, wiping the dust away and adding one more thin coat, which usually levels the texture without a full redo.
Sheen changes how forgiving the paint is. Gloss and semi-gloss show every ridge and reflection, so beginners should choose eggshell or satin, which are easier to hide marks in. Higher sheen is also harder to brush, which is why some painters reach straight for the easiest finish.
One more thing worth knowing: brush marks on an already-painted piece are usually not the brush’s fault. Paint that will not sand smooth is usually paint that never cured, so an extra day of drying between the last two coats solves problems that no amount of sanding will.
Tips for a Smooth, Professional White Finish
Test the whole system first. Find a hidden spot, an inside back panel or the underside of a drawer, and run the primer and paint through the full process before touching a visible surface. It costs twenty minutes and it tells you whether your paint choice will cover.
Match your method to the surface. A small foam roller on flat panels and an angled brush everywhere else is the standard combination, and it saves your hands on a six-drawer piece faster than any other habit change. Ergonomics is the reason most regular furniture painters made the switch.
Use two brushes and keep one clean. Reloading mid-stroke stops nothing; running a clean brush over a panel picks up nothing.
Check the existing finish before you paint. Rub a cotton ball dampened with rubbing alcohol on an inconspicuous spot. If paint comes away, it is latex, and a water-based paint will bond to it fine. If nothing comes away, assume it is oil or lacquer and use a bonding primer, or expect peeling.
Work in daylight if you can. Raking light from a window across the surface reveals brush marks that overhead lighting hides completely, and it will show you while there is still time to fix them.
Frequently Asked Questions
How do I fix brush marks that are already dry on a white dresser?
Sand the marked surface with 220 grit in light circular motions, then wipe away every bit of dust with a tack cloth and a water and denatured alcohol cloth. Add one more thin coat of the same white, working with a clean synthetic brush or a microfiber roller and keeping each coat thin. Sand a final time with 320 grit if the finish still feels rough, and add a self-leveling water-based top coat for extra insurance. Expect 30 minutes of sanding plus drying time, not a full repaint.
Is there something I can put in paint to stop brush marks?
A paint extender such as Floetrol is the short answer. Mixed into the paint at roughly a quarter to a third of the paint volume, it slows drying so the coat stays workable long enough to level itself out before it sets. You can also thin the paint slightly with water, though that lowers hiding power. Both work best combined with a light brush load and thin coats, not as a substitute for them.
What type of roller is best for painting a wood dresser?
A microfiber or velour cover on a 3/8 inch nap is the smoothest option on flat wood panels, and it avoids the fine texture that foam and cheap polyester sleeves leave behind. Load it in a tray rather than straight from the can, apply even pressure, and cross-roll each coat at 90 degrees to the previous one. Keep an angled brush on hand for crevices, mouldings and the sides of drawer fronts.
How long should I wait between coats when painting furniture?
Give a water-based paint four hours before recoating, and go overnight if the room is cool or damp. Touch alone is not a good test, because paint feels dry long before it has hardened. Press a fingernail into a hidden edge instead: if it dents or leaves a shiny mark, the coat is still too soft and the next one will drag it. Oil-based paint needs much longer, often a full day.
Can I paint furniture white without sanding it first?
You can skip heavy sanding if the surface is already matte and sound, but scuff sand with 180 or 220 grit so the new paint has something to grip. Skipping it entirely is risky on glossy varnish, laminate and melamine, where paint tends to peel off in strips later. Solid wood with an old finish can usually get away with a degloss wipe instead, and a bonding primer handles most of the rest.
Is it better to brush or spray paint a dresser?
Spraying gives the smoothest finish, but it needs setup, a dust-free space and practice on scrap first. Brushing with thin coats, a light load and a clean brush produces a very good finish on a dresser, and it is far more forgiving of a small room. Roller the flat panels and brush the contours if your hands tire quickly, which is the most common reason regular furniture painters move to a roller.
Conclusion
Clean it, scuff sand it, prime it if there is any dark stain or tannin in the wood, then lay thin coats with a lightly loaded brush and give each one its full dry time before a light knock-down sand. That sequence is the whole difference between a painted dresser and a professionally finished one.
Start with a hidden back panel, run the whole system through once, and you will know what you are working with before the first visible coat goes on. Last updated for 2026.