Sealing chalk paint takes one thin coat of clear wax, water-based polycrylic or oil, applied to clean, dry paint that has had 24 to 72 hours to lose its tack. Wax keeps the soft matte chalk look on decorative pieces, polycrylic gives you a wipeable hard shell on a dining table, and oil suits a hand-rubbed natural finish. Most first-timers need an afternoon for prep and application plus a few days of curing.
The single biggest mistake is sealing too early, when the paint still feels cool and slightly soft to a fingertip. Everything else — streaks, bubbles, a sticky finish — usually traces back to dust, too much product, or rushing the drying.
Table of Contents
- What You Need
- Step-by-Step: How to Seal Chalk Paint on Furniture
- How to Prepare the Furniture Before Sealing
- How to Seal Chalk Paint with Wax
- How to Seal Chalk Paint with Polycrylic
- How to Seal Chalk Paint on Furniture Without Streaks or Bubbles
- How to Seal Chalk Paint with Oil
- How to Get a Smooth, Lasting Finish
- Wax vs Polycrylic vs Oil: Which Sealer to Use
- Can You Use Mod Podge to Seal Chalk Paint?
- Common Mistakes
- Frequently Asked Questions
- What is the best sealer for chalk paint on furniture?
- How many coats of wax or polycrylic should I apply to chalk paint?
- Can I seal chalk paint with polyurethane?
- How long does sealed chalk paint take to cure before use?
- Should I sand chalk paint before sealing it?
- Can I use chalk paint sealer on a tabletop that gets touched often?
- Conclusion
What You Need
Gather everything before you start, because sealer and dust do not mix.
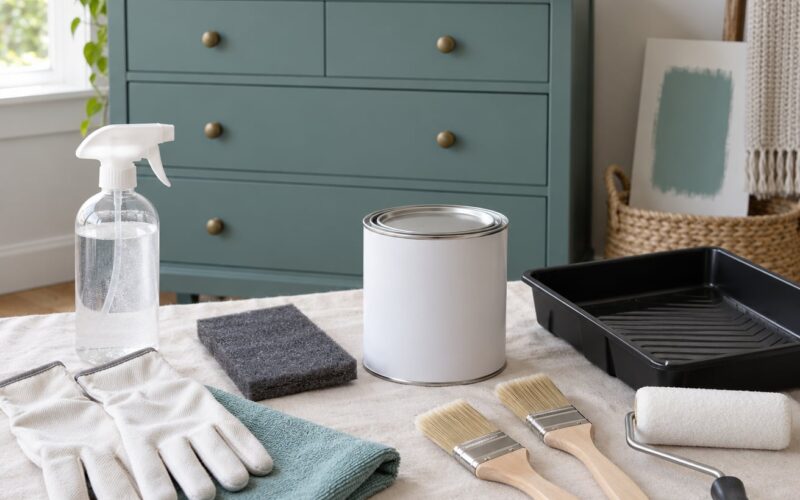
- 220 to 320 grit sandpaper, plus 400 grit if you want an extra-smooth top
- A tack cloth or clean lint-free cotton cloth for removing sanding dust
- A small bowl and a clean brush for testing colour and consistency
- A soft-bristle chip brush or a foam brush for application
- Clear paste finishing wax, water-based polycrylic, or a hardwax oil — pick one, not all three
- A clean rag for buffing wax, and 0000 steel wool if you want to knock back gloss
- Masking tape and a clean dust sheet for a worktable
- A hair dryer or fan for speeding drying in humid weather
A small orbital sander is optional and worth it only if you are prepping several pieces. A damp cloth and a hair dryer handle almost everything else.
Two supplies deserve a note. Paste finishing wax that has gone stiff in the tin can be thinned with a few drops of mineral spirits until it spreads like soft butter. And if you are working on a white or cream piece, skip anything oil-based — that is where yellowing comes from, and it is not reversible.
Step-by-Step: How to Seal Chalk Paint on Furniture
How to Prepare the Furniture Before Sealing
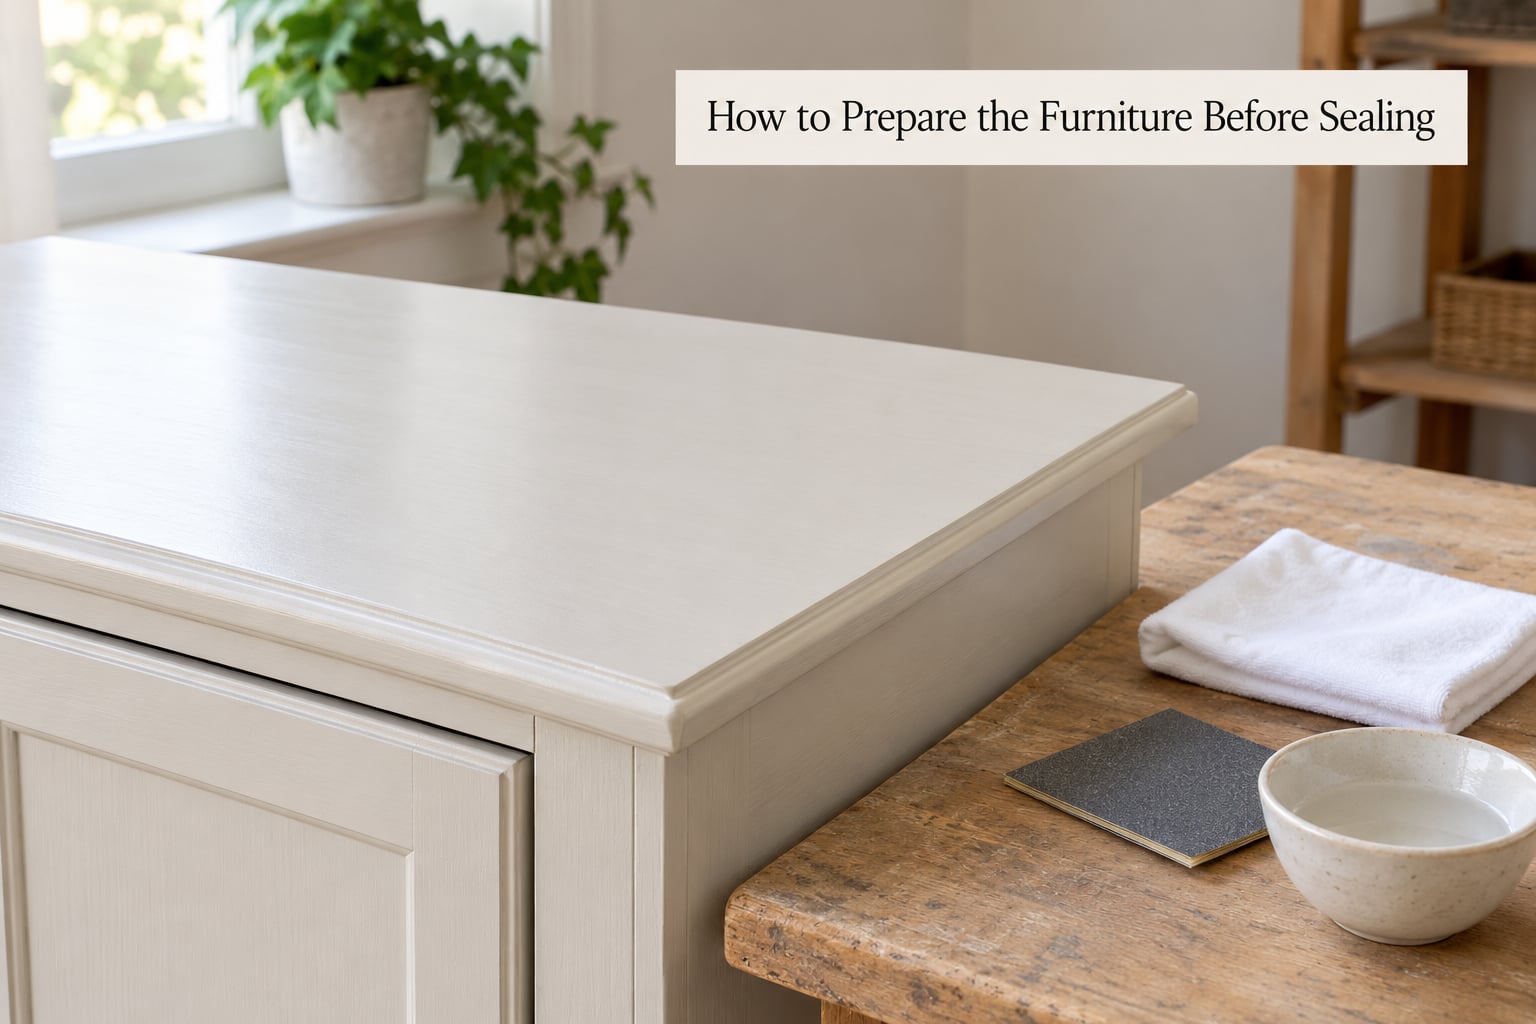
Start by wiping the piece down with a damp cloth and a drop of dish soap, then let it dry fully. Any grease left on the surface will show up later as blotchy, hazy spots that no amount of scrubbing fixes after the sealer goes on.
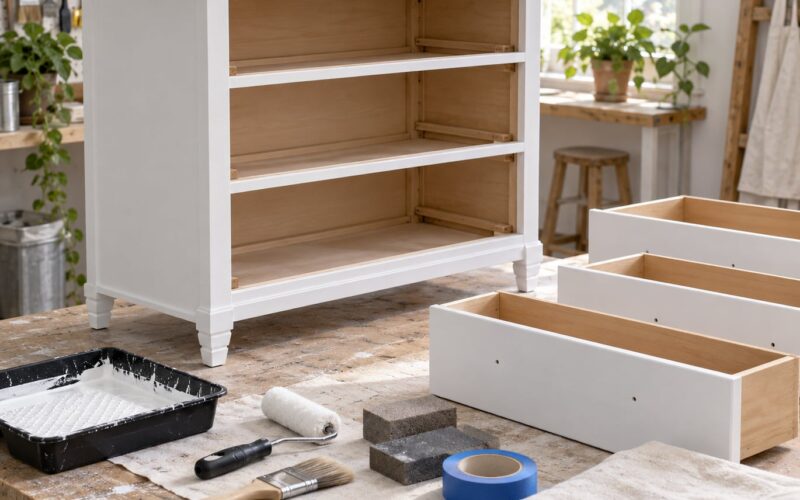
Sand the dried chalk paint lightly with 220 grit, following the grain. You are not trying to cut through to bare wood — you are knocking down the chalky, dusty texture that chalk paint leaves behind so the sealer has something to grip. Wipe with a tack cloth afterwards, and change the cloth often, because you are moving dust around, not removing it.
Run a clean finger across the surface. If it feels dusty or powdery, keep sanding or wipe again. If it feels smooth and cool, not tacky, you are ready for the sealer.
How to Seal Chalk Paint with Wax
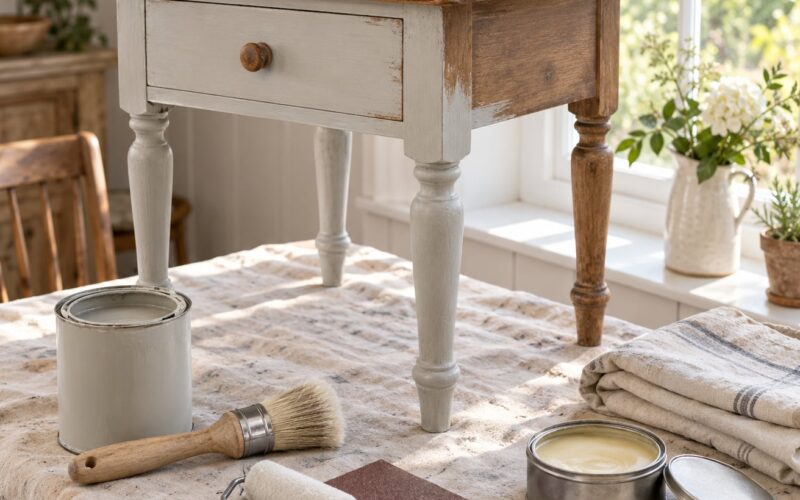
Scoop out an amount of clear paste wax the size of a quarter and rub it onto the surface with a clean lint-free cloth. Work in small circles, following the grain, until the wax turns hazy and disappears into the paint.
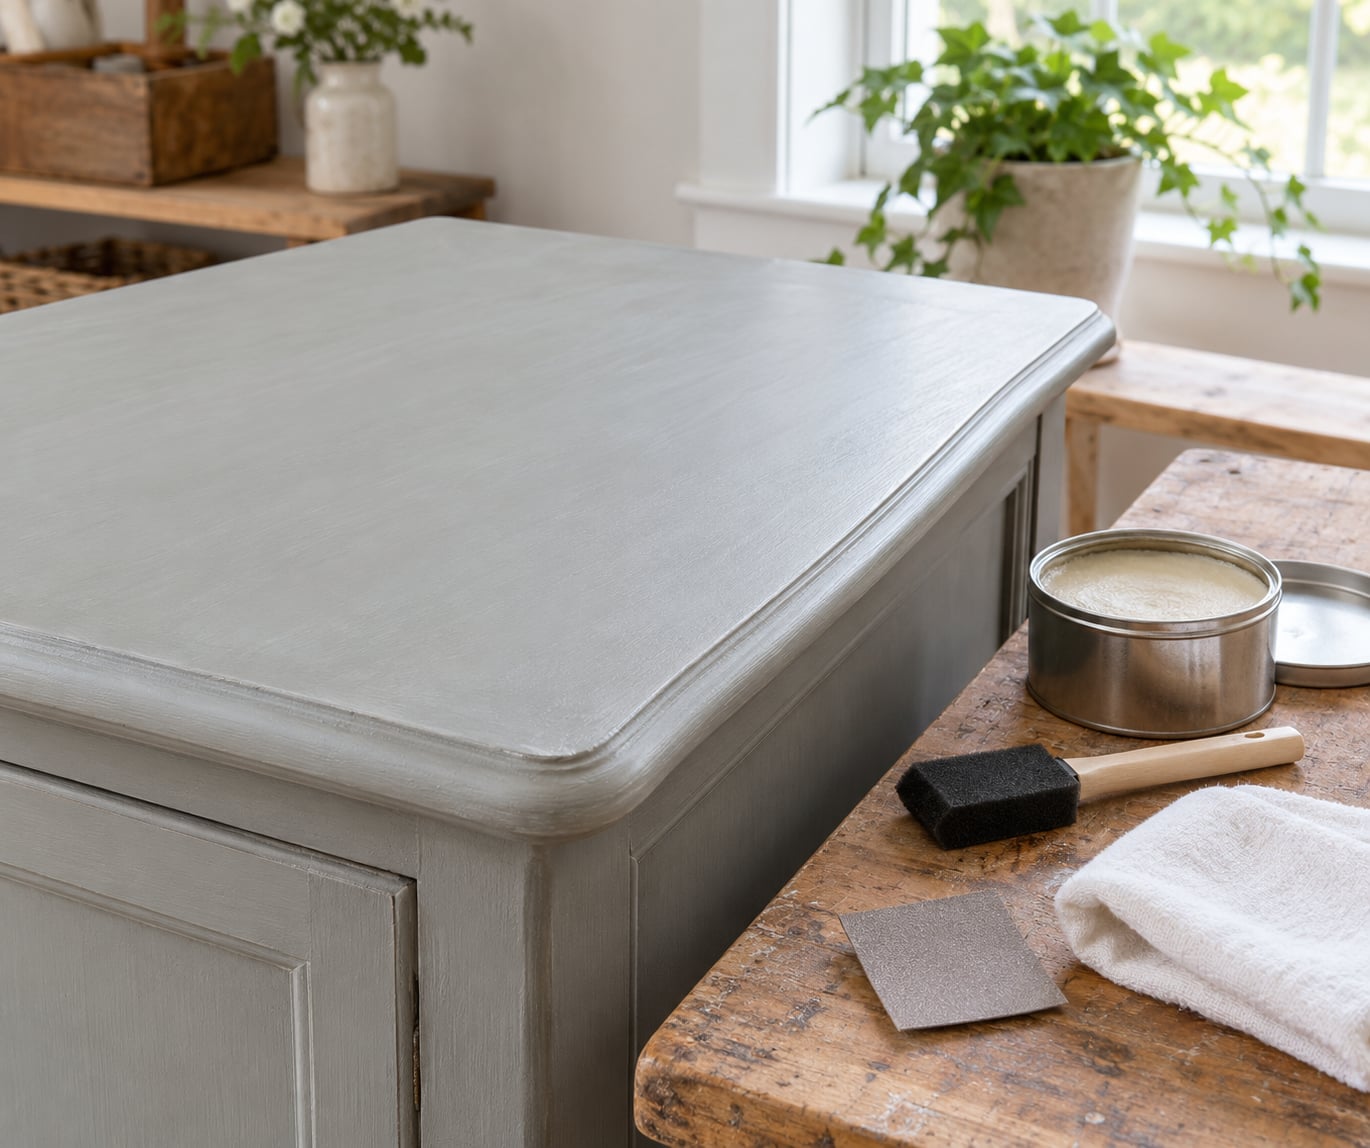
Let it sit for about five minutes, then buff with a fresh clean cloth until the haze is gone and the surface reads as a soft matte or satin. Stop when the cloth stops feeling tacky under your palm.
One thin coat is right for most pieces. Add a second only where a hand or arm rests often, like a table edge or a drawer pull. Heavier wax leaves a sticky, uneven finish that never fully sets, so wipe off anything that sits on the surface after buffing.
You will know it worked when the chalky texture is still visible but water beads on the surface instead of sinking in. Run a damp finger across a hidden spot to test; if the paint smudges, add another coat after it cures.
How to Seal Chalk Paint with Polycrylic
Stir the water-based polycrylic slowly with a flat stir stick, from the bottom up. Do not shake it — shaking loads air into the finish, and those bubbles land on your tabletop as little craters.
If the first coat looks thick, add a small amount of water and stir again until it falls off the brush in a thin ribbon. A slightly thin coat dries faster and levels better than a heavy one that shrinks and streaks while drying.
Load a foam brush lightly and apply in long, even strokes, keeping a wet edge and picking up where the previous stroke ends. Overlap, but do not go back over a stroke that has already started to dry, or you will pull a skin into the finish.
Set the piece somewhere with airflow and dust-free and give it the full dry time printed on the label, usually a few hours. Then check it under side light: streaks show as shiny lines, bubbles as small craters, and a milky patch usually means the coat went on too thick or too fast.
How to Seal Chalk Paint on Furniture Without Streaks or Bubbles
Streaks come from too little product or a dry brush. Add a little more polycrylic per stroke and use a fresh foam brush for each coat — a used brush holds drying finish in its foam and drags it across the surface.
Bubbles come from shaking the can, from fast-drying poly in a warm room, or from a hair dryer pointed too close. Stir instead of shaking, sealer coats get thinner with each one, and keep air moving across the piece rather than blasting it.
A milky or cloudy patch means moisture got into that coat. Sand the spot with 400 grit, wipe, and lay on another thin coat. If it keeps coming back in the same place, suspect the paint underneath, which was not dry enough when you sealed.
How to Seal Chalk Paint with Oil
Hardwax oil and pure tung oil both work, and both take more time than wax or polycrylic. Wipe on the thinnest coat you can manage with a lint-free cloth, following the grain, then buff with a clean dry cloth to remove everything that did not soak in.
Expect to wait 24 hours before the next coat, longer if the room is cool or damp. Buff between coats with 0000 steel wool or fine abrasive pad to knock down any grain that lifted.
Oil gives you a hand-rubbed depth rather than a film, and it deepens the paint colour, so a dark chalk paint will get darker. That colour shift is the reason many painters skip oil on a piece they worked hard to get looking a certain shade.
How to Get a Smooth, Lasting Finish
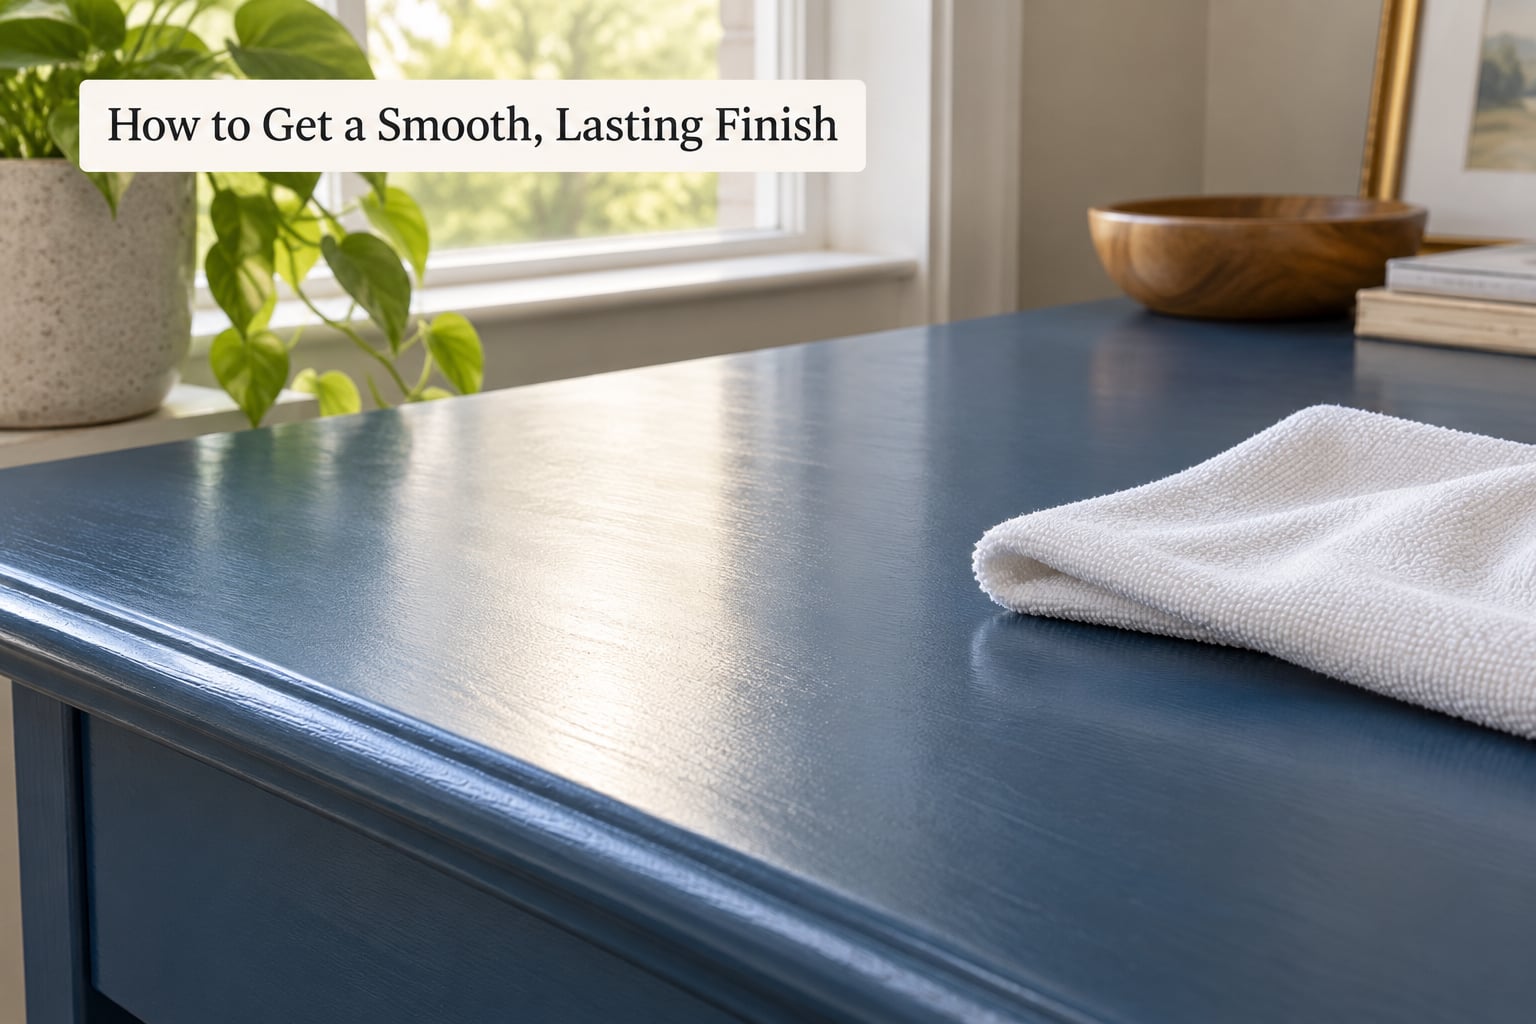
Give each coat the drying time on the label before adding the next one, then check the piece in good light before you decide you are finished. The sign of a cured coat is that it is hard to the fingernail and no longer leaves a mark from a fingerprint.
Between polycrylic coats, a light pass with 400 grit followed by a tack cloth gives a noticeably smoother result. Skip sanding between wax coats; wax does not need it and sanding can cut through to the paint.
Dry time is not cure time. A coat can feel dry in a few hours and still be soft enough to mark for several days. Give a tabletop the full week before setting a heavy lamp on it or letting it take daily hits, and keep coasters on a dining table for at least that long.
Match the sealer to the piece and the upkeep is simple. Wax wants a fresh coat every six months or so on anything hands touch. Polycrylic usually lasts a year or more before it wants refreshing.
Wax vs Polycrylic vs Oil: Which Sealer to Use
| Sealer | Finish look | Hardness | Water resistance | Yellowing risk | Upkeep | Best for |
|---|---|---|---|---|---|---|
| Clear paste wax | Soft matte or satin, chalk texture shows through | Low, more like polish than a film | Good with fresh coats, not a hard barrier | None | Re-wax every 6 to 12 months | Dressers, sideboards, accent pieces, painted decor |
| Water-based polycrylic | Flat to satin; a thin coat keeps the matte look | High, resists scratches and fingerprints | High, wipes down easily | None | Usually a year or more | Dining tables, kitchen cabinets, vanities, desks, coffee tables |
| Water-based polyurethane | Flat, satin or gloss by label | Highest, harder than polycrylic | Very high | None | Years | Highest-traffic surfaces, outdoor pieces with a UV-rated formula |
| Oil-based polyurethane | Ambers warm over time, deepens colour | Highest | Very high | Yes, avoid on white or cream | Years | Dark or warm-toned pieces indoors; strong odour while working |
| Hardwax oil | Natural, hand-rubbed, slightly deeper colour | Low to medium | Medium, refreshed with oil not water | None | Re-oil once or twice a year | Smaller pieces, benches, Scandinavian-style finishes |
Two decisions settle most cases. If the piece takes spills, heat or frequent cleaning, use polycrylic or water-based polyurethane. If it will sit against a wall as an accent, wax is faster, cheaper and forgiving.
Whatever you choose, stay away from oil-based polyurethane over white or cream chalk paint. It ambers over months and years, and white pieces are the ones that suffer most. Water-based products stay clear.
Can You Use Mod Podge to Seal Chalk Paint?
Mod Podge works on paper decoupage on a chalk-painted surface, but it is not a furniture sealer. It is a water-based glue that stays slightly soft, so heat, water rings and scuffs go right through it, and a damp cloth with any real cleaner lifts it.
Use it for a transfer or a glued-on decoupage layer, then finish the whole piece with wax or polycrylic once that layer is dry. That way the sealer does the protecting and the Mod Podge only does the gluing.
Order matters more than most people expect. Transfers, stencils, glazing and crackle medium all go on before the sealer. Wax on top keeps a soft patina; poly on top makes the whole thing harder and slightly darker. Once wax is on, nothing else will bond to it, so seal once and seal last.
Common Mistakes
Sealing over dust. The finish will look hazy and blotchy, and you will have to sand it all back. Tack cloth after sanding, then wipe with a barely damp cloth and let it fully dry before opening the sealer.
Going on too early. Chalk paint that has not lost its tack holds up under the sealer and later sticks to a glass, a shirt or a coaster. Wait 24 to 72 hours, longer in humid weather, and test a hidden spot with a fingertip.
Too much product. Heavy wax leaves a sticky surface; heavy polycrylic sags, streaks and traps bubbles. Thin the polycrylic with a little water if it feels thick, and buff every trace of wax off with a clean cloth.
Skipping drying time between coats. Applying a second coat over a tacky first one lifts it and pulls a skin across the piece. Follow the label’s recoat interval even when the surface already feels dry to the touch.
Using the wrong sealer. Wax on a kitchen cabinet or a dining table wears through in months and needs constant rewaxing. Mod Podge on a tabletop has the same problem. Polycrylic or water-based polyurethane covers those cases.
Not testing first. Every sealer can shift the colour, especially on a dark chalk paint or a low-sheen wax. Dab a coin-sized patch somewhere hidden, let it dry fully, and decide before you commit the whole piece.
Frequently Asked Questions
What is the best sealer for chalk paint on furniture?
It depends on the piece, not the paint. Use water-based polycrylic for anything that takes spills, heat or daily cleaning, such as dining tables, kitchen cabinets and vanities. Use clear paste wax for dressers, sideboards and accent pieces that only need to look good and be touchable. Water-based polyurethane is the hardest option and works when you want a long interval between coats.
How many coats of wax or polycrylic should I apply to chalk paint?
One thin coat of wax is enough for most low-use pieces; add a second only where hands rest often. For polycrylic, plan on two to three thin coats, giving each the full dry time on the label. A thin coat always beats a heavy one, because heavy coats shrink, streak and trap bubbles as they dry.
Can I seal chalk paint with polyurethane?
Yes, and water-based polyurethane is the safer pick. It cures into a hard, water-resistant film and will not amber the paint. Oil-based polyurethane is harder still, but it yellows over time and will ruin a white or cream piece, so keep it for dark, warm-toned furniture and work in a well-ventilated room.
How long does sealed chalk paint take to cure before use?
Dry time and cure time are different. A coat feels dry in a few hours but stays soft for days, so give a tabletop a full week before heavy use. Wax cures faster and can usually be handled the next day, though it takes longer to become water-resistant. Keep coasters on a dining table for the first week.
Should I sand chalk paint before sealing it?
Yes, a light pass with 220 grit is worth it. Chalk paint leaves a chalky, dusty texture, and sealing over it can look blotchy and hazy rather than smooth. Sand with the grain, then wipe with a tack cloth. Between polycrylic coats, an extra pass with 400 grit makes the finish noticeably smoother. Do not sand between wax coats.
Can I use chalk paint sealer on a tabletop that gets touched often?
Use a hard finish, not wax. Water-based polycrylic or water-based polyurethane will take fingerprints, spills and cleaning where wax just wears through and needs rewaxing every six months or so. Choose a flat or matte sheen to keep the chalky look, and put coasters and placemats down while it cures for the first week.
Conclusion
Choose wax for a traditional matte look on decorative pieces, polycrylic for a dining table or cabinet that has to survive daily use, or hardwax oil for a natural hand-rubbed depth. Whichever route you take, start with clean, dry, lightly sanded furniture and let the paint cure for 24 to 72 hours before the first coat goes on.
Thin coats, full drying time between them and a week of cure before real use will handle the rest. Once that table is sealed and cured, it is finally ready for daily coffee cups and everyday scuffs.