Learning how to chalk paint furniture for beginners is mostly about patience rather than skill: clean the piece, scuff the shiny bits, lay down two thin coats, then seal it properly. Budget a full weekend for a small side table or nightstand, and you can finish in about six hours of actual work plus drying time.
The part that trips people up is not the painting. It is sealing. Chalk paint stays slightly porous by design, so an unsealed piece rubs off on your sleeve and marks at the first coffee ring. Get the sealer right and the same paint looks like a factory finish.
Below is the whole process, step by step, in the order that saves you from sanding something twice.
Table of Contents
- What You Need
- The essentials
- Worth adding, not required
- How to Chalk Paint Furniture for Beginners: Step by Step
- 1. Prepare and Protect the Furniture
- 2. Sand the Surface: How to Chalk Paint Furniture Without Full Prep
- 3. Choose and Apply the First Coat
- 4. Let It Dry and Add a Second Coat
- 5. Distress the Paint for a Vintage Look
- 6. Seal the Finished Furniture
- 7. Style and Maintain the Piece
- Common Mistakes
- Painting over grease
- Skipping prep on a glossy surface
- Painting too thick
- Disturbing the paint before it dries
- Over-distressing
- Waxing too early or too thickly
- Ignoring bleed-through
- Using an incompatible sealer
- Frequently Asked Questions
- Do I have to sand furniture before using chalk paint?
- How long should I wait between coats of chalk paint?
- Can I use chalk paint on laminate or metal furniture?
- Is wax necessary after painting furniture with chalk paint?
- How do I make chalk paint look distressed without ruining it?
- What type of brush or roller is best for beginners?
What You Need
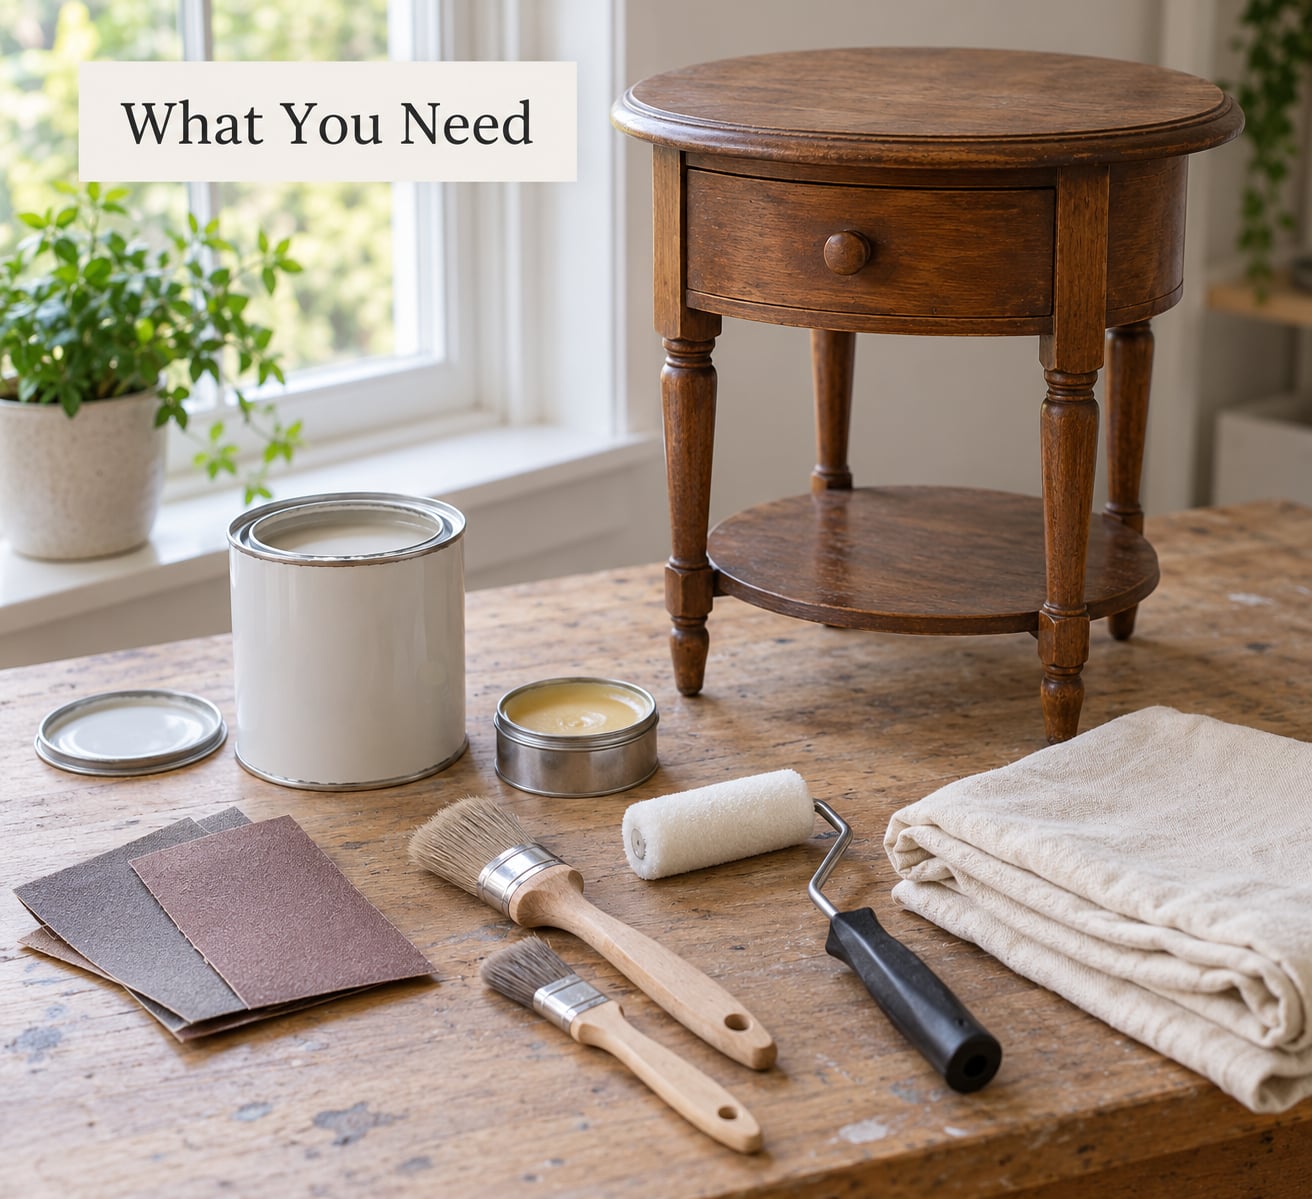
Most beginners own half of this already. The list below splits what you genuinely cannot skip from what is nice to have.
The essentials
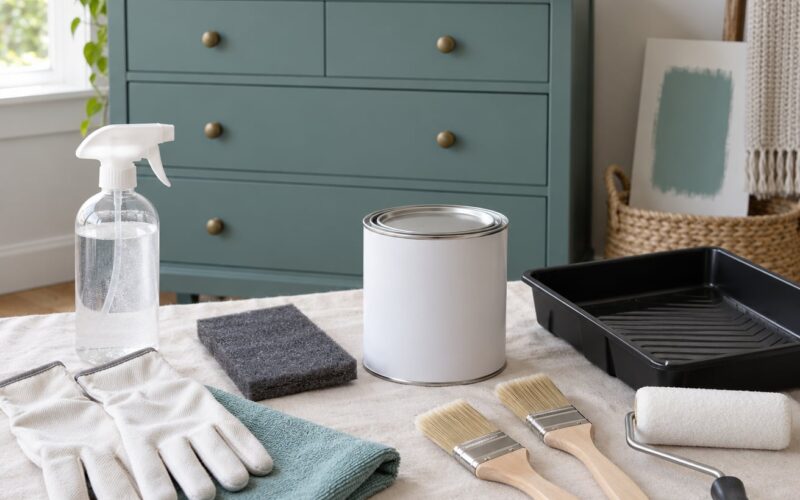
- Drop cloth or cardboard — protects the floor and your work surface from paint drips and wax smears.
- Dust or tack cloth — for wiping dust off after sanding. A dry paint brush works in a pinch.
- Fine-grit sandpaper, around 180 to 220 grit — for scuffing glossy areas and edges. You are dulling shine, not shaping contours.
- Degreaser — dish soap and hot water handles most pieces. TSP or a dedicated degreaser is stronger for greasy kitchen cabinets.
- Chalk paint — any water-based matte furniture paint that adheres with minimal prep.
- A rounded bristle brush — natural or synthetic, roughly 2 inches wide. A flat chip brush leaves brush marks beginners can see for years.
- Fine sandpaper or 0000 steel wool — for distressing and for knocking down drips between coats.
- Sealant — paste furniture wax, a clear wax, or a water-based topcoat. Choose based on how hard the piece gets used.
Worth adding, not required
- A mini roller — faster than a brush on flat panels and dresser sides. Keep a brush for edges and details.
- Stain blocker or shellac — essential on old pine, MDF, or anything with a history of ink and tannin bleed-through.
- Paper plate and paper towel — for wiping the brush and testing the colour before the piece.
- Painter’s tape — useful if you are keeping an unpainted stripe or protecting a glass top.
How to Chalk Paint Furniture for Beginners: Step by Step
Here is the full sequence: prepare, scuff, first coat, dry, second coat, distress if you want, seal, then style. Skip nothing in the first two stages — nearly every chalk paint failure I have seen traces back to a dirty or glossy surface.
1. Prepare and Protect the Furniture
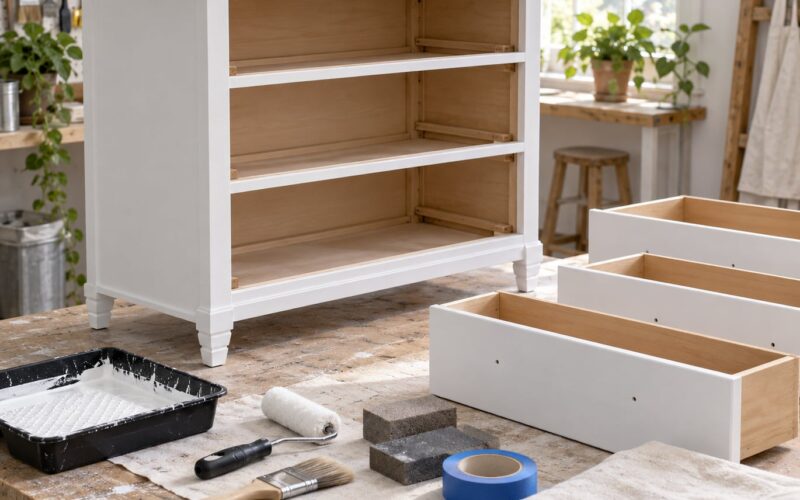
Get the piece out of the room and onto your protected surface. If it is heavy, empty drawers and shelves first, and lift rather than drag.
Remove knobs, pulls, hinges and any other hardware. Bag the screws and tape the bag to the back of the piece so nothing wanders off in a pile of paint dust.
Now clean it, even if it looks clean. Wood carries hand oils, furniture polish residue and years of cooking film, and paint will not stick to any of it.
Mix a heaped tablespoon of dish soap into a spray bottle of hot water, spray the surface, and wipe with a clean cloth. Work in sections and change the cloth when it turns grey — that grey is the grease coming off.
Your readiness check is simple: run a finger across the surface. If it feels tacky or leaves a film on your fingertip, clean it again and let it dry fully.
2. Sand the Surface: How to Chalk Paint Furniture Without Full Prep
No, you do not have to sand a piece down to bare wood. Chalk paint grips onto texture rather than soaking in, which is the whole point of it.
What you do need to do is scuff. Any surface that is glossy, sealed or previously finished — laminate tops, varnished legs, a dresser with a lacquer coat — needs a quick pass with 180 to 220 grit paper. The paint has nothing to hold onto on a slick surface, and this is the number one reason pieces peel within weeks.
Pay extra attention to edges, corners, drawer fronts and any place hands touch. Those take the most wear and the first coat of paint always sits thinner there.
On a flat panel, use a sanding pad and work in small circles rather than back-and-forth strokes, which can scratch. Wipe the dust away with a tack cloth afterwards, or you will paint your own grit into the surface.
Skipping sanding is reasonable on unfinished or already-matte wood that feels textured under your hand. You can also spot-test first: paint a small patch in a hidden corner, let it dry overnight, then try to scratch it off with a fingernail. If it lifts, that surface needs more prep.
3. Choose and Apply the First Coat
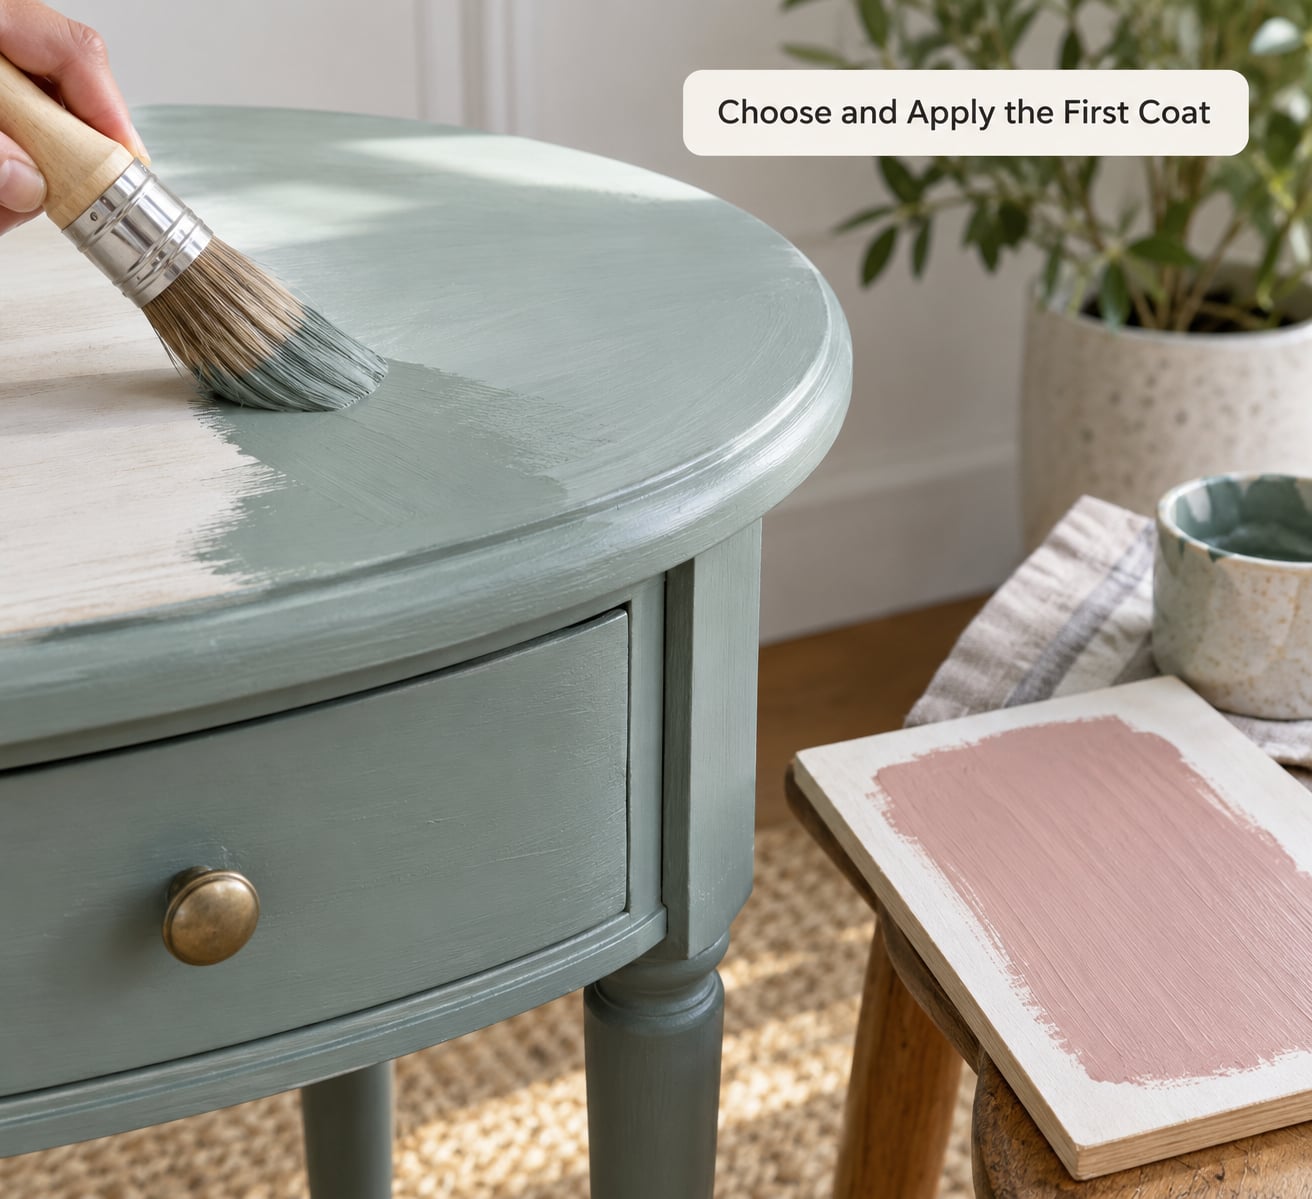
Most beginners pick their colour by the lid. Pick it by the room instead, and always test on a piece of cardboard or the back of the piece first. Two coats always look different from the single coat on the lid.
Stir the paint thoroughly with a flat stir stick, scraping the bottom of the can, then pour a small amount into a bowl. Paint that has sat on a shelf separates, and a thin skim straight from the can is a good way to end up with a chalky, uneven coat.
Wet your brush in clean water and squeeze out nearly all of it. Dip into the paint, then wipe one side of the bristles against the rim — a damp brush that picks up paint, not one loaded enough to drip.
Apply thin coats in the direction of the grain or the length of the panel. Long, even strokes with light pressure beat short scrubbing strokes every time, and you should still be able to see the surface underneath on the first pass.
Work in a Z pattern on a large flat area rather than dabbing it, which leaves a stippled texture. Keep a wet edge moving as you go, and catch drips while the paint is still soft.
A good first coat looks even, matte, and slightly patchy. That patchiness is normal. Resist the urge to fix it now.
4. Let It Dry and Add a Second Coat
Dry time is a guideline, not a promise. Expect around one to two hours between coats, and longer if the room is cool, poorly ventilated, or you laid the paint on thick.
Test rather than guess. Press the back of your finger lightly onto a hidden area. If it feels cool and completely matte, it is dry; if it feels faintly soft, you need longer. A fingernail test is a good second opinion on stubborn areas.
For the second coat, lightly scuff any drips or brush marks with fine paper, wipe, and paint only where coverage is uneven. A second full coat on top of a good first coat is how you get that slightly ridged, brushy surface that gives away a beginner project.
Leave the piece to cure before you go any further. A full day with good airflow is sensible before waxing.
5. Distress the Paint for a Vintage Look
Distressing is completely optional. Skip it entirely if you want a clean, modern result, and treat the worn areas as a style choice rather than a step in the process.
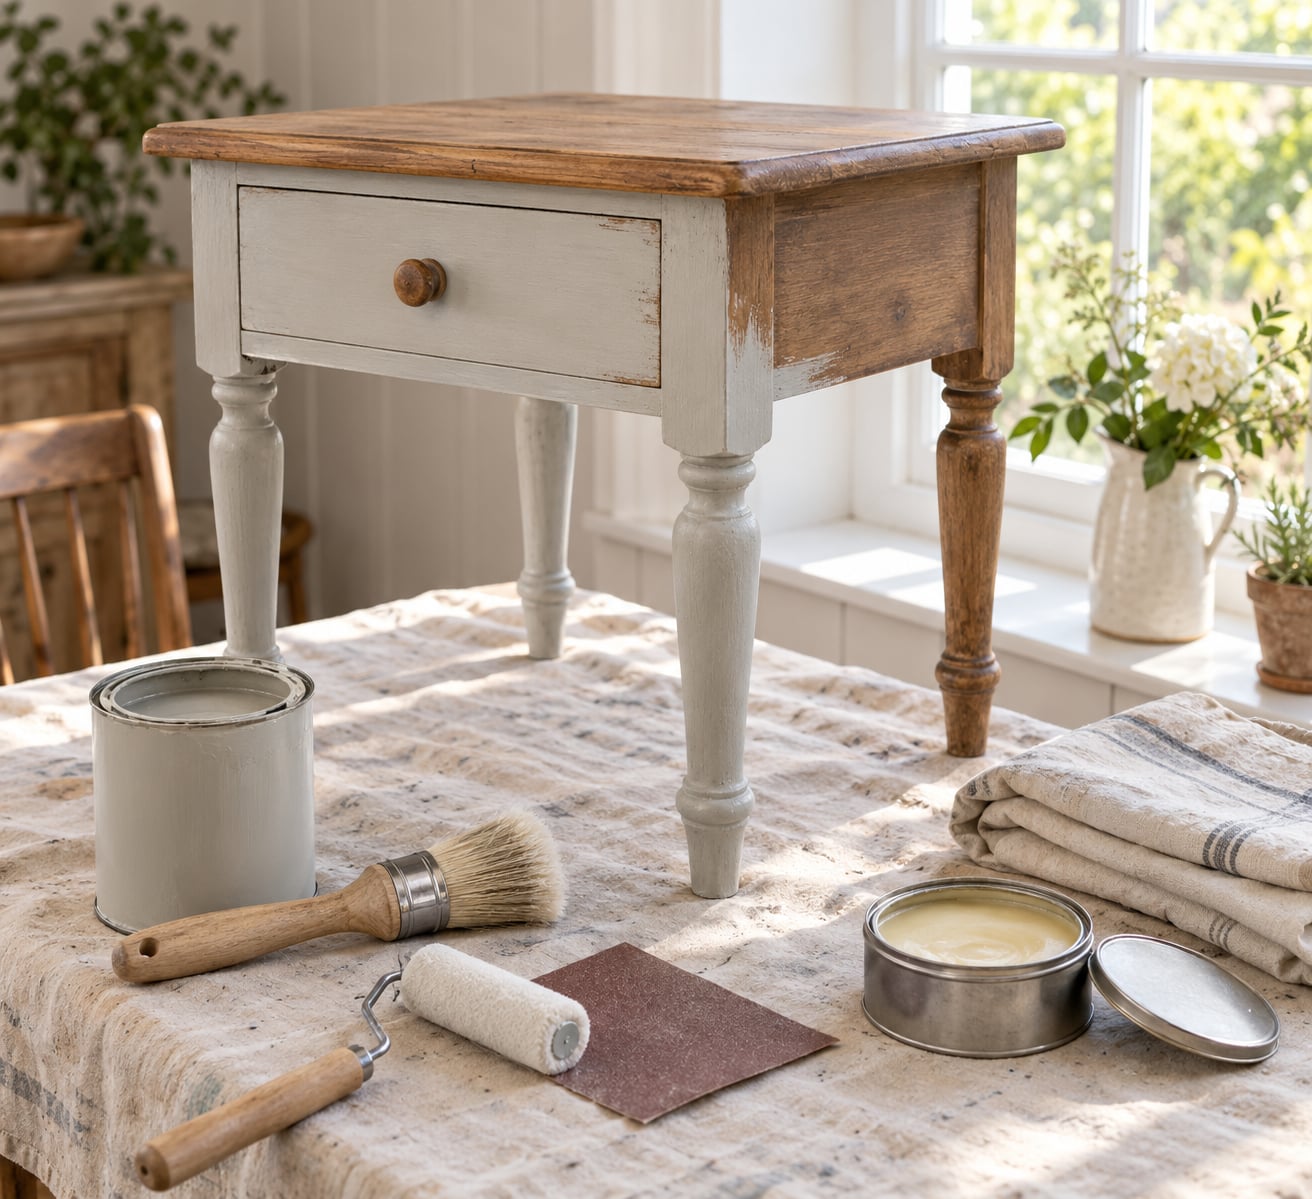
The gentle way is a light pass with 180 to 220 grit paper along the edges you want to soften. A second colour, sanded back a little, gives you a layered, shabby look without bare wood showing.
For more control, dry brush a slightly darker shade over the surface, then wipe most of it off with a dry brush or a paper towel, leaving pigment only in corners and recesses. Stippling with a stiff-bristled brush leaves a worn, uneven texture.
Be careful with scrapers. They take paint off fast, and it is hard to put it back.
Test on the back or inside a drawer first, and hold back on surfaces that get handled — the front edge of a tabletop and drawer pulls. Wax is what keeps distressed areas from looking scratched and faded.
6. Seal the Finished Furniture
Sealing is not optional. This is the step that turns a chalky coat into a wipeable, durable finish, and the one beginners most often rush.
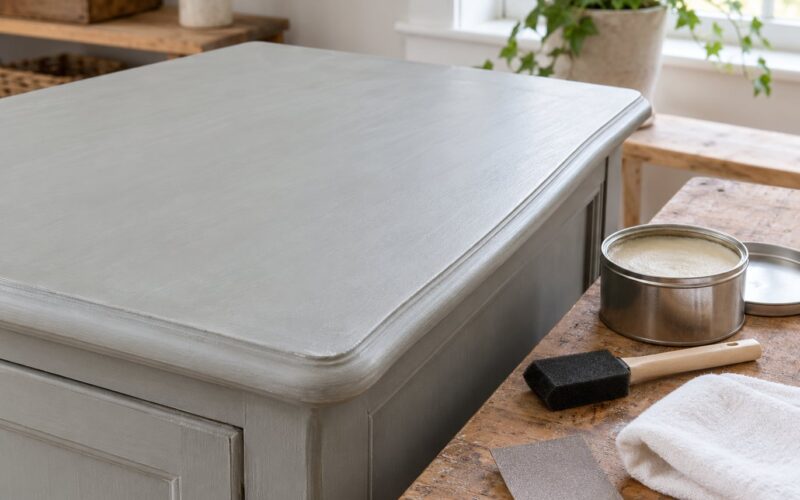
Wax gives you a soft sheen and a hand-rubbed look, and it is easy to buff. It marks easily, lifts at scratches, and it rubs off with a cloth if you apply it too thick.
A water-based topcoat gives you real durability and wipes clean, but it is less forgiving to apply and it will show brush strokes on a matte surface. Mixing them — wax first, light topcoat over — is the most durable route, and the one I would choose for a kitchen cabinet or dining table.
Apply wax with a soft lint-free cloth or a wax pad, in thin coats, buffing each one off before the next. Work in small sections so you never spread wax that has already started to set. A little thinner with a few drops of mineral spirits helps it spread on large panels.
Never wax over a surface that still feels soft. Wax applied too early traps moisture and leaves exactly the sticky, rub-off finish people complain about online.
Give the piece time to cure before you use it. Most waxes want a few days; topcoats vary, so follow the label. Test any sealer on the back of the piece first, since an incompatible finish can cloud or peel within a day.
7. Style and Maintain the Piece
Wait for the cure time before the first real use, then start living with it. Warm neutrals with bare wood showing through suit farmhouse and cottage rooms, deeper colours with light glazing suit a more formal space, and a straight matte coat in one colour reads clean and modern.
For maintenance, use coasters and placemats, wipe with a dry or barely damp cloth, and keep wax and topcoated surfaces away from harsh cleaners and standing water.
If a small chip appears, dab a little of the original paint colour on, let it dry, and re-wax that spot. That fix takes five minutes and it will not look if you wait months.
Common Mistakes
Almost every disappointing first project comes down to one of these. Each has a straightforward fix.
Painting over grease
The surface looked clean, so you started painting. Paint now peels off in sheets. Clean every piece with soapy water before you paint, even the one that looks spotless.
Skipping prep on a glossy surface
Shiny laminate and lacquered wood have nothing for the paint to grip. Scuff those areas with fine paper first, or use a bonding primer over them.
Painting too thick
One heavy coat dries slower, ridges more and is easier to scratch. Wipe the brush, lay thin coats, and let each one dry properly.
Disturbing the paint before it dries
It is tempting to fix a drip right away, but the whole area is still soft and you will drag it. Leave it until it is dry, then sand or paint over it.
Over-distressing
It is easy to sand a good finish back to bare wood in a few seconds. Test in a hidden spot and go slowly, keeping control of the amount of paint you remove.
Waxing too early or too thickly
Wax applied to soft paint or in heavy coats leaves a sticky surface that rubs off onto clothes. Thin it out, apply less, and buff each coat fully.
Ignoring bleed-through
Ink and tannins from older pieces surface as yellow or brown spots days after you thought you were finished. Sand the spots, coat them with shellac or a stain blocker, let it dry, and repaint that area.
Using an incompatible sealer
Some finishes cloud over wax, and some topcoats lift on a waxed surface. Test the combination on the back of the piece and leave it for a day before committing to the whole thing.
A few last tips for steadier results: paint in good light, keep the room ventilated, and work in a space free of dust. Start with a small, low-risk piece such as a nightstand or side table, where mistakes are cheap and the practice carries over to bigger jobs. This is still the method I would hand anyone picking up a brush for the first time in 2026.
Frequently Asked Questions
Do I have to sand furniture before using chalk paint?
Not down to bare wood. A quick scuff with 180 to 220 grit paper is enough for most pieces, and on an unfinished or already-matte surface you can sometimes skip it. Glossy laminate, varnished wood and anything previously sealed does need sanding, because paint has nothing to grip. Focus on edges, drawer fronts and corners, which wear fastest, and wipe the dust off before painting.
How long should I wait between coats of chalk paint?
Around one to two hours is the usual guideline, but the label beats a timer. Cool rooms, poor airflow and thick coats all slow drying, and waxing paint that still feels soft leaves a sticky finish. Test by pressing your finger to a hidden area: if it feels cool and completely matte, it is ready for the next coat or for sealing.
Can I use chalk paint on laminate or metal furniture?
Yes. Chalk paint adheres to wood, metal, glass, ceramic and plastic, which is one of its biggest advantages over ordinary paint. The catch is that slick, non-porous surfaces need a scuff or a deglosser first, since there is no texture for the paint to grip. Remove any existing rust or flaking finish on metal before you start, and expect a sealer to be essential.
Is wax necessary after painting furniture with chalk paint?
Something has to seal it, and for most pieces that something is wax. Chalk paint dries to a porous matte finish that rubs off and stains without protection. Wax adds a soft sheen and is easy to buff, but it marks easily, so for tables, cabinets and other high-traffic furniture a water-based topcoat, or wax followed by a light topcoat, lasts considerably longer.
How do I make chalk paint look distressed without ruining it?
Start at the edges and corners, where wear naturally happens, and use light pressure with 180 to 220 grit paper. For a softer effect, dry brush a darker colour over the surface and wipe most of it back off. Practise on the back or inside a drawer first, stop while the finish still looks deliberate, and seal afterwards so the worn areas do not keep rubbing away.
What type of brush or roller is best for beginners?
A rounded bristle brush about 2 inches wide gives you the easiest start, because the rounded tip reaches corners and follows curves without leaving hard lines. Load it with paint, then wipe one side against the rim so the bristles are damp rather than dripping. A small mini roller is faster on flat panels, but keep a brush for edges, and always thin the coats.
Start with the prep, not the paint. Clean the piece properly, scuff anything glossy, and lay down two thin coats. Seal it to match how much the furniture gets used, and your first chalk paint project will hold up far longer than most.