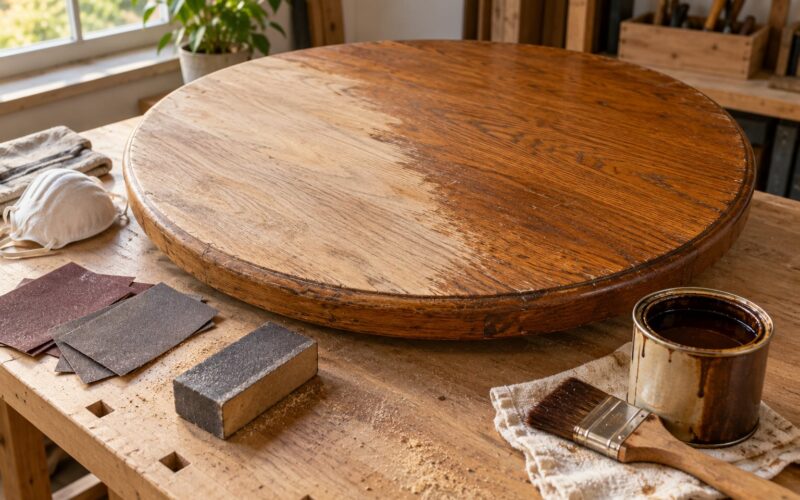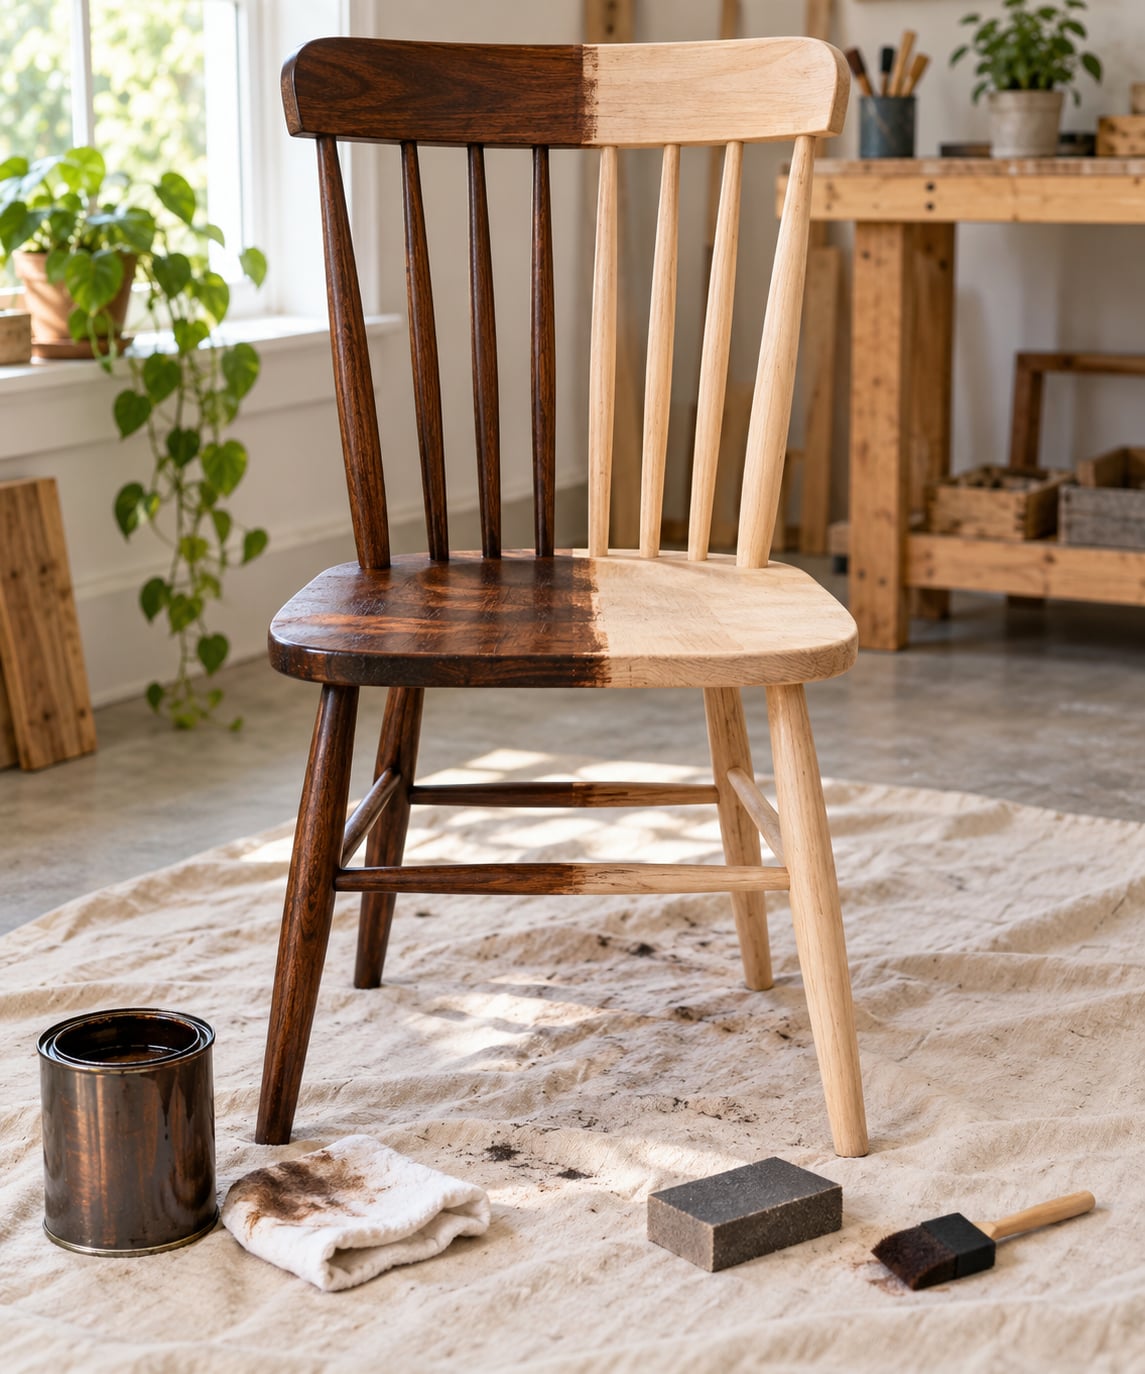
Yes, you can darken stained or varnished wood furniture without stripping it, as long as the existing finish is clean and compatible with what you are putting on top. The method is a gel-type stain, which sits on the surface rather than soaking into bare wood, plus a light scuff so it has something to grip.
That short answer is the one most people searching for how to stain wood furniture darker without stripping actually need. Here it is in full: yes, you can stain already stained wood darker. Clean the piece, scuff the old finish, apply a dark gel stain in thin coats, wipe off the excess, and seal it. Most first-time projects take a weekend spread across evenings, and the skill level is beginner.
What you are really trading is permanence. This is a film that builds on top, so it can eventually be sanded off, and the wear layer on a dining table is thinner than one you get from stripping to bare wood. It also only works going darker. Lighter than the current colour means bare wood, and bare wood means stripping.
Table of Contents
- What You Need
- Step-by-Step: How to Stain Wood Furniture Darker Without Stripping
- 1. Identify the existing finish and test for wax
- 2. Clean and lightly prepare the surface
- 3. Make a sealed test board
- 4. Apply a dark stain in thin coats
- 5. Layer stain for a deeper colour
- 6. Wipe away excess stain and let the wood dry
- 7. Seal the stained surface
- Common mistakes when you stain wood furniture darker without stripping
- Frequently Asked Questions
- Can I stain wood furniture darker without stripping the old finish?
- What is the best way to make wood stain darker without applying many coats?
- Can I stain over paint or lacquer without stripping it first?
- How do I prevent dark wood stain from becoming blotchy?
- How long should I wait before using furniture after applying stain and sealer?
- Conclusion
What You Need
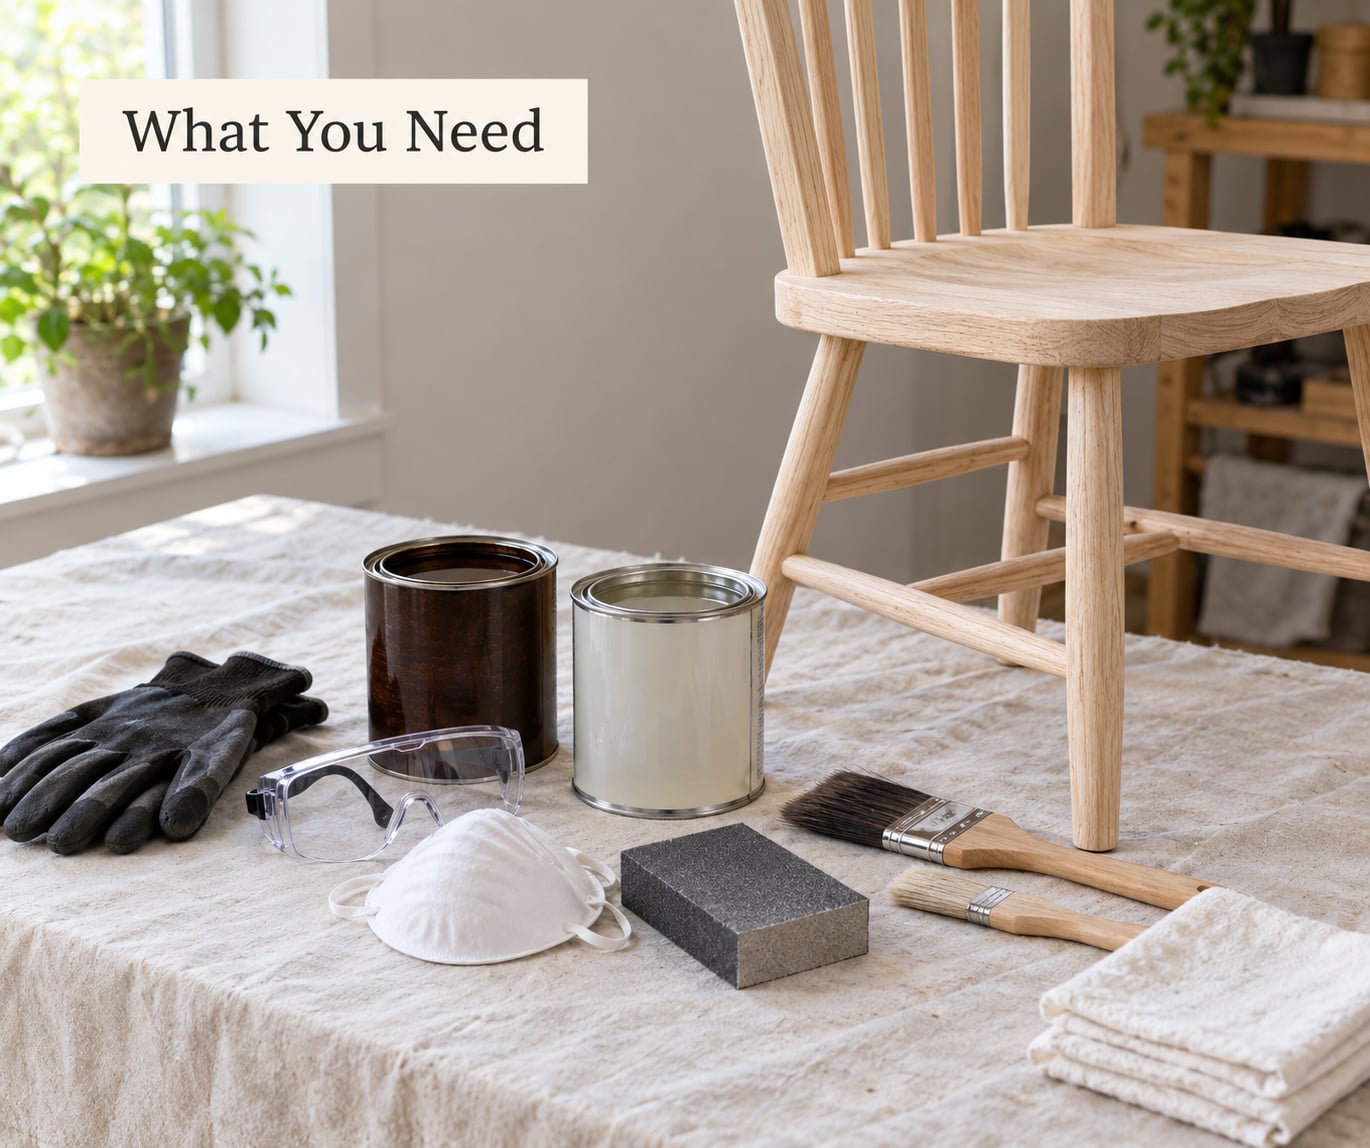
The exact products depend on what is already on the furniture and what species it is, so treat this as a job list rather than a shopping list. Grab everything before opening a can, because interruptions are how dust ends up back on a wet coat.
- Protection: drop cloth, nitrile gloves, eye protection, and a dust mask for the sanding step
- Cleaning: a wood-appropriate cleaner or degreaser, plus clean water and a separate bucket for rinsing
- Abrasion: 180 to 220 grit sandpaper and a sanding block, plus 320 grit if the piece already feels rough
- Dust removal: a shop vacuum with a brush head and a tack cloth or lint-free rag
- Application: a stain-compatible brush or foam applicator, and several lint-free rags you are willing to ruin
- The stain: one dark gel stain, and optionally a second colour in a deeper tone for layering
- Sealing: a clear topcoat compatible with your stain type, a foam brush, and a small clean brush for edges
- Test stock: a scrap board of the same species, or an inconspicuous section of the piece itself
If your existing finish is waxed, silicone-treated, or unknown, add a deglosser and read the stripping section below before you buy anything else. You may end up looking for a different kit entirely.
Step-by-Step: How to Stain Wood Furniture Darker Without Stripping
Gel stain is thick, almost pudding-like, and it mostly stays where you put it instead of absorbing into the surface. That behaviour is the whole reason this method exists, and it is why the colour builds with each coat rather than jumping to one fixed shade.
1. Identify the existing finish and test for wax
Find out what you are working with before you touch it. Bare wood, an old stain, varnish, lacquer, shellac and paint all respond differently, and guessing wrong is how people end up sanding a dresser back to nothing on a Sunday afternoon.
- Water test: scrape a hidden spot with a utility knife. If bare wood or a water-based finish flakes or dulls the blade, it is water-based.
- Scratch test: press a fingernail into a discreet spot. Lacquer and shellac often dent; a cured film finish usually does not.
- Solvent-cloth test: rub an acetone or mineral-spirits cloth on a hidden area. A dissolving or tacky result points to an oil-based, lacquer or shellac finish.
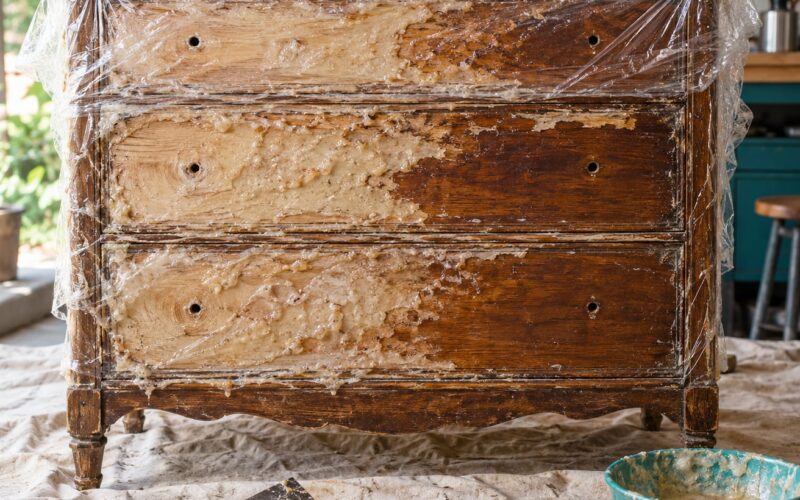
Wax, shellac, silicone sprays, unknown coatings and already-peeling surfaces need a different approach. Stripping or professional refinishing is the honest answer for those, and applying stain over wax is a guaranteed failure that no amount of extra coats will rescue.
Apply the rule of matching: an oil-based stain goes over an oil-based finish, and a water-based stain goes over a water-based finish. Layering opposites leads to poor adhesion and peeling later.
2. Clean and lightly prepare the surface
Dirt, wax, oils from hands and furniture polish all block stain from bonding. Wipe the piece down with a wood-appropriate cleaner, following the product’s dilution instructions, then go over it again with clean water and a fresh cloth so no cleaner is left to interfere with the finish.
Test the cleaner in a hidden spot first, especially on an antique piece with an aged finish. Then scuff the whole surface with 180 to 220 grit in the direction of the grain until the sheen is gone everywhere.
The scuff is not optional. Skipping it, even with gel stain, is the most common reason a new finish peels off within a few months. You are not sanding to bare wood, though. Stop at a dull, uniformly matte surface, and go easier around thin mouldings, tapered legs, and any veneer edge, because those are the places a sander cuts through in one pass.
Vacuum the piece, then wipe it with a tack cloth until your hand comes away clean.
3. Make a sealed test board
Take a scrap board of the same species, or use the underside or back panel of the piece where a mistake will not show. Seal one face first if the existing finish is glossy, so the test actually mirrors the surface you will stain.
Apply one coat of your dark stain, wipe it, and let it dry. Then apply a second coat over the first and compare them side by side. Colour, grain absorption and final sheen on a sample board will never match the furniture exactly, but they will tell you how many coats you need and whether the tone is worth buying.
Wait until the sample is fully dry and sealed before you judge it. A wet gel stain reads far darker than the cured finish ever will.
4. Apply a dark stain in thin coats
Stir the can thoroughly, but do not shake it, because trapped air bubbles will show up as specks in the finish. Load the brush, then tap and wipe it against the rim until it is damp rather than dripping.
Work in small sections with the grain, keeping a wet edge so you are always blending into stain you just laid down. Two or three long strokes per section, then move on. Leave the section slightly wet and come back to it.
An even coat looks faintly hazy and even as it sits. Puddles, dark beads at the edges of panels, and glossy patches mean too much product, and you can fix all three before the stain starts setting.
5. Layer stain for a deeper colour
Follow the label for the drying interval before the next coat; most products call for somewhere between 8 and 24 hours, and humidity pushes it longer. When the label says to scuff between coats, use a clean piece of 220 grit and go lightly.
Layering two colours gives a richer result than piling on one. A common combination is a walnut-toned stain over a warm mid-brown base, which lands a deep brown with a hint of red rather than a flat black. Work from the lighter colour to the darker one, since each coat should be darker than the last.
Blotching usually comes from two things: applying a second coat over stain that was not dry, and treating pine or oak as though it behaves like maple. Softwood and open-grain oak drink stain unevenly, so go thinner there and expect to blend across the grain. Maple and birch take colour far more evenly.
6. Wipe away excess stain and let the wood dry
After the label’s dwell time, most often a few minutes, wipe each section with a clean lint-free rag to remove the surplus. Dark streaks and tacky patches almost always come from either wiping too lightly or letting the stain dry before you got to it.
Darker is not better. Every extra layer left on the surface adds gloss and stickiness, and once a gel stain skins over it stops behaving like stain and starts behaving like a film you may have to sand off.
Let the piece dry fully, following the manufacturer’s stated drying time, before anything else touches it. A fan in the room helps more than people expect.
7. Seal the stained surface
Sealing is usually required, and it is the step most tutorials skip. The stain colours the surface, but the topcoat is what stands up to hands, water rings and sunlight.
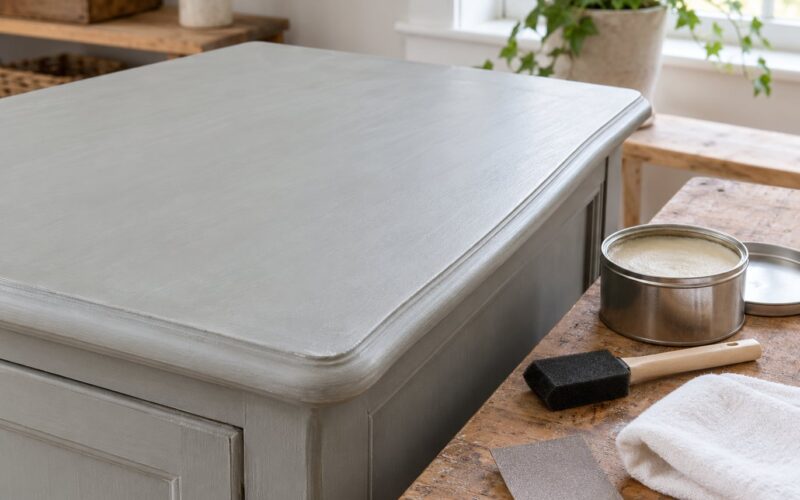
Match the sealer to the stain: a water-based topcoat over a water-based stain, and the same rule for oil-based products. Apply thin coats in the number the label recommends, usually two, keeping a wet edge and brushing out any pooled sealer in corners.
Give each coat the cure time stated on the label, which for many water-based topcoats is a couple of hours between coats and considerably longer before the piece is handled. The finish should feel smooth and completely non-tacky, not merely dry to the touch.
Ventilate the room, keep oily rags in a metal container with a tight lid rather than a pile in the corner, and take them outside or to a hazardous waste site. Oily rags can self-heat, and that has caused real shop fires.
Common mistakes when you stain wood furniture darker without stripping
- Staining over wax or shellac: the stain will not bond. Strip the piece or send it out.
- Skipping the test board: a dark stain on a whole dresser with no sample is how people end up with a piece they hate. One board, one can of stain, thirty minutes.
- Applying over dust: vacuum and tack-cloth before every coat, not just the first.
- Leaving excess stain on the surface: wipe each section within the label’s dwell time, and change rags as soon as they turn colour.
- Going too dark: two thin coats beat one heavy coat every time. Let each one dry and judge it before adding more.
- Blotches and streaks: usually a too-fast recoat, too much product, or a second coat on a soft species. Sand the problem area back lightly, degloss it, and redo.
- Skipping the sealer: unstained sealer wears off in months and the colour goes with it.
- Sanding too hard: scuffing is for adhesion, not removal. Take it down to bare wood and you have committed to a full refinish.
One last piece of advice: photograph the finish in daylight once it cures, and label the cans and any leftover rags with the colour name and date. You will want to match a second piece later, and matching a stain you cannot identify is far harder than matching a photo.
Frequently Asked Questions
Can I stain wood furniture darker without stripping the old finish?
Usually yes, and learning how to stain wood furniture darker without stripping is mostly a matter of choosing gel stain, which sits on top of the existing finish instead of absorbing into it. Clean the piece, scuff it lightly with 180 to 220 grit, apply thin coats and wipe off the excess, then seal. The exceptions are wax, shellac, silicone-treated surfaces and anything already peeling.
What is the best way to make wood stain darker without applying many coats?
Use a gel stain rather than a thin liquid stain, then build colour in two thin coats rather than one heavy one. Wipe each coat off within the label dwell time, let it dry fully, and scuff lightly if the label says to. Layering a darker tone over a warmer mid-brown base gives more depth than extra coats of the same colour, and it stays less blotchy on pine and oak.
Can I stain over paint or lacquer without stripping it first?
Over paint, yes, because gel stain will sit on the surface and paint has no grain to absorb into, so the result is a solid colour with little grain showing. Over lacquer, shellac or wax, treat it as a no. Those finishes either dissolve with solvent or block adhesion entirely, and the stain will peel or wipe off later. Test a hidden corner before you commit a whole piece.
How do I prevent dark wood stain from becoming blotchy?
Blotches come from too much product, too little dwell time, and recoating before the first coat is dry. Sand back the blotchy area, degloss it, and apply a much thinner coat. Pine and open-grain oak blotch naturally, so use less product and blend across the grain, while maple and birch take colour evenly. Always test on a board of the same species first.
How long should I wait before using furniture after applying stain and sealer?
Wait for the drying time stated on the stain label between coats, then follow the topcoat label for curing. Most water-based sealers need at least 48 hours before heavy use and longer in humid conditions, and full cure can take several weeks. Until then, treat the surface gently: no coasters, no hot dishes, and no heavy objects sitting on the top.
Conclusion
Start with the part everyone skips: identify the existing finish, test for wax, and stain a sealed sample board of the same species. That half hour of testing is the difference between a confident project and a stripped dresser.
Once you know the surface is clean and compatible, how to stain wood furniture darker without stripping is straightforward. Scuff, apply thin coats of dark gel stain, wipe off the excess within the dwell time, and seal with a compatible topcoat. Go darker only, and let each coat dry fully before you judge the colour.
Take ventilation and oily-rag disposal seriously, and wait out the full cure before the piece takes daily life. A dresser that went from orange oak to walnut in a weekend is worth the patience.