To refinish a wood table top, you strip or sand off the old finish, smooth the surface, apply a new stain if you want the color to change, and seal it with a protective topcoat. Most of the hands-on work is a weekend afternoon, but allow two to three days of elapsed time because the finish has to dry between every coat.
Yes, you can refinish just the top and leave the legs and base alone. Tape off and cover everything below the tabletop with plastic sheeting, and test your stain on a hidden corner first, because a mismatched top and base is the one result people regret most.
Two checks come before anything else: what finish is already on the wood, and whether the top is solid wood or veneer. Those two facts decide whether you sand, what grit you start with, and how hard you can press without ruining the table.
Updated for 2026. Dry times on this page are typical; always follow the label on your own can of finish.
Table of Contents
- What You Need
- Step-by-Step: How to Refinish a Wood Table Top
- 1. Prepare and Protect the Table
- 2. Strip or Sand the Old Finish
- 3. Clean and Repair the Wood
- 4. Choose and Apply Stain or Paint
- 5. Seal the Refinished Tabletop
- 6. Finish and Reassemble
- Common Mistakes and Fixes
- Frequently Asked Questions
- Can you refinish just the top of a table?
- Should I strip a table top or sand it?
- How do you fix scratches in a wood table top?
- How long after refinishing can I use my table?
- Does this method work on veneer or antique tables?
What You Need
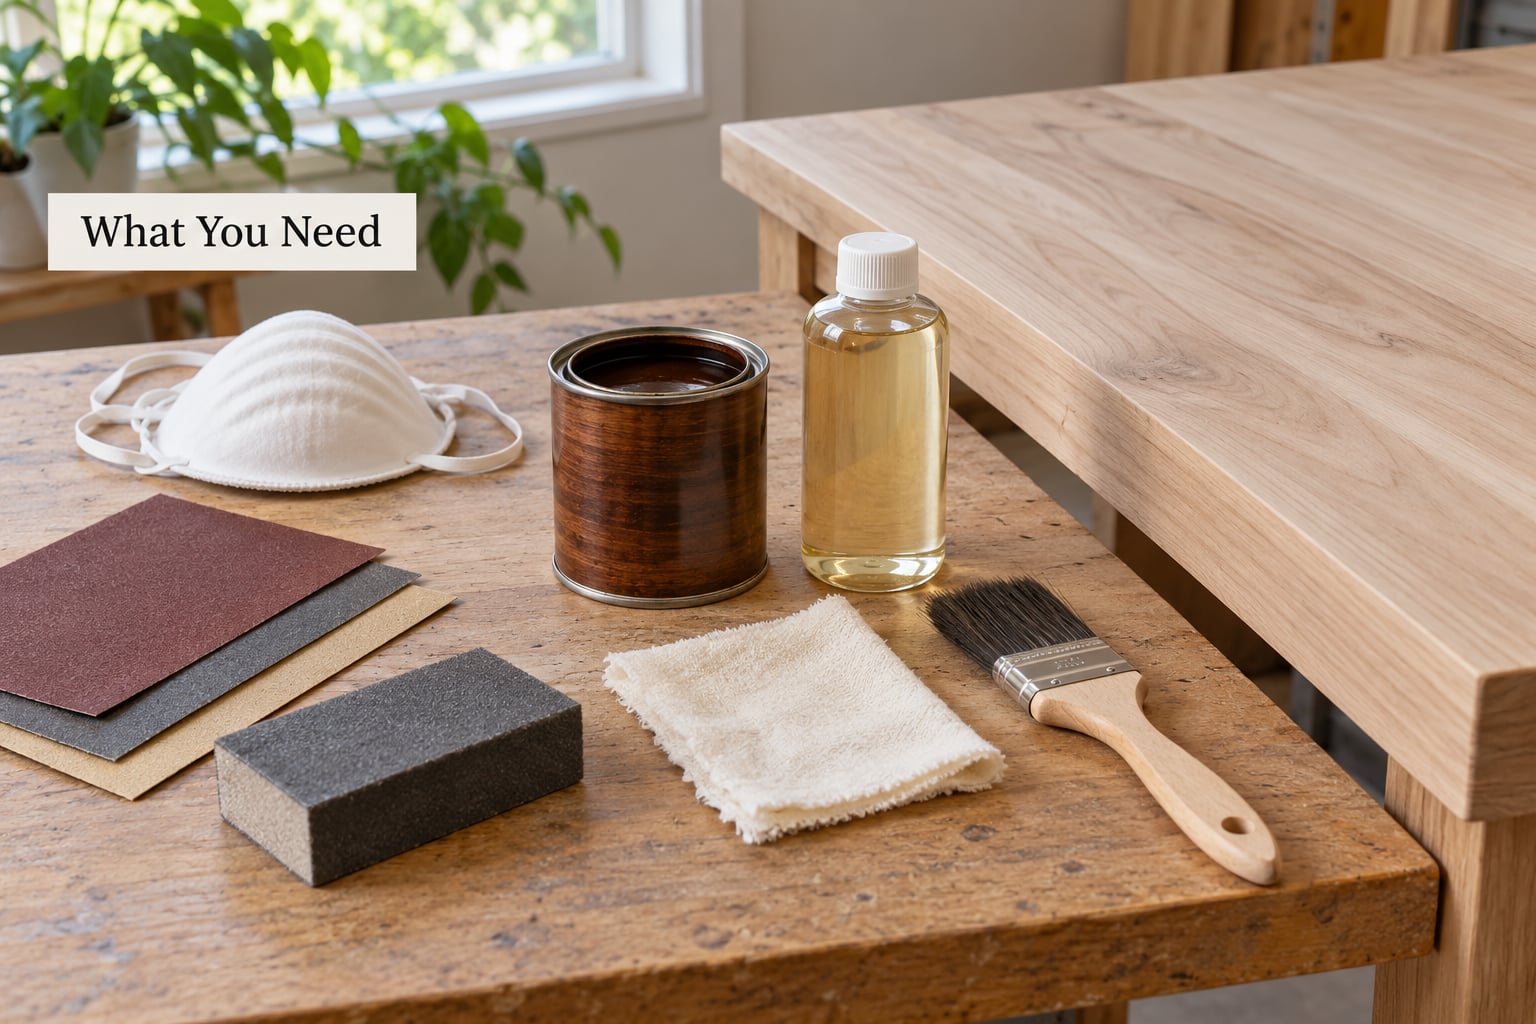
The list is longer than it looks, but every item below earns its place. Grouping it by job makes the shopping trip quicker and stops you realizing halfway through that you have no tack cloth when the dust is already airborne.
Protecting the work area: a canvas or plastic drop cloth, plastic sheeting to tape over the base and legs, painter’s tape, a box fan or open windows for airflow, a respirator and nitrile gloves for any chemical stripper, and a vacuum with a brush attachment or a soft brush for dust.
Sanding: a random orbital sander for large tops or a sanding block and hand sandpaper for edges and veneer, plus sheets in 60, 100, 120, 150 and 220 grit, a sanding sponge for corners, and a tack cloth for wiping dust away before stain.
Repair: wood filler for larger dings, grain filler for open oak pores, a putty knife, wood glue for loose joints, and mineral spirits or denatured alcohol for cleanup.
Color: stain in a couple of shades for testing, a natural bristle brush for oil-based stain, a foam brush or synthetic brush for water-based stain, and lint-free cotton rags for wiping off excess.
Sealing: two to three coats worth of your chosen topcoat, a clean brush per coat, plastic cups for mixing, 320 grit paper for knocking back raised grain between coats, and a lint-free cloth for the final wipe.
Choose the finish before you buy anything else, because it dictates the rest. A hardwax oil gives you a matte, repairable surface that needs periodic top-ups. Polyurethane gives you a harder, more water-resistant shell in satin, semi-gloss or gloss. Kitchen and dining tables that get wiped daily usually earn a harder coat, while a side table you want to keep feeling like bare wood is better served by oil or wax.
Step-by-Step: How to Refinish a Wood Table Top
1. Prepare and Protect the Table
Work in a garage, basement or spare room with the windows open and a fan running, and treat the whole project as a sanding job that also involves chemicals. Move the table where you can work on all four sides, or turn it over onto padded sawhorses so you can reach the edges.
Remove everything sitting on the top, then take off the knobs, pulls and any back plates with a screwdriver, keeping a bag for the hardware. If you can reach the screws from underneath, never pull a driver down through the tabletop itself. That gouge is permanent.
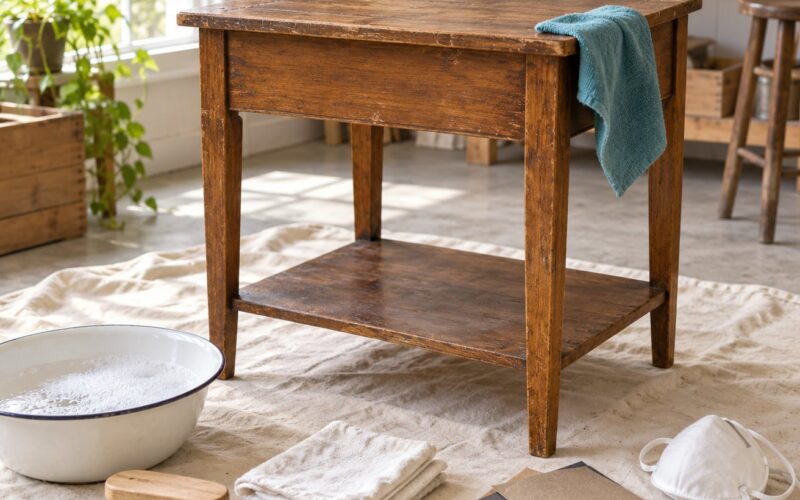
Cover the floor and tape plastic sheeting over the base and legs if you are only refinishing the top. Test the existing finish in a spot nobody sees, usually under the table or along a back edge, before you commit to a method.
Three quick tests tell you most of what you need. Rub a cotton swab soaked in denatured alcohol over the spot: if the finish gums up or dissolves, it is shellac or lacquer. If it stays put, try a drop of acetone on a different spot: if that softens it, you have polyurethane or varnish. Finally, scrape a corner with a plastic card: thick layers that lift in sheets are usually a built-up varnish or lacquer, while a thin hard film over the grain points to factory polyurethane.
Also confirm what you are dealing with structurally. Look at the tabletop edge: solid wood shows continuous grain and often end grain on the sides, while veneer shows a thin top layer, sometimes with a visible seam line, over a different core material. If the top is engineered wood or MDF with a very thin skin, treat it as veneer and work gently.
2. Strip or Sand the Old Finish
Sand when the old finish is thin, adhered and reasonably even. Strip when the finish is thick, peeling, alligatored, or painted, because no amount of sanding gets through a thick layer efficiently without gouging the wood underneath.
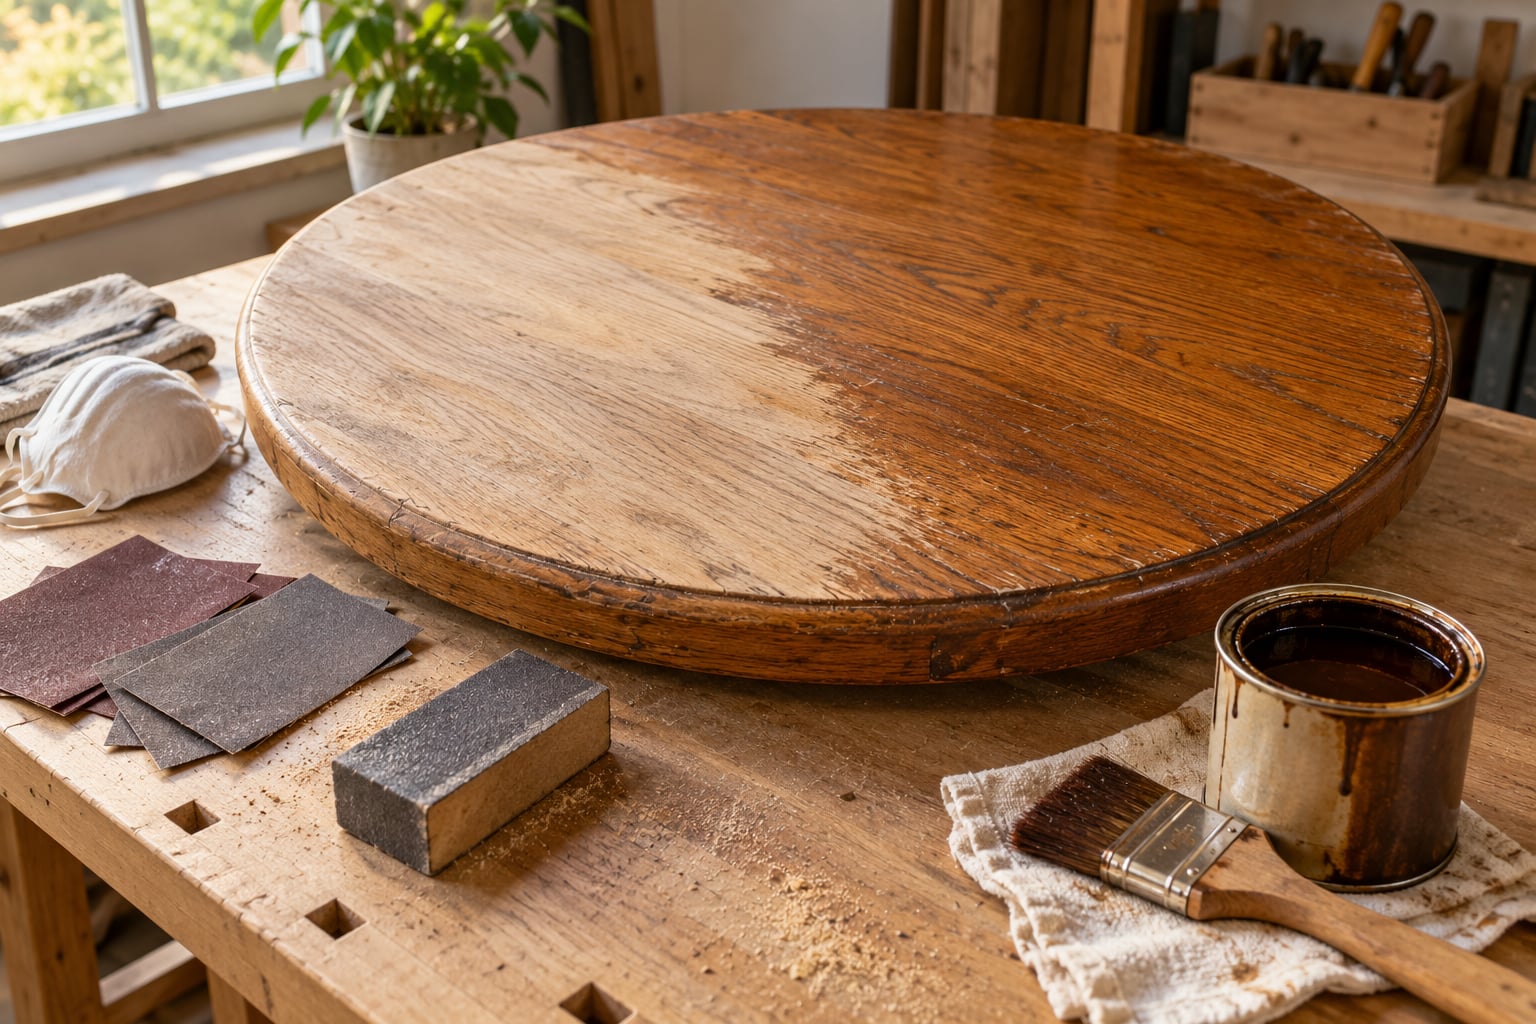
Sanding is the gentler path, so try it first. Start at 60 or 80 grit to cut through the remaining finish, then move up through 100 and 120 to level the surface, 150 to smooth it, and 220 as your final grit before stain. Sand with the grain, not across it, and use a random orbital sander on flat tops because it cuts fast and leaves few swirl marks.
Watch the pressure. A random orbital sander will dig shallow dish dents into a tabletop if you lean on it, and those dents hold stain forever. Let the machine do the work, keep it moving, and drop to hand sanding in the final passes.
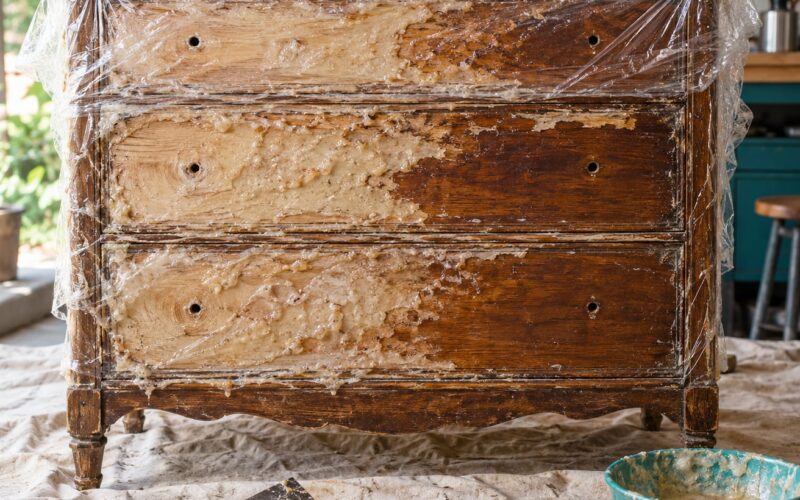
Strip when sanding is not making progress. Apply chemical stripper in a thin, even layer, wait the dwell time printed on the can, then push the softened finish off with a plastic card rather than a metal scraper, which gouges. Scrape along the grain, work in sections, and never strip a thick or already-loose coating in one enormous layer, because the sudden release of tension can make boards cup or move.
Whatever you use, stop before you reach clean wood. That is the moment the finish changes from soft film to raw wood, and it is exactly where you stop. On veneer, treat this whole step as a light scuff rather than a full strip.
3. Clean and Repair the Wood
Get every bit of dust off the surface before anything wet or oily touches it. Vacuum first, wipe with a damp cloth, then go over it with a tack cloth, which leaves a faint resin film that grabs loose particles instead of moving them around.
Never wipe bare wood with plain water before staining. Water swells the fibers and the grain rises, so the stain sinks in unevenly and you get the blotchy look people spend weeks trying to fix. If the wood feels thirsty, use a barely damp cloth and let it dry fully, then knock the raised grain back with 220 grit.
Fill small dents and chips with wood filler matched to the color of the bare wood, press it in with a putty knife and scrape it flush. Use grain filler if the top is open-pore oak or ash and you want the pores to stay tight. Let filler dry completely, then sand the repair back level with 180 grit.
Before coloring anything, check the joints. If a leg or apron has play, inject wood glue into the joint, clamp it, and let it cure hard. Refinishing a loose table just preserves the wobble under a nicer finish.
4. Choose and Apply Stain or Paint
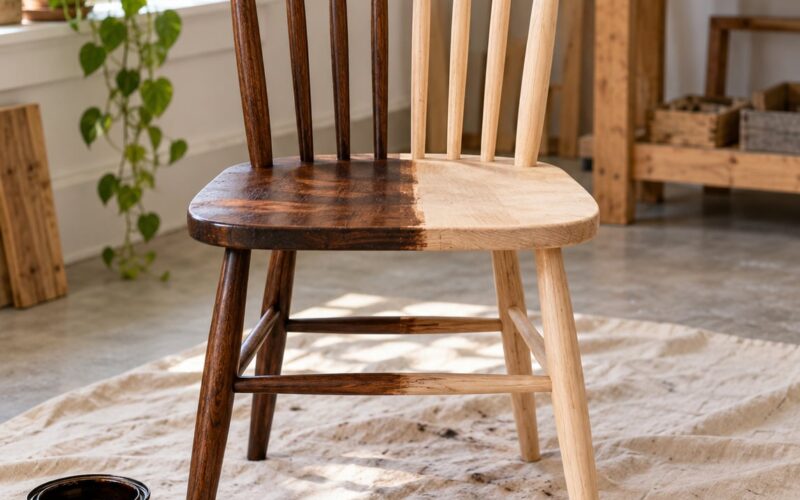
Stain colors bare wood and lets the grain show, paint covers the grain entirely, and a natural oil or clear topcoat alone keeps the wood’s own color. Stain is the usual answer for a worn solid-wood table, paint is the answer for a table you want to look completely different or to hide patched areas.
| Option | Look | Best for | Watch out for |
|---|---|---|---|
| Stain and clear topcoat | Wood grain visible, color fully controllable | Solid wood tables you want to keep looking like wood | Blotching if applied over dust, moisture or leftover stripper |
| Paint | Opaque, smooth, hides grain and patches | Changing the color of a table, or covering heavy damage | Peels if applied over an unremoved finish; needs its own primer |
| Oil or hardwax oil | Matte to soft satin, hand-rubbed warmth | Side tables, desks, pieces you like to keep feeling natural | Needs periodic maintenance; less water resistance than poly |
Whatever you pick, test it first. Find a scrap of the same species or an inconspicuous corner, apply your exact product, and let it dry fully, because stain color deepens as it soaks in and the wet look misleads you. For a table whose base you are not refinishing, this test is also how you match the two tones before you commit.
Apply stain with the grain, working in manageable sections rather than trying to cover the whole top at once. Brush on a thin coat, wait the label’s dwell time, then wipe off the excess with a lint-free rag. Leave a little stain in the grain, but wipe the pooled liquid, because puddles dry dark and that darkness is what reads as blotching later.
Allow each section to merge before you set anything down on it. Bare wood drinks stain and dries in a few minutes, and if you set a bowl down half an hour in you get a ring that no amount of topcoat hides.
5. Seal the Refinished Tabletop
Seal the top in two or three thin coats of polyurethane or one to two of hardwax oil, and resist the urge to lay it on thick. Thick coats dry soft on the surface while staying tacky underneath, which is exactly how you get peeling later.
Water-based polyurethane dries fast, smells mild and stays clear, but it raises the grain and can show water rings if anything wet touches it during the cure window. Oil-based polyurethane goes on amber and deeper, cures harder and more slowly, and carries a stronger solvent odor. For a kitchen or dining table used every day, either works, though oil-based takes more patience.
Stir the can, load a clean brush, and spread the coat with the grain, feathering out the edges so you do not build a ridge. Brush from the middle outward and keep a wet edge ahead of the dry one. Follow the can’s recoat window rather than your impatience, because applying before the previous coat has finished flashing leaves a tacky film that never hardens.
Between coats, let the surface go dry to the touch, knock back any raised grain with 320 grit or a sanding sponge using light pressure, wipe with a tack cloth, and then apply the next coat. That scuff-sand is what makes a topcoat feel smooth under a palm rather than faintly gritty.
Read the difference between dry and cured carefully. Dry to the touch means you can brush a sleeve across it. Cured means the finish has hardened enough to resist a dent or a hot pan, and that takes days, not hours.
6. Finish and Reassemble
Leave the table in a clean, dust-free room with good airflow and resist the urge to set anything on it. Follow the cure window on the can, which for most interior poly finishes runs to several days of light use and around a week before you treat it as a work surface.
Pull painter’s tape off slowly and at an angle while the finish is still workable, so you lift it without dragging a skin of coating off the edge. Then run your hand along the whole surface and look at it in good light from a low angle, where brush strokes, missed spots and thin patches show up clearly. Touch those areas with a fine brush and a light coat of the same finish.
Reinstall the knobs and pulls only after the top is cured, and do not retighten anything into a top that is still soft. Once you are past the cure window, wipe the surface with a clean damp cloth, and the table is back in service.
Common Mistakes and Fixes
Most disappointing refinishing results trace back to one of six problems, and all of them are fixable without starting over from bare wood again.
Blotchy or patchy stain. The usual causes are a water wipe before staining, dust left on the surface, residual stripper, or stain left to puddle in one spot. Sand the top back with 180 grit, clean it thoroughly with a tack cloth, and restain in thinner coats, wiping more aggressively.
Deep scratches that still show through. You started too coarse or pressed too hard. Follow the grit progression all the way to 220 before staining, because scratch marks that stay visible are the most common complaint about DIY tabletops.
Dust specks trapped under the finish. The top was stained or coated before the sanding dust was fully removed. A tack cloth is not optional, and vacuuming first makes a visible difference. Sand the affected area flat and recoat rather than trying to pick specks out.
Peeling or flaking clear coat. This is almost always a coating that was too thick, applied over an unclean surface, or laid on before the coat underneath had cured. Strip the failing finish, clean the residue off with the solvent the label names, and rebuild with thin coats at full dry time.
A dented or scalloped surface. A random orbital sander was leaned on, or held still in one spot. Light hand sanding with 120 and 150 grit will not remove deep dish dents, so fill the hollows with grain filler, let it dry hard, and sand level.
Water rings that appear days later. Water-based topcoat stays soft for longer than it feels. Keep coasters under mugs and hot pans off the surface during the cure window, and remember that a ring that shows up now can usually be rubbed out with a fresh coat once the surface is fully hard.
A few habits cover most of the rest. Vacuum and tack between every step, not just at the end. Always sand with the grain. Test your stain, and test it dry, before touching the whole top. And photograph the table before you start, because comparing your own before and after is the part that makes the work feel worth it.
Frequently Asked Questions
Can you refinish just the top of a table?
Yes, and most people do. Sand and strip only the tabletop, then tape plastic sheeting over the base, apron and legs so dust, stain and finish cannot reach them. Masking around the edge with painter’s tape keeps the line crisp. The main risk is a two-tone result, so test your stain on a hidden corner and compare it to the dried color of the base before you commit to the whole top.
Should I strip a table top or sand it?
Sand whenever the old finish is thin and firmly attached, which covers most tables. Start at 60 or 80 grit and work to 220. Strip when the finish is thick, peeling, alligatored or painted, because sanding through layers wastes paper and risks gouging the wood. Use a chemical stripper with the dwell time on the can, push it off with a plastic card, and work in sections rather than one thick layer.
How do you fix scratches in a wood table top?
For light scuffs, a clean cloth and a little furniture polish or hardwax oil usually evens the surface out. For scratches that catch a fingernail, sand the area with 150 then 220 grit, working with the grain, and clean it with a tack cloth before applying stain or topcoat to match. Deep gouges need wood filler, then the same sanding sequence. A full refinish is the only fix for scratches running across the entire top.
How long after refinishing can I use my table?
Wait for the coat to dry before recoating, usually four to six hours for water-based polyurethane and around twenty-four for oil-based, but follow your can. Then wait for cure before loading the surface, which takes several days of light use and close to a week before setting hot pans or heavy items on it. Water-based finishes stay softer longer, so treat a kitchen table with extra care during that window.
Does this method work on veneer or antique tables?
Veneer can be refinished, but the top layer is often under one millimeter thick, so sand by hand with 120 and 150 grit, skip the aggressive coarse grits, and stop as soon as the finish turns to raw wood. Antique solid wood takes the full process well, yet stripping off an old patina can reduce its value. For a valuable piece, test in a hidden spot or ask a furniture conservator first.
Start with the least reversible job: find a hidden corner, test the finish with alcohol and acetone, and check the tabletop edge for veneer. Those two five-minute tests tell you which grit you need and how gently you have to work, and everything after that is just sanding, stain and thin coats of sealer. Take your time between coats, and a scratched table gets a second life that looks deliberate rather than patched.