Yes, you can paint over varnished wood, but only after you break the gloss and seal what is underneath. Clean the surface, scuff-sand the varnish to a dull matte, wipe off every bit of dust, then bond it with a primer before laying on two thin coats of paint. On one cabinet door that is an afternoon of work plus drying time. On a set of panelled doors, book the weekend.
Knowing how to paint over varnished wood comes down to one stubborn fact: varnish, lacquer and polyurethane are hard, smooth, low-porosity films. Paint has nothing to grip, so it sits on the surface like shrink wrap until somebody knocks the door with a chair. The finish looks perfect for months and then comes away in sheets, usually starting at the edges where doors meet the carcass.
De-glossing is the unglamorous step that fixes all of that. It means abrading the shiny surface just enough to give the primer a mechanical key, without cutting through the finish to bare wood. Do that, and almost every sound varnish becomes a paintable surface. Skip it, and no primer on the shelf will save you.
Table of Contents
- What You Need
- Which primer to use over varnish
- Step-by-Step
- Step 1: Test the Existing Finish
- Step 2: Clean and Protect the Surface
- Step 3: Sand the Varnish
- Step 4: Decide Whether to Strip or Prime
- Step 5: Apply the Primer
- Step 6: Paint the Wood
- Step 7: Finish and Cure the Project
- Common Mistakes When You Paint Over Varnished Wood
- Frequently Asked Questions
- Do I have to remove all varnish before painting?
- What is the best primer for painting over varnished wood?
- Can I paint varnished cabinets without stripping them first?
- How long should painted varnished wood dry before use?
- Should I use oil-based or water-based paint over varnish?
- Can I paint over varnished wood that is already painted?
What You Need
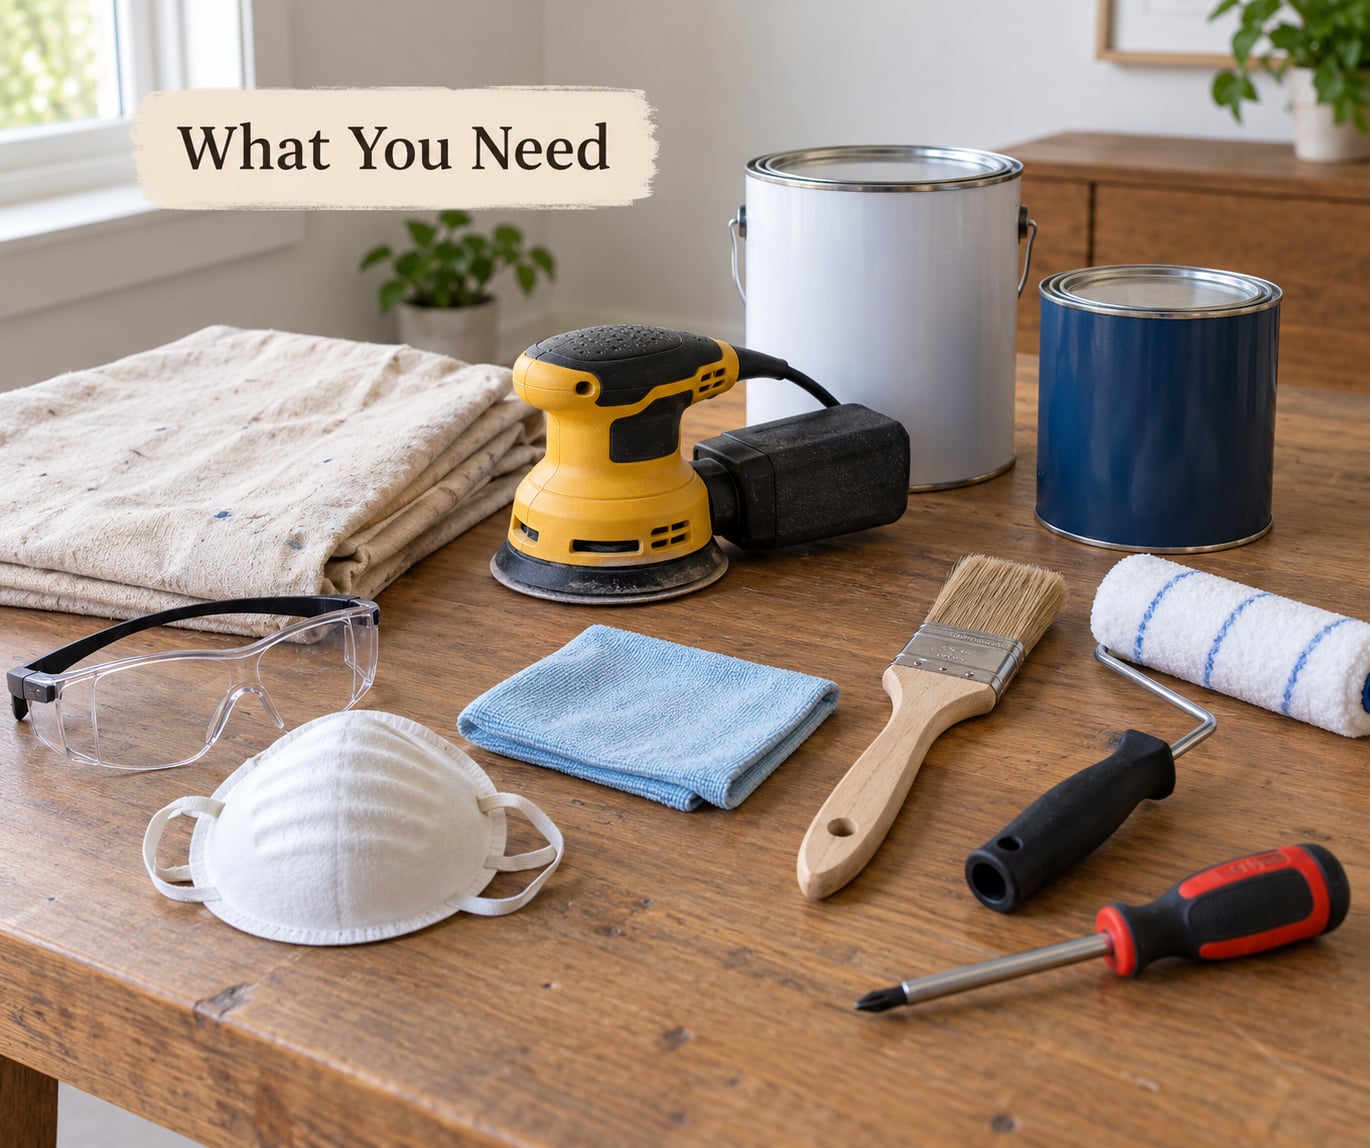
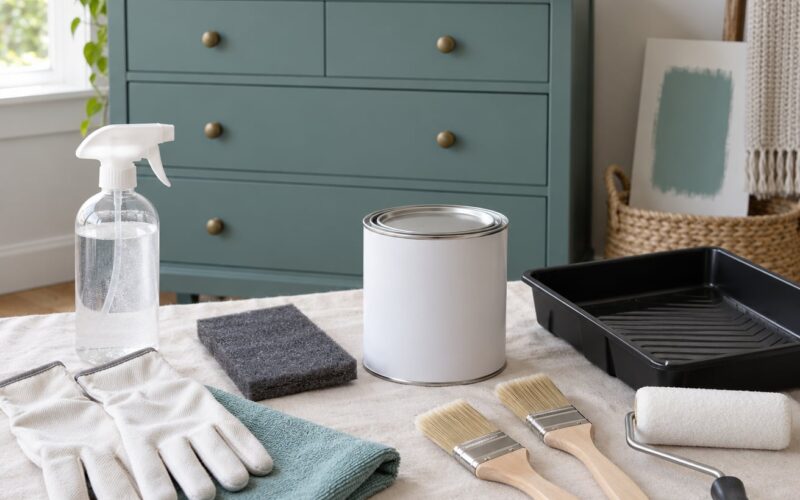
Most of this list costs less than a single afternoon of stripping would cost in elbow grease. The two items people skip and regret are a bonding primer and a tack cloth.
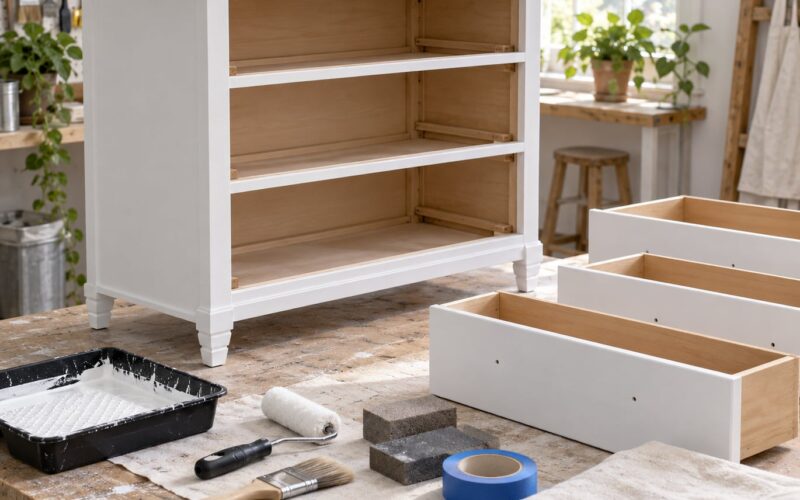
- Drop cloth, plus tape and a plastic sheet for anything you cannot move. Moving the piece beats protecting it.
- Safety glasses, ear protection and a dust mask. Sanding old finishes throws fine dust, and in homes built before 1978 the dust may contain lead, so treat it seriously.
- Dish soap or a degreaser, plus mineral spirits for the cleaning and wipe-down. Sugar soap works well on trim; denatured alcohol suits shellac and lacquer.
- Sandpaper in two grits: 150 or 180 to de-gloss, 220 to scuff between coats. A sanding block and a flexible detail pad for mouldings.
- Wood filler and paintable caulk for nail holes, splits and the joints where trim meets wall.
- Tack cloths and a clean brush for the dust removal between sanding and priming. A damp rag is not a substitute.
- A bonding primer matched to your topcoat and to the room. See the table below.
- Quality paint: cabinet-rated acrylic enamel for cabinets and furniture, exterior enamel for doors outside.
- Brushes and a small roller. A 50 mm angled sash brush cuts in; a 3/4 inch foam roller lays off flat and fast.
- Optional: a water-based topcoat or water-based clear for extra chip resistance on cabinets, and a wire wool pad if you are working with an oil-based system.
Which primer to use over varnish
Standard primer and bonding primer are not the same product. A bonding primer is formulated with resins that anchor to a slick, non-porous surface, and that is the whole job here.
| Primer type | Adhesion over varnish | Stain blocking | Dry and clean-up | Best used for |
|---|---|---|---|---|
| Shellac-based (B-I-N style) | Excellent | Excellent, seals tannin and dark mahogany stain | Dries in about an hour; clean up with alcohol or acetone | Dark stained wood, cabinets, quick same-day coats; strong odour and flammable |
| Oil-based alkyd undercoat | Excellent, the trade standard for trim and exterior wood | Good, better on bare wood than on dark stain | Slow, 6 to 24 hours; clean up with mineral spirits | Balustrades, exterior doors, skirting and trim, hard-wear surfaces |
| Water-based bonding primer | Very good once the gloss is broken | Good, but two coats on dark stain | Dries fast; cleans up with water | Indoor cabinets, furniture and children’s rooms, low odour |
| Standard latex primer | Poor over glossy varnish | Poor | Fast; water clean-up | Bare or previously painted wood only |
One contradiction worth knowing: Zinsser’s own guide says its Bulls Eye 123 should not go over varnish, yet an independent hands-on test published on The Bloke Cave found it stuck to varnished pine with no peeling and passed a scratch test, though it covered less opaquely than B-I-N or Cover Stain. Many decorators on DIYnot report the opposite, that primer-only systems fail on varnished balustrades. The common factor in every failure is the same: a glossy surface that was never given a key.
Step-by-Step
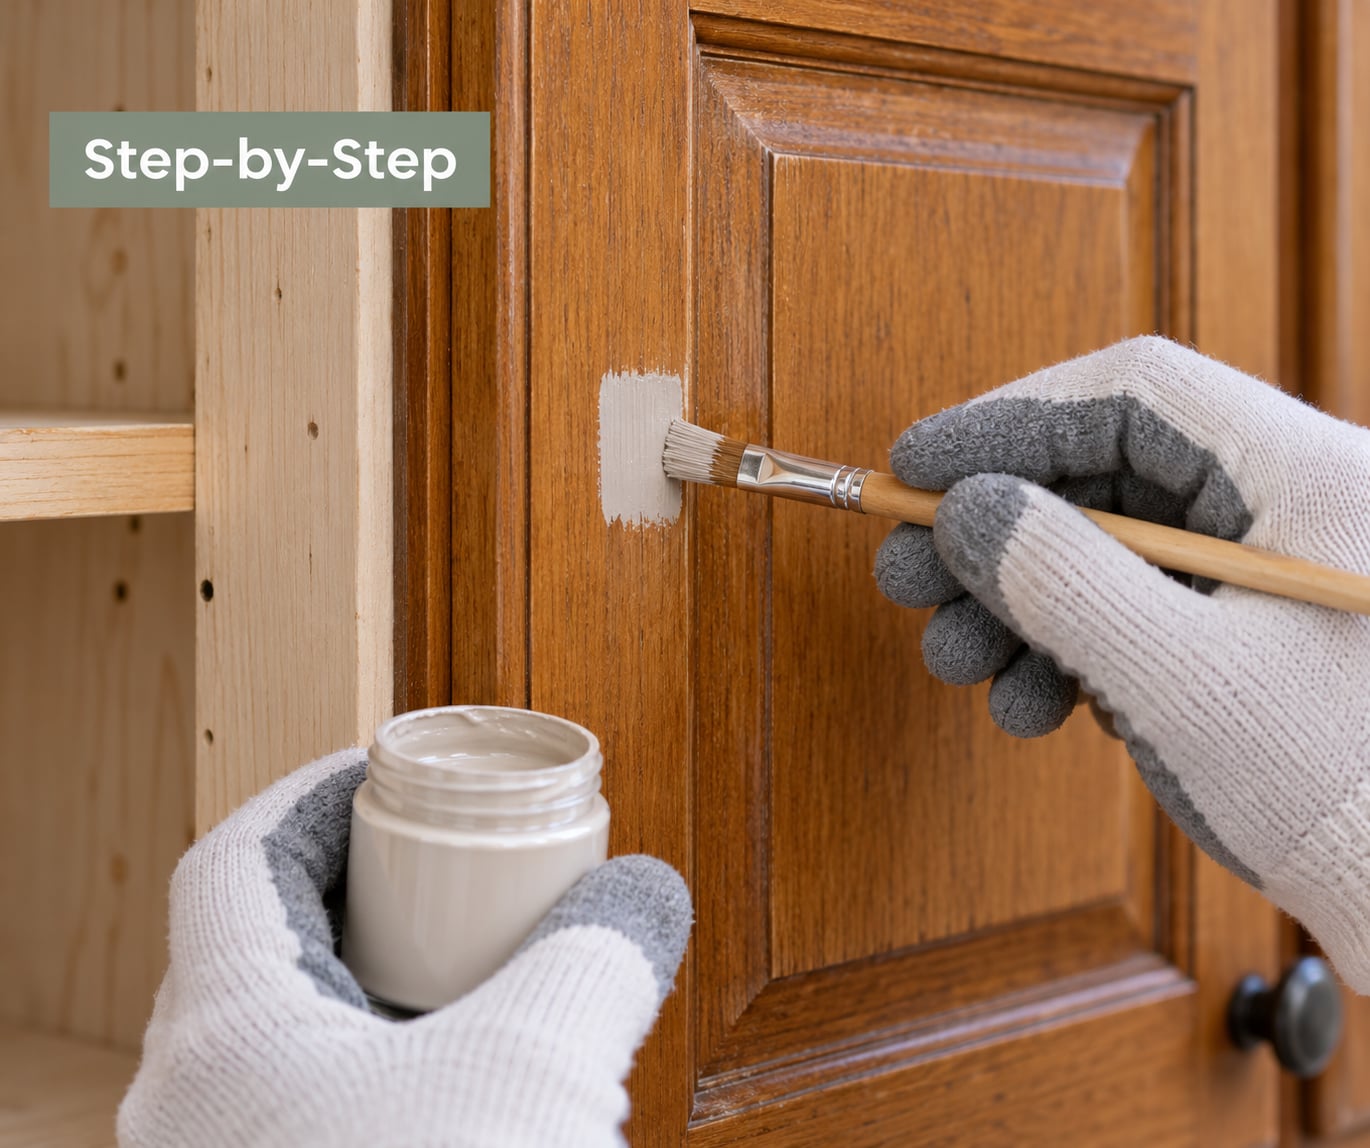
Work in this order and you can stop at any stage to check your work. That last part matters more than speed, because most peeling paint jobs fail at a step nobody verified.
Step 1: Test the Existing Finish
Find a hidden spot, such as inside a drawer or behind a hinge, and work out what you are dealing with. Varnish and polyurethane generally need a solvent wipe and a de-gloss; lacquer responds to acetone or nail polish remover; shellac softens with denatured alcohol. A dab of each on an inconspicuous area tells you more than any guess, and varnish finishes of unknown age are the ones to treat most carefully.
Now check the varnish itself. If it is sound and firmly attached, you can paint over it. If it lifts at the edges, flakes under a fingernail, or already has paint peeling off it, stop and strip instead, because a new coat will follow the loose layer straight off.
Step 2: Clean and Protect the Surface
Remove the furniture from the room if you can, then lay down a drop cloth and tape anything you are not covering. Masking takes five minutes and saves the floor.
Wash the surface with dish soap and water or a degreaser, working along the grain. Wipe on grease, wax, silicone and polish with mineral spirits, then let the wood dry fully. Do not sand first and clean afterwards, because you will grind all that contamination into the surface.
Step 3: Sand the Varnish
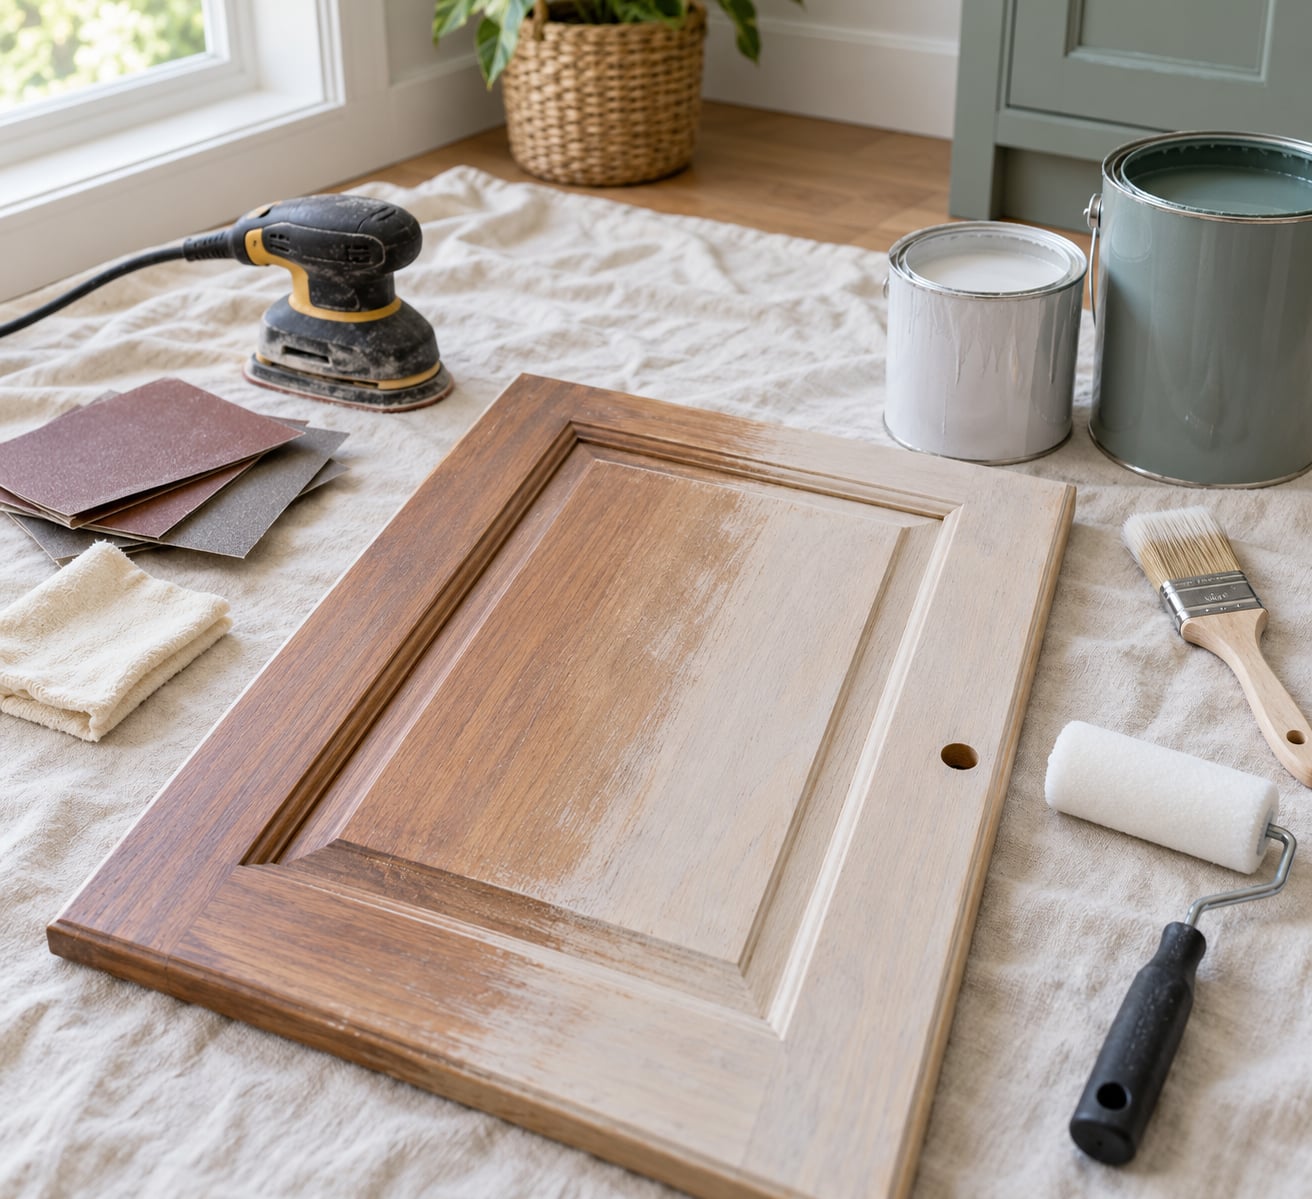
This is de-glossing: taking the shine off without cutting through. Start at 150 or 180 grit and sand with the grain until the sheen is gone and the surface feels like fine sandpaper rather than glass. A gloss varnish needs the full progression, 150 then 180 then 220; a worn satin finish often only needs a 220 scuff.
Watch the colour. Bare pine or MDF goes pale and thirsty as you cut through, and that is your signal to stop and switch to primer. A professional decorator on DIYnot puts it well: abrade at around 180 grit, taking care not to break through the varnish, because the varnish itself acts as a natural sealing layer.
On intricate mouldings, balustrades and carved detail, you do not need a detail sander. Sand by hand with a sanding block, flat-backed against the face, taking the shine off without rounding the edges. If you are using an oil-based system, a wire wool pad works well on the gloss, but never with a water-based paint.
Step 4: Decide Whether to Strip or Prime
Light scuff-sanding plus a bonding primer is enough for most furniture, trim and doors. It is also the sane choice when the varnish is intact, because stripping profiled mouldings by hand takes a weekend and leaves a surface that is still not perfectly flat.
Strip instead when the varnish is already failing, when several old coats have built up, when you need the wood’s texture back for a stripped or rustic look, or when the doors are going back on hinges and get a hard knock every day. Check your local rules before scraping or sanding anything on a home built before 1978, and assume lead until a test says otherwise.
Step 5: Apply the Primer
Yes, primer can go over varnish, and it should. Stir it, do not shake it, and do not skip the stirring step, because the heavy resins settle at the bottom and the first coat comes out weak.
Apply a thin, even coat with a brush and a small foam roller, working into the detail and off the edges. Follow the can’s own drying times rather than the clock on the wall, then scuff lightly with 220 grit and remove the dust with a tack cloth. Two primer coats are worth it on dark mahogany or walnut, where tannins will otherwise bleed through your colour.
After 24 to 48 hours, do the knock test: press a coin or a key hard along a door edge, then scratch it with a fingernail. Nothing lifts and no paint comes off with the coin. If it does, the primer has not bonded and you need a different chemistry or a lot more abrasion, not a topcoat.
Step 6: Paint the Wood
Any good paint will stick to properly primed varnished wood. Cut in first with an angled brush along edges, mitres and where the door meets the frame, then roll or brush the flat field and blend the two together while the paint is still wet.
Load less than you think. Two thin coats always beat one thick one, which dries soft, shows brush marks and peels. Let each coat dry as the label directs, scuff lightly with 220 grit between coats, and take dust off with a tack cloth. Avoid painting in direct sun or high heat, which dries the surface too fast and leaves streaks.
Step 7: Finish and Cure the Project
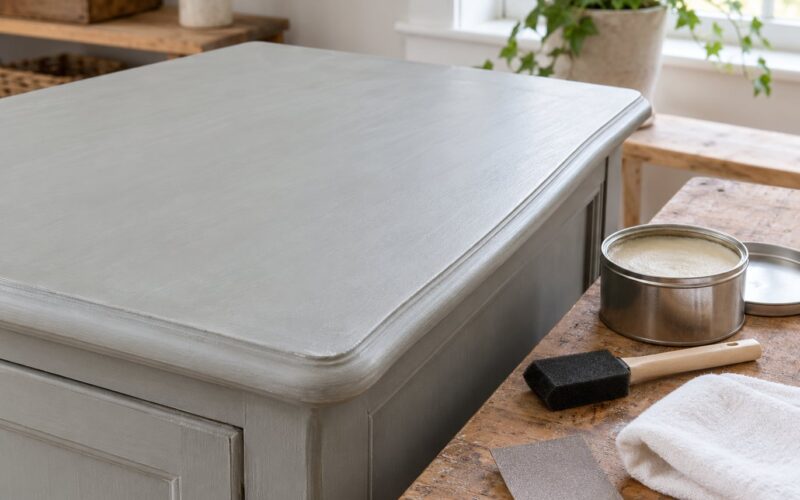
Once the topcoat is on, decide whether it needs a clear finish. Water-based cabinet paint and some furniture enamels take a water-based clear for extra chip resistance, and any water-based clear goes on after the paint has cured rather than straight out of the can.
Dry to the touch is not cured. Touch dry comes in one or two hours, recoat is usually four hours or overnight, and full cure takes days to weeks depending on coats, humidity and paint. Someone on r/FurnitureFlip watched an upcycled cabinet keep chipping at the contact points after 30 days, which is exactly the failure that shows up when a door is refitted and handled the same week it is painted. Give cabinets, doors and stair rails two to three weeks before heavy use.
Common Mistakes When You Paint Over Varnished Wood
Paint peels away in sheets weeks later. Almost always inadequate de-glossing, or a primer-only shortcut over intact gloss. Sand to a matte, then prime.
Chipping at door edges and corners. Edge grain drinks more topcoat than the face does, and edges get knocked. Lay off the edge with the brush, add a second coat, and give it full cure time before refitting hinges.
Brown or purple bleed-through. Tannins from mahogany, walnut or dark oak are coming through. Seal with a stain-blocking shellac-based primer, two coats, before the colour coat.
Glossy patches showing through. Missed de-glossing. Any sheen left is a spot the paint cannot grip. Go round again with 180 grit until the whole panel reads matte.
Visible brush marks. Too much paint in the brush, a second coat applied too early, or painting in heat and direct sun. Thin the coats, respect the recoat time, and roll flat areas to lay them off.
Dust specks and lumps in the finish. Dust raised by sanding and not removed. Tack cloth after every sanding step, and never sand immediately before priming without wiping down.
Wrinkling or tackiness in the coat. Too thick, too cold, or painted over moisture. Brush out the thick spots, let it cure fully, and sand back to a sound layer before trying again.
Paint sticking to everything in a month. An incompatible pair, often a water-based paint over a waxed or heavily waxed surface, or oil-based leftovers from an old tin. Clean with the right solvent for the old finish and re-prime.
For the smoothest result: scuff to matte, seal generously, lay thin coats, and count drying time as part of the job. Everything else on this list is a consequence of rushing one of those four.
Frequently Asked Questions
Do I have to remove all varnish before painting?
No. Sound varnish can almost always be painted over, and on a piece you like, painting over is faster and far less disruptive than stripping. You do have to strip when the varnish is loose, cracked or flaking, or when old stain keeps bleeding through. Stripping also makes sense on fine carved mouldings where years of built-up varnish hide the detail.
What is the best primer for painting over varnished wood?
A bonding primer, not a standard latex primer. Shellac-based primers seal tannin and dark stain fastest and dry in under an hour. Oil-based alkyd undercoats grip varnish and exterior wood exceptionally well. Water-based bonding primers are the low-odour, water-cleanup choice for indoor cabinets and furniture. Match the primer to the topcoat and follow the can’s own guidance.
Can I paint varnished cabinets without stripping them first?
Yes, and kitchen cabinets are the most common project people attempt. Scuff-sand the doors and drawer fronts, seal with a stain-blocking bonding primer, then two thin coats of cabinet-rated paint. Skip the primer and you will see chipping at the door edges within weeks. Give the doors a full cure before refitting hardware and before daily use starts.
How long should painted varnished wood dry before use?
Follow the can, but plan in stages. Touch dry is usually one to two hours, recoat is typically four hours or overnight, and full cure takes much longer, often several days to a few weeks depending on coats, humidity and paint. For cabinet doors, stair rails and anything handled daily, wait at least two to three weeks.
Should I use oil-based or water-based paint over varnish?
Both work once the surface is de-glossed and primed. Oil-based and alkyd enamels stay tougher, level out brush marks better and remain the traditional choice for exterior doors and trim, with stronger odour and slower drying. Water-based acrylics clean up with water, smell lighter and are easier indoors. Never use wire wool with a water-based system.
Can I paint over varnished wood that is already painted?
You can, as long as the old paint is firmly attached. Press hard along a door edge with a coin or a key: if paint lifts, flakes, or sounds hollow underneath, scrape or sand it back to a stable layer first. Then scuff-sand the sound paint, clean it, prime any bare wood and bare patches, and repaint in thin coats.
Start with the finish, not the paint. Find the hidden spot, work out whether the varnish is sound, and if it is, that tells you the whole job is de-glossing and priming rather than stripping. Everything after that is a matter of thin coats and honest drying time, and that is the part where most painted-over-varnish projects are won or lost.