Prepping furniture for painting takes about two hours of work for a small piece, and it is the step that decides whether the new paint stays put or peels off in strips within a month. The process is straightforward: clean the surface, fix the flaws, sand or scuff sand to give the paint something to grip, wipe away all the dust, then prime. You do not need to strip a piece back to bare wood to get a finish that lasts.
I have watched people skip the boring parts, the cleaning and the dust removal, because they want to get to the fun part. Those are exactly the two steps that decide the result. Paint bonds to microscopic texture on a clean, unsealed surface, and every shortcut removes part of that texture.
Below is the full seven-step process, plus how to choose a sanding level, pick a primer, and know when the piece is genuinely ready for paint.
Table of Contents
- What You Need
- Step-by-Step: How to Prep Furniture for Painting
- 1. Set Up Your Workspace and Inspect the Piece
- 2. Clean Away Dirt, Grease, and Old Finish
- 3. Repair Holes, Loose Joints, and Surface Flaws
- 4. Remove Loose Paint and Sand the Surface
- 5. How to Prep Furniture for Painting at the Right Level
- 6. Apply the Right Primer and Let It Cure
- 7. Do a Final Paint-Ready Check
- Common Mistakes
- Frequently Asked Questions
- Do you have to sand furniture before painting it?
- Can you paint over glossy or already-painted furniture?
- What grit sandpaper should I use before painting furniture?
- Should I prime furniture after sanding?
- How long should furniture dry after cleaning or priming?
- What should I do if the old paint is peeling or cracking?
- Conclusion
What You Need
Most beginners can get through a first piece with a short list. Everything else is a refinement.
- Drop cloth or plastic sheeting — plus a few cardboard sheets if you’re working over a floor you care about.
- Warm water, dish soap, and a degreaser — a TSP substitute works well on greasy kitchen and dining furniture. Plain dish soap is enough for most pieces.
- Microfiber cloths or lint-free rags — plus a scrub brush for crevices and carved detail.
- Wood filler for nail holes, dents, and small gouges.
- Sandpaper in at least two grits — a scraper for loose or flaking paint, and a sanding block for larger flat areas.
- Vacuum with a brush attachment and a tack cloth. Both matter. The vacuum gets the heavy dust, the tack cloth gets the film the vacuum leaves behind.
- Stain-blocking or bonding primer, a synthetic bristle brush, and a small foam roller.
- Dust mask and open windows. Prep is dusty and the degreaser and primer both have an odor worth ventilating properly.
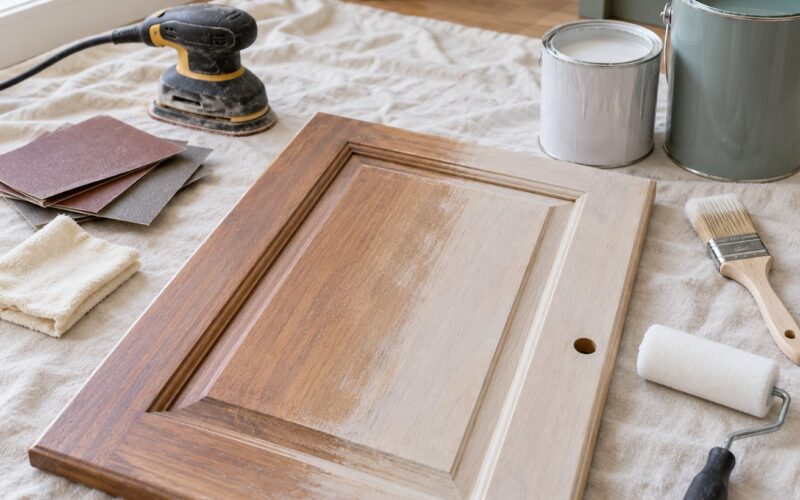
The optional items: an orbital sander saves a lot of time on a large flat panel and does nothing a sanding block will not do on a small one. A cabinet scraper with a thin spring-steel blade gets into curves and tight corners that sandpaper cannot reach. Neither is required to start.
Here is how the grits divide up. Lower numbers are coarser.
- 80 to 120 grit — stripping failing paint down to sound layers. Rarely needed on a piece that is already in decent shape.
- 150 to 180 grit — leveling filler, knocking down raised grain on raw wood.
- 220 grit — the workhorse grit for scuff sanding existing paint and for sanding primer between coats.
- 320 grit — the final pass on primer before the first coat of paint, and the standard grit for smoothing between paint coats.
Step-by-Step: How to Prep Furniture for Painting
Seven steps, in this order. Before you change anything, test the existing finish in a spot nobody will see — the underside of a drawer, the back panel, the inside of a leg. That spot tells you whether the piece is solid wood, veneer over particleboard, or laminate and melamine, and whether the current finish is already failing. Five minutes of testing saves an afternoon of sanding the wrong thing.
1. Set Up Your Workspace and Inspect the Piece
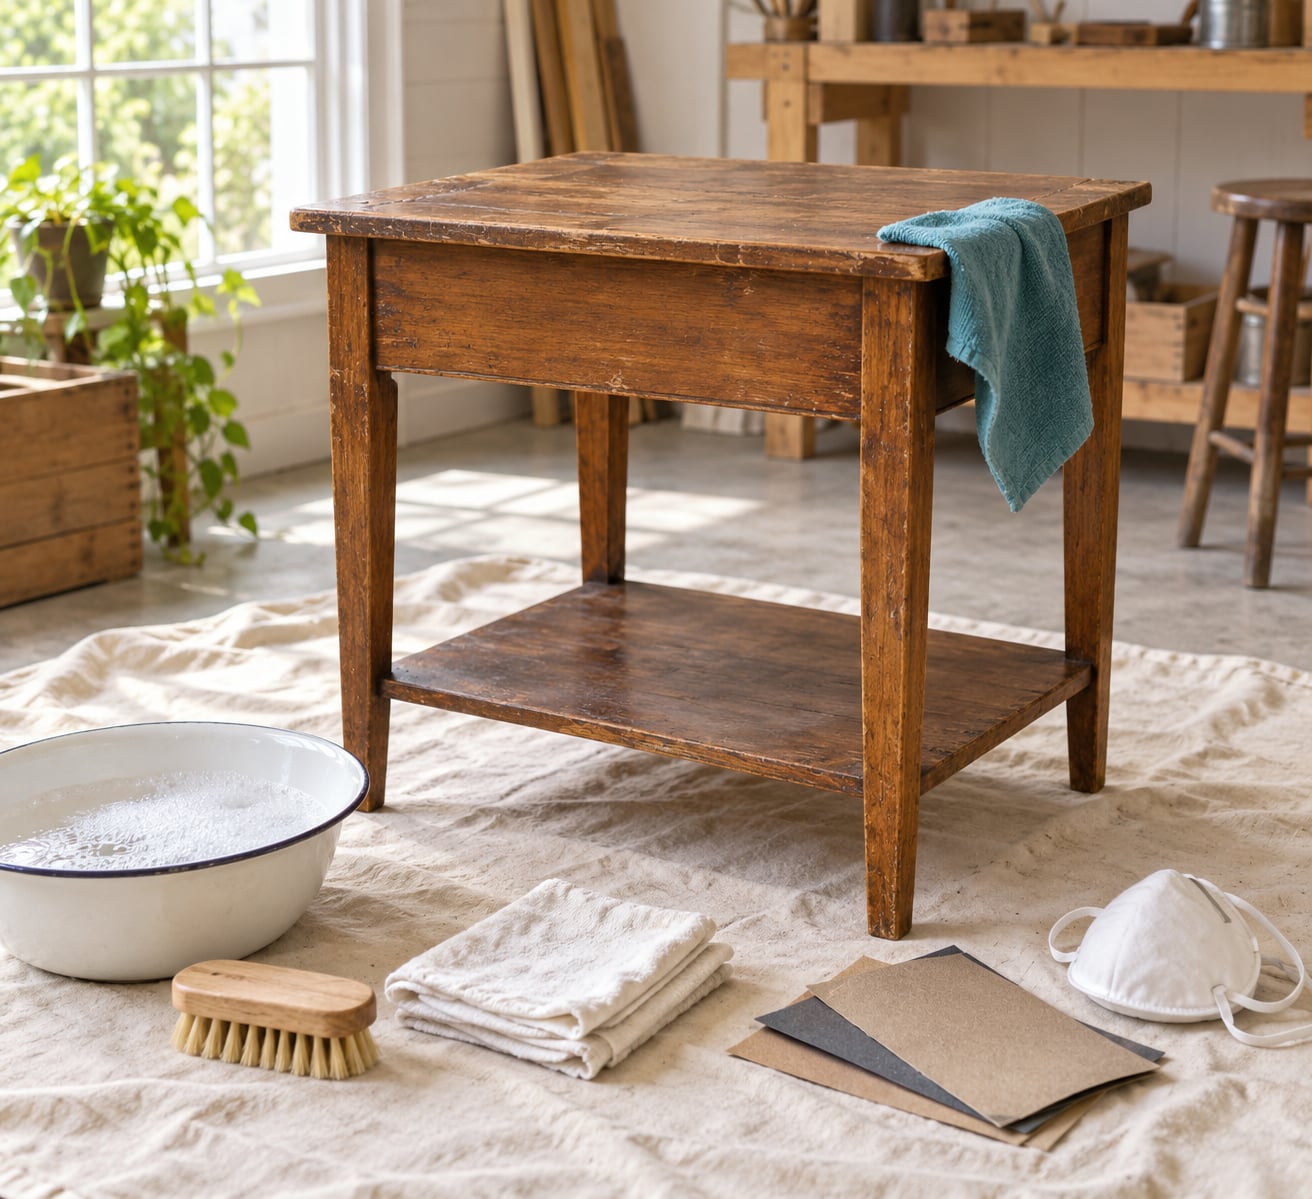
Move the furniture where you can work on all four sides, and lay down your drop cloth before anything else. Outdoors on a calm day is ideal; indoors, protect the floor and open the windows now rather than after the primer is open.
Then inspect. Run your hand along every surface and look for the things that will show through paint: raised grain, dents, open joints, loose drawer runners, sticking doors. Check the piece for wobble by pressing down on each corner.
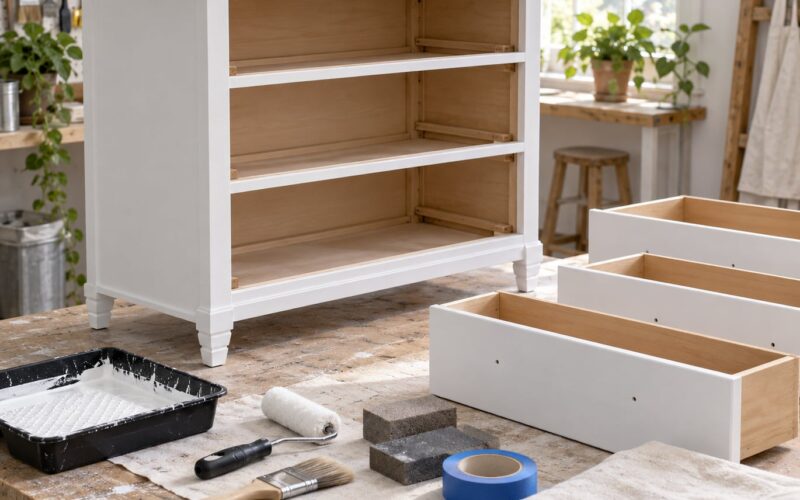
Remove anything detachable — knobs, pulls, hinges, drawer slides, and the drawers themselves if they lift out. Photo hardware placement before you start, or bag and label each piece. Labeling saves a lot of guessing when you reassemble six weeks later.
2. Clean Away Dirt, Grease, and Old Finish
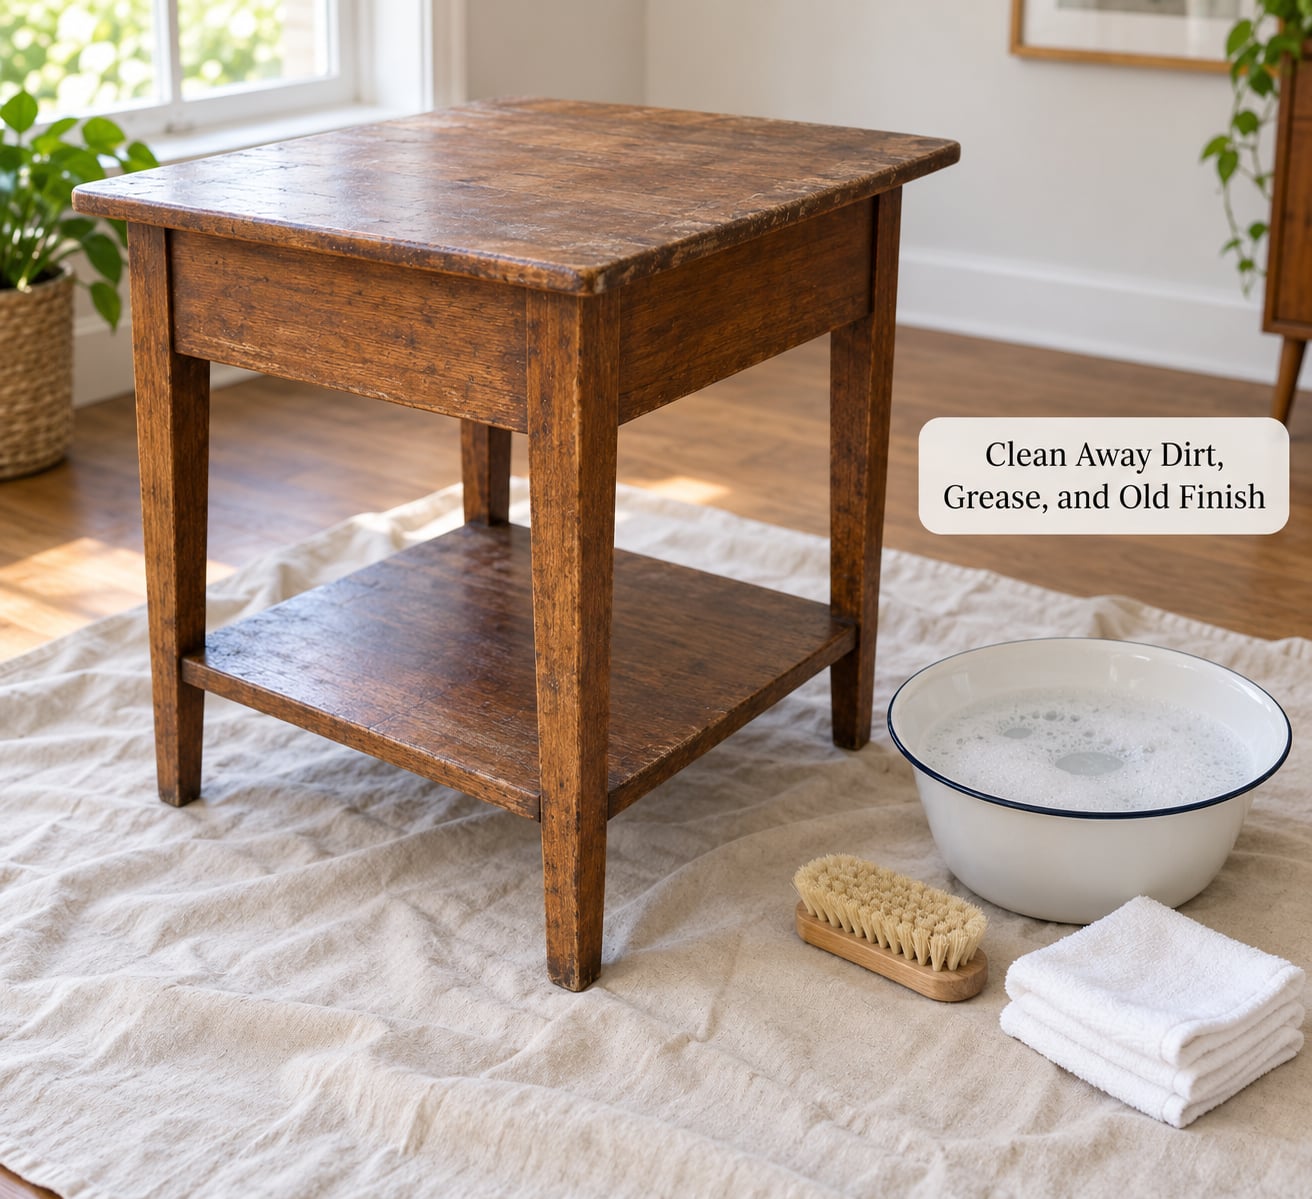
Paint will not stick to grease, wax, polish, or years of hand cream. Mix warm water with a degreaser, wipe the whole piece down, then go over the corners, the top surface, and any carved detail with a soft brush and a rag. Change cloth as soon as it turns grey.
On a sticky or waxed piece, a second pass with a degreaser concentrate or a hard finish remover is worth it. Wax is the one contaminant that will hide under a new coat and let the whole finish slide off later.
Let the furniture dry completely before you sand or prime. Trapped moisture under primer is a reliable way to end up with peeling paint six months out, and it costs a full redo to fix.
On vinegar: it works as a mild cleaner for grime, but it is not strong enough to cut grease and it is not the right tool for a waxed finish. If you are choosing between vinegar and a TSP substitute for a normal painted piece, either is fine. For a kitchen table or a greasy dresser, use the degreaser.
3. Repair Holes, Loose Joints, and Surface Flaws
Fill nail holes, screw holes, chips, and dents with wood filler, applied with a putty knife slightly proud of the surface. Let it dry fully, then sand it back level with 150 to 180 grit until your finger can’t find the edge.
For a loose joint, work wood glue into the seam, clamp, and wipe the squeeze-out with a damp rag before it cures. A wobbly leg that you fill over becomes a wobbly leg with paint on it.
Tighten loose hinges and replace stripped screws with slightly longer ones or a wood screw matched to the pilot hole. Scrape off any hardened glue or caulk sitting on the surface. Anything proud of the surface will show up as a bump under the finish, no matter how many coats you apply.
4. Remove Loose Paint and Sand the Surface
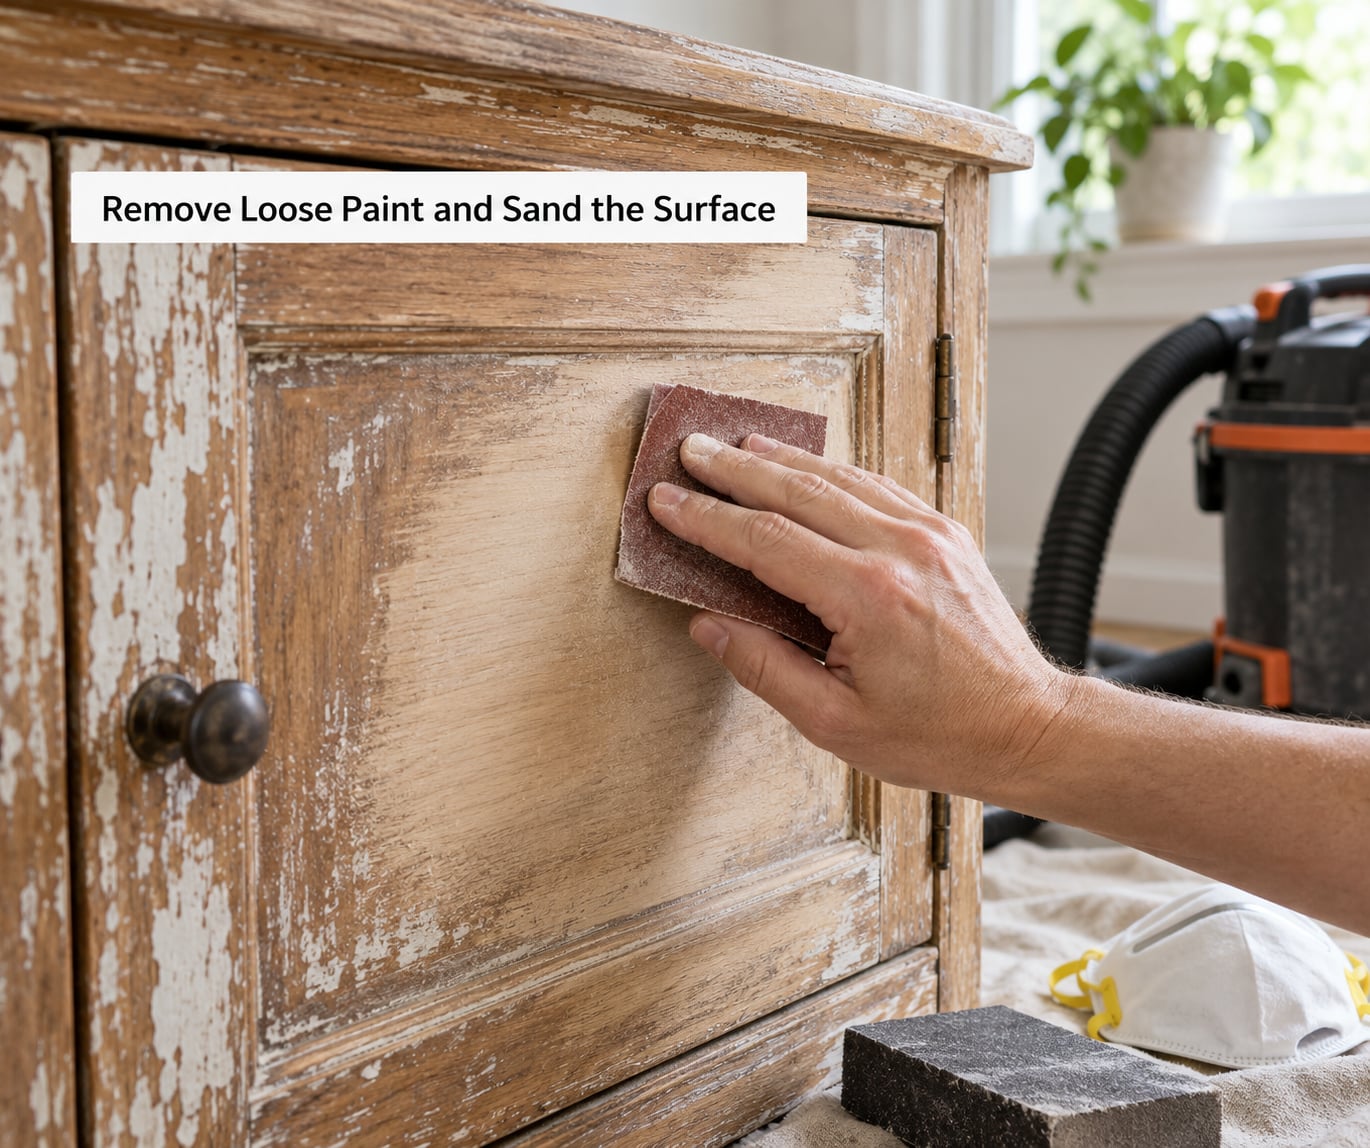
Start with a carbide scraper on the loose stuff. If paint lifts off in big flakes or curls, the existing finish is already failing and needs removing before anything else. Push the scraper in the direction of the grain and keep the blade flat so you take off paint, not wood.
Then sand. What grit you use depends on how much finish is left, not on how much time you have. Sand with the grain, use light even pressure, and stop when the surface feels uniformly smooth with no glossy patches remaining.
How do you know you’re done? Wipe the surface with a damp cloth and look at it under good light. Glossy spots are un-sanded finish, and paint over gloss peels. Raised grain that feels fuzzy under your palm needs another pass at a coarser grit.
Wear the dust mask and vacuum as you go rather than after. Sanding grit that settles into a drawer runner or a hinge is a headache you will deal with during reassembly.
5. How to Prep Furniture for Painting at the Right Level
This is where most beginners overwork or underwork a piece. There are three levels of prep, and the right one depends on the condition of the finish, not on the result you want.
Level one: painting over sound paint. If the existing paint is adhered, smooth and not peeling, you only need to scuff sand it with 220 grit to knock the shine off and give the new coat tooth. This is the fastest legitimate route, and most well-cared-for furniture needs no more.
Level two: glossy or slick finishes. Higher gloss means harder adhesion problems. Scuff sand thoroughly with 220 grit until the whole surface has a matte, hazy look, then prime with a bonding primer rather than an ordinary one. On laminate and melamine, a bonding or adhesion primer is not optional — ordinary wall paint will not hold to that surface.
Level three: failing or uneven finish. Peeling, cracking, alligatoring, or bare patches mean stripping back to a sound layer before you do anything else. Once you reach sound paint or bare wood, stop scraping and switch to the scuff-and-prime route.
If you would rather not sand at all, there is one legitimate shortcut: a self-adhesive bonding primer, or paint labelled as bonding to glossy surfaces, applied over a thoroughly cleaned surface. It works. It costs more per coat and it is less forgiving than sanding, so most beginners get a better result with 15 minutes of scuff sanding first.
6. Apply the Right Primer and Let It Cure
Skip the primer only when the piece is bare wood that is not knotty, the existing paint is sound, and you are painting a similar or darker color. In every other case, prime. Primer is what blocks stains and tannins from coming through the topcoat, and it is what gives you a uniform surface to paint over.
Matching the primer to the job:
- Shellac-based stain blocker — the fastest dryer and the strongest seal against tannin and odor bleed-through. It is the one to reach for on cherry, mahogany, or a piece that smells of old smoke. Clean up with alcohol or ammonia while it is still wet.
- Water-based stain-blocking primer — low odor, easy cleanup, a little slower. A sensible default for most painted furniture.
- Bonding primer — grips slick plastic, laminate and melamine surfaces where nothing else will hold.
- Grey primer under dark paint, white primer under light paint. A mismatched primer shade can telegraph through lighter colors.
Apply one even coat with long strokes in the direction of the grain, keeping a wet edge and not overloading the brush. Let it dry to the touch, then knock it back lightly with 220 to 320 grit to remove any brush marks. Vacuum and wipe with a fresh tack cloth afterwards.
Dry and cure are different. Dry to the touch usually takes an hour or two. Full cure — the point where the finish is chemically hardened and resists scuffs — takes days, and longer for heavy finishes. Refrain from reassembling hardware or setting things on the surface until it is genuinely cured.
7. Do a Final Paint-Ready Check
Run your hand over the primed surface one last time. It should feel smooth with no gritty patches, no brush ridges, no dents you missed in step 3.
Wipe it down with a tack cloth and check for dust in the grain, the grooves, and any carvings. Look at the piece in good light from an angle. Bare wood showing through a coat of primer is the last chance to fix it cheaply.
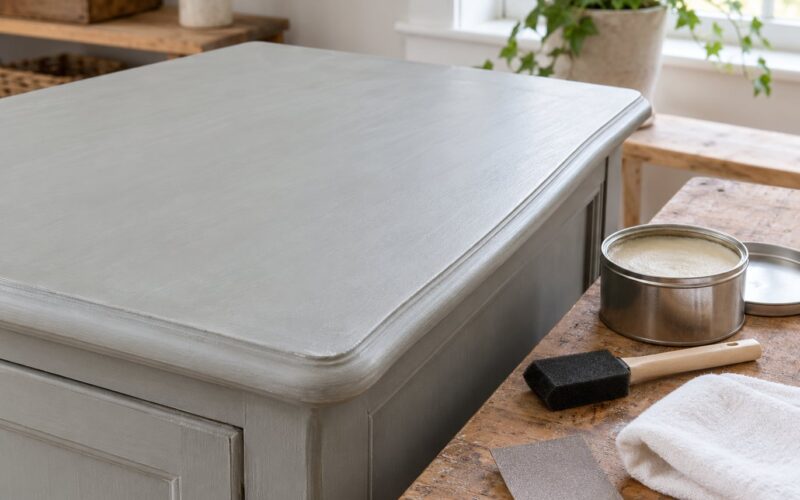
When the surface passes, start painting. Two thin coats beat one thick one every time, and sanding with 320 grit between coats is what keeps the finish from looking like brush strokes.
Common Mistakes
Skipping the cleaning. Paint applied over grease or wax peels within weeks, and no amount of extra topcoating will hold it. Clean and degrease first, every time, even when the piece looks clean.
Painting over gloss without scuffing. Glossy paint is sealed by definition, and new paint has nothing to grip. Scuff sand with 220 grit until the shine is gone, or use a bonding primer.
Sanding too coarsely. Going past 150 grit on a piece you are not stripping gouges the wood and leaves scratches that paint makes very visible. Coarse grit belongs on failing paint, not on a sound surface.
Sanding too lightly instead. The other common error is a quick pass that leaves glossy patches behind. Damp-cloth check is the fix: any shine you can see is finish that will not hold paint.
Wrong primer. Stains and tannins bleed through light colors when the primer does not block them. Old cherry and walnut are the usual offenders, and a shellac-based stain blocker handles them. On laminate, use a bonding primer and not ordinary wall paint.
Rushing the drying. Painting over primer that has not dried traps moisture and solvent. Both cause peeling later. Follow the can’s dry time, then extend it in a cool or humid room.
Two more symptoms worth recognizing. Fisheyes — small craters in the paint — almost always mean contamination on the surface, so go back and clean and scuff again. Blotchy, uneven color that shows up as the paint dries points to applying too thick or picking up moisture, and the fix is thinner coats and better airflow.
Final painting tips: strain your paint if it has been sitting, use long strokes with the grain, and remember that a piece stays vulnerable to scratches for weeks after it feels dry. Give it the full cure window before it goes back into daily use.
Frequently Asked Questions
Do you have to sand furniture before painting it?
Not always. If the existing paint is sound and you use a bonding primer or paint that bonds to glossy surfaces, you can skip sanding after a thorough cleaning. Sanding to 220 grit gives a more reliable bond and a better looking finish, and it is the safer choice for a first project. Sand when the old finish is glossy, peeling, or a different color is bleeding through.
Can you paint over glossy or already-painted furniture?
Yes, but not straight onto the gloss. Glossy surfaces need to be scuff sanded with 220 grit until the shine turns matte, or coated with a bonding primer made for slick surfaces. Ordinary latex and wall paint over gloss usually peel within weeks. Skipping this is the single most common reason a furniture repaint fails early.
What grit sandpaper should I use before painting furniture?
Use 220 grit for scuff sanding existing paint and 150 to 180 grit to level wood filler and knock down raised grain. If the old paint is already peeling, start coarser, around 80 to 120 grit, and stop as soon as you reach a sound layer. Reserve 320 grit for smoothing primer and paint between coats.
Should I prime furniture after sanding?
In most cases yes, especially when going from a dark stain to a light color, painting over bare wood, or coating cherry, walnut or mahogany that can bleed tannins through. Primer gives you a uniform surface and blocks stains. You can skip it on clean, non-porous bare wood when painting a similar or darker color.
How long should furniture dry after cleaning or priming?
Let cleaned furniture dry completely before sanding or priming, usually several hours or overnight in a well-ventilated room. Primer that feels dry to the touch after one to two hours is ready to scuff, but full cure takes days. Wait the full cure window before reassembling hardware or putting objects on the surface.
What should I do if the old paint is peeling or cracking?
Strip it back to a sound layer before doing anything else. Use a carbide scraper pushed in the direction of the grain, then sand the result so the new surface is even. Once you hit paint that is adhered or bare wood, stop stripping, scuff sand with 220 grit, and prime. Painting over a failing finish just seals the failure in.
Conclusion
Prepping furniture for painting comes down to four things: a clean surface, a sound surface, some tooth for the paint to grip, and a primer that blocks whatever is trying to come through. Get those right and even a modest paint job on a thrift-store dresser looks like furniture you would keep.
If you are starting out, begin with the cleaning and the inspection. Test the existing finish in a hidden spot, decide whether you are dealing with sound paint or a failing one, and pick your grit to match. Everything after that is straightforward.