You do not have to touch the wall color to fix a room that feels unfinished. How to decorate when you cannot paint comes down to shifting the attention: one removable treatment on a focal wall, then color, texture, furniture and lighting doing the work that paint would normally do.
In most rentals that takes an afternoon and about five steps, and nothing has to be drilled, patched or repainted at move-out. The wall color stops being the problem once the wall stops being the first thing your eye lands on.
Table of Contents
- What You Need
- Step-by-Step: How to Decorate When You Cannot Paint
- Step 1: Identify Your Rental or Surface Limits
- Step 2: Choose a Removable Focal Point
- Step 3: Add Color Without Changing Wall Paint
- Step 4: Update Furniture, Hardware, or Fabric
- Step 5: Layer Lighting and Finish the Room
- Common Mistakes
- Frequently Asked Questions
- Does removable wallpaper damage paint?
- What works on textured walls when you cannot paint?
- How do I add color to a room without painting it?
- Is contact paper a good substitute for removable wallpaper?
- How do you remove adhesive residue without damaging the wall?
- Which rooms benefit most from temporary wall updates?
- Conclusion
What You Need
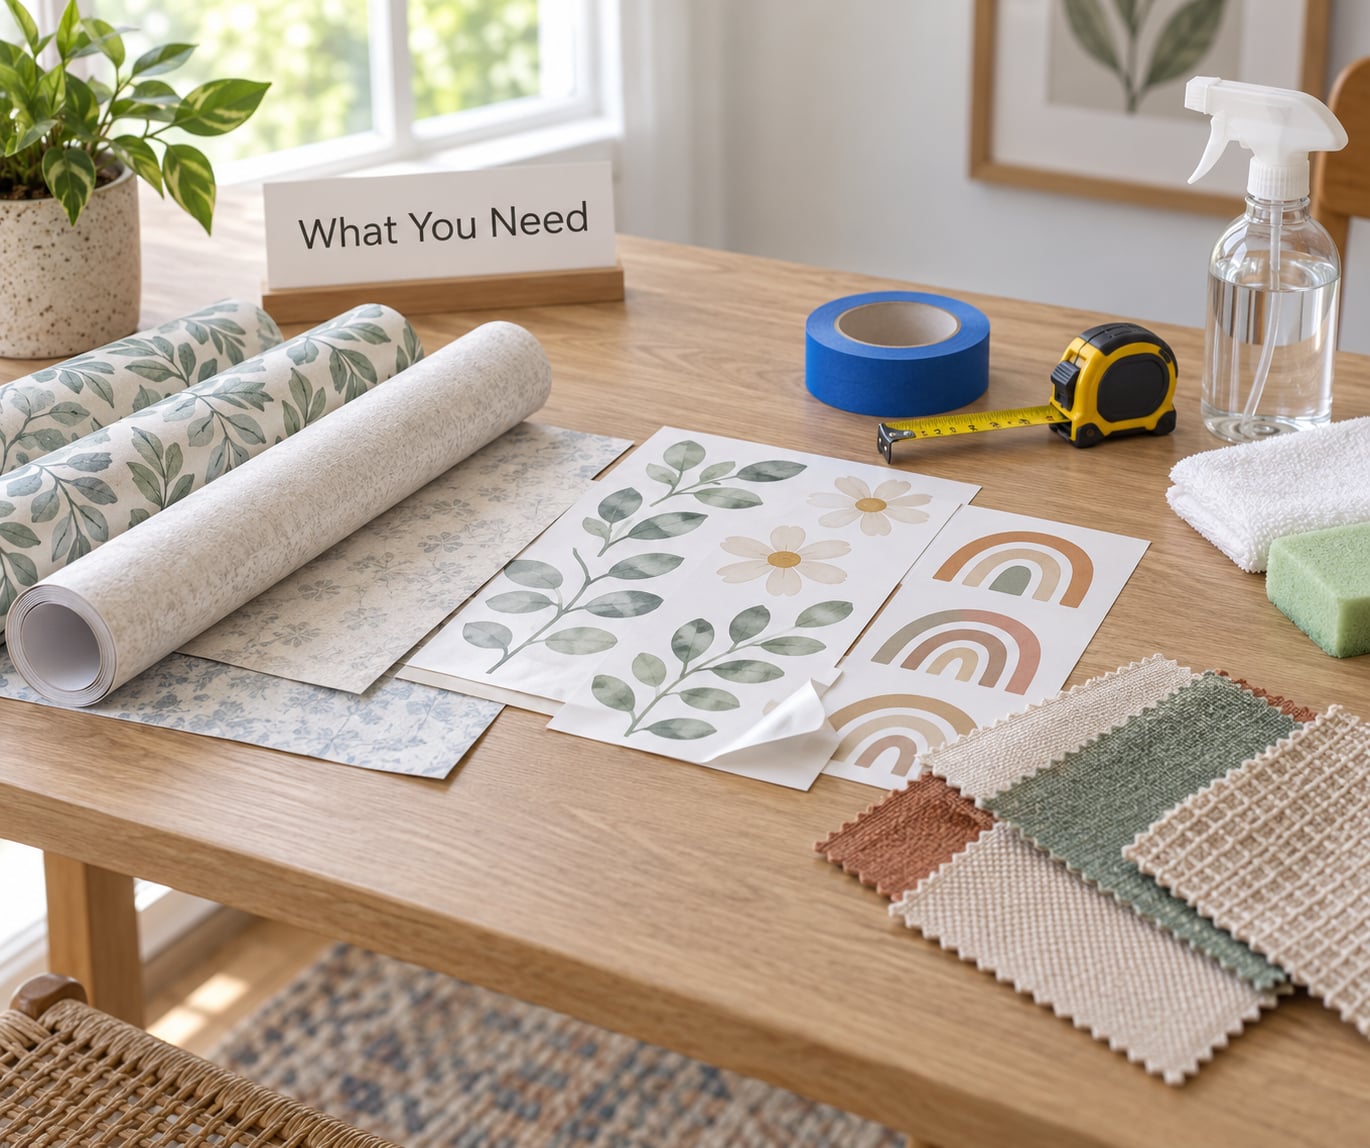
Gather these before you start so you are not halfway up a stepladder hunting for a squeegee.
- Removable wall coverings. Peel-and-stick wallpaper, removable panels, wall decals or self-adhesive contact paper for the focal wall.
- Cleaning supplies. Warm water, a drop of dish soap, a microfiber cloth and isopropyl alcohol for sticky residue. Adhesive bonds to dirt and dust, so a dirty wall is the number one cause of failure.
- Measuring tools. Tape measure, a level, painter’s tape for marking, a utility knife with fresh blades and a small smoothing tool or plastic card to press out bubbles.
- Damage-free hanging hardware. Velcro-style hooks, picture hanging strips, removable adhesive strips rated well above the weight of what you hang, and museum putty for unframed pieces.
- Textile supplies. Curtains on a tension rod, rugs, throws, cushion covers, slipcovers and table linens.
- Furniture and lighting. Thrifted or swappable pieces, cabinet hardware, lampshades, floor lamps and warm bulbs.
Anyone under a lease can use the removables. Landlords doing a short-term furnished rental often prefer the freestanding options, since nothing touches the wall at all.
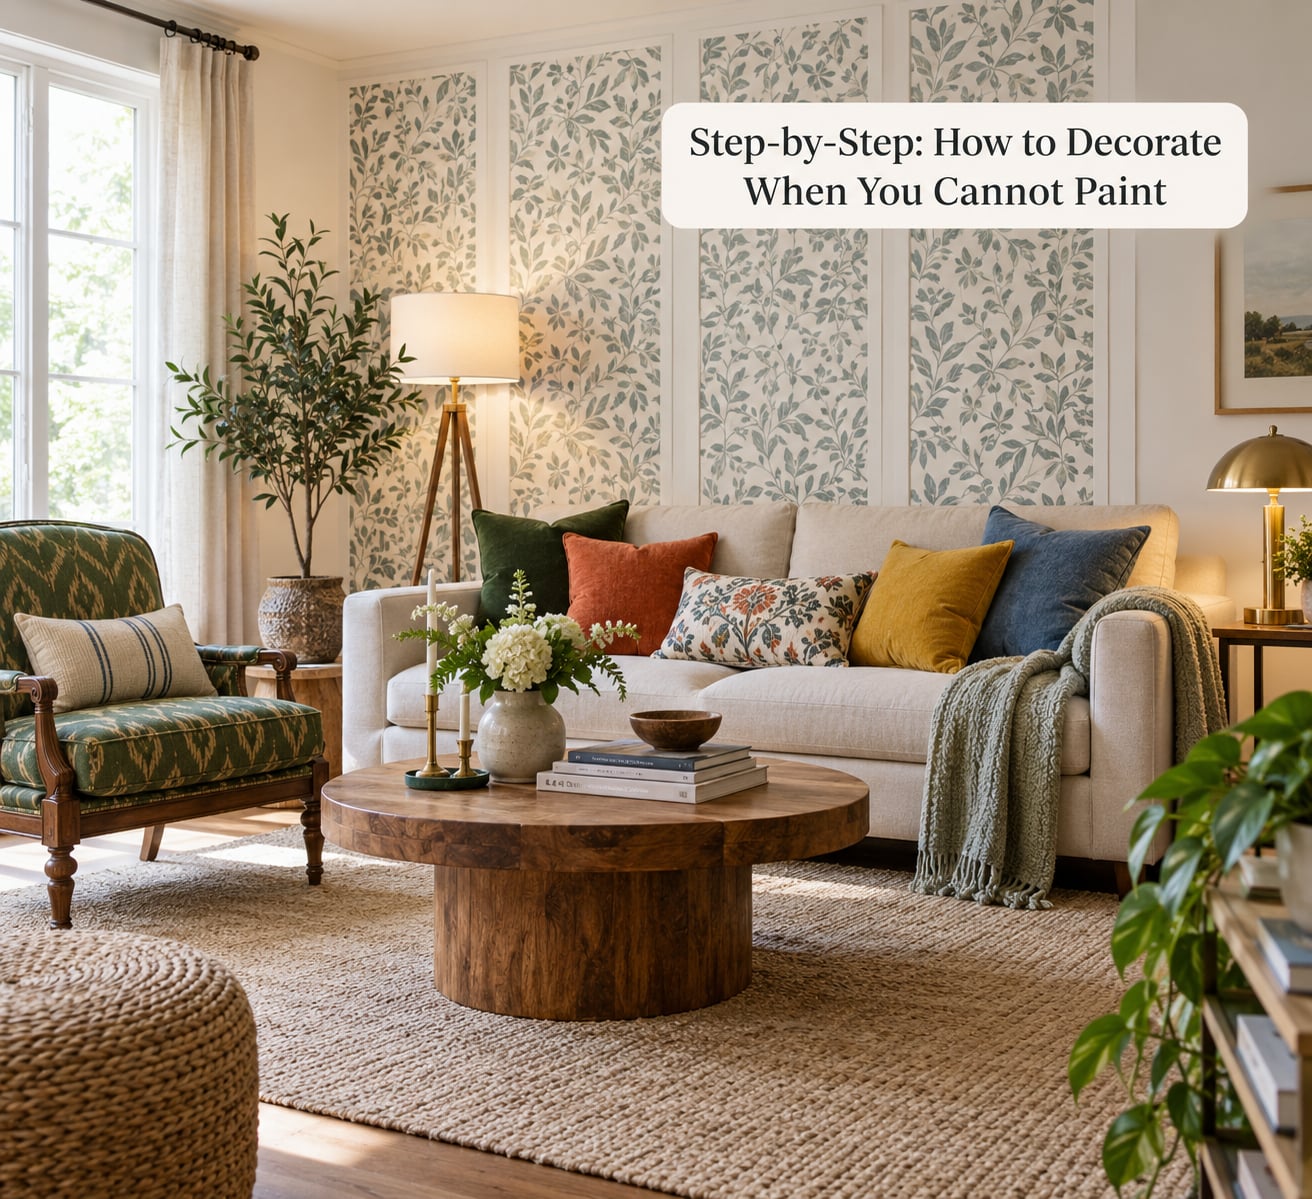
Step-by-Step: How to Decorate When You Cannot Paint
Step 1: Identify Your Rental or Surface Limits
Start by knowing exactly what you cannot do, because the wrong adhesive is what turns a renter-friendly project into a deposit problem.
- Paint condition. Freshly painted walls, patched areas and touch-up compound hold adhesive differently than cured original paint. Wait for paint to cure fully before anything sticks to it.
- Surface texture. Flat, smooth drywall is the easy case. Textured walls, popcorn ceilings and orange-peel finishes give peel-and-stick nothing solid to grab, and the sheet lifts at the edges within days.
- Lease terms. Read the clause about alterations, not just the one about painting. Some agreements also restrict drilling, adhesive hooks, cabinet removal or fixture swaps, and a few restrict nearly everything with annual inspections.
- Walls that cannot be patched. If the landlord states in writing that holes cannot be filled or paint cannot be touched, treat nail holes and gummy strip residue as permanent damage.
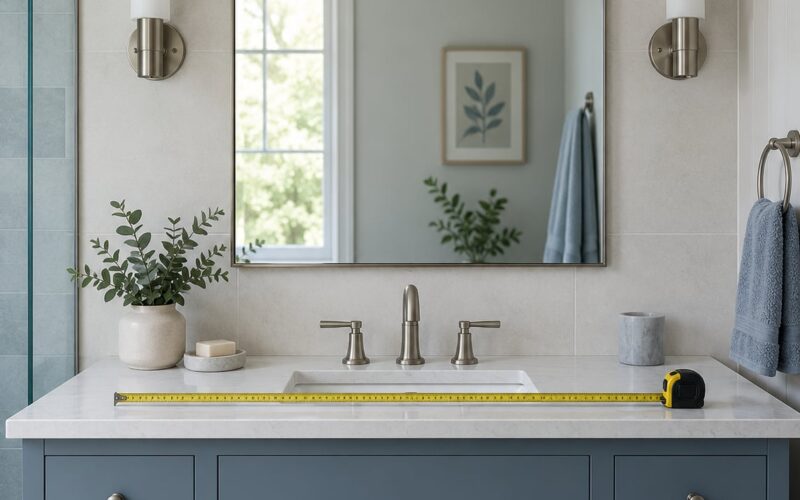
Before buying anything, measure the focal wall, note where the outlets, vents, switches and window edges fall, and send your landlord a short email describing exactly what you plan to use and confirming it comes off. Written replies cost you nothing and turn a judgment call into a settled question.
Step 2: Choose a Removable Focal Point
Pick one wall, usually the one you see first from the door, and give it a single treatment. Trying four things on four walls is how rooms end up busy without ever feeling designed.
Peel-and-stick wallpaper changes a room fastest and covers the most surface. Sold by the roll, it costs roughly the price of a couple of takeaway meals per wall and takes most of a weekend for a beginner, less for the second wall. Removable panels arrive pre-sized, which saves the seam-matching work and cut the install to about an hour. Wall decals move in under an hour and cost the least of the three, but they cover very little wall, so they work as an accent above a console or around a mirror rather than as a feature.
Fabric coverings cover more ground cheaply and add texture that paper cannot, though loose fabric needs a rail, a tension rod or a temporary adhesive system at the top edge. Self-adhesive contact paper is the budget option for a single wall or for lining cabinet interiors; it is thinner, shows more of the wall underneath, and usually comes off more reluctantly than purpose-made removable wallpaper.
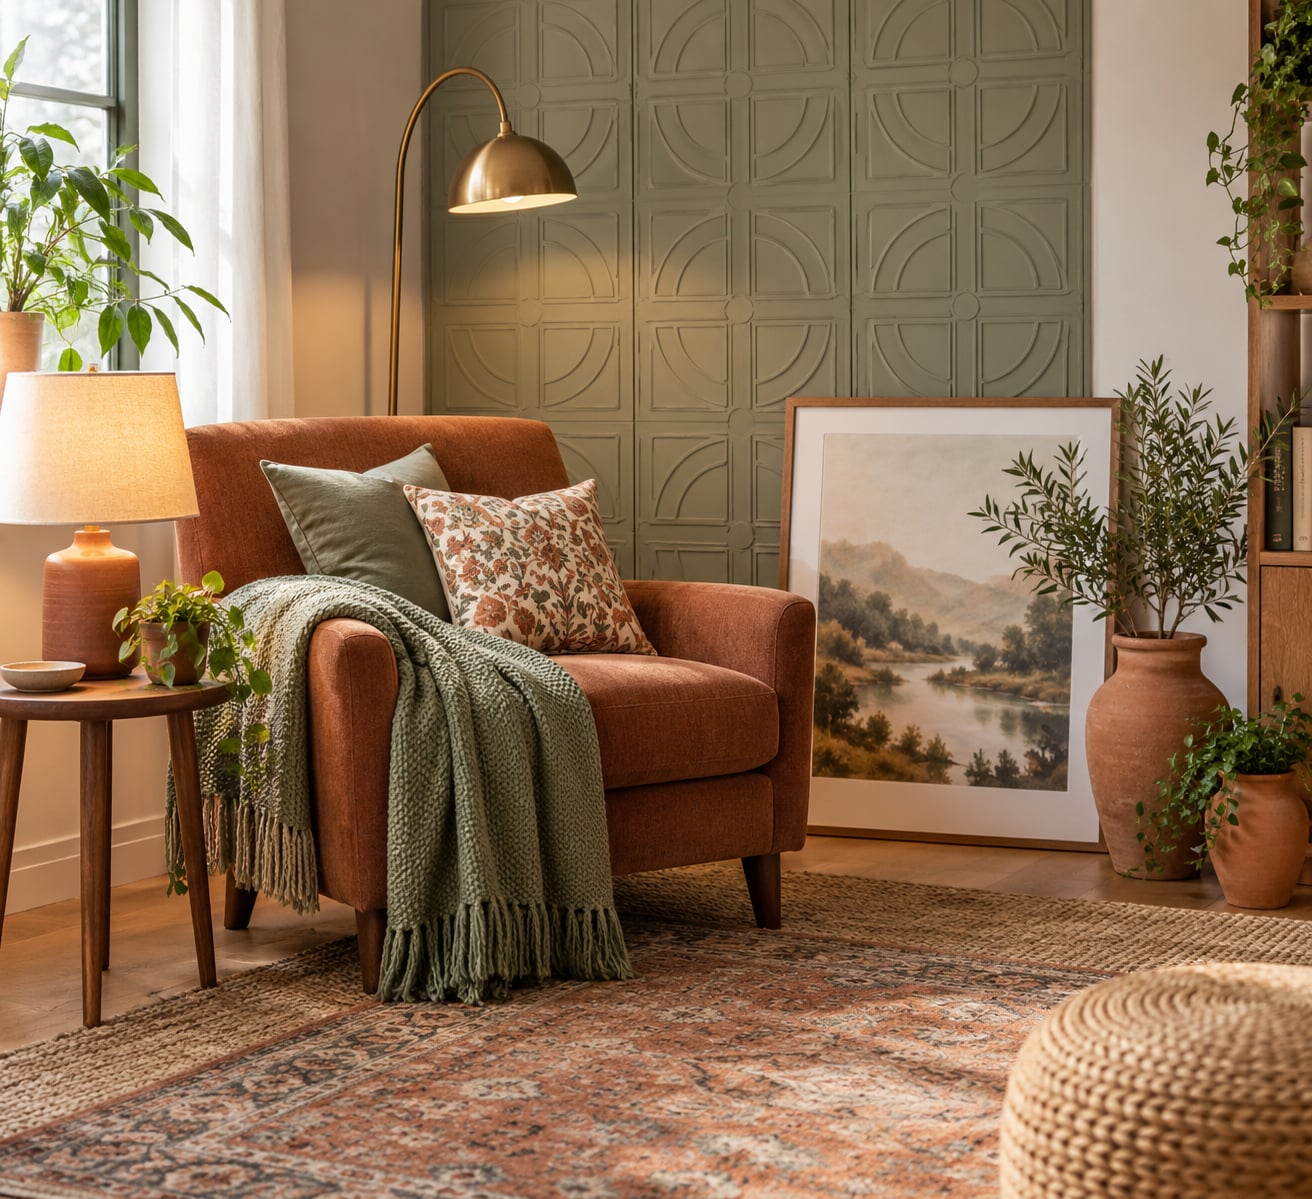
Leaning art skips adhesive completely. A large framed piece resting against the wall behind a sofa or credenza creates the same focal point, and you can hang smaller pieces on it with removable strips that stay within a few feet of the floor.
You can tell it worked when the seams disappear and the panel lies flat with no lifting corners. Check the corners again a week later, since adhesive failures announce themselves there first.
Step 3: Add Color Without Changing Wall Paint
Textiles carry more color per dollar than anything you can put on a wall, and all of it comes off with a laundry cycle or a trip to a resale shop.
Start with the biggest fabric in the room, the curtains. Hang them wide and high on a tension rod that needs no drilling, and the window becomes a color block. Then anchor the floor with a rug, repeat the rug’s main color in two or three cushions, and the palette is already built.
Concrete combinations that work:
- Warm. Terracotta curtains, an ochre throw and cream bedding against white walls.
- Cool. Dusty blue rug, sage cushions and a pale grey linen curtain.
- Earthy. Rust, olive and natural fiber textures repeated across a rug, a basket and a lampshade.
- Bright. One saturated rug with everything else kept to two neutral tones, so the color reads as a choice rather than an accident.
- Monochromatic. Three shades of a single color at different values, which makes a small rental bedroom feel deliberate and calm.
If the walls are the color you dislike, stop fighting them. Beige walls take navy and warm wood. Olive green walls take cream, rust and brass. Off-white walls take any accent you want, because off-white is the most forgiving background there is. Renters on r/interiordecorating reach the same conclusion: adding contrast around the room reads better than trying to hide the wall.
Step 4: Update Furniture, Hardware, or Fabric
Furniture is the second-largest surface in most rooms, and a secondhand piece can carry the change that the wall cannot.
A thrifted armchair in a neutral weave takes a slipcover in about ten minutes and looks intentional from across the room. Replacing cabinet knobs, cabinet pulls and switch plates costs very little, installs with a screwdriver, and reverses in the same way it went on. Swapping a lampshade changes a lamp’s whole personality for the price of a coffee and a trip to a craft store.
One example worth copying: a plain wood console found at a resale shop, sanded lightly, painted in one bold colour and topped with a thrifted lamp and a leaning frame. That console, plus one patterned wall panel behind it and a new rug, is the whole transformation, and every piece moves to the next apartment.
What to avoid: painting upholstery or re-glueing veneer permanently, drilling into furniture the landlord owns, or reupholstering built-ins you have agreed to restore at move-out. If you cannot reverse it in five minutes with a screwdriver or a peel, skip it.
Step 5: Layer Lighting and Finish the Room
Lighting does the last 20 percent of a room, and in rentals it is the change you get to keep.
Aim for at least three light sources in each room: a floor lamp in a corner, a table lamp near a chair, and an overhead that is not the only thing on. Swap cool bulbs for warm ones around 2700K, which makes neutral walls look intentional instead of flat. Wrap a bare bulb or an exposed cord in cord covering, and hang string lights along one wall or over a headboard.
Then check the finishing details:
- Scale. Art that is too small over a large sofa looks like a mistake. Lean something that reaches roughly two thirds of the furniture width.
- Balance. If one side of the room has visual weight, put a plant, a lamp or a basket on the other.
- Texture. Layer a smooth rug under a natural fiber one, or mix woven baskets with a soft throw, so the room has something to touch.
- Vertical pull. Curtains hung close to the ceiling make a low ceiling feel higher.
- Cohesion. Repeat one colour in three different rooms of the home and the space feels connected.
Do a final pass standing in the doorway. If the focal wall reads first, the colour repeats, and nothing is touching a hole you cannot patch, the room is finished.
Common Mistakes
Almost every renter decorating mistake is a reversibility mistake wearing a costume.
- Applying peel-and-stick to textured or freshly painted walls. It looks perfect on day one and peels off in sheets by day ten. Fix: run a hand over the wall. If you can feel grit, use a fabric panel hung from a tension rod or lean art instead.
- Trusting the word removable on the package. Some products labelled peel-and-stick bond like permanent adhesive, especially on matte paint. Fix: test a two inch square in a corner for 48 hours, then peel it and look for a dull mark or a sticky patch.
- Using peel-and-stick vinyl tile on the floor. This is the most reported failure in renter communities. Tiles curl at the corners, shift underfoot, trap dirt underneath and the adhesive is stubborn enough that removing a tile often breaks it, with residue still on the floor. Fix: click-lock vinyl plank for anything longer than a few months, and take it up at move-out without scraping.
- Hanging a gallery wall with 40 holes. That is 40 patches and a landlord conversation. Fix: velcro-style hooks on a strict grid, picture hanging strips, or one leaning frame that holds a rotating selection.
- Overloading adhesive strips with heavy frames. Removable strips fail under weight and the failure takes paint with them. Fix: check the stated weight limit and use a hook rated at least three times the frame weight; better, keep anything above about ten pounds on the floor leaning against the wall.
- Combining three competing patterns. Floral wallpaper, a geometric rug and a striped throw reads as clutter. Fix: one pattern, one solid, one texture.
- Crowding a small room. Full furniture against every wall leaves nowhere to walk. Fix: push one piece back, let a corner breathe, and let the wall treatment be the busy element.
- Changing colour without a plan. Six saturated items in six different hues makes a rental feel noisy. Fix: pick two colours before you buy anything and let everything else stay neutral.
- Forgetting to photograph the room. Fix: take a picture of each wall before you touch it. Matching the paint at move-out is much easier with a photo than with memory.
Renter-safe rule of thumb: if removal takes more than a few minutes, involves a scraper, heat or a solvent, choose a different method.
Frequently Asked Questions
Does removable wallpaper damage paint?
Properly labelled removable wallpaper comes off cleanly from smooth, cured, painted drywall without taking the paint with it. Problems show up on textured walls, on paint that has not cured, and on products labelled peel-and-stick, which are really permanent adhesive in sheet form. Test a two inch square in a corner, leave it 48 hours, then peel it slowly at a 45 degree angle. If the wall behind leaves a dull mark or sticky residue, that product is not going to be deposit-safe.
What works on textured walls when you cannot paint?
Adhesive products need a smooth, even surface, so textured and popcorn walls rule out peel-and-stick wallpaper, contact paper and most removable strips. What still works: fabric panels hung from a tension rod or a temporary rail, large artwork leaning against the wall, freestanding plywood panels with felt pads behind a sofa, tall plants, mirrors, and a full layer of curtains and textiles. Add a picture ledge only if your adhesive is rated for textured surfaces, and check the label before you buy.
How do I add color to a room without painting it?
Go biggest first. Curtains on a tension rod give you a tall block of colour with no hardware, then a rug sets the palette for the floor, then you repeat two or three of its colours in cushions, throws and bedding. Add one accent that repeats nothing: a lamp in a bold colour, a basket, a framed print. Layering matters more than matching, and every piece travels to your next place when you move.
Is contact paper a good substitute for removable wallpaper?
Contact paper works well for a single wall, a shelf interior or a cabinet lining, and it is the cheapest way to add a pattern. It is thinner than purpose-made removable wallpaper, so wall texture and imperfections show through, and it tends to be less forgiving at removal. Use it on smooth walls, replace it every year or two, and peel it while the adhesive is still pliable rather than after it has fully set.
How do you remove adhesive residue without damaging the wall?
Warm the residue gently with a hairdryer, then work it off with a cloth and a small amount of isopropyl alcohol, testing a hidden corner first so you know the paint underneath will not dull. Never scrape with a knife blade, and never use a metal tool. For heavy residue, repeat the heat and alcohol cycle in short passes. If residue remains after two attempts, stop, tell your landlord in writing with photos, and ask how they want it handled.
Which rooms benefit most from temporary wall updates?
Rooms you see first and use most benefit the most, so start with the entryway, the living room and the kitchen backsplash area. Bedrooms work well too, especially behind a headboard where one panel replaces a headboard. Bathrooms are usually worth it since the tile look is the cheapest upgrade there. Skip small closets and utility spaces unless you enjoy them, because you will rarely see the result and the adhesive risk stays the same.
Conclusion
The easiest first move is one removable treatment on one wall. Peel-and-stick wallpaper, pre-sized removable panels or a single leaning frame will do it, and every one of them comes down in minutes at move-out.
Build outward from there. Add the curtains, lay the rug, repeat two colours in the cushions, swap the knobs and the lampshade, then turn on three lights instead of one. Before anything touches a surface, check your lease for what it actually permits, run the adhesive test on a hidden corner and wait a full 48 hours, and photograph the wall before you start.
That is how to decorate when you cannot paint, without a single hole, a patch or a conversation about repainting at the end of the year. Ask for permission in writing even when your landlord seems relaxed. Some will say yes to a whole project, and a few will help fund it.