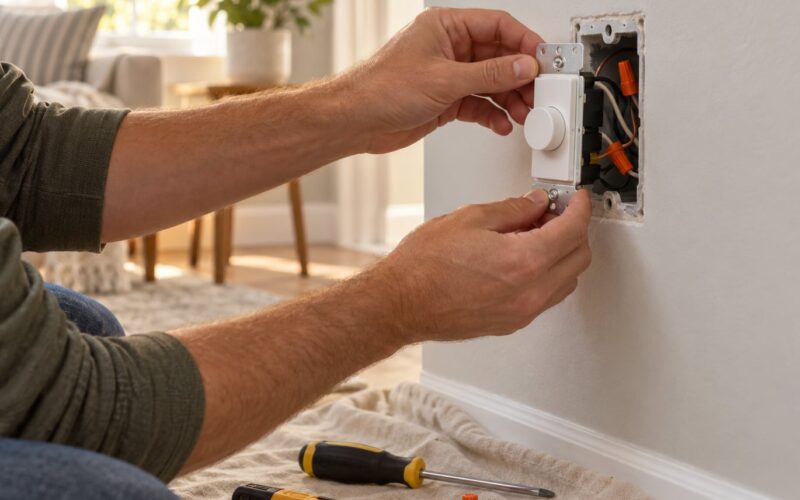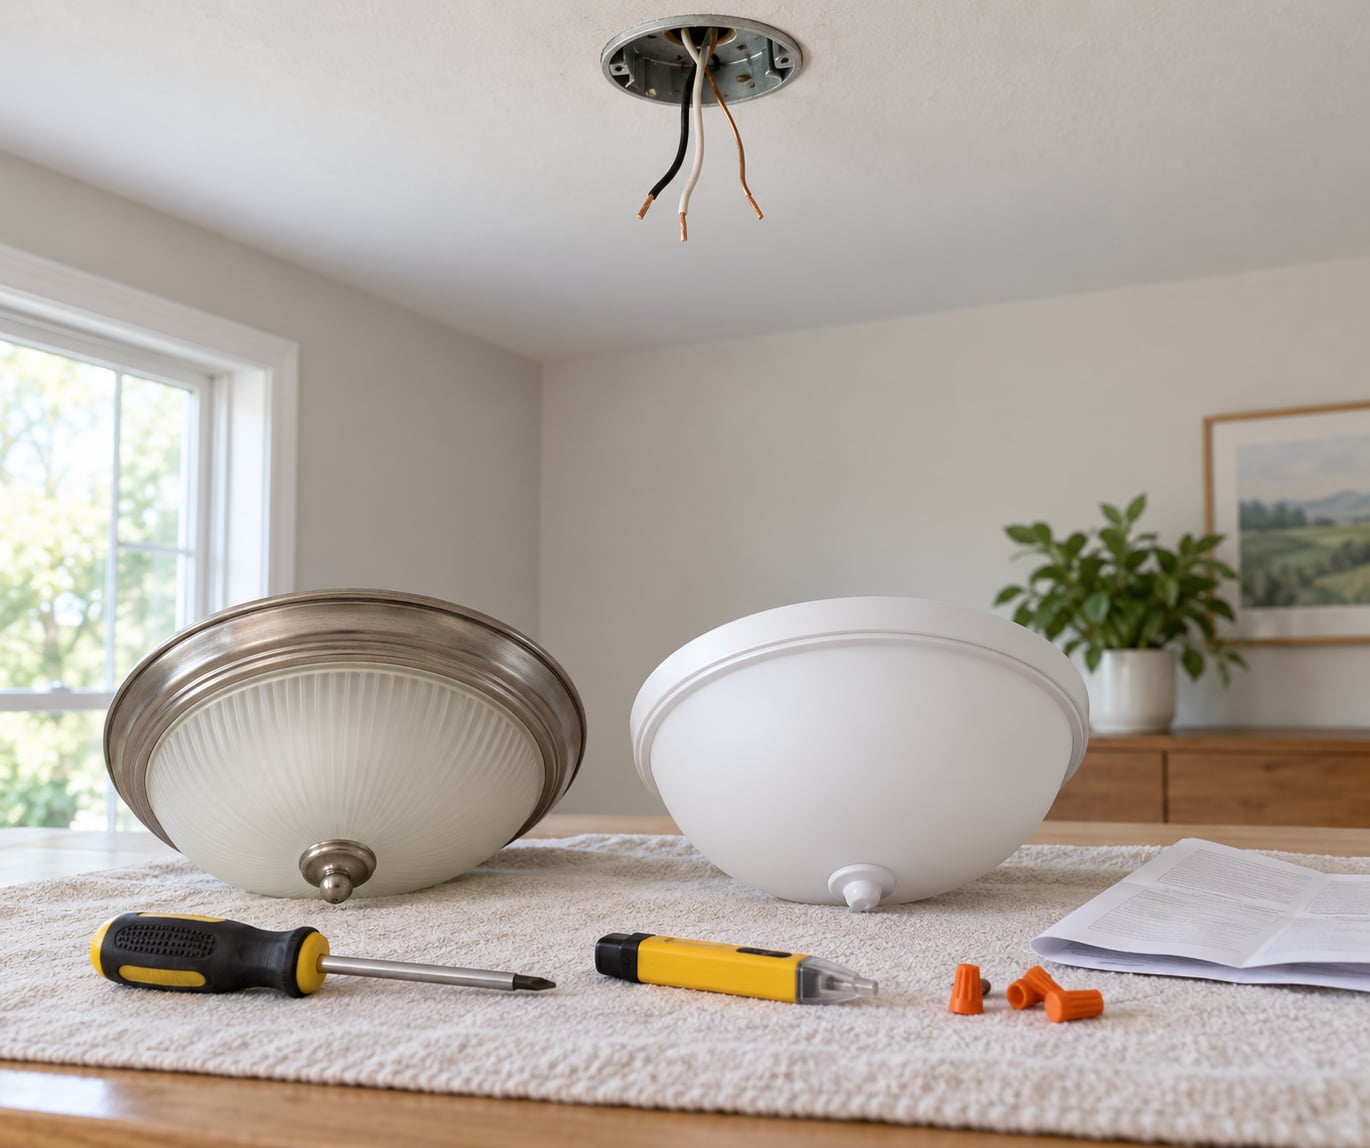
Learning how to swap a light fixture yourself is one of the most approachable electrical jobs in the house. If a box is already in the ceiling or wall, you are reconnecting three conductors in the same hole you already have, and the whole job takes 30 to 60 minutes for most beginners.
That said, the safety steps matter far more than the mechanical ones. Turn off the breaker, verify the wires are actually dead with a tester, and never trust the wall switch to protect you.
Table of Contents
- What You Need
- Step-by-Step: How to Swap a Light Fixture Yourself
- 1. Confirm the replacement is compatible
- 2. Turn off and verify the power
- 3. Remove the old fixture
- 4. Inspect and prepare the electrical box
- 5. Connect the new fixture wires
- 6. Secure and attach the new fixture
- 7. Restore power and test the work
- Common Mistakes
- Frequently Asked Questions
- Do I need to turn off the breaker or just the wall switch?
- What color wires go to a light fixture?
- What happens if I wire a light fixture backwards?
- My box only has two wires and no ground. Can I still swap the fixture?
- Can I replace a light fixture with a ceiling fan?
- Do I need a permit to replace a light fixture?
- Start With the Box and the Breaker
What You Need
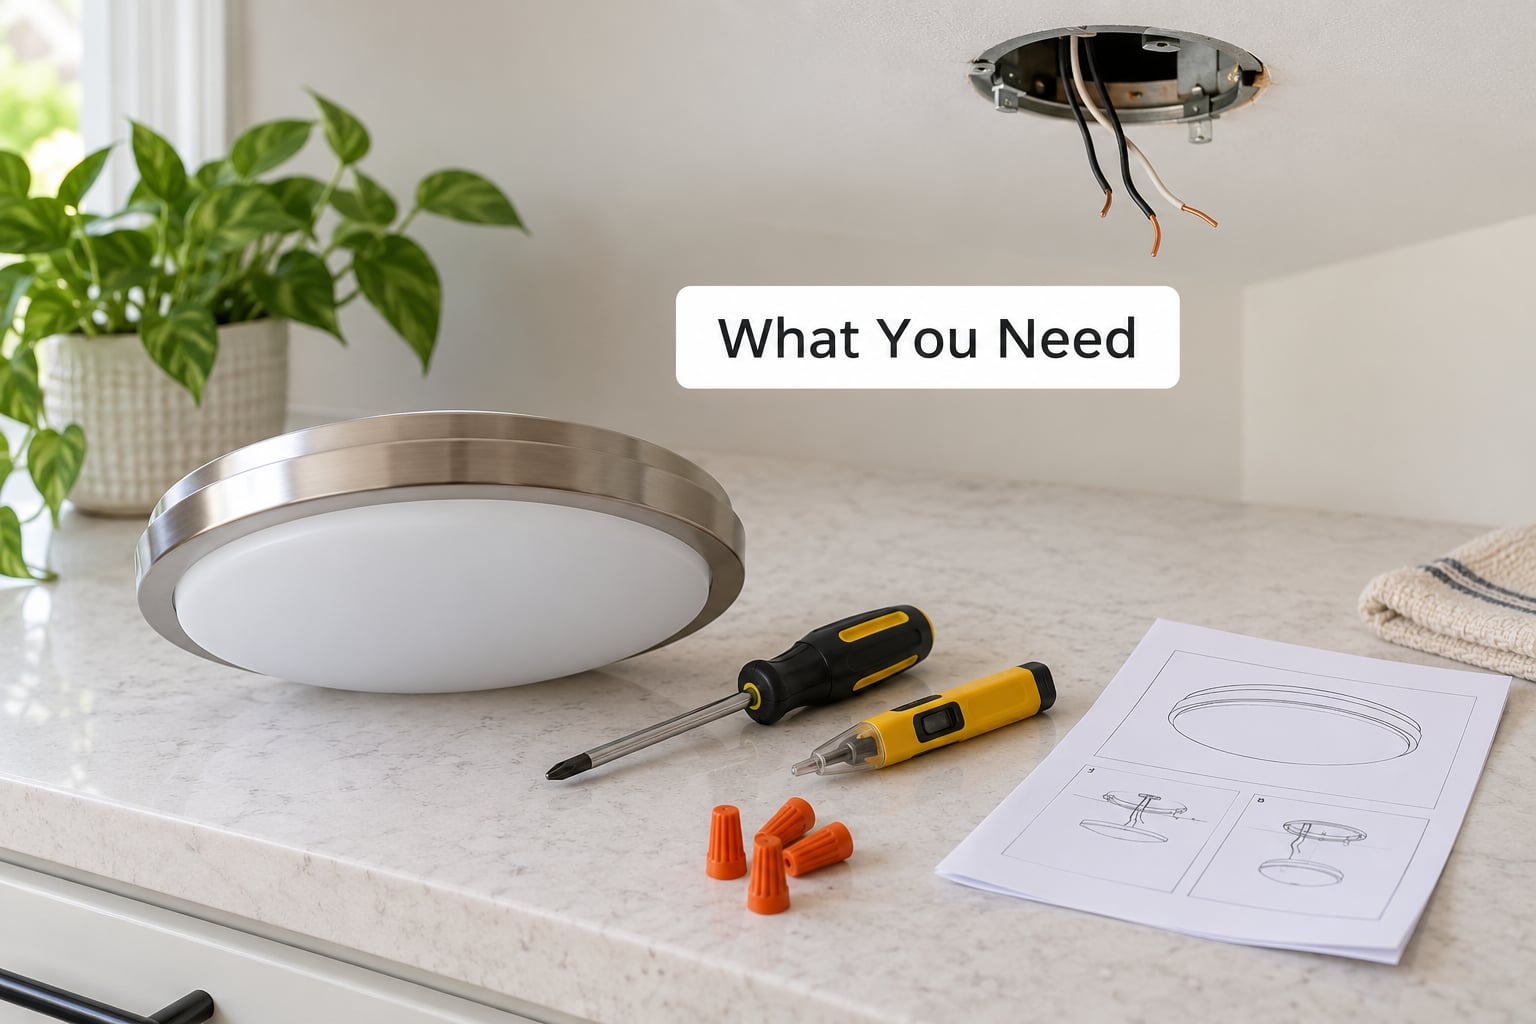
Most of the tool list is short, and you probably own half of it already.
- A voltage tester. A two-pole tester that checks both hot and neutral at once is the better buy here. A non-contact pen is a useful first sweep but it can miss a fault, so use it as a screen, not a verdict.
- Flathead and Phillips screwdrivers. Fixtures use a mix, and a short shaft fits better inside a canopy.
- Wire strippers or cutters for trimming and stripping the conductors.
- Wire connectors (wire nuts), listed for the gauge you are joining. Twist-on and push-in styles both work when they are listed for the wire.
- Electrical tape for flagging conductors if anything goes wrong mid-job.
- A step ladder that sits level on all four feet. Household advice about working off a chair is just a fall waiting to happen.
- Safety glasses, and a second person to hand you bulbs and hold the ladder.
Then confirm the new fixture actually suits the existing electrical box before you lift any screws. Check the box diameter against the new canopy, confirm the bracket or crossbar fits a standard round or octagonal box, and check the weight against what the box is rated for. Standard boxes are commonly rated around 50 pounds, so a light or semi-flush mount is usually fine and a chandelier is often not.
Look at the bulb socket too. Most residential fixtures take a standard medium base bulb, but fixtures marked LED-compatible behave differently with dimmers, and anything going into a bathroom or outdoors needs a damp or wet location rating printed on the label.
Step-by-Step: How to Swap a Light Fixture Yourself
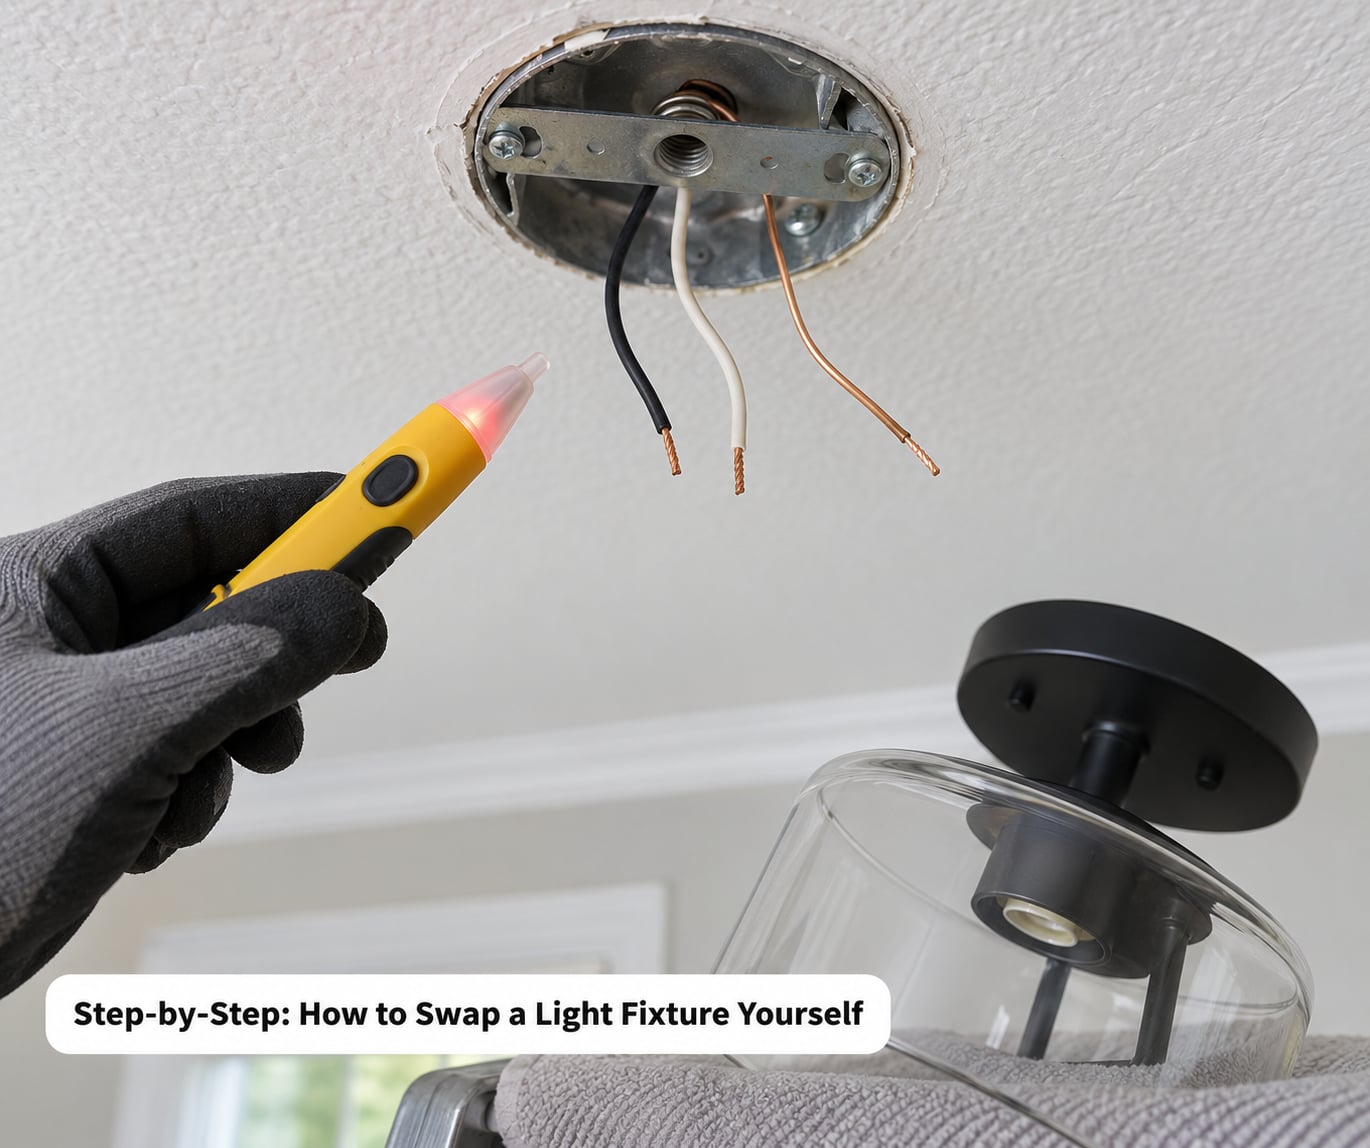
A like-for-like swap follows the same sequence every time: kill the power, prove it is dead, photograph what you found, unclip the old fixture, join the new conductors, remount, then test. Work through it in that order and nothing gets skipped.
1. Confirm the replacement is compatible
Compare the new fixture against the installed box before anything is dismantled. Measure the box, check the mounting hardware that came with the fixture, read the weight and bulb type on the label, and read the manufacturer’s instructions from start to finish. If the instructions disagree with any step in this guide, follow the fixture’s instructions.
2. Turn off and verify the power
Switch off the breaker that feeds the fixture, not the nearest one by guesswork. Confirm it by switching the light off and on at the wall switch while the breaker is open, then verify the conductors at the fixture with the voltage tester. A non-contact pen alone is not enough, because it can read false on tightly bundled conductors and it cannot prove the neutral is dead.
3. Remove the old fixture
Unscrew the shade or glass, remove the bulbs, and take out the screws holding the canopy or mounting bracket. Support the fixture with one hand as the last screws come out, because a semi-flush mount is heavier than it looks. If a screw is stripped or refuses to turn, stop rather than forcing it; a snapped screw head in a canopy is an electrician job.
4. Inspect and prepare the electrical box
With the fixture down, look at what is actually inside the box. You want copper conductors in good shape, insulation that is not cracked or brittle, wires that are secured to the box rather than spliced to nothing, and a box that is firmly attached to the ceiling or wall. Loose wires, scorch marks, a warm-smelling box, aluminium conductors or cloth-sheathed cable all mean stop. So does a box that moves when you press on it.
5. Connect the new fixture wires
Match function, not colour alone, and use the fixture instructions as the final word. Photograph or sketch the existing connections first so you can put the same arrangement back.
| House wire | Fixture wire | Role |
|---|---|---|
| Black, or the reidentified hot conductor | Black, or the wire marked L or LINE | Carries power to the fixture when the switch is on |
| White or gray | White, marked N or NEUTRAL | Returns current to complete the circuit |
| Green or bare copper | Green, or the fixture’s grounding screw | Safety path that trips the breaker if a hot wire touches metal |
Strip only as much insulation as the connector needs, twist the conductors fully together, and cap each joint with a listed wire connector. Give every connector a firm pull test before you tuck it in; a joint that slides out was not seated. The ground connection is not optional on a metal fixture, and it must land on the green screw or green lead supplied with the fixture.
6. Secure and attach the new fixture
Push the connected wires into the box without pinching them, leaving the strain relief or cord clamp doing its job. Attach the mounting bracket or crossbar to the box, set the fixture over the screws, and tighten evenly rather than cranking one side first. The fixture should hang level and feel solid with no wobble, and no wire should be caught between the canopy and the box.
7. Restore power and test the work
Stand clear, check that the canopy is closed, the bulbs are seated and no bare copper is visible, then flip the breaker back on. Test the switch: the light should come on, go off, and respond every time. If you see flickering, buzzing, sparking, heat at the canopy or any burning smell, switch off at the breaker immediately and undo your work.
Common Mistakes
Nearly every botched swap traces back to one of these, and all of them are fixable in minutes if you catch them early.
- Working with the wall switch off instead of the breaker off. The switch only interrupts the hot conductor at the switch box. The conductors up in the ceiling box stay live, which is how so many beginners get shocked. Correction: open the breaker and confirm with a tester.
- Trusting colour over function. Old red, blue, orange-highlighted and uncoloured wires are common in older homes, and a rewire may not follow the code colours you expect. Experienced electricians advise never connecting conductors purely because they look like they match. Correction: identify by function, using a tester, or stop.
- Leaving a ground loose or omitted. Skipping the ground on a metal fixture because no screw was obvious is the mistake that turns a fault into a shock. Correction: fit the ground to the green screw or green lead, and stop if the box has no ground path at all.
- Leaving unused conductors uncapped. Bare wire hanging in an open box is energised whenever the circuit is live. Correction: cap every unused conductor individually with a listed connector.
- Overstuffing or crushing the box. Wedges jammed in by hand get pinched when the canopy closes, which can break the insulation. Correction: push in only what fits loosely and trim excess slack.
- Using the wrong bulb. A 100-watt replacement in a fixture rated for 60 is the fastest way to melt a socket. Correction: match the wattage printed inside the fixture canopy.
- Reusing old mounting hardware. A bracket or screws carried over from the previous fixture may not match the new weight. Correction: use the hardware supplied with the new fixture.
- Assuming every fixture is a wire-for-wire swap. Switch loops, dual switches, dimmers and new circuits change the whole method. Correction: if the wiring is not a simple hot, neutral and ground set, stop and call a licensed electrician.
One rule covers most of these: if anything about the wiring is unclear, damaged or unfamiliar, leave the conductors capped and the breaker off until a licensed electrician has looked at it.
Frequently Asked Questions
Do I need to turn off the breaker or just the wall switch?
The breaker, every time. A wall switch only breaks the hot conductor at the switch box, so the wires inside the ceiling box stay energised even with the switch off. Switch off the breaker feeding the fixture, confirm the light no longer responds, then verify the conductors with a voltage tester before you touch anything.
What color wires go to a light fixture?
In US wiring, black or a reidentified hot conductor joins the fixture’s black or LINE wire, white or gray joins white or NEUTRAL, and green or bare copper joins the green lead or the fixture’s grounding screw. Match by function rather than colour alone, since older and rewired homes often use unexpected colours or none at all.
What happens if I wire a light fixture backwards?
Reversing hot and neutral on a standard fixture rarely damages it. The problem is that the fixture will not work correctly: a fixture that switches its own power off needs the hot conductor on the correct side, and lamps with a pull chain or onboard switch behave erratically when neutral sits in the switched path. Correct it before energising.
My box only has two wires and no ground. Can I still swap the fixture?
Two-wire, no-ground boxes are common in older homes, and they are the single biggest reason beginners stop mid-job. You can still swap a plastic, non-metal fixture onto that box and gain a real improvement over the original, but you must not hang a metal fixture on an ungrounded box, because the ground is what would trip the breaker if a hot wire touched the frame.
Can I replace a light fixture with a ceiling fan?
Not with the same electrical box. A fan puts steady downward load on the box, and most standard junction boxes are rated around 50 pounds, which is usually fine for a light but often not for a fan. A fan requires a listed fan-rated box mounted to a brace or joist, plus an approved bracket, so treat a light-to-fan conversion as an electrician job rather than a swap.
Do I need a permit to replace a light fixture?
In most US jurisdictions, a like-for-like fixture replacement on an existing branch circuit needs no permit, because no new wiring is being added. Rules vary by city and county though, and adding a fixture where no wiring exists, running new cable, or upgrading a circuit generally does require a permit and inspection. Check your local building department before you extend the scope of the job.
Start With the Box and the Breaker
If you take one thing from this guide, make it the first two checks rather than the wiring. Read the new fixture’s instructions, confirm the box type and weight rating suit it, and know exactly which breaker feeds it before you touch a screw.
How to swap a light fixture yourself is genuinely beginner territory when the job is a like-for-like replacement on sound wiring with a ground present and the circuit can be switched off and verified dead. Anything beyond that, aluminium or cloth-sheathed cable, a missing ground, a box that is not rated for what you are hanging, or new wiring altogether, belongs with a licensed electrician.