Layering lighting in a living room means using at least three kinds of light — ambient, task and accent — at different heights, so no single fixture has to do all the work. You get a room you can read in, dim down for a film, and brighten for guests. Most of it is plug-in lamps and a dimmer switch, not new wiring.
The reason a lone ceiling light feels flat is simple: it lights the ceiling more than the room, and it gives you exactly one brightness setting. Fix that and the same furniture in the same paint looks like a different room entirely.
Here is the process I use, updated for 2026: map the problems first, build ambient light, add task light where people actually sit, finish with a small accent layer, then dim and test. Budget about an hour to plan and an afternoon to place things.
Table of Contents
- What You Need to Layer Lighting in a Living Room
- Planning tools
- The three layers, in physical form
- Bulbs and controls
- Step-by-Step: How to Layer Lighting in a Living Room
- 1. Map the room and find the lighting problems
- 2. Build the ambient lighting layer
- 3. Add task lighting where people read, work or scroll
- 4. Create an accent layer for focal points
- 5. Balance the layers with dimmers and smart controls
- 6. Test the room at different times of day
- Common Mistakes
- Relying on one ceiling fixture
- Mixing color temperatures
- Choosing bulbs that are too bright
- Aiming task light the wrong way
- Attempting wiring work that needs an electrician
- Forgetting tall or vaulted ceilings
- Frequently Asked Questions
- What are the three layers of living-room lighting?
- How many lights should I put in a living room?
- Should all living-room bulbs use the same color temperature?
- Can I layer lighting without installing new wiring?
- What is the best lighting for reading in a living room?
- Do I need a dimmer for layered lighting?
- Conclusion
What You Need to Layer Lighting in a Living Room
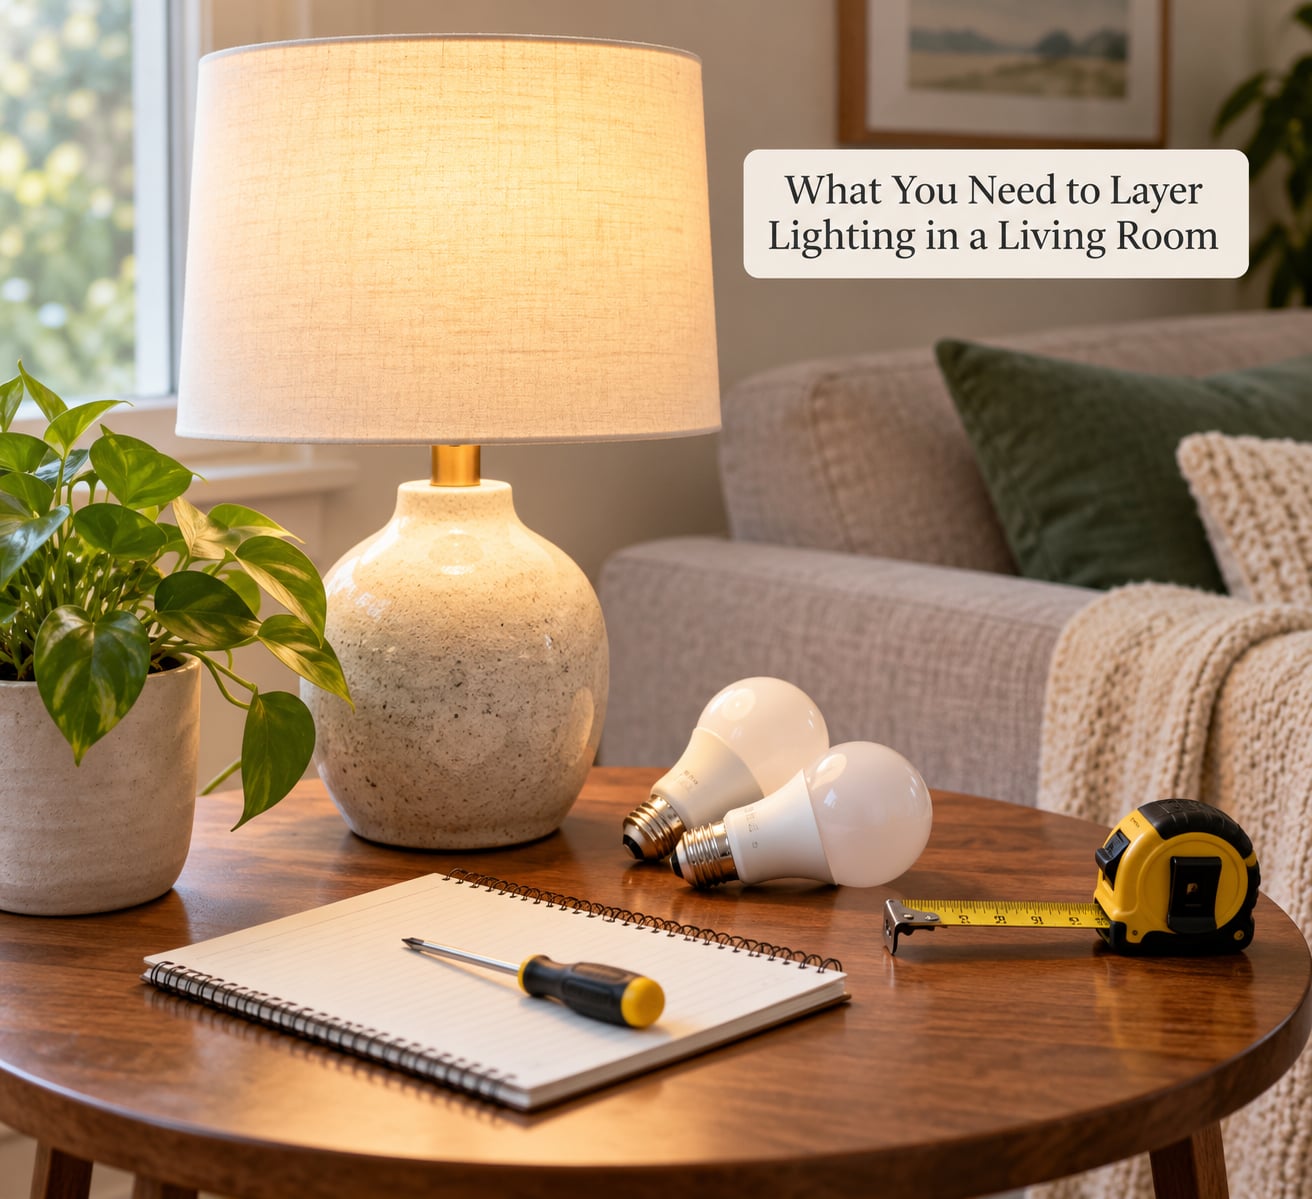
You need far less than a lighting designer would have you believe. Almost all of the work is lamps, bulbs and where you put them.
Planning tools
- A tape measure and a notepad, so you can write down ceiling height, sofa dimensions and where the shadows fall.
- A phone photo of the room at night. Comparing that with a daytime photo is the fastest way to spot the problem corners.
- A cheap light meter app if you like numbers, though your eyes are the final judge.
The three layers, in physical form
- Ambient: a ceiling fixture (flush mount, semi-flush, pendant or chandelier), plus floor and table lamps for fill.
- Task: an adjustable-arm floor lamp, a clip-on reading lamp, or a directional table lamp aimed at a chair or sofa corner.
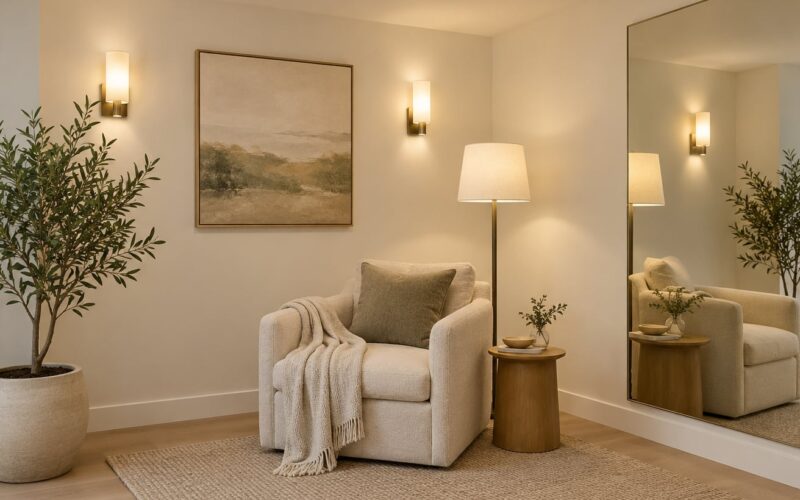
- Accent: picture lights, plug-in wall sconces, uplights aimed at a plant or a wall, or an LED strip behind the television.
Bulbs and controls
- Dimmable warm-white LED bulbs, 2700K to 3000K. Mixing a 2700K lamp with a 4000K can light makes a room look dingy rather than bright.
- A dimmer that is rated for LED bulbs. An old mechanical dimmer with LED loads is the number-one cause of flicker.
- A smart bulb or smart switch if you already have the app ecosystem, purely optional.
Safety first. Swapping a bulb, moving a lamp and mounting a plug-in sconce are all homeowner jobs. Anything that means cutting into a wall, running new wire, working in a ceiling box or touching a panel belongs to a licensed electrician, and so does anything involving an older home with cloth wiring or aluminum conductors. If you are renting, check the lease before you drill a single hole — the plug-in options below cover most of the effect with none of that.
Step-by-Step: How to Layer Lighting in a Living Room
The three layers at a glance, so you can see the whole plan before you start:
| Layer | What it does | Typical fixtures | Where it sits |
|---|---|---|---|
| Ambient | Baseline visibility, nothing more | Flush mount, semi-flush, pendant, floor lamp, table lamp | Ceiling for the main source, floor and table height for fill |
| Task | Focused light on a specific activity | Adjustable floor lamp, clip-on lamp, directional table lamp | Beside or behind the reader, roughly at seated eye level |
| Accent | Draws the eye to one object or surface | Picture light, plug-in sconce, uplight, LED strip | Wall, ceiling wash or behind furniture, off to one side |
1. Map the room and find the lighting problems
Sit in the room for five minutes at night and note three things: where it is too dark, where the light is harsh, and where you cannot see the page or the remote. That list is your shopping list.
Plan around where people sit, not around ceiling symmetry. Symmetrical can layouts look tidy in an empty room and useless once the sectional is in. Lighting forums keep returning to the same advice in different words: light the activity zones, and let the ceiling follow along.
2. Build the ambient lighting layer
Start with the ceiling, because it is the one layer you cannot fake with a lamp. In a standard 8- to 9-foot room, a flush mount or semi-flush fixture reads better than a tall chandelier, which pushes all of its light upward into a ceiling you are not looking at.
Size it to the room. A 200 square foot living room is usually handled by one ceiling fixture in the 80- to 90-watt equivalent range, or by two smaller fixtures spaced evenly rather than one big one.
Then add floor-level fill, which is the part people skip. A floor lamp behind the sofa and a table lamp on the nearest surface soften the shadows that a single overhead source casts under the eyes and chin. Large shades help here: a wide shade spreads light across the room instead of dropping it in a pool.
3. Add task lighting where people read, work or scroll
Task light works when it comes from behind or beside the person, not from the front. A lamp pointed at a face creates the same flat shadows as an overhead fixture.
- Reading chair: an adjustable floor lamp with the shade bottom at seated eye level, so the light lands on the book and not the reader’s chin.
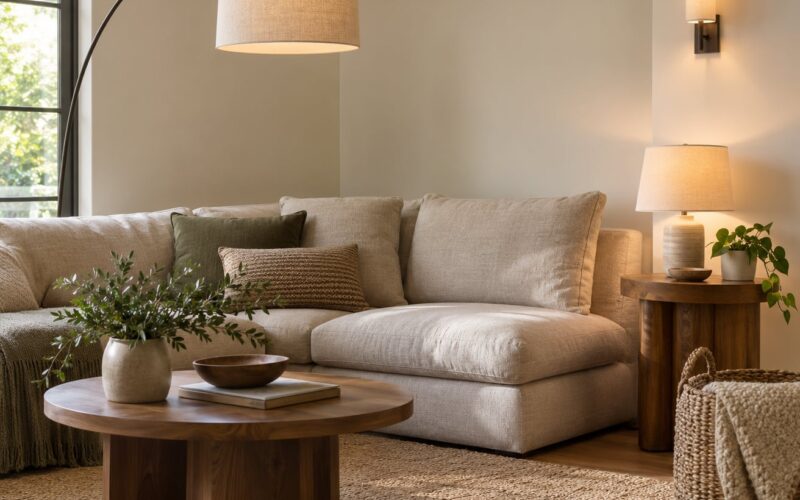
- Sofa corner: a floor lamp placed just behind the sofa arm, with the shade bottom about 12 to 18 inches above the arm. It lights the page without being seen across the room.
- Laptop corner: a clip-on lamp on a table or a swing-arm lamp that reaches over the work surface.
- Side table: a directional table lamp aimed at the spot where hands do work, not straight up.
One task light per seating cluster is a sensible rule. Two people on opposite ends of a sectional need two lights, and one lamp stretched between them helps nobody.
4. Create an accent layer for focal points
Accent lighting is the layer people buy one item for and then enjoy most, because it does something visible. Keep it to two or three sources so it stays a highlight rather than a second ambient layer.
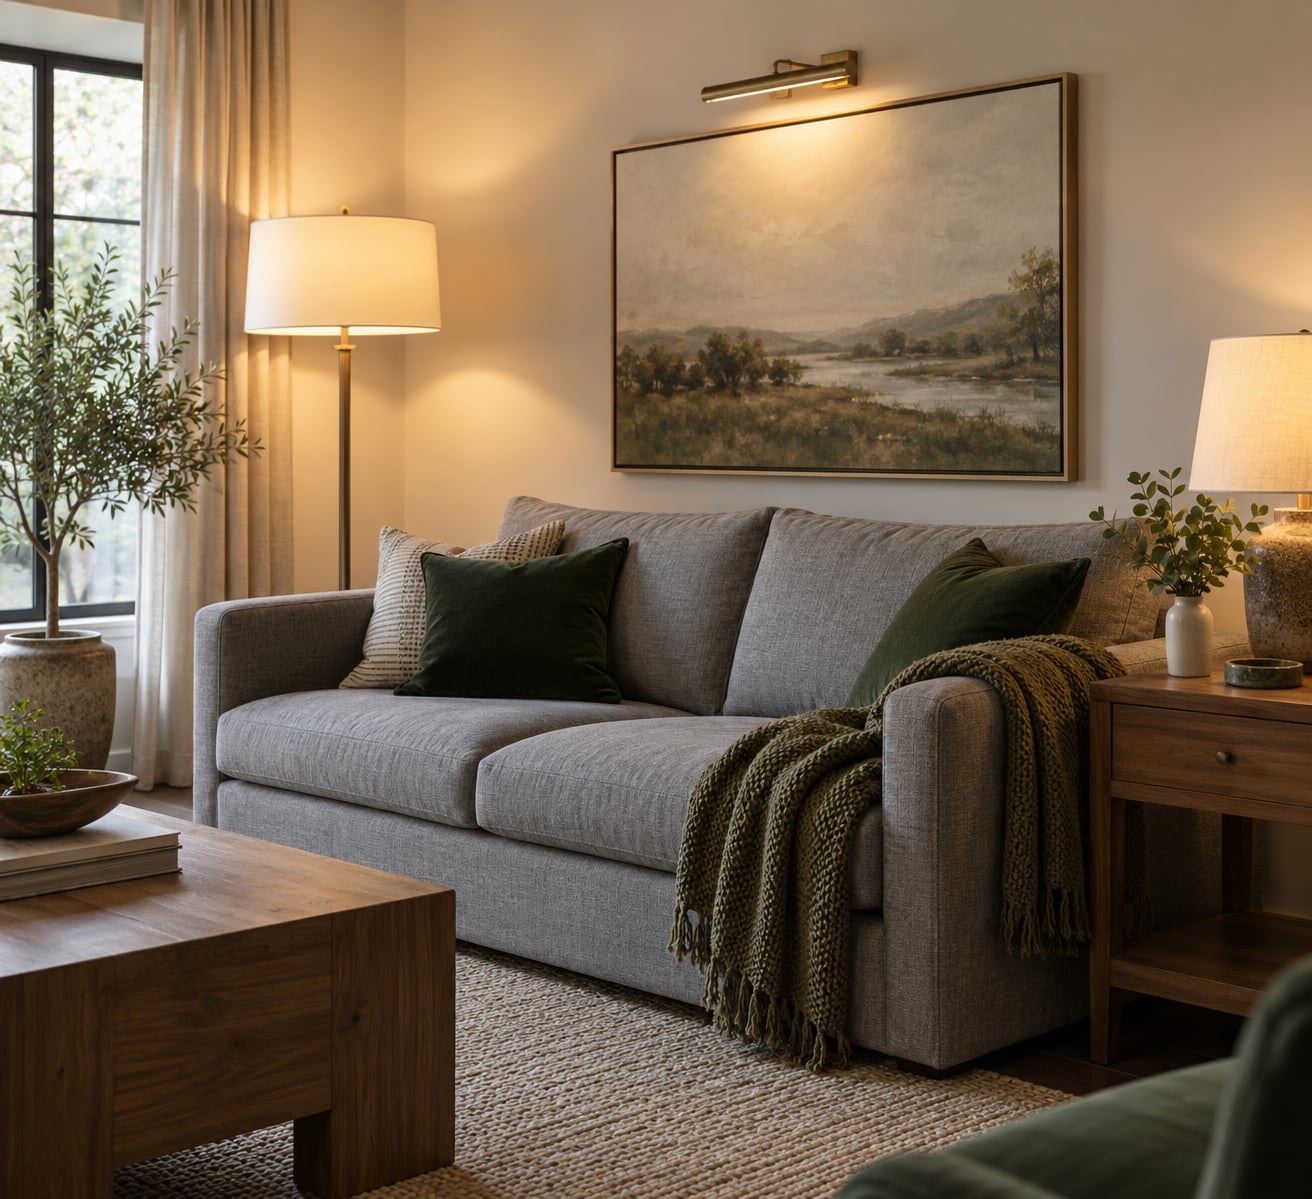
- Artwork: a picture light mounted 6 to 8 inches above the frame, or a narrow-beam uplight on top of the console aimed at the wall.
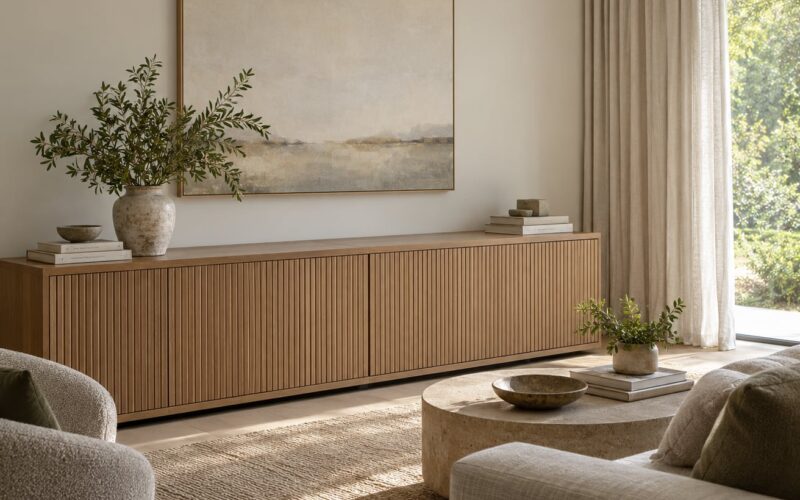
- Television wall: an LED strip on the back edge of the media console throws a soft glow onto the wall and takes the harsh edge off the screen.
- Plants: a small spotlight clipped behind a large leaf, angled upward.
- Gallery walls and shelves: a plug-in picture light, so nothing touches the wiring.
Aim every accent light at a surface, not into the room. A lamp pointed at the ceiling reads as a glow; pointed at a textured wall or a piece of art, it reads as depth.
5. Balance the layers with dimmers and smart controls
Layering without dimmers is just three lights on once, which is brighter than the single bulb you replaced. Dimming is what turns the layers into scenes.
Match bulbs rather than fixtures. Buy dimmable bulbs for every source on the same circuit, and confirm the dimmer is LED-compatible; a legacy mechanical dimmer on LED loads gives you flicker and a limited range.
One dimmer usually controls one circuit, so a living room with a ceiling light on its own switch is already ideal. If you want the ceiling and lamps on separate sliders, an in-line dimmer on the lamp cord or a smart switch handles it without touching a wall.
Three scenes worth saving once the room is right:
- Everyday: ambient at about 70 percent, task light off.
- Reading: ambient at 30 percent, one task light at full.
- Film night: ambient off, accent strip on low, one warm lamp in a corner.
6. Test the room at different times of day
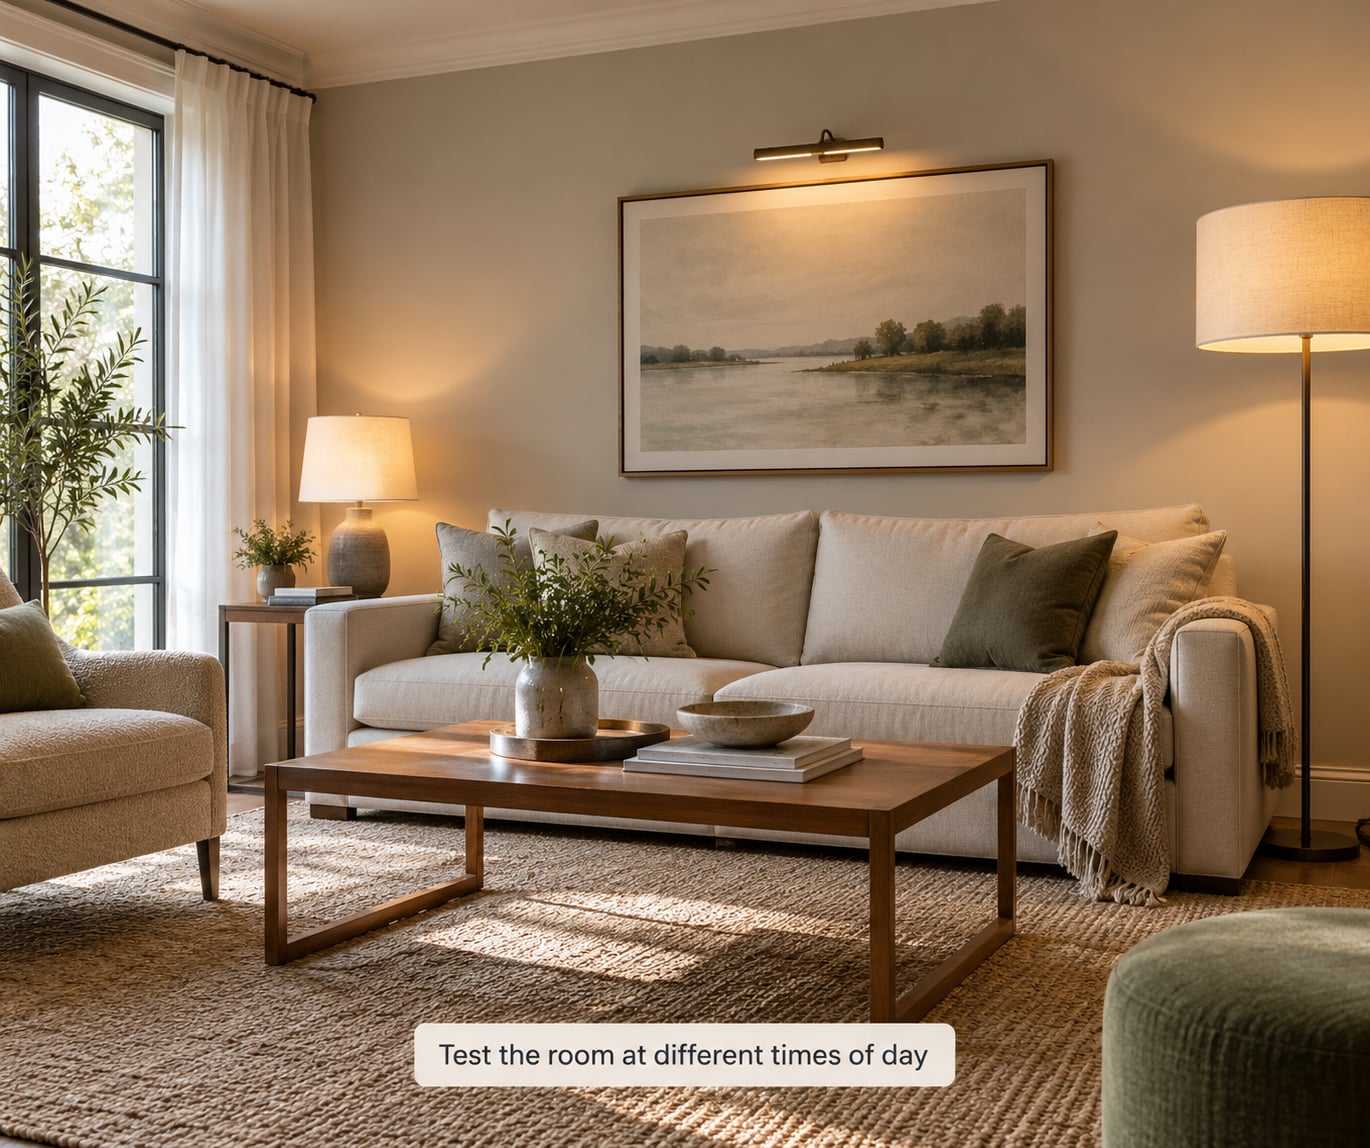
Do this at four points: late morning, dusk, full dark with the TV off, and with guests in the room. A layout that flatters an empty sofa at dusk can be blinding when four people are sitting in it.
Walk to the far wall and look back at the room. Corners that swallow light need another floor or table lamp. Ceilings that glow white mean your ambient source is too strong or too exposed. Dark patches behind the sofa usually mean the lamp is in front of it rather than behind.
Adjust placement before you adjust brightness. Moving a lamp eight inches often solves more than turning it down a notch.
Common Mistakes
Almost every flat-looking living room I walk into has the same three problems. Here is what to fix, and what it looks like when it is working.
Relying on one ceiling fixture
One overhead light throws shadows under the eyes and leaves corners black. Fix: add two low-level sources at floor or table height. This is the single biggest upgrade, and the two-lamp fix — a small table with a lamp beside the sofa plus a floor lamp moved to the other side — needs no wiring at all.
Mixing color temperatures
A 2700K lamp next to a 4000K bulb makes both look wrong, and the room reads grey. Fix: pick 2700K to 3000K for everything in the room, and check the bulbs already in your ceiling fixture before you buy anything new.
Choosing bulbs that are too bright
Modern fixtures rarely ship with bulbs, and the first bulb you grab is often a 100-watt equivalent that flattens everything it touches. Fix: start at a 40-watt equivalent in table lamps and a 60-watt equivalent in floor lamps, then go up only if the space genuinely needs it. If you want a number rather than an opinion, a light meter app gives you a reading at the seat; most people stop once the page is comfortable and the ceiling is not glowing.
Aiming task light the wrong way
Light from directly in front of the reader gives you glare on the page and shadows on the face. Fix: put the source behind or to the side, at about seated eye level, and aim the shade at the work rather than the room.
Attempting wiring work that needs an electrician
Adding a hardwired sconce or a ceiling box in an old house is not a weekend job for most people. Fix: plug-in wall sconces, battery candles in lanterns, and smart bulbs inside existing fittings get you the same visual effect with nothing buried in the wall.
Forgetting tall or vaulted ceilings
A ceiling mounted at eight feet looks stubby in a 12-foot room, and the same fixture in a 7-foot room crowds the space. Fix: use proportion as the guide — in tall rooms hang pendants longer or add a second tier of floor lighting, and in low rooms stay with shallow flush mounts so sightlines stay open.
One styling tip: after the lights are right, clear the tallest object on your media console. A lamp or plant that pokes above the screen steals every bit of accent glow you just paid for.
Frequently Asked Questions
What are the three layers of living-room lighting?
The three layers are ambient, task and accent. Ambient light gives the room its baseline visibility and comes from ceiling fixtures, floor lamps or table lamps. Task light is focused and directional, aimed at where you read, work or use a device. Accent light draws the eye to something specific, such as artwork, a gallery wall, a plant or the wall behind your television.
How many lights should I put in a living room?
Count your activity zones rather than your ceiling. Most living rooms do well with three or four sources: one ambient ceiling fixture, one floor lamp, one table lamp at the main seating cluster, and one accent source. A large sectional or a room with a reading corner usually needs a fifth, because each cluster wants its own light at eye level.
Should all living-room bulbs use the same color temperature?
Yes, as close as you can manage. Warm white at 2700K to 3000K suits a living room because it flatters skin tones and softens furniture finishes. A single cool bulb among warm ones throws the whole room off, so check the bulbs already installed in your ceiling fixture before buying any new ones.
Can I layer lighting without installing new wiring?
Yes, and most of a good lighting plan never needs a new wire. Floor lamps, table lamps, clip-on reading lamps, battery-powered lanterns, plug-in wall sconces and LED strips behind furniture all handle the task and accent layers. Only hardwired fixtures, such as recessed cans or a new pendant, require an electrician.
What is the best lighting for reading in a living room?
An adjustable-arm floor lamp placed just behind or beside the chair, with the shade bottom at roughly seated eye level, so light lands on the page instead of your face. Aim it at the reading spot, use a dimmable warm-white LED around 2700K to 3000K, and add a small table lamp nearby to soften the contrast on the page.
Do I need a dimmer for layered lighting?
A dimmer matters more with three layers than with one, because it lets you set the room to a scene instead of all-or-nothing. Use dimmable bulbs and confirm the dimmer is rated for LED loads, or old-style mechanical dimmers will flicker. If your ceiling light is on its own circuit, an in-line dimmer on a lamp cord handles the rest.
Conclusion
Layered lighting is not a shopping list, it is a structure: ambient for visibility, task for the activity, accent for the eye. Get all three in the room and you can dim each one independently, which is what turns a flat space into one that works at nine in the morning and nine at night.
Start where it is worst. Find the darkest or most-used corner of your living room, add one ambient source, one task light at seated eye level and one accent light aimed at a surface, then wait a few days before buying anything else. That is usually the whole job.