
Loose cords are the fastest way to make a tidy desk look unfinished. The good news: almost every desk can be cleaned up in about 45 minutes with clips, sleeves and one hidden route, and most of it needs no tools at all.
To hide cords on a desk, mount a surge protector to the underside of the desk, slide it into an under-desk cable tray, bundle the loose cables with reusable hook-and-loop ties, and run them along the desk leg into that tray. Any cord that still has to cross to the wall goes into a cord cover or raceway that sits flat against the baseboard.
That is the whole method. The rest of this guide is about the decisions inside it: which cords to bundle, where to run them, what to do if you cannot drill, and the two safety mistakes that turn a tidy desk into a hazard. Updated for October 2026.
Table of Contents
- What You Need
- Step-by-Step
- Step 1: Map the Cords and Pick a Route
- Step 2: Bundle Cables That Travel Together
- Step 3: Attach Clips, Sleeves, or a Hidden Route
- Step 4: Hide the Power Strip and Label Connections
- Step 5: Test the Setup and Refine It
- Hiding Cords on a Desk Without Drilling
- Common Mistakes: What Goes Wrong When You Hide Cords on a Desk
- Frequently Asked Questions
- How can I hide cables on my home office desk?
- How do interior designers hide cords?
- What are some clever ways to hide cables?
- How can I hide wires on my desktop?
- How do I hide cords on a desk without drilling?
- Where should I put the power strip under my desk?
What You Need
You do not need all of this. Pick the supplies that match the method you choose, and start with the two or three that do the most work.
- Adhesive cable clips — the small flat clips that stick to a leg, the back edge, or a riser. Buy the screw-in version too, since the screw is what stops them peeling off finished wood over a few months.
- Reusable cable ties — hook-and-loop wraps, not the plastic zip ties. They reopen when you swap a keyboard or move a monitor, which is exactly when plastic ties have to be cut off with scissors.
- Cord sleeves — fabric or braided tubes that turn a loose bundle of five cables into one tidy rope. Look for a sleeve that opens along a seam, so you can drop cables in rather than thread each one through the end.
- An under-desk cable tray — a metal or plastic basket, or a clamp-on tray that grips the back edge of the desktop if the desk has no lip to screw into.
- A surge protector — a UL-listed strip, mounted where the short device cords can actually reach it.
- A cord cover or raceway — the flat channel that sits over a cable running along a wall or baseboard. Pick one that is paintable if the run is visible.
- A measuring tape and a phone photo — measure first. Cords that are a little too short are the reason so many tidy setups get undone a month later.
Household stand-ins work surprisingly well. A binder clip holds a bundle to a desk leg without a single screw, a toilet paper roll keeps a coil of spare cable from tangling in a drawer, and a small metal basket hung upside down under the desk becomes a perfectly serviceable power strip cradle.
Leave more slack than you think you need. If a cable has to stretch from the laptop to a wall outlet on the far side of the room, buy the longer one. Slack is what lets the bundle sit behind the desk instead of drooping across the front of it.
Step-by-Step
Step 1: Map the Cords and Pick a Route
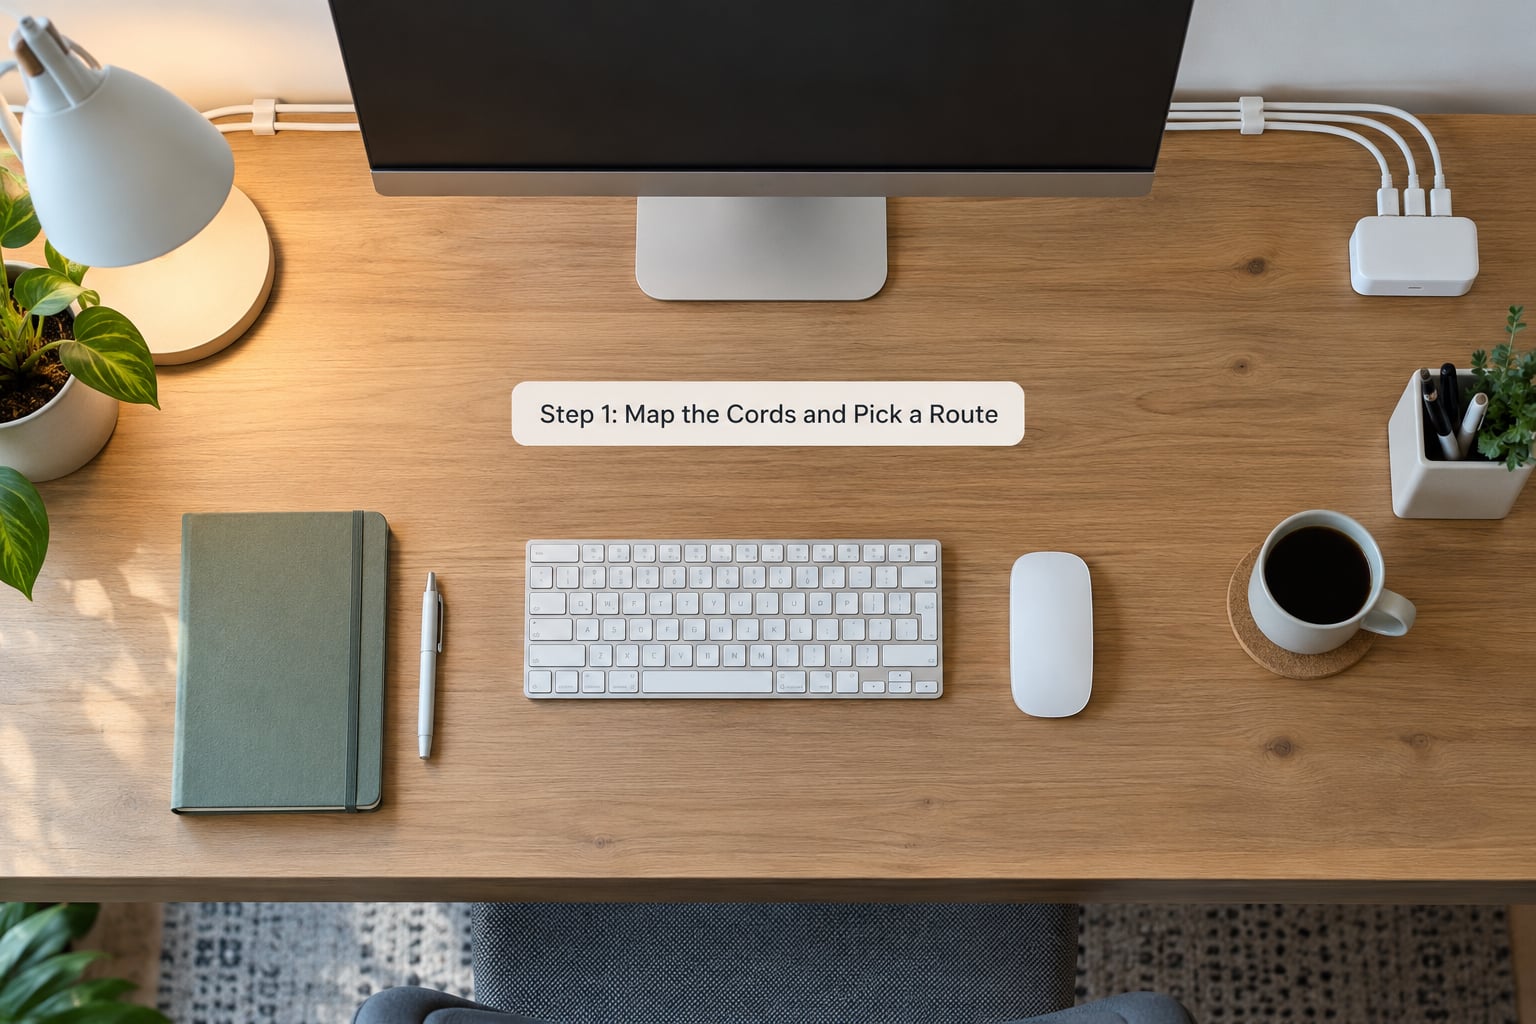
Unplug everything and lay each cord where it will sit once the desk is back in use. Photograph the pile from the chair, because that is the view you are trying to fix.
Then decide where the cords go, not just where they stop being visible. A good route runs along the back of the desk, down a leg, and into a tray or box. It avoids three things: chair wheels, sharp metal desk edges, and heat. Cords pinched by the moving casters of a chair wear through the jacket within a few months, and a cable draped over an edge takes a kink it never recovers from.
Look at where the desk meets the floor before you commit. If the nearest outlet is across the room, you have a different problem, and Step 4 covers it.
Step 2: Bundle Cables That Travel Together
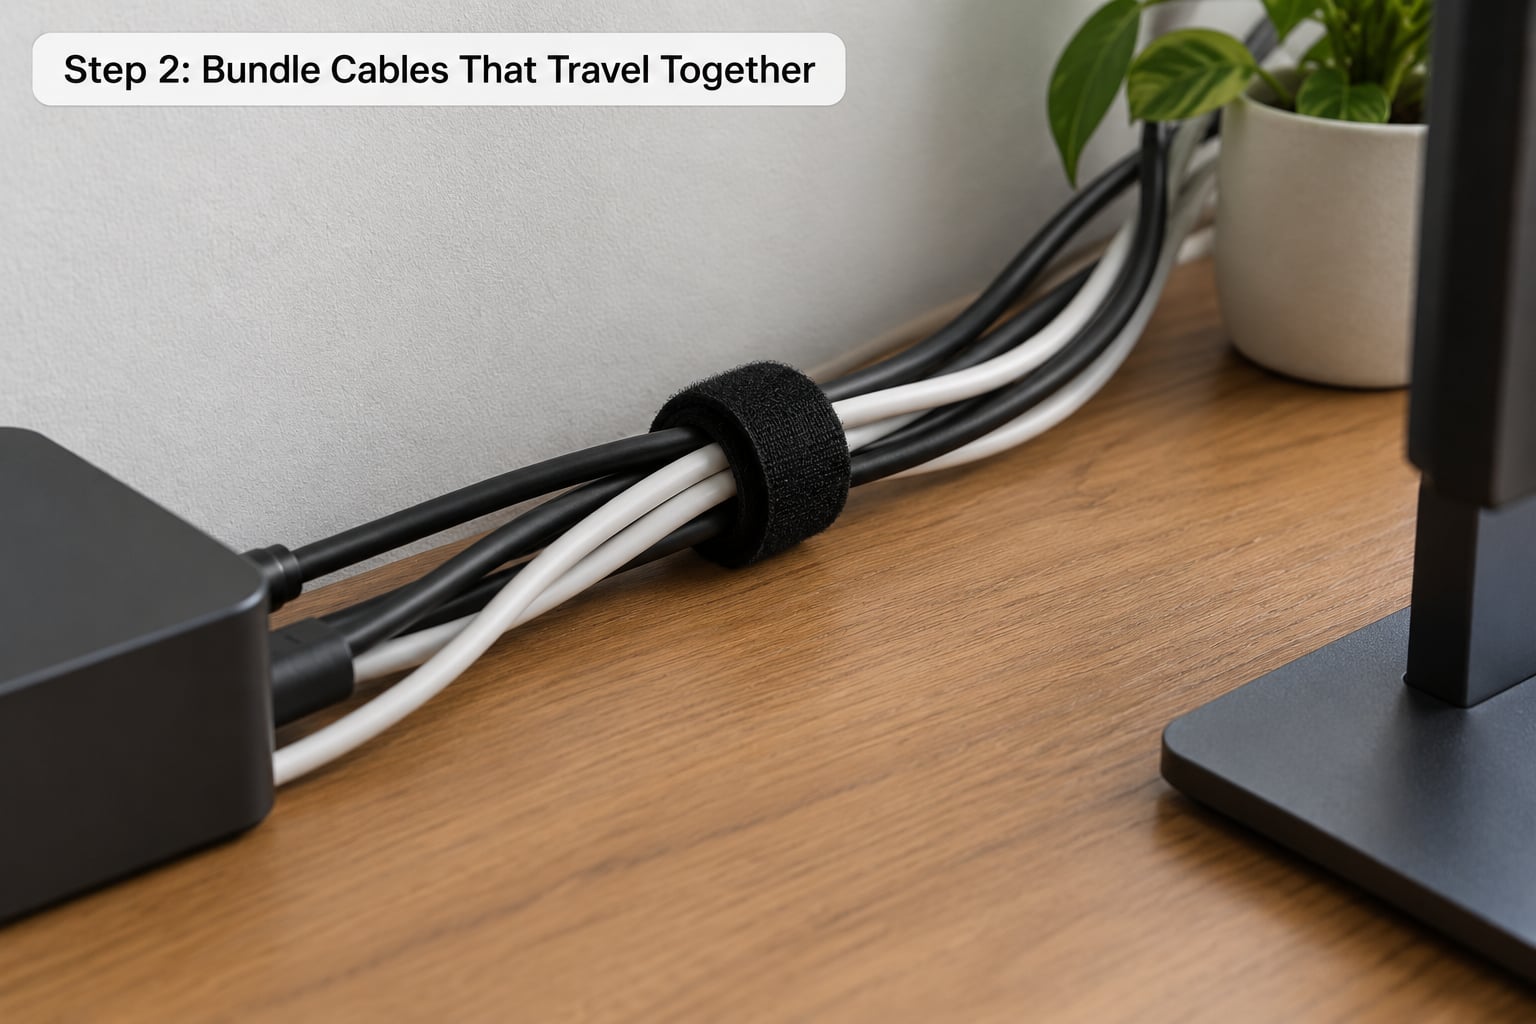
Group the cables that go to the same place. A monitor arm, a laptop and a phone charger all running to the same tray belong in one bundle. A cable that has to reach a different wall does not, and squeezing it in makes the whole bundle worse later.
Take up the excess length in a loose coil and secure it with a hook-and-loop wrap. Do not pull the wrap as tight as it will go. A snug bundle has no room to flex, and a cable that is pinched inside a tie develops a flat spot exactly where the tie sits. Leave a finger’s width under the wrap and leave a small service loop where the cable changes direction.
If a bundle crosses the desk surface rather than staying under it, a sleeve is the better tool. It keeps the cables together, protects the connectors from chair wheels, and stops the bundle from spreading across the wood like a fan.
Step 3: Attach Clips, Sleeves, or a Hidden Route
Put the surge protector in the tray first, then mount the tray to the underside of the desk near the back edge or centre. If the tray is heavier than a light strip, use both heavy-duty double-sided tape and screws. A loaded strip is heavy enough that tape alone gives way over time as dust builds up on the underside of the desk.
Then restrain the bundle at intervals. Two or three clips along a desk leg is enough; the goal is that the bundle cannot swing when you move the chair, not that it cannot flex. A monitor riser does the same job for the cable that droops from a monitor across the desktop, and it also lifts the screen to a better height.
Finally, run any cable that must reach the wall through a cord cover along the baseboard. Cut the cover to length at a corner rather than in the middle of a run, and keep the ends butted tight so the cable cannot be pulled out of the channel.
Step 4: Hide the Power Strip and Label Connections
Mount the strip so you can still plug things in. This is the detail people get wrong: a strip tucked so far under the desk that you have to kneel and reach behind the PC is a strip that stays unused, and unused strips get replaced with a second extension cord.
Label both ends of anything that is not obvious. A strip of masking tape with a short word on the plug end is enough. The five seconds you spend labelling save the ten minutes you would spend tracing a USB cable through a bundle, and they make a swapped charger something you can do without unplugging the wrong thing.
Two situations need their own route. If the desk sits in the middle of the room with no nearby outlet, run the cord along a bookcase or behind a piece of furniture rather than across open floor, and use a floor outlet if the room is wired for one. If the desk is a standing desk, mount the tray on the moving frame rather than the floor, leave a generous service loop at the column, and use hook-and-loop ties instead of zip ties, because every zip-tie solution on a standing desk gets destroyed the first time the surface moves.
Step 5: Test the Setup and Refine It
Plug everything back in and tug gently on each cord. Nothing should move, creak or slide, and no clip should be bearing weight on the cable itself.
Then roll the chair in and out several times, and raise and lower the desk if you have one. Watch for cords that tighten, snag or lift an edge of adhesive when the surface moves. Check that nothing blocks the vents on your PC or laptop, and that the bundle still leaves room to sweep underneath.
Finally, look at the desk from the doorway. What you see from there is the actual test, and it is usually the test that makes people fix the last visible five inches of cable.
Hiding Cords on a Desk Without Drilling
Most rented desks, glass tops and thick veneer desktops should not be drilled. The good news is that the four methods that work without screws cover nearly every situation.
Clamp-on tray. A tray that grips the back edge of the desktop holds a power strip and needs no hole in the wood. It is the first thing to try on a desk with no screwable lip.
Adhesive clips. Clean the surface with isopropyl alcohol first, press each clip for a full 30 seconds, and wait a few hours before loading it. Dust and the natural oils on finished wood are the reason adhesive mounts let go. On a textured or heavily finished surface, screw-in clips are the more honest option.
Binder clips and desk-caddy hooks. A binder clip grips a desk leg or the underside of the desktop and holds a bundle in place. It is ugly, it is free, and it comes off with no residue.
Raceway along the wall. If the only fixed surface is the wall, a flat paintable cord cover solves the visible run. The desk stays drilling-free and the cable disappears against the baseboard.
Common Mistakes: What Goes Wrong When You Hide Cords on a Desk
Adhesive on a dusty or textured surface. Wipe the area with isopropyl alcohol, press each clip 30 seconds, and leave it overnight before loading. On unfinished wood or fabric-covered desks, use screws or a clamp instead of betting on tape.
Bundles pulled too tight. A wrap that leaves no finger’s width underneath flattens the cable at the tie. Loose bundles look slightly less tidy and last far longer.
Outlets you cannot reach. Route the strip so a seated person can plug in a phone without moving anything. If the only accessible spot is behind the monitor arm, the setup will fail in week two.
Blocked ventilation. A bundle pressed flat against a PC’s intake or a laptop’s underside cuts airflow. Bundles belong at the back of the tray, never pressed against a vent.
Cords under a rug. Heat builds under a rug, a cord is hard to inspect, and a damaged cable under floor covering is the worst place to find out about it. Route along the baseboard instead.
Extension cords as permanent supply. An extension cord feeding a power strip is meant for temporary use, and it drops the wattage available to everything downstream. For a desk that stays set up, run a properly rated circuit to a UL-listed surge protector. Any new wiring belongs to a licensed electrician.
Frequently Asked Questions
How can I hide cables on my home office desk?
Mount a UL-listed surge protector to the underside of the desk, drop it into an under-desk cable tray, and bundle the loose cables with reusable hook-and-loop ties. Clips along the desk leg keep the bundle from swinging, and a paintable cord cover along the baseboard hides anything that still has to reach the wall outlet. The whole setup takes about 45 minutes.
How do interior designers hide cords?
Designers hide cords by removing them from view rather than merely tidying them. Cables run inside a raceway painted to match the wall, or inside the desk itself. Velcro ties and sleeves are chosen in colours that match the room, cords are colour-coded rather than left as a black tangle, and power bricks are pushed into a tray so nothing reads as a device. The goal is one clean line instead of many visible strands.
What are some clever ways to hide cables?
The methods that work most often are an under-desk cable tray, a power strip mounted to the desk underside, hook-and-loop cable wraps, adhesive or screw-in cord clips along a desk leg, a fabric cable sleeve for bundles, a cable management box for bricks and adapters, and a paintable raceway for the run to the wall. Binder clips and an upside-down wire basket are the free versions of two of them.
How can I hide wires on my desktop?
On the desktop surface, control the cables rather than concealing them: route them along the back edge in a shallow adhesive clip, run a long bundle through a fabric sleeve, and use a monitor riser to lift the screen so the cable behind it drops out of view. If you charge several devices, a cable box or a shallow drawer turns the pile into a deliberate charging spot.
How do I hide cords on a desk without drilling?
Use a clamp-on cable tray that grips the back edge of the desktop, adhesive cord clips on the desk leg, and a binder clip where you need to hold a bundle without adhesive. A flat paintable raceway on the wall handles the visible run. Clean the surface with alcohol before sticking anything down and press each clip for 30 seconds, or the adhesive will let go within a few months.
Where should I put the power strip under my desk?
Mount it to the underside of the desk near the back edge or centre, so the short cords from your monitor arm, laptop and chargers can reach it without crossing the desktop. Keep it inside a tray so the power bricks and excess adapter length have somewhere to go. Whatever position you choose, it has to be reachable while you are seated, or you will end up plugging equipment in somewhere worse.
Start with the surge protector and the tray. Mount both, bundle the cords that travel together, and everything else on the desk becomes a smaller problem than it looks now. A tidy desk is mostly one decision about where power lives, made once.