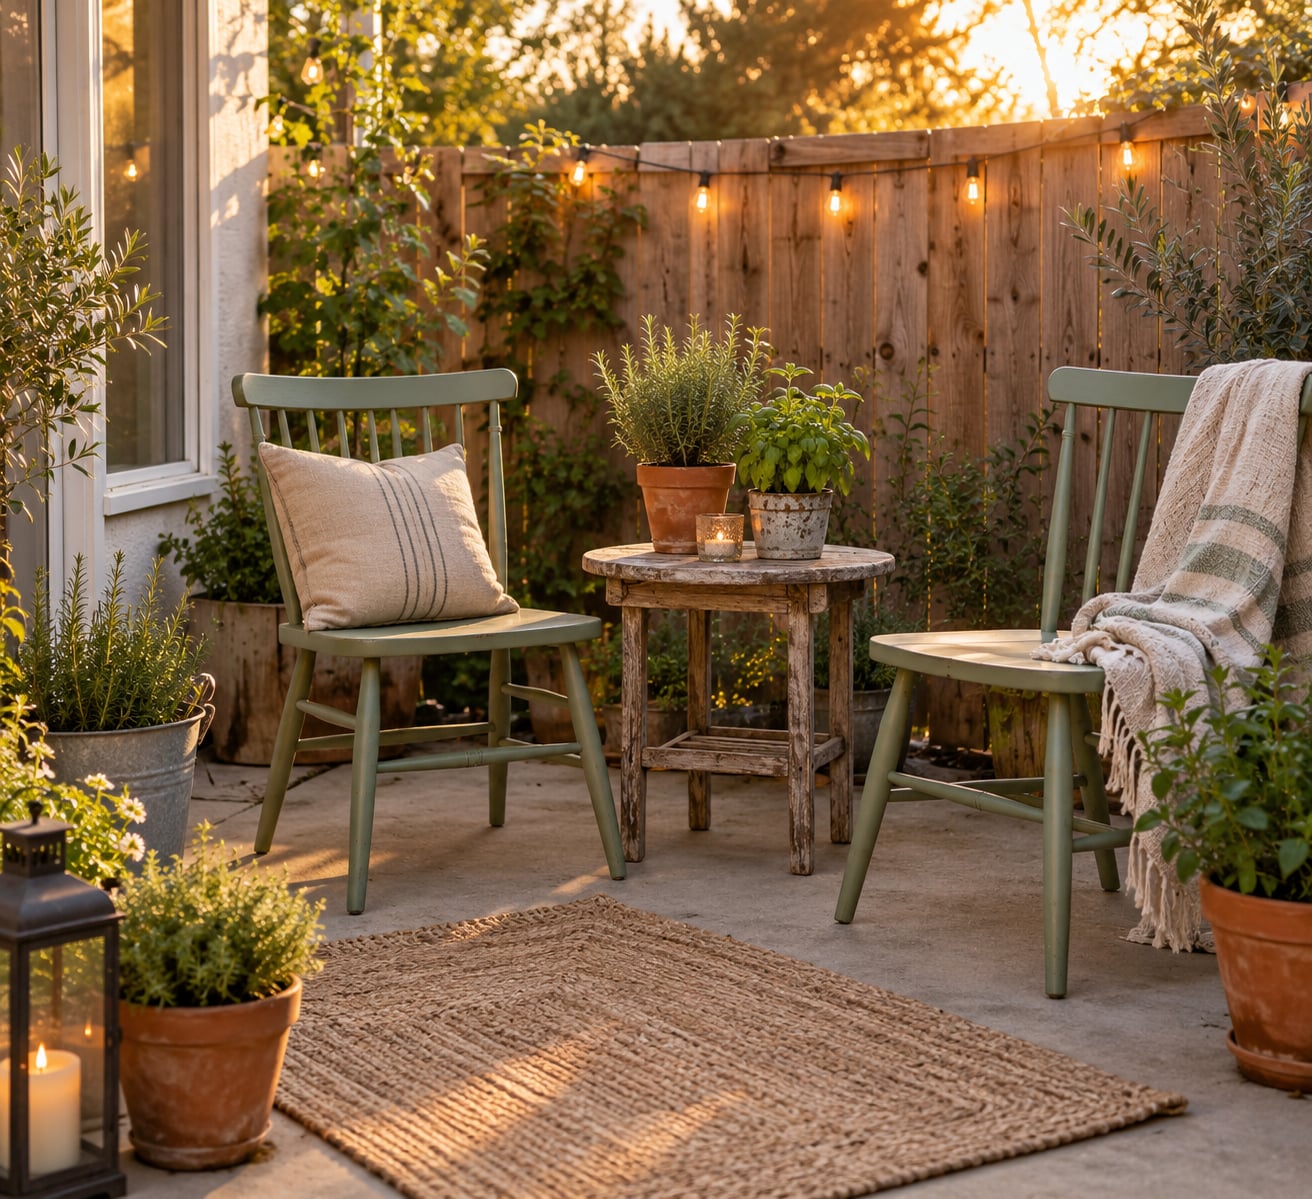
To decorate a patio on a budget, work in four zones instead of buying a matching furniture set: light the space, soften the floor with outdoor-rated textiles, add greenery in thrifted containers, and refresh one or two pieces you already own with exterior-safe paint. Most of the transformation comes from lighting and layering, which are the cheapest parts of the job. A full refresh takes roughly a weekend, and the work is mostly sweeping, painting and arranging.
The reason patios get expensive fast is a predictable one. Outdoor furniture is priced for materials that survive weather, so a matched set is usually the largest line item in any patio budget, and it is the line item you can most easily skip.
The shift that makes decorating a patio on a budget work is to stop treating the space as a room that needs furnishing. You already have furniture, a floor, a wall and a fence. You are adding light, colour, texture and plants to what is there. That reframing is why a thrift-store chair with a coat of paint and a thrifted table can read as a designed space when a store-bought set reads flat.
Here is the plan I would follow, in this order.
Table of Contents
- What You Need
- Step-by-Step
- Assess and Plan the Patio Layout
- Clean, Repair, and Refresh the Space
- Choose a Cohesive Budget Color Palette
- Makeover Thrifted Furniture and Accessories
- Add Greenery, Lighting, and Finishing Touches
- Common Mistakes
- Frequently Asked Questions
- What is the cheapest way to decorate a patio?
- What furniture can I use on an outdoor patio?
- Can I paint thrift store furniture for a patio?
- How do I make a small patio look more attractive?
- What kind of plants are inexpensive and easy to care for?
- How can I add lighting to a patio without expensive wiring?
- Where to Start This Weekend
What You Need
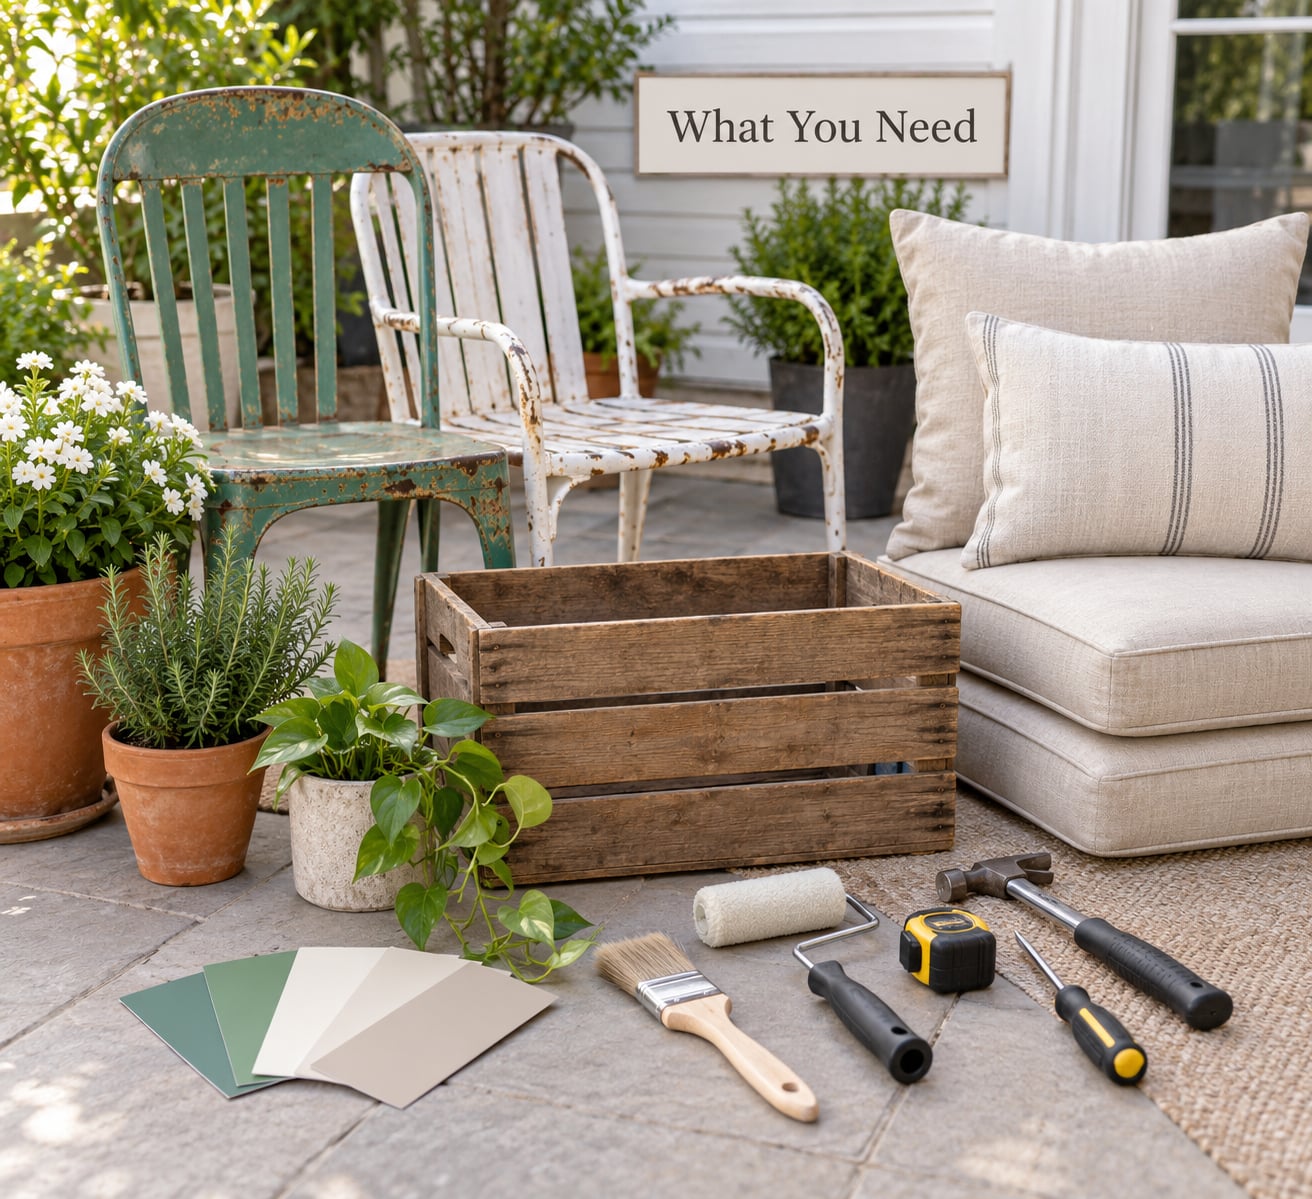
Gather these before you buy anything decorative, because the measuring and cleaning tools decide what you actually need.
- Measuring tape and a piece of paper for a rough floor sketch. Nobody plans a layout with guesswork and gets it right twice.
- Broom, bucket, stiff brush and an outdoor cleaner for the surface. Dirt and moss hide every improvement you try to make afterwards.
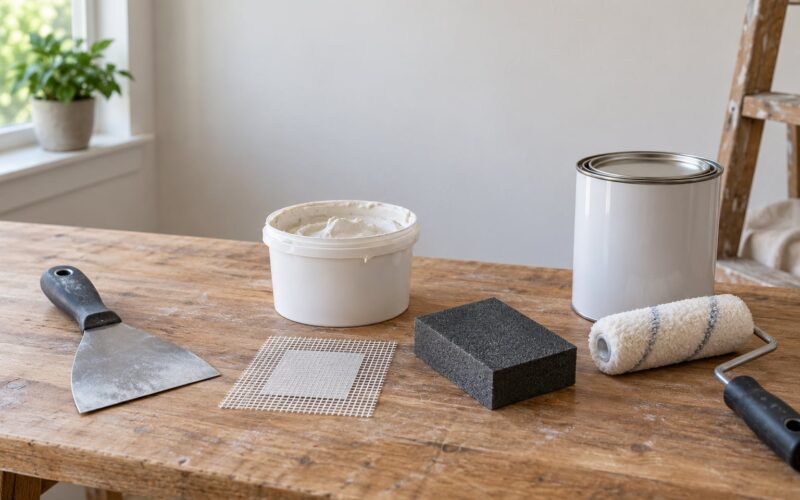
- Basic hand tools: a socket set or screwdriver for tightening loose chair frames, a hammer, and pliers.
- Exterior spray paint and a small brush for touch-ups. Paint labelled for exterior use holds up to sun and rain; interior paint peels within weeks.
- Outdoor-rated textiles: a polypropylene-weave rug, zip-on cushion covers, and pillow covers with a zipper. Check the label, not the price.
- Lighting: a strand of outdoor-rated string lights, solar stakes, or flameless LED candles.
- Plants and containers: a mix of hardy perennials and thrifted pots, buckets or crates with drainage holes drilled in the base.
- Optional repair supplies: wood glue, exterior screws, wood filler, and sandpaper.
Assess the space before you shop. If you own a plain slab and nothing else, the cheapest path is to keep the seating you have, even if you do not love it, and spend the budget on light and textiles instead. Buying first and styling later is how these projects overshoot.
Buy outdoor-rated materials only. An indoor rug, an untreated pine crate, or a cotton cushion that has never seen sun will look fine in a photo and fall apart in a season, which costs more than buying the right thing once.
Step-by-Step
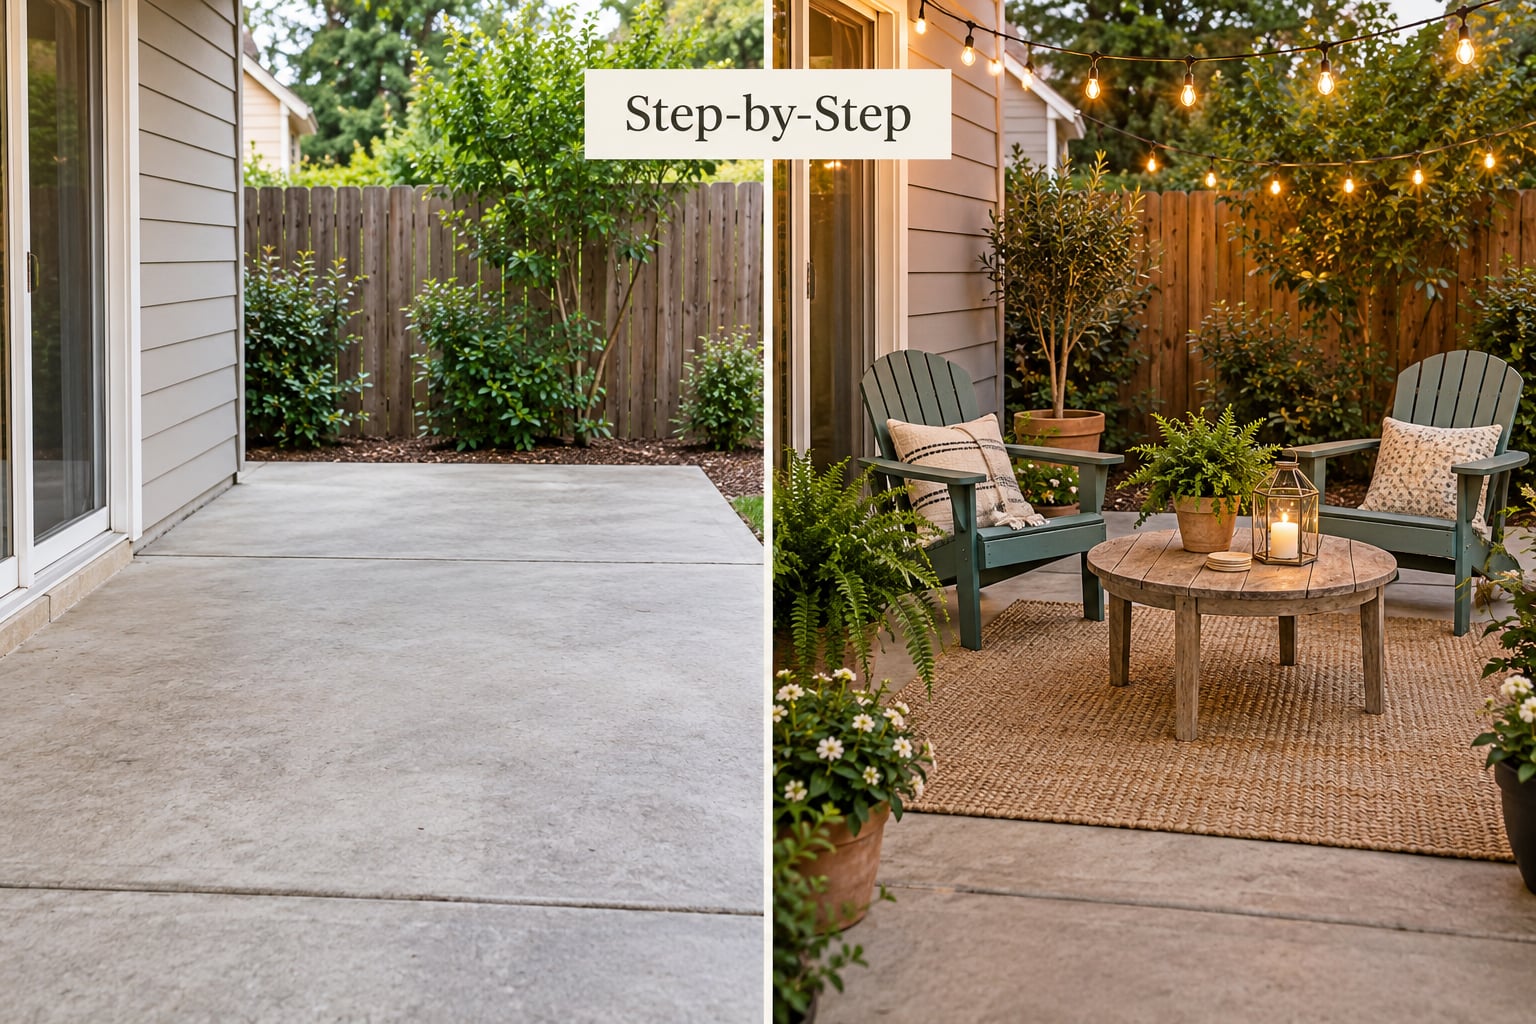
Budget patio makeovers work best as an ordered sequence: measure, clean, pick two or three colours, fix what you own, then add light and plants last. Skipping to the pretty part is the most common reason a patio looks busy but not finished. Allow most of Saturday for cleaning and repair, then Sunday for paint drying time and styling.
Assess and Plan the Patio Layout
Measure first, then sketch it on paper in the yard with something you can move the actual chairs around on. That exercise takes fifteen minutes and saves you from buying a table that has nowhere to go.
Note three things while you are out there: where the sun falls and when, how people actually walk across the space, and which surfaces are level. Then draw a simple rectangle with a doorway, mark the walking path, and place the seating group against the longest solid edge rather than in the middle.
For a small or awkward patio of roughly 15 by 15 feet, push the furniture to the perimeter and leave the centre open. A round bistro table with two chairs in one corner, plus two large pots in the opposite corner, is the combination people in patio forums reach for again and again because it costs little and makes the space read as finished.
Keep clear of doors, the path from the house to the grill, and the low spot where water drains. Nothing you add should block access, because you will move it eventually.
Clean, Repair, and Refresh the Space
Most patios look tired because of surface grime, moss in the joints and leaves packed into the corners, not because of anything you bought. Sweep, scrub the furniture, treat the concrete, and let it dry fully before you paint or lay a rug down.
Tighten loose screws and bolts on every chair, prop wobbly legs with a shim, and sand any rust spots on metal furniture before painting. This half-day of work is what makes thrifted pieces worth keeping.
Know the line you should not cross. Replacing a slat, patching a small hole in a wooden seat, or coating a metal chair in exterior paint are ordinary do-it-yourself jobs. Anything involving structural concrete, gas, or new electrical work goes to a qualified professional, and so does any surface repair that involves digging or re-levelling.
For the floor, you have three cheap options. Paint or stain the existing concrete, which is the least expensive and takes a weekend to dry properly. Lay peel-and-stick tiles over a clean surface, which costs more and last less. Or fill the gaps with pea gravel, which looks good but needs an edge to hold it. Choose one, not all three.
Choose a Cohesive Budget Color Palette
Pick two or three colours and repeat them in every zone. That repetition is the whole trick, because it makes unrelated thrifted objects look like they were bought as a set.
Start from what you already have. If a chair is grey-green, pull that tone into your cushions and one planter. If the patio furniture is brown wood, go with off-white and a single accent like rust or deep blue. A neutral base with one accent colour reads calmer and hides mismatched thrift finds better than several strong colours competing.
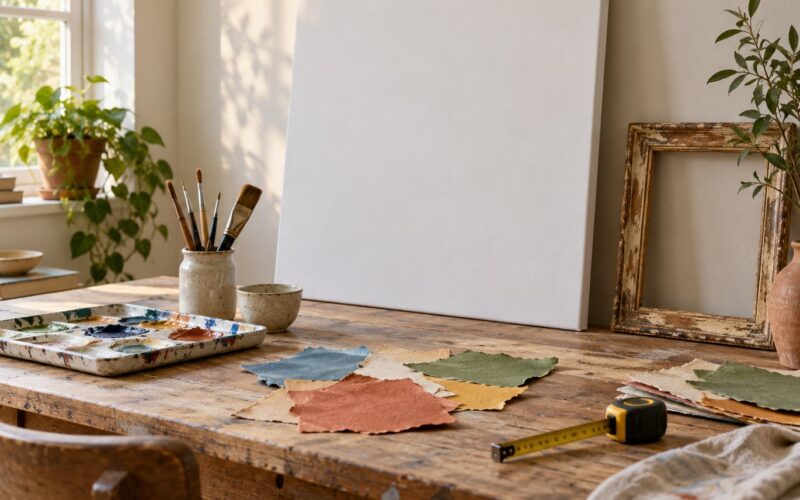
Buy paint swatches or cut a few fabric samples before committing. Tape them to the wall or fence and look at them in the morning and again at dusk, because patio lighting changes every colour you choose.
Makeover Thrifted Furniture and Accessories
Give thrifted pieces one clear job each. Clean a metal chair thoroughly, remove rust with fine sandpaper, then apply exterior spray paint in thin coats, keeping the can moving and about a foot away from the surface. Two or three light coats dry smoother than one heavy coat, and follow the can’s drying time before the chair goes back outside.
For a wooden table or chest, exterior paint or an outdoor stain both work, and paint hides a mismatched grain better. Always clean and dry the wood first, and seal the piece with a water-based exterior finish if it will sit in the rain.
Skip buying new cushions. Buy outdoor-rated covers with a zipper and use plain inserts from the dollar store inside them, or make simple covers from outdoor-rated fabric. Zip-on covers are cheaper to replace than whole cushions, which matters when sunlight is what wears them out.
Storage benches are the quiet workhorse of a small patio. One holds cushions, pots and firewood, doubles as seating, and removes the clutter that makes a cheap space look unfinished. If you buy one thing, make it this rather than a decorative item.
Add Greenery, Lighting, and Finishing Touches
Greenery does more work per dollar than almost anything else. Use a mix of heights: one tall plant or small tree, three mid-level pots, and a few low plants near the floor. Planters do not have to be planters. Buckets, crates, mason jars, old pots and even a chiminea with drainage holes drilled in the base all work, and they add the rustic character a plain slab is missing.
For full sun, choose hardy perennials or heat-tolerant container plants that can handle a dry afternoon. For a shaded patio, ferns and leafy perennials hold up better than anything flowering. Match the plant to the light, not to the picture you have in mind.
Lighting is the single highest-impact swap. Outdoor-rated string lights along a fence or above the seating group change how the space feels after dark, and they need no wiring. Solar stakes line a path for free after the first charge. Flameless LED candles cost very little and are the safer choice around children and pets.
Keep lighting safe. Use only fixtures rated for outdoor use, keep any extension leads out of standing water and protected from foot traffic, and never overload a socket or a daisy-chained run of leads. If you want a hardwired fixture, that is electrician work.
Finish with two or three deliberately placed accents rather than many small ones. A lantern on the table, a small mirror on the wall, or a tray of found stones is enough. Then look at the space from the house at dusk, which is the view you actually live with.
Common Mistakes
Most budget patios fail for the same handful of reasons, and every one of them has a cheap fix.
- Buying a whole new furniture set. This is where budgets die. Fix: keep what you have, refresh it with paint or covers, and spend on light instead.
- Buying lots of tiny items. A dozen small trinkets read as clutter, not as style. Fix: keep three or four accent pieces and give them space.
- Ignoring scale. A small table on a large patio looks lost. Fix: use larger planters and a taller plant to fill the volume, or cluster furniture close together.
- Taking indoor products outside. Indoor rugs, cotton cushions and untreated wood fade and rot fast. Fix: check every label for outdoor or UV-resistant rating before it goes out there.
- Crowding the patio. Pushing every piece against the wall flattens it. Fix: define one seating zone and let the rest of the surface stay open.
- Planning lighting last, or not at all. A patio judged only in daylight always looks unfinished. Fix: test the lighting after dark before you decide you are done.
- Overlooking shade and privacy. People stop using a patio they cannot sit in at three in the afternoon. Fix: a shade sail or a tensioned screen between posts solves it without attaching anything to the house.
- Forgetting storage and fade. Fix: store cushions and fabric indoors or under cover when they are not in use, and wash covers at the end of the season.
One more trap worth naming: buying a fire pit or water feature as a focal point. They are the most expensive items on the list, they take the most space, and they are the first thing renters and small patios should skip.
Frequently Asked Questions
What is the cheapest way to decorate a patio?
The cheapest route is to change lighting and textiles before anything else. Add outdoor-rated string lights, replace worn cushion covers with zip-on outdoor covers, and thrift two or three pieces of furniture to paint or slipcover. Add plants in containers you already have or in drilled buckets. Together these three changes transform a plain slab at a fraction of the cost of any new furniture set.
What furniture can I use on an outdoor patio?
Anything rated for outdoor use works, which usually means powder-coated metal, teak, cedar, all-weather resin wicker or treated hardwood. Thrifted wood and metal pieces are fine once you sand, seal and paint them. Avoid untreated pine, MDF, indoor-only upholstery and flat-packed furniture with particleboard panels. Check each piece is solid enough to stand up to rain and direct sun.
Can I paint thrift store furniture for a patio?
Yes, and it is one of the highest-impact swaps available. Clean the piece, sand off rust and old finish, then use paint labelled for exterior use in thin coats with a brush or spray can. Add a water-based exterior sealer on bare wood and let everything cure for the time printed on the can. Do not paint during rain or heavy humidity, and do not place the piece back outside until it is fully dry.
How do I make a small patio look more attractive?
Push furniture to the edges, leave the centre clear, and add height. A tall plant or two large pots in the corners makes a small space read bigger, and a rug or defined seating zone gives it a shape. Repeat two or three colours across cushions, planters and lighting so unrelated pieces look related. On a balcony, a folding bistro set and vertical planting above eye level are the two biggest wins.
What kind of plants are inexpensive and easy to care for?
Hardy perennials and heat-tolerant container plants give the most greenery for the least effort in full sun, while ferns and leafy perennials handle shade. Group plants by watering needs so one can dry out without harming the others, and drill drainage holes in any thrifted container before planting. Larger pots need watering less often than several small ones, which matters if you travel.
How can I add lighting to a patio without expensive wiring?
Battery or solar options cover most patios. Outdoor-rated string lights clipped to a fence or hung from a hook need no wiring at all, solar stakes light paths after a day of charging, and flameless LED candles are cheap and safe around kids and pets. Use only fixtures rated for outdoor use, keep extension leads out of water and off walking paths, and never daisy-chain leads beyond a socket’s rating.
Where to Start This Weekend
If you only do three things this weekend, do these. Saturday morning: measure the patio, sketch the layout on paper, and move your actual chairs around until the arrangement feels right, leaving the door and walking path clear. Saturday afternoon: clean the surface and the furniture, tighten what is loose, and touch up any rust with exterior paint. Sunday morning: pick two or three colours from what you own, add plants in thrifted containers with drainage holes, and hang outdoor-rated string lights along the fence.
Give it a week to settle and then look at it after dark from the house. That view is the one that decides whether the space works, and it is usually the moment decorating a patio on a budget starts to feel worth it.