Learning how to patch a hole in drywall before painting comes down to three things: match the repair to the size of the damage, build it up in thin coats, and prime before you paint. A picture-hanger hole takes about 15 minutes and a dab of spackle. A hole over 2 inches needs a cut piece of drywall screwed to a stud. Skip the primer and the repair shows through as a dull spot once the light hits it at an angle.
Most of the mistakes I see in drywall repairs come from doing too much at once. Thick coats, impatient sanding, and paint straight onto raw filler are the three that cause a redo.
Can you paint directly over a drywall patch? Usually not. Joint compound and spackle are porous and absorb paint differently than the finished wall around them, so an unprimed patch dries a shade off and reads as a dull mark under raking light. Let the repair dry, sand it flush, prime it with a drywall or PVA primer, then paint. Small spackle fills in a dry, non-textured wall are the one exception, and even then, priming is cheap insurance.
Table of Contents
- What You Need
- For small holes up to 1/2 inch
- For medium holes from 1/2 inch to 2 inches
- For large holes over 2 inches
- For the finish, whichever repair you chose
- Which method fits which hole?
- Step-by-Step: How to Patch a Hole in Drywall Before Painting
- The Core Repair Process
- Choose the Right Repair Method
- Prepare the Hole and Wall
- Apply the First Layer
- Add Tape and Build Up the Repair
- Dry, Sand, and Check the Surface
- Prime and Paint the Patched Area
- Common Mistakes
- Filling a hole larger than half an inch with spackle
- Skipping the tape on a cut seam
- Sanding before the compound is dry
- Loading the knife too heavily
- Painting over dust or skipping the primer
- Touching up a spot with a different sheen
- Repairing 20 holes one at a time
- Frequently Asked Questions
- Can you paint directly over a drywall patch?
- Should I use tape or mesh for drywall repair?
- What is the best filler for holes in drywall?
- How long does joint compound take to dry before painting?
- Why is my drywall patch still visible after painting?
- How do I patch a large drywall hole with no stud behind it?
- Conclusion
What You Need
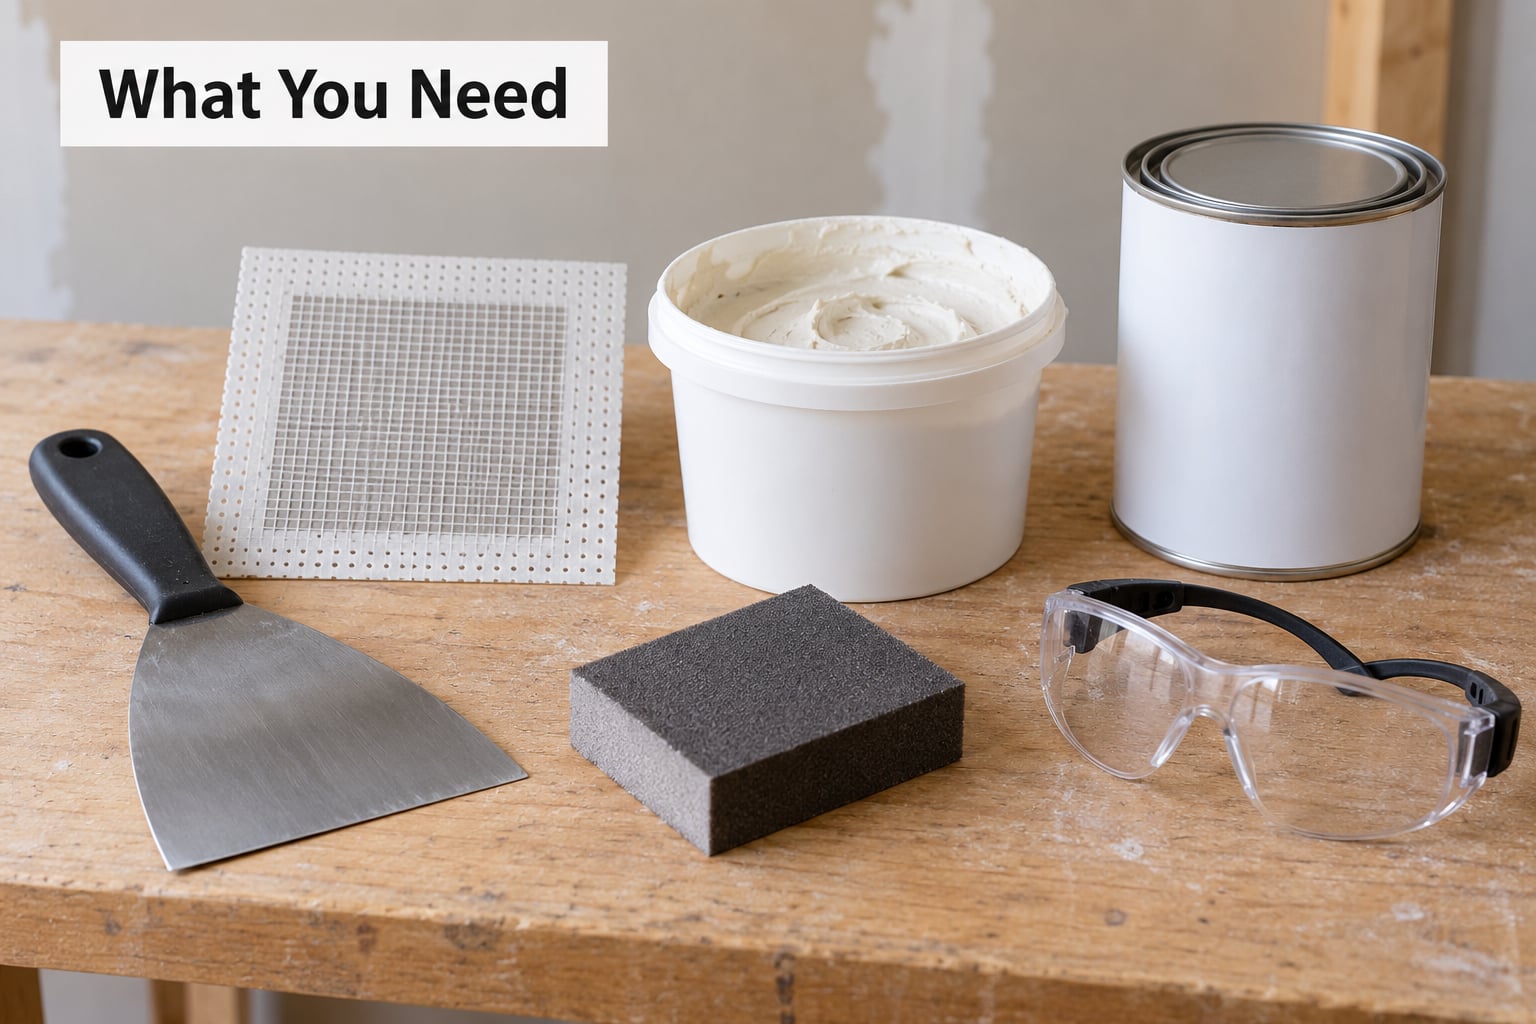
The list is shorter than most hardware store aisles suggest. You can cover a photo wall, a doorknob dent and one 3-inch hole with the same kit.
For small holes up to 1/2 inch
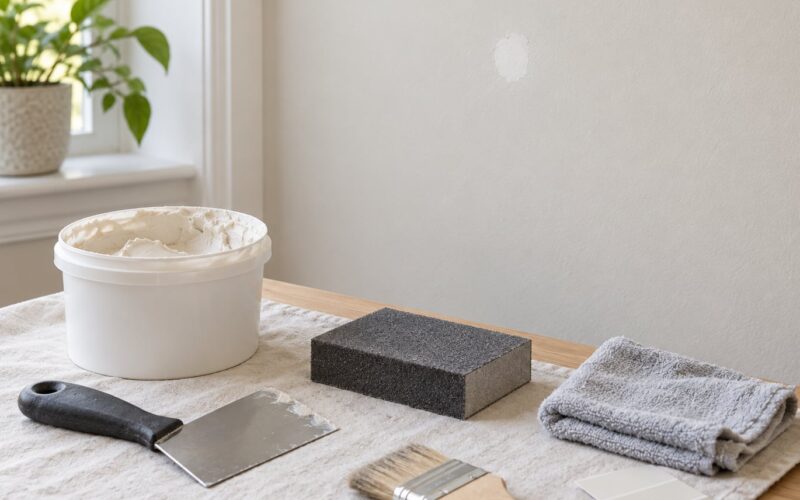
- Spackling compound or lightweight patching compound
- 6-inch putty knife, or a flexible wallpaper scraper for tight spots
- 120-grit and 220-grit sandpaper, plus a sanding sponge for the final pass
- Damp cloth or paper towel for wiping dust off
For medium holes from 1/2 inch to 2 inches
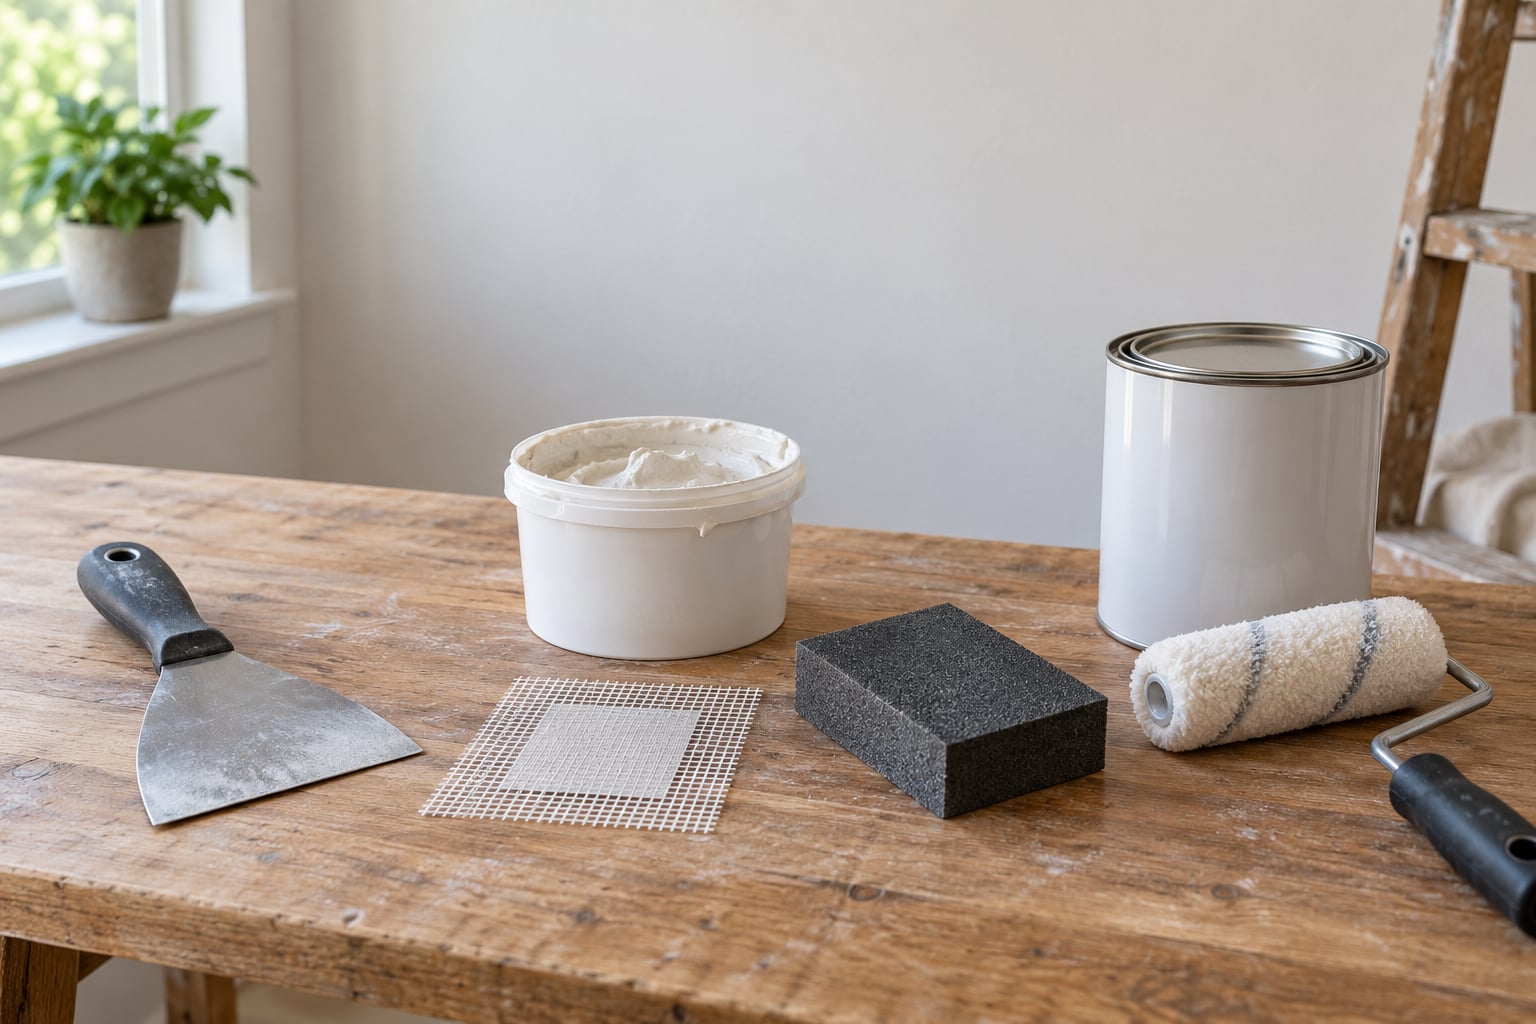
- Self-adhesive aluminum mesh patch, or a precut drywall patch sized a little larger than the hole
- All-purpose joint compound (drywall mud) in a ready-mix tub
- 12-inch drywall knife for feathering the edges
- Drywall screws and a Phillips driver if the patch is not self-adhesive
For large holes over 2 inches
- Utility knife or drywall saw
- Drywall sheet of matching thickness, 1/2 inch on most interior walls, 5/8 inch on many ceilings
- 1 1/2-inch drywall screws
- 3/4-inch plywood or a 2 by 4 offcut as backing, plus a stud finder
For the finish, whichever repair you chose
- PVA drywall primer, not ordinary latex primer
- Mesh tape or paper drywall tape for any seam you cut
- A drop cloth, a dust mask, and a utility knife you can retire afterward
Which method fits which hole?
| Hole size | Method | Material | Dry time |
|---|---|---|---|
| Under 1/8 inch (nail and screw holes) | Fill and feather | Spackle, two thin coats | 15 to 30 minutes |
| 1/8 to 1/2 inch | Fill and feather | Spackle or patching compound | 30 minutes |
| 1/2 to 2 inches | Mesh or precut patch plus mud | Self-adhesive mesh patch, joint compound | 4 to 24 hours between coats |
| 2 to 4 inches | Cut and fit drywall | Drywall piece, screws, joint compound | 24 hours |
| Over 4 inches | Cut drywall onto backing | Plywood or 2 by 4 backing, drywall, screws, mud | 24 to 48 hours |
Skim that table before you buy anything, because the material is decided by the damage, not by preference. A contractor will size the filler to the hole the same way.
Step-by-Step: How to Patch a Hole in Drywall Before Painting
The Core Repair Process
The whole job, whatever the hole size, is six moves: expose clean gypsum, fill or patch, reinforce any seam with tape, feather the edges, sand flush, prime, paint. Skipping the reinforce and feather steps is what makes a repair look like a repair.
Set aside 15 minutes for nail holes, an hour for a mesh patch, and a weekend afternoon for a cut drywall piece. The drying time is the part you cannot rush.
Choose the Right Repair Method
Under 1/2 inch, spackle is the answer. It is a gypsum-based filler that dries fast and sands smooth, and it works best in tight areas like nail holes from picture hangers, screw holes from removed anchors, and small dents at the base of a wall.
From 1/2 inch to 2 inches, cover the hole first. Either stick a self-adhesive mesh patch over it or cut a square of drywall roughly an inch larger than the opening on every side, screw it to a stud or backing, and mud the seam. Never fill a hole of this size with spackle alone; it shrinks as it dries and leaves a crater with a hard lip at the edge.
Over 2 inches, cut out the damage and fit new drywall. Square the edges with a utility knife, cut a piece that lands half on a stud and half on the empty cavity, or add a strip of plywood or a 2 by 4 as backing and screw the new piece into that. You need one piece of drywall, not two, as long as it lands on solid framing or on backing you have added yourself.
Use a stud finder first. If the hole is already centered near a stud, work around the framing instead of cutting it out.
Prepare the Hole and Wall
Pull out any loose or torn drywall paper, because compound sticks to paper but peels off the crumbly gypsum underneath. Trim a ragged edge back until it is firm.
Widen the opening slightly with a utility knife so damaged material is not left hidden behind the repair. Then wipe the area and the surrounding wall with a damp cloth and let it dry.
Lay down a drop cloth and put on a dust mask before you cut anything. Gypsum dust is fine enough to stay in the air long after sanding.
Apply the First Layer
Load a small amount of compound onto the putty knife, about the length of the blade and no thicker than a layer of peanut butter. Press it into the hole rather than just skimming over the top.
Pull the knife away at an angle so the compound feathers out toward the surrounding wall instead of ending in a raised edge. For a nail hole, one thin coat slightly proud of the surface is plenty.
Resist the urge to fill the hole flush in one go. Thick filler takes days to dry inside while staying damp at the edges, and it cracks later as it cures.
Add Tape and Build Up the Repair
Tape belongs on joints, not on the middle of a flat surface. Any seam you cut, or the four edges of a fitted drywall piece, gets mesh or paper tape embedded in the first coat of joint compound.
Paper tape gives the smoothest finish and is the right choice in a bedroom or any low-traffic room. Mesh tape is easier for a first repair, resists moisture, and is fine in a garage or laundry room, though it can leave a faint texture ridge under a satin finish.
Press the tape into the wet compound with the knife, then add a second thin coat over it, wider than the first. Each coat should extend about an inch further out than the last, and the far edge should be nearly paper thin. That gradual taper is the feathering that makes the repair disappear.
Dry, Sand, and Check the Surface
Follow the drying instructions on the tub. Spackle is workable in 15 to 30 minutes, patching compound sets in about half an hour, and ready-mix joint compound wants 4 to 24 hours depending on the coat thickness, the temperature and the humidity in the room.
Sand with 120-grit first, moving in light circular passes, then finish with a sanding sponge or 220-grit for the corners. Keep the sandpaper flat on the wall so you do not dig a new hollow into the repair.
Shut the blinds and rake a flashlight across the wall from the side. Any shadow means a bump, any gap means a low edge. Add a thin coat where you see a shadow, sand again, and stop when the light lies flat. Then wipe the dust off with a damp cloth and let the wall dry fully before priming.
Prime and Paint the Patched Area
Prime the repair. Joint compound, spackle and raw gypsum are porous, and bare filler soaks up paint differently than the sealed wall, which is exactly what causes flashing. A PVA drywall primer seals the repair so the finish coat goes on evenly and the patch stops standing out under raking light.
Brush primer slightly past the edges of the repair onto the surrounding wall so there is no hard line where the patch ends. Let it dry, then lightly scuff if the primer feels slick.
For the paint, use the same color and the same sheen as the existing wall if you have a leftover can. Old paint fades and changes sheen with age and cleaning, so a spot touch-up on a wall that is more than a few years old rarely disappears. Paint the full wall from corner to corner when the paint has aged noticeably or the repair sits in a prominent spot.
Cut in the edges with a brush, then roll the field with the same nap and pressure you used on the rest of the room, and always roll the final pass onto wet paint rather than starting a new one. Let the wall cure before hanging anything back up. A patch needs a couple of days to reach full strength, and pushing a picture frame against it too soon is how you end up with a new hole.
Common Mistakes
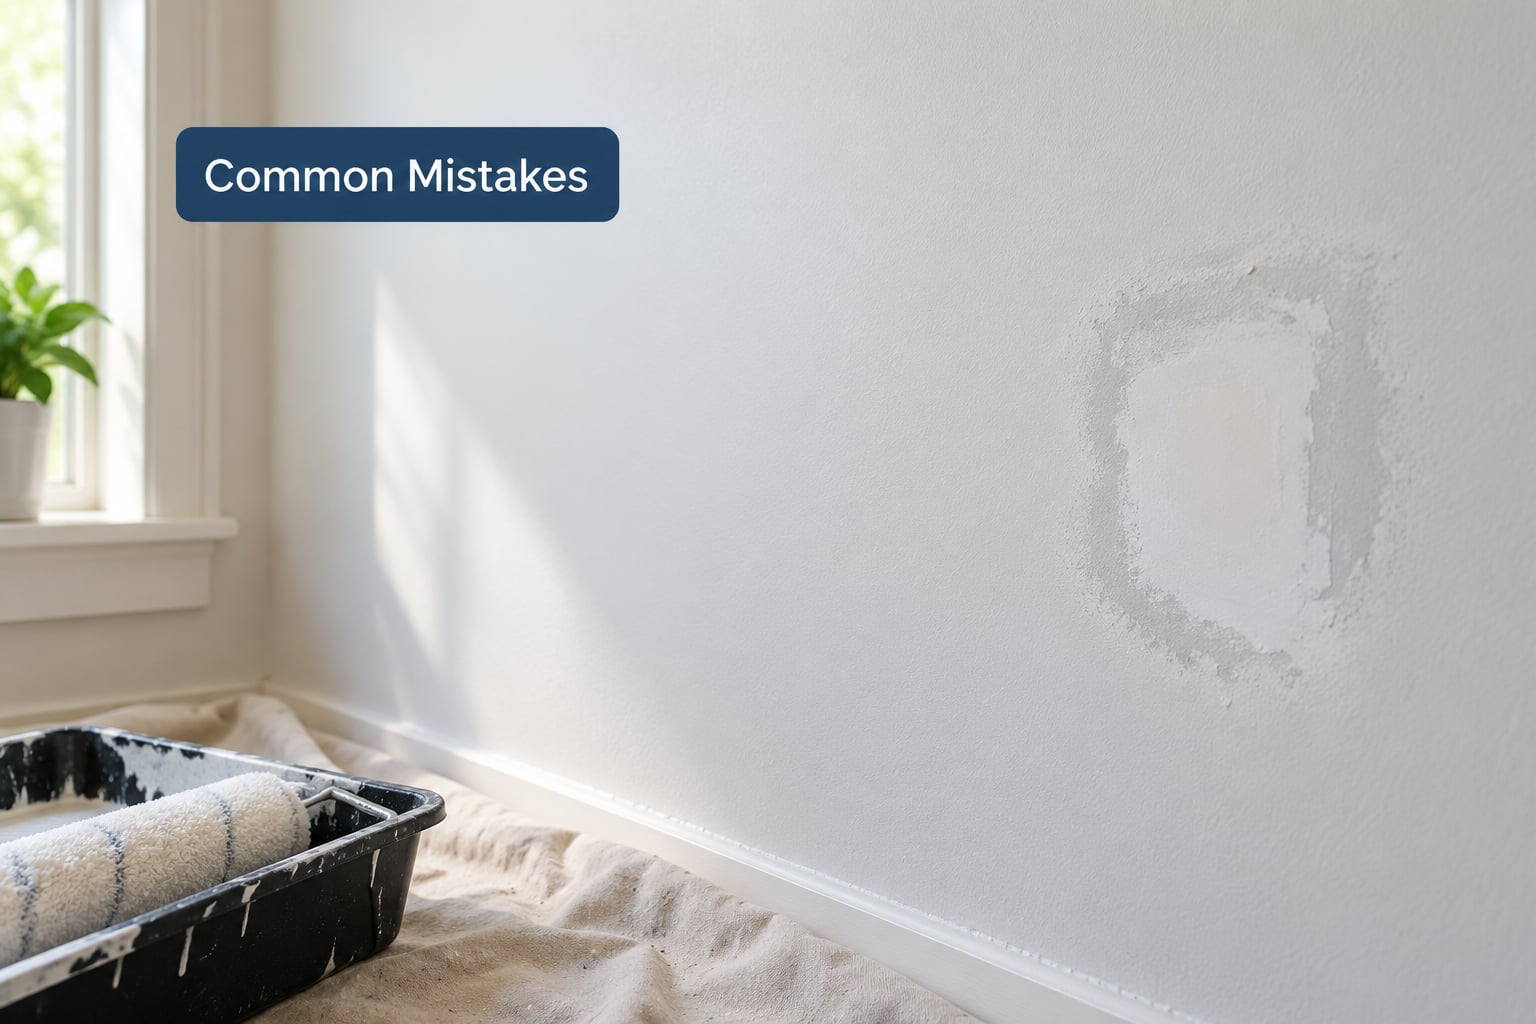
Filling a hole larger than half an inch with spackle
Spackle is a filler, not a patch. On a bigger hole it shrinks as it dries and leaves a visible crater with a lip. Use a mesh or precut drywall patch and joint compound instead.
Skipping the tape on a cut seam
Joint compound alone bridges a seam for a while and then cracks along it as the wall moves. Embedding mesh or paper tape costs thirty seconds and stops that.
Sanding before the compound is dry
Half-dry filler gums up the sandpaper and tears the drywall paper, which leaves you with a bigger defect than you started with. Wait the full time on the label, longer in a cool or humid room.
Loading the knife too heavily
A thick coat dries unevenly, stays damp in the middle, and cracks later. Two or three thin coats always beat one fat one, and the same goes for the final feathering edge.
Painting over dust or skipping the primer
Dust under a roller leaves a rough, gritty spot you cannot sand out later, and unprimed filler drinks the paint and dries dull. Wipe with a damp cloth, let it dry, then prime with PVA drywall primer.
Touching up a spot with a different sheen
Flat paint over a patch, or satin over flat, is visible from across the room no matter how good the repair is. Use the same product for the whole wall when the existing paint has aged, and roll the touch-up with the same nap.
Repairing 20 holes one at a time
For a room full of picture-hanger holes, spot repairs leave a constellation of primed spots that flash differently across the wall. Skim the entire wall with one thin coat of joint compound, let it dry overnight, sand the whole surface, prime and repaint. It takes longer than you expect and looks dramatically better.
One more trick worth knowing: on a textured wall, a flat patch is a flat patch. A little skim coat worked into an orange-peel surface with a stiff brush, or a ceiling fan-style texture sprayed over a popcorn patch, does more for invisibility than extra sanding.
Frequently Asked Questions
Can you paint directly over a drywall patch?
Not reliably. Joint compound, spackle and raw gypsum are more porous than the painted wall, so unprimed filler absorbs the finish coat unevenly and dries a shade duller, which reads as a visible spot under raking light. Sand the repair flush, wipe off the dust, prime with a PVA drywall primer and then paint. A tiny spackle fill in a flat, non-textured wall is the rare case where you can get away without it.
Should I use tape or mesh for drywall repair?
Use mesh tape on joints in garages, basements and laundry rooms, and paper tape in finished living space. Paper tape is thinner and buries easier, so it feathers out to a smoother finish, which matters on a wall you will paint in satin or semi-gloss. Mesh is easier for a first-timer and holds up better around damp areas, but it can leave a faint texture ridge if you do not sand it well.
What is the best filler for holes in drywall?
For holes under half an inch, spackle is the right answer: it dries in 15 to 30 minutes, sands easy and is cheap. For anything from half an inch to 2 inches, use a self-adhesive mesh patch or a precut drywall piece covered with joint compound. Over 2 inches, cut new drywall and screw it to a stud or to a plywood backing. Filler fills, but only a patch will support a hole of that size.
How long does joint compound take to dry before painting?
Thin coats of ready-mix joint compound dry in 4 to 8 hours, and 24 hours is a safer number for a thick coat or a humid room. Spackle and patching compound are much faster at 15 to 30 minutes and about half an hour. Follow the label on your tub rather than the clock alone, and test the surface with a fingernail. If it dents or feels cool and damp, it is not ready.
Why is my drywall patch still visible after painting?
Four things cause it. The repair was primed with ordinary latex instead of PVA drywall primer, so the filler drank the paint differently. The edges were not feathered, leaving a lip that catches light. The compound was sanded in raking light you did not check, leaving a subtle hump. Or the touch-up used a different sheen than the aged wall paint, which will not blend no matter how smooth the repair is.
How do I patch a large drywall hole with no stud behind it?
Cut a clean square opening, then screw a strip of 3/4-inch plywood or an offcut of 2 by 4 into the studs or joists on each side so the new drywall has something solid to attach to. Screw the new piece into that backing with 1 1/2-inch drywall screws, mud and tape the seam, then skim coat. One piece of drywall is enough. The backing is what keeps a 4-inch hole from sagging inward later.
Conclusion
Start by measuring the hole and matching the material to it: spackle under half an inch, a mesh or precut patch from half an inch to 2 inches, and a cut drywall piece screwed to a stud above that. From there the rule never changes: thin coats, full drying time, feathered edges, sanded under raking light, primed with PVA drywall primer, then painted with the same sheen as the wall.
Most visible patches are not bad repairs. They are good repairs that skipped the primer or stopped sanding one coat too early.