To paint a color block wall, you mark the line where the color changes, run clean painter’s tape along it, paint one block to the tape, then pull the tape while the paint is still tacky so the edge stays sharp. A single accent wall takes roughly three to four hours of work plus drying time, and the whole job is beginner-friendly as long as you measure with a level instead of your eye.
The line is the entire trick. Paint will forgive a lot, but it will not forgive a wavy divider, which is why almost every failed color block wall I have seen ended the same way: someone eyeballed the height, got it a few degrees off, and could not live with it afterward.
What follows is the whole method in order, plus the parts most guides skip: how much paint a two-colour split actually needs, how high the block should sit above your skirting, and what to do when the paint creeps under the tape.
Table of Contents
- What You Need
- How much paint to buy
- Different walls need different prep
- Step-by-Step
- Choose Your Color Block Layout
- Measure and Mark the Wall
- Prep and Tape the Lines
- Paint the First Colour
- Add the Additional Colors
- Remove Tape and Finish the Wall
- How long it takes
- Common Mistakes
- 1. Measuring by eye instead of using a level
- 2. Paint bleeding under the tape
- 3. Painting over the line with the roller
- 4. Pulling the tape too late
- 5. Roller marks and lap lines on the second coat
- 6. A patchy second coat
- Before you start, a short prevention checklist
- Frequently Asked Questions
- Is color blocking still in style in 2026?
- What is the color block painting technique?
- How high should a color block wall be?
- Do you need primer to paint a color block wall?
- What paint finish is best for a color block wall?
- How many coats of paint does a color block wall need?
- Conclusion
What You Need
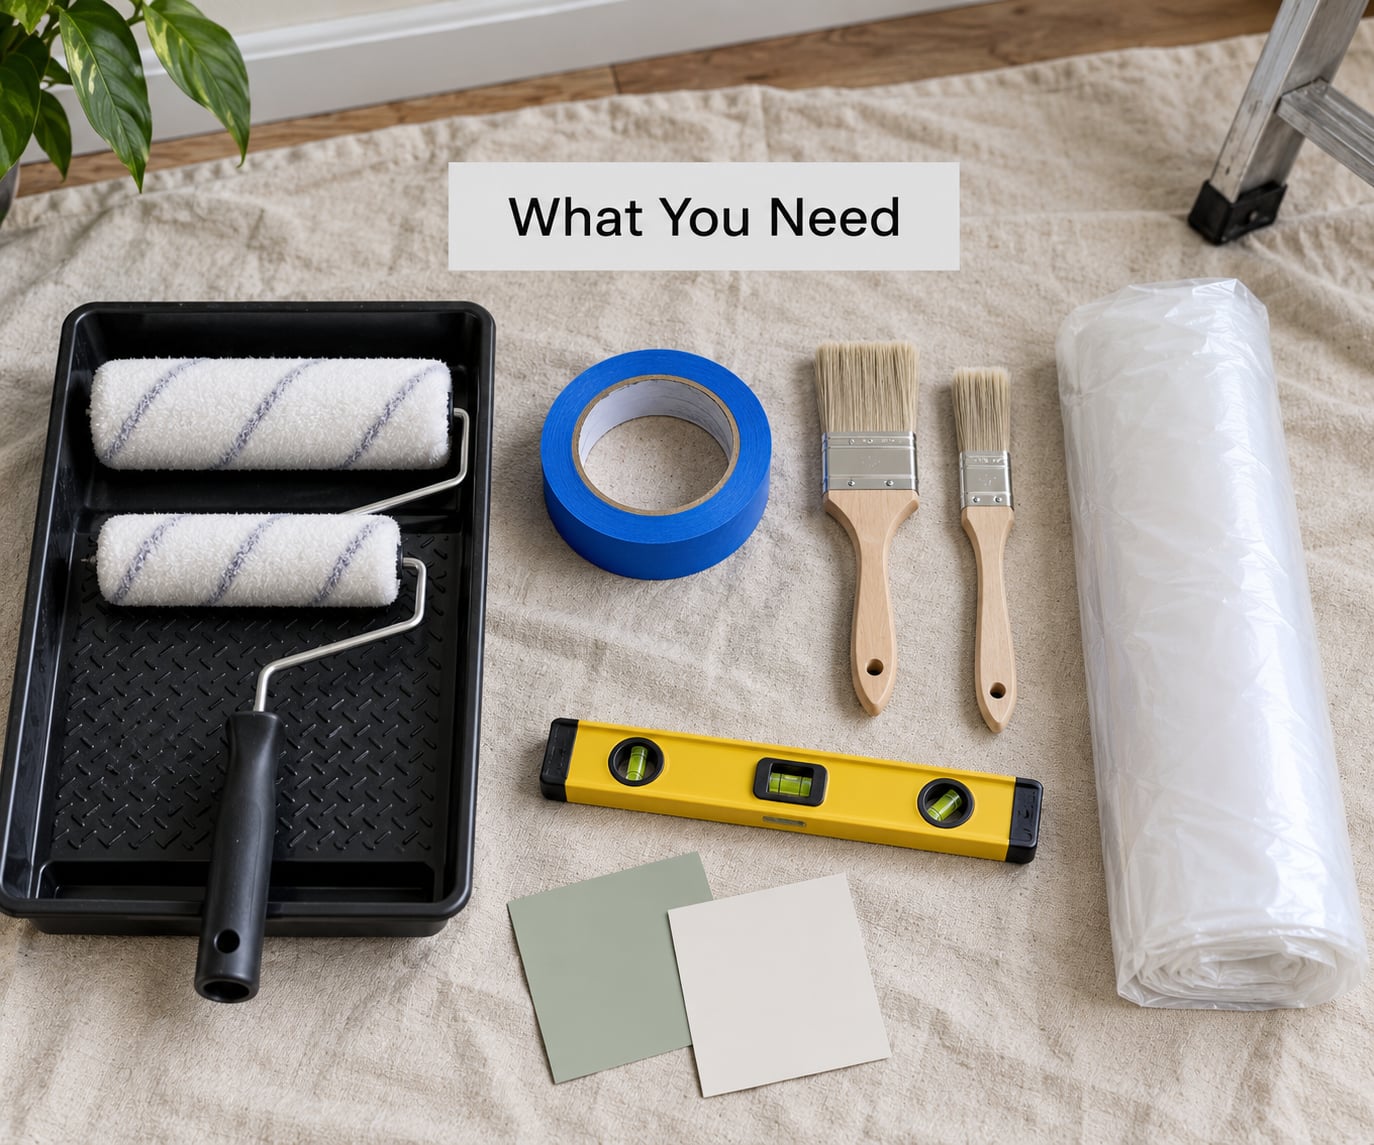
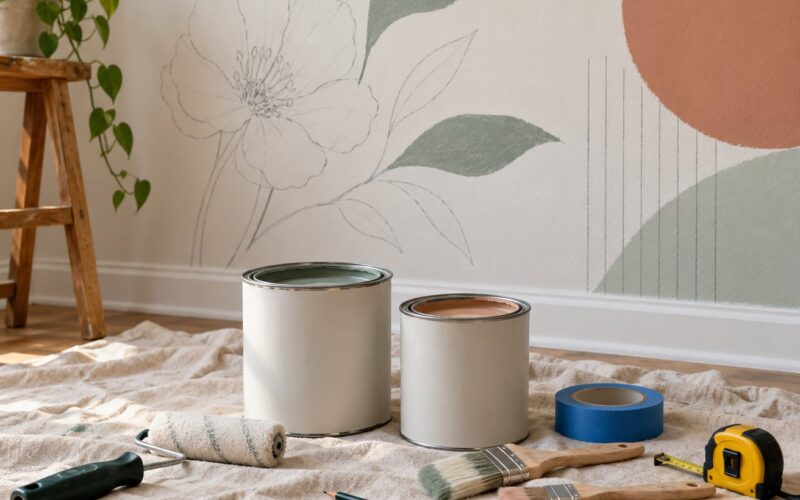
You can paint a color block wall with a short list, and most of it you may already own. The essentials are paint in two colours, a tape that will not bleed, a brush, a roller, and something to keep the line straight.
- Two colours of paint in the same finish. Matte with eggshell will read as two different surfaces under the same light. Choose eggshell or satin for a living room, a bedroom, or anywhere kids put their hands on the wall, because those sheens scrub clean.
- A 2 to 3 inch angled sash brush for cutting in, which means painting the edges, corners, and the line beside the tape by hand.
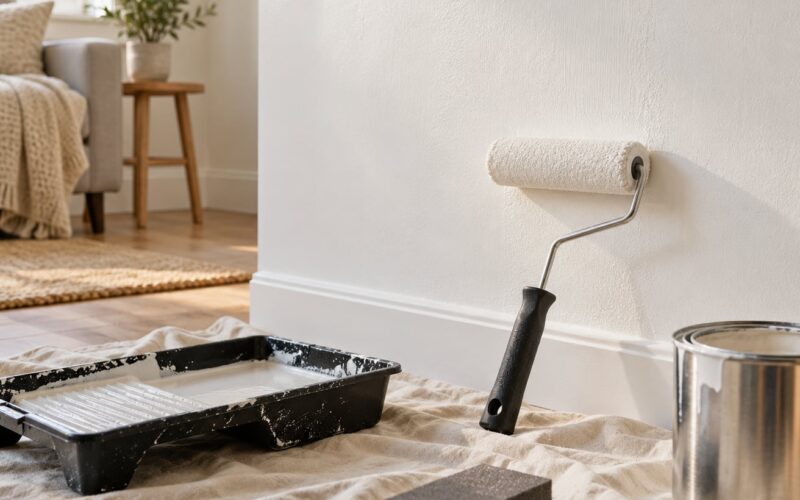
- A 6 to 8 inch roller with a short nap, roughly 3/8 inch, for smooth drywall. On a textured wall go longer, closer to 3/4 inch, so the sleeve reaches into the pits.
- A paint tray and a roller frame, plus a couple of cheap roller sleeves so you are not cleaning one between coats.
- Low tack painter’s tape, the kind made for painted surfaces. Regular masking tape on a wall that has been painted before can lift the old colour off the wall along with itself.
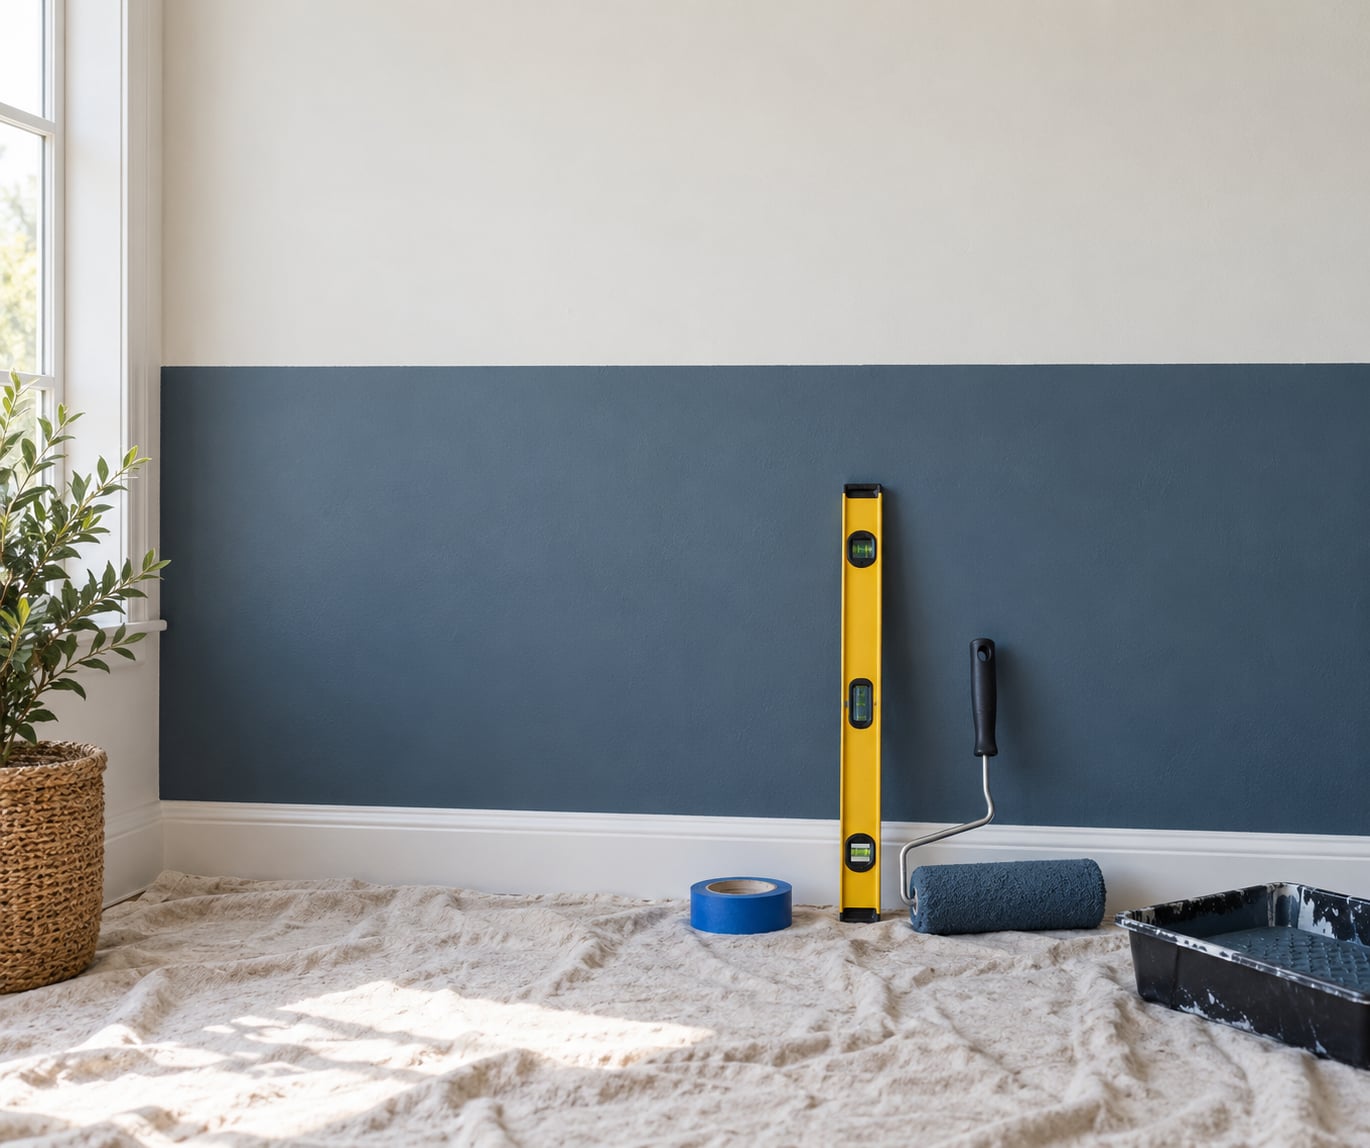
- A 4 foot spirit level, or a laser level if you already own one. A phone app is not a substitute; it cannot see a wall that is out of plumb.
- A pencil, a measuring tape, and a cloth or rag for wiping the pencil line.
- Filler, a small sanding block, and 180 grit paper for nail holes and any divots you find.
- A drop cloth or dust sheet, plus a stir stick.
- Stain blocking latex primer if you are patching, or if the wall has been spot repaired.
Optional but useful: a second smaller roller for the block above a staircase, painter’s plastic to sheet the skirting and floor, and a pencil eraser for tidying your guide marks before you tape.
How much paint to buy
Most interior latex paint covers roughly 400 square feet per gallon in one coat, less on textured surfaces or over a dark colour going to a light one. A standard wall that is 8 feet wide and 8 feet tall is about 64 square feet, so a single wall fits easily inside one gallon per colour.
Because a color block wall needs two colours, you are buying two separate gallons, not sharing one. Plan on roughly one gallon per colour for a normal accent wall, and add a second gallon of the darker or more saturated colour if the block is large or you are covering a much darker existing colour. Two coats means two gallons of each per square footage, which is why splitting the wall is cheaper than doing four walls.
Different walls need different prep
Drywall that is already painted is the easy case: clean it, fill the holes, sand, spot prime the repairs, and paint. The other surfaces need more thought.
- Existing wallpaper: painting over it works only if every edge is firmly stuck down. Lift any loose seam, fill the lifted edge with filler, sand it flat, and use a stain blocking primer over the whole surface. Otherwise the seam will let go later and take the new colour with it.
- Plaster: clean it thoroughly and prime with a stain blocking primer. Old plaster is porous and drinks the first coat unevenly.
- Cinder block: this is the one people ask about most. Fill the pits with masonry filler, let it dry, then roll on a masonry latex primer across the whole wall. Without that primer, block paint turns patchy as it soaks in at different rates, and the block texture shows through the colour.
- Brick: mortar joints need filling and the surface needs a masonry primer. Masonry paint is made for this and flexes with the block as temperatures change.
- Textured walls: a longer nap roller and two coats, no matter what. Colour is what people notice on texture, and a thin single coat looks stained.
Step-by-Step
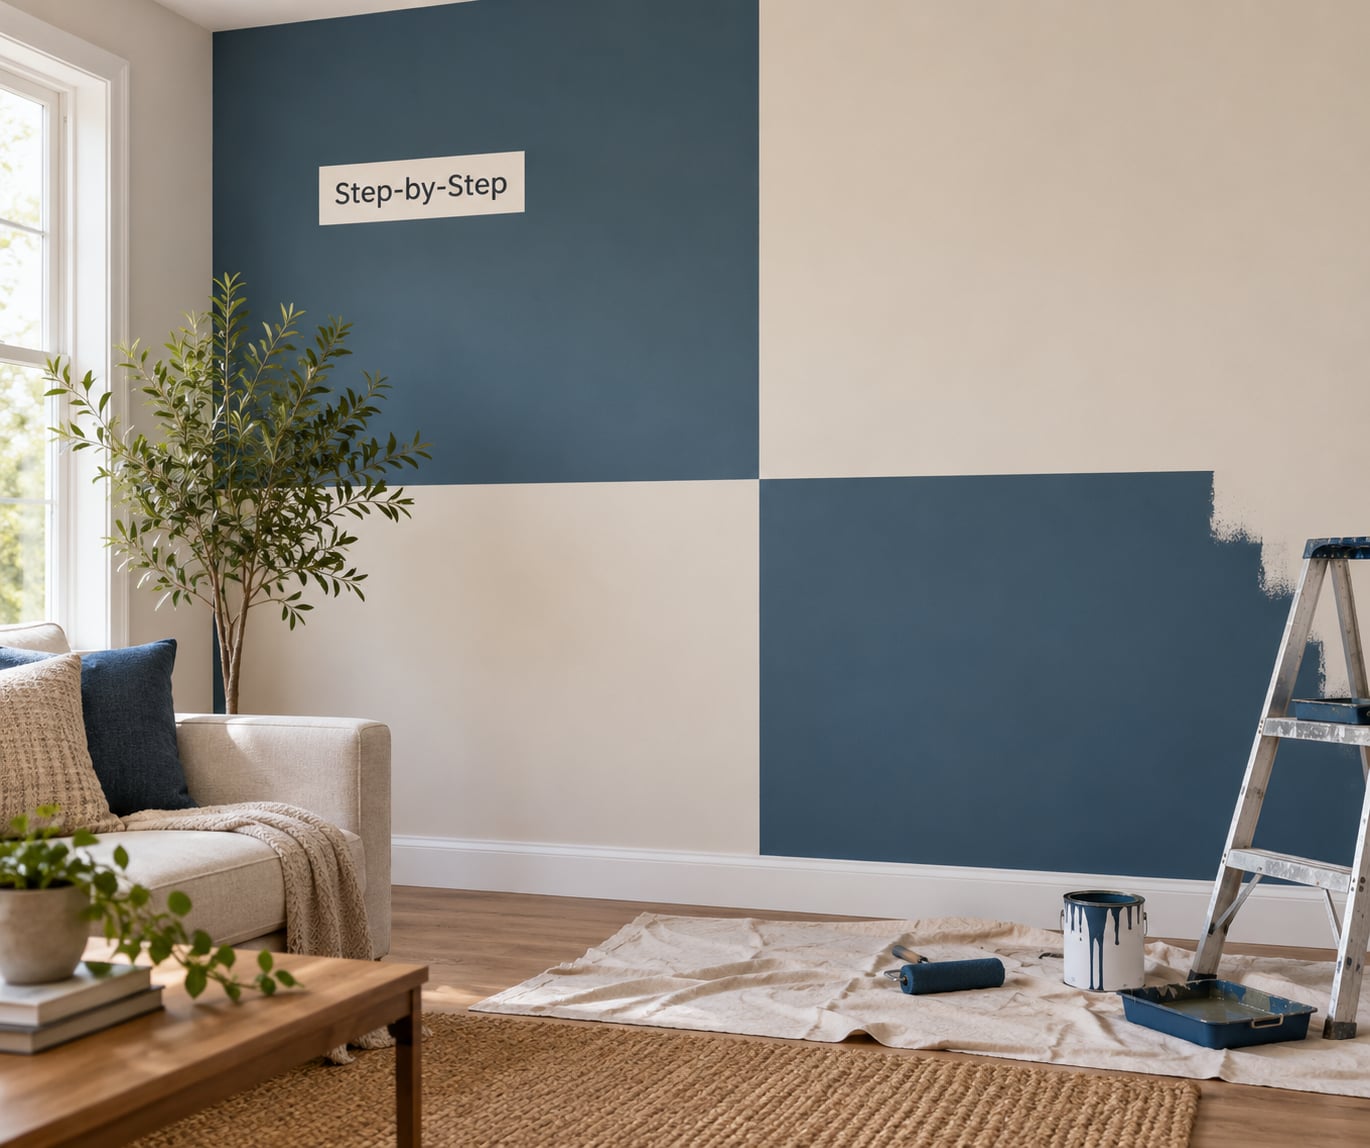
Work top to bottom, in one colour at a time, and do not rush the marking stage. Everything after the pencil line is easy; everything before it decides whether the result looks deliberate.
Choose Your Color Block Layout
Start by deciding how many blocks you want, because every division adds another taped line and another colour to buy. Two or three is the useful range. Beyond three, a single accent wall starts to read as a pattern rather than a design, and the room gets busy fast.
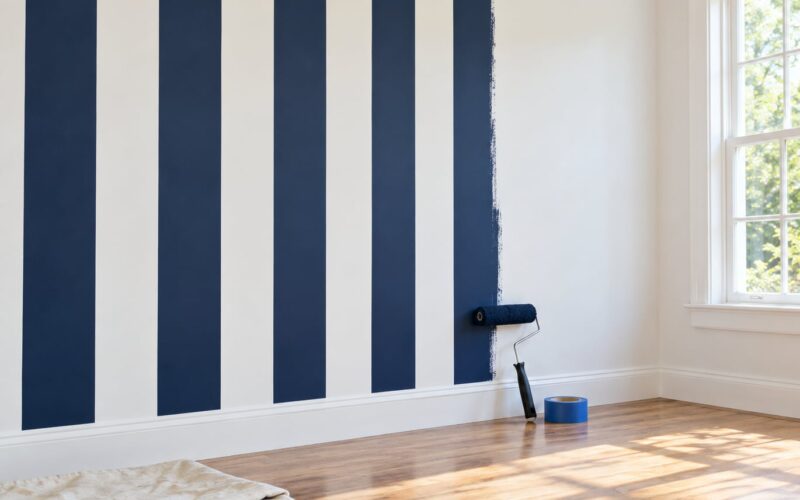
Horizontal blocks suit a room you want to feel wider. Vertical blocks make a low ceiling feel taller, which is why they work well in a hallway or a small bedroom. A split that follows an existing architectural line, like the underside of a stair rail or the edge of a chimney breast, will always look intentional, and it saves you inventing a line that has to fight the room.
Two colours is the safe starting point. Three tones of the same hue, for example a pale blue, a mid blue, and a deep blue, read as one colour family and are much harder to get wrong than three unrelated shades. Leave a small sample board of your colours on the wall for a day before you buy, and look at it at night too. Paint changes a lot between morning light and a lamp at night.
Measure and Mark the Wall
Measure the wall width, then mark the centre point. From there, decide how high the block should stop, and remember that doors, windows and skirting all have to line up with your choice of height.
The usual height is the underside of a ceiling cove, or about 7 feet on a standard 8 foot ceiling. A block that ends at ceiling height makes the room look shorter, so most people stop a few inches short and let the wall colour stay above it. If there is a door in the wall, the standard trick is to set the dividing line level with the top of the door casing and carry it across the whole wall.
Mark light pencil ticks at regular intervals, about every foot along the line, then run the level up against the wall and draw through each tick. Every painter who has done this knows why it works: a long straight edge held against the wall repeatedly will find the average error, and your ticks stop you from making one long continuous mistake.
Step back and look at the line from across the room before you tape anything. If it is not level now, it will not be level when it is in colour. Wipe the pencil line with a damp cloth so you do not tear the topcoat when you press tape over it.
Prep and Tape the Lines
Clean the wall before it goes near tape. A dusty wall means the tape edge is never fully sealed, and dust plus moisture is exactly what drives paint under the edge. A degreasing cleaner diluted as directed, a sponge, and a dry cloth is plenty.
Fill nail holes and scuffs, sand them flat with 180 grit, and spot prime the filler. Let the primer dry until it is not tacky to a light touch, which is usually well under the recoat time listed on the can.
Now the tape. Run long strips in one continuous length rather than short pieces butted together, because every butt is a place to lose grip. Press the tape down firmly with your thumb or a plastic card, working along the strip twice, then run your nail along the edge a final time. That last pass matters more than people expect.
Then paint the exposed edge with your base colour, pushing pigment right into the gap between the tape and the wall, and let it dry. This seals the edge, and it is the step that prevents bleeding.
For long straight runs, lay a second strip of tape directly over the first, matching the edges. Paint cannot creep up through two sealed layers, and this is cheap insurance on a 10 foot wall where a mistake means repainting the whole field.
For arches, scallops, and half domes, tape the curves in short overlapping strips instead of trying to run one long strip around a curve. Let each strip overlap the next, press hard at the overlap, and follow the curve with a pencil line first. Taping a curve is more work than taping a straight run, but it is far easier than trying to freehand brush one.
If your floor and skirting are not covered by existing tape or a plastic sheet, tape or sheet them now, before the roller comes out. There is no quick way to clean colour off a carpet after it soaks in.
One more thing for people on textured or slightly uneven drywall: brush the tape edge with a thin line of matching base colour right before you pull the tape, and on bumpy walls, fill small voids along the edge with colour rather than leaving them to dry and shrink.
Paint the First Colour
Load your roller, roll it out on the tray to even out the nap, and start at a top corner. Work in a W pattern so you spread the paint evenly before it soaks in, and keep the roller wet at the edge of what you have already done.
Cutting in first helps here. Run the angled brush along the ceiling line, into the corners, along the skirting, and along the taped edge, then roll the field straight into that brushed band while both are still wet. If you roll first and cut in second, the brush dries a slightly different sheen on top of the roller coat, and you can see it under a lamp.
Do not reload the roller mid pass. The most visible failure on a large flat field is the lap line where the roller was reloaded, so go back to the tray only at a natural break.
Keep each coat even rather than thick. Let the first coat dry to the touch and follow the recoat time on the can, which for most interior latex is around one hour before you can recoat. Longer is fine. Rushing this is the reason a second coat looks patchy.
Add the Additional Colors
Once the first colour is dry enough to handle, tape the far side of your line if it is not already taped, and paint the next block the same way: cut in with the brush, roll the field into it, and keep a wet edge.
Where the two colours meet, the new block should butt up against the tape, not flood over it. A loaded roller pushed right into the tape is how paint gets underneath.
Change sleeves between colours. Washing a sleeve properly takes longer than using a fresh one, and a sleeve carrying a hint of the old colour can tint your second block.
If you are going darker over lighter, use a good quality brush and a moderate load, and feather outward from the taped line. If you are going light over dark, expect the second colour to need a genuine full coat, and check for missed patches under raking light from a window before you call it done.
Remove Tape and Finish the Wall
Pull the tape while the paint is still tacky, not wet and not dry. Peel it back slowly at a 45 degree angle, folding it back on itself, and keep moving. Paint that has set grips the tape, and pulling it later tears a strip of your own new colour off the wall along with it.
The reason works is simple: as paint dries it shrinks slightly and forms a bond with the tape edge. While it is still soft, the tape releases before the paint has locked to the wall, so the boundary stays where the tape was. Once it has cured, the bond is stronger than the tape adhesive and you get a ragged peel.
Step back, then step in and check the line at close range. Small bleeds and nicks get fixed with a fine brush and the same colour. Let the wall cure for about two hours before pushing furniture back against it, and keep in mind that full cure takes a few weeks, so wait before hanging anything heavy on a fresh wall.
How long it takes
A single accent wall of about 64 square feet is a two hour job for a beginner once you count cleaning, filling, taping, cutting in, rolling, the break between coats, and tape pulling. Add a couple of hours of drying either side of that, and the wall can be furnished the same evening.
Common Mistakes
Most colour block problems trace back to one of six things. Each of them is cheap to prevent and annoying to fix after the fact.
1. Measuring by eye instead of using a level
The problem: the line looks fine from six inches away and visibly waves across the room. This is the most common failure and the hardest to undo.
The fix: mark pencil ticks about a foot apart, check the level at several points, and draw the final line through the ticks rather than in one long sweep. Do the whole marking and tape pass before any paint comes out of the tray.
2. Paint bleeding under the tape
The problem: a soft edge with a faint colour halo on the other side of the line.
The fix: press the tape down twice, seal the edge with a dry coat of the base colour before painting the field, and add a second strip for long runs. Use low tack tape, since regular masking tape lets more through. If bleed happens anyway, let the wall dry fully, then touch the line out with a fine brush and a steady hand.
3. Painting over the line with the roller
The problem: the roller wanders across the dividing edge and you lose the shape of the block.
The fix: roll away from the line, never into it, and let the cut in brush own that edge. If your brush line felt too thin to see, widen it deliberately with a second pass rather than letting the roller cover for it.
4. Pulling the tape too late
The problem: a strip of your new colour comes away with the tape and leaves a jagged edge.
The fix: pull while the paint is tacky, at a 45 degree angle, and never leave tape on overnight. If you have already missed that window, peel slowly and re-cut the edge with a clean brush, then fill any bare drywall underneath with filler before painting it out.
5. Roller marks and lap lines on the second coat
The problem: visible stipple and a patchwork of sheen once the room lights come on.
The fix: keep a wet edge and avoid reloading mid pass, use a good sleeve with the right nap for your wall texture, and choose eggshell or satin over flat. Flat paint across a large single field shows lap marks and sheen variation more than people expect, and it wipes clean far less easily.
6. A patchy second coat
The problem: one area looks correct and the next looks thin and streaky.
The fix: stir the paint thoroughly with a stir stick, not by shaking the can, and keep the coats even. Most thin patches trace back to paint that sat too long and skin formed, so stir again any time you pause for more than ten minutes.
Before you start, a short prevention checklist
- Measure with a level and tick marks, never by eye.
- Clean and degloss the surface so tape has something to grip.
- Fill and sand every hole, then spot prime.
- Buy one gallon of each colour rather than trying to share.
- Buy low tack tape, and use a second strip on long runs.
- Pull the tape on the same day, while the paint is still tacky.
- Check the dry wall in different light before you call it finished.
Frequently Asked Questions
Is color blocking still in style in 2026?
Yes, though the version that reads as current is quieter than the loud geometric walls of a few years ago. What people are doing now is two tones, or three tones from a single hue family, split with one clean line at roughly 7 feet. High contrast triangles and many small blocks are the versions that age fastest. If you want a result that still looks right a few years from now, two related colours beat five competing ones.
What is the color block painting technique?
Color blocking is painting one wall in two or more solid fields of contrasting colour, divided by a clean straight or curved line. You mark the line with a level, hold it with painter’s tape or a clean brush edge, paint each field fully, and pull the tape while the paint is still tacky so the boundary stays sharp. It is a layout decision first and a painting technique second.
How high should a color block wall be?
Around 7 feet on a standard 8 foot ceiling, or level with the underside of a ceiling cove if the room has one. If the wall has a door, set the line level with the top of the door casing and carry it across. Stopping at ceiling height makes a room look shorter, which is why most people leave a band of the base colour above the block.
Do you need primer to paint a color block wall?
On previously painted drywall you usually only need a spot primer over filled nail holes and repairs. Prime the whole wall when the surface is stained, when you are covering a dark colour with a light one, or over wallpaper, plaster, cinder block, or brick. Cinder block and brick need a masonry latex primer, or the colour will soak in unevenly and go patchy.
What paint finish is best for a color block wall?
Eggshell or satin. Flat and matte look flat in name only: across a large single field they show roller texture, lap marks, and sheen variation under a lamp, and they wipe clean poorly in a hallway or kids’ room. Eggshell holds colour more evenly between the two coats and still handles a scuff. Use the same sheen for both colours, or the boundary will read as a change in surface.
How many coats of paint does a color block wall need?
Two, on any wall that is not already the colour you want. The first coat seals the surface and often looks patchy on its own, which is normal. Wait about an hour between coats for interior latex, longer in cold or humid rooms, and keep the coats even rather than thick. Going from a dark colour to a light one always needs the full second coat plus a careful check under raking light.
Conclusion
Start with the line, not the paint. Measure the wall, mark pencil ticks about a foot apart, check the level at several points, and stand back to confirm before a single strip of tape goes down. Everything after that is straightforward painting: cut in with the brush, roll the field into it, pull the tape while the paint is tacky, and check the wall again in different light.
Pick two colours from the same family to start, buy one gallon of each in eggshell, and keep the first project to a single wall. You will get a clean result on the first try, and the next one will be faster.