White is the color people argue about most and get wrong most often, because the right white for your walls is decided by the light in the room rather than by the name on the can. To pick the right white paint for walls, match the undertone to your room’s exposure and your wood, tile and flooring, choose the sheen for how the room is used, then confirm it with dried samples on your own walls.
That process costs a few sample pots and a weekend of watching the wall. Get it right and the paint is invisible, which is the whole point of a white room. Get it wrong and every wall in the house looks faintly dingy, and you notice it every single day.
Table of Contents
- What You Need
- Step-by-Step: How to Pick the Right White Paint for Walls
- Step 1: Notice How Your Room Changes the White
- Step 2: Choose a White Undertone
- Step 3: Pick the Right Sheen and Finish
- Step 4: Check Coverage, Quality, and Paint Type
- Step 5: Test Large Samples Before Buying
- Step 6: Buy the Full Amount and Plan the Roll-On
- Common Mistakes
- Frequently Asked Questions
- What is the most popular white paint color for walls?
- Should I use the same white paint on walls and trim?
- Is matte or eggshell paint better for white walls?
- How long should I wait before judging a white paint swatch?
- Do I need primer before painting walls white?
- What white paint color hides wall imperfections?
- Conclusion
What You Need
You can compare white paints with nothing more than your own eyes, but a few things make the comparison honest instead of accidental.
- Paint sample pots in the exact sheen you intend to use, not paper swatches. A sample in matte tells you almost nothing about a satin wall.
- Large sample boards or peel-and-stick sheets roughly the size of a dinner plate. The little 2-inch chips sold in a fan deck are too small to judge, and holding one in your hand skews the color against your skin.
- A paint brush and a small roller for the brush-out, plus a scrap of painter’s tape and a plastic sheet to protect the floor.
- The paint label for anything you are already considering: the LRV, the Volatile Organic Compounds figure, whether it says paint and primer in one, and whether it is an interior wall formula or a trim and cabinet enamel.
- A note of your room’s light — which direction the windows face, when the room gets direct sun, and what color your bulbs are.
- Your fixed materials laid out in the room, ideally. Wood floors, white tile, stone counters, cabinets and the color of the existing trim all push a white one direction or the other.
For a rented place or a single rental refresh, the sample step still applies. You are just sampling one room instead of twelve.
Step-by-Step: How to Pick the Right White Paint for Walls
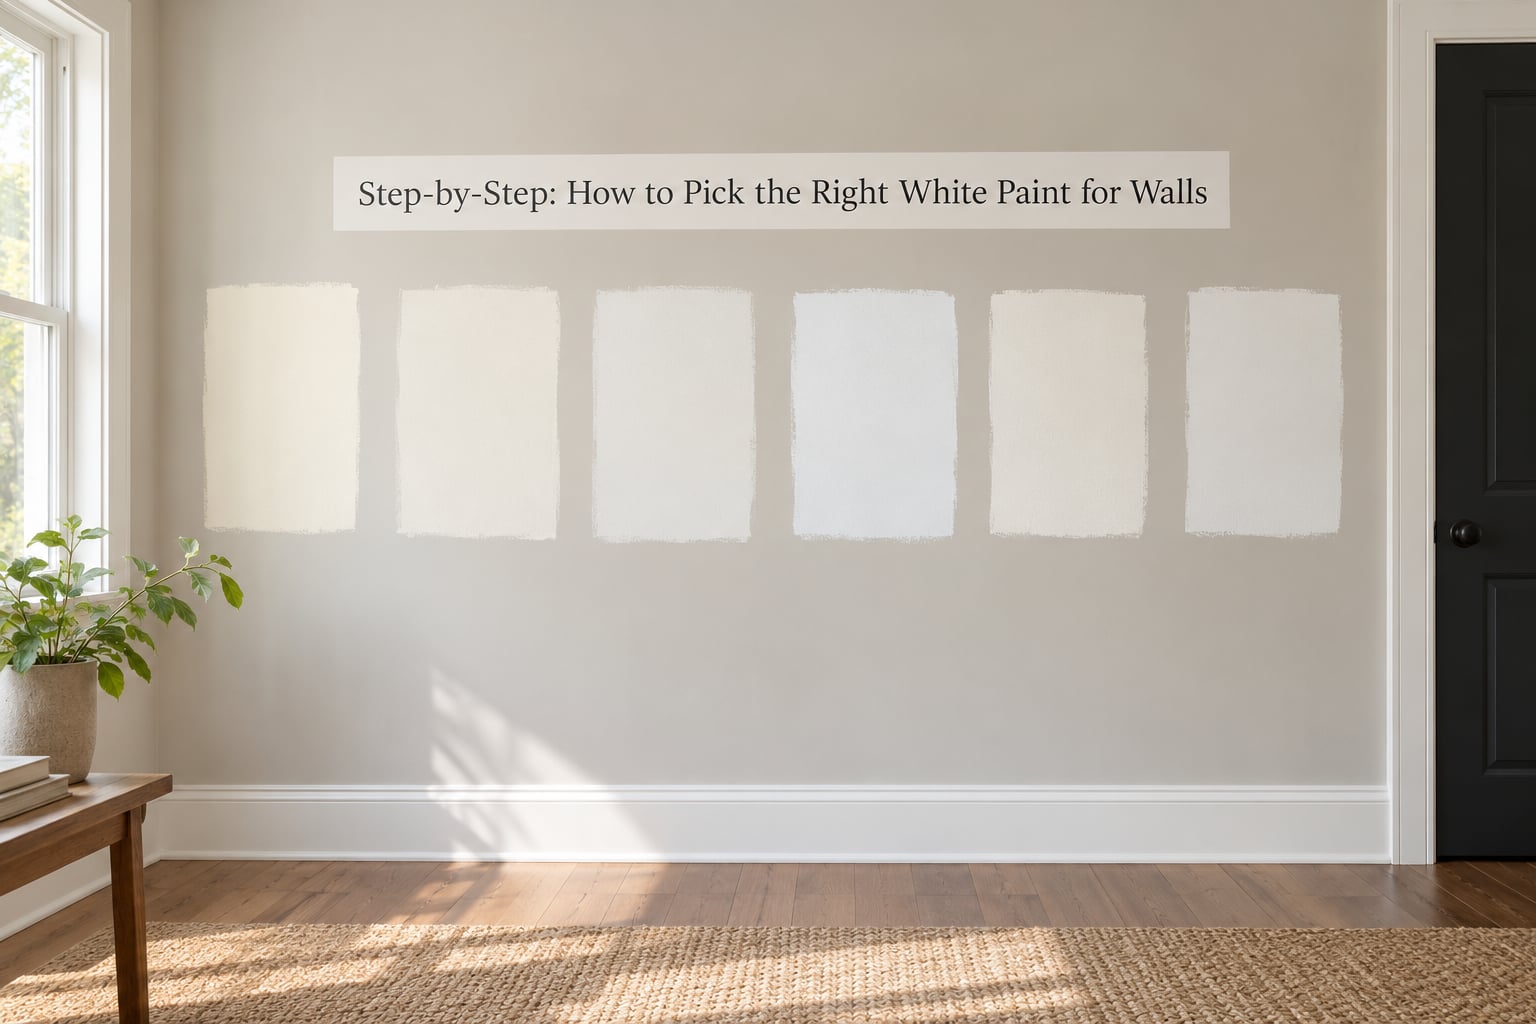
Step 1: Notice How Your Room Changes the White
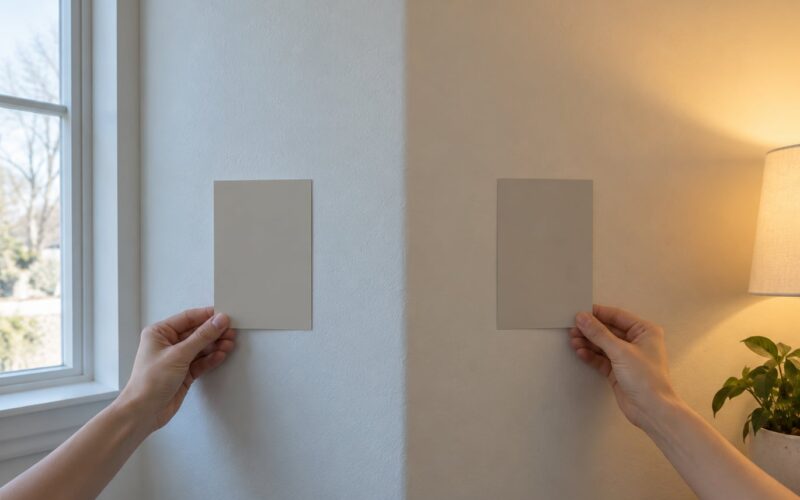
Every white you have ever lived with looked like a different color in a different room, and that is the light, not the paint. White is a reflector, not an emitter: it has so little pigment that it simply hands back whatever light hits it, and that light is never neutral.
North-facing rooms get steady, bluish, shadowed light all day, so a warm white goes muddy and a pure white turns gray. South-facing rooms get strong warm light, so a cool white picks up yellow fast and a warm white turns creamy. East-facing rooms have cool morning light and warm evening light, which makes a neutral the safest bet. West-facing rooms are warm in the afternoon and dim at night, and they make undertones most obvious.
Artificial light matters as much as daylight. Warm white bulbs around 2700K push every white toward cream, and cool bulbs past 4000K push it toward blue. Paint enthusiasts who fight this end up choosing a slightly warm neutral white and warm bulbs rather than trying to overpower a cool bulb with a cool wall.
Write down the exposure before you look at a single color. It saves you from falling for a sample that only looks good at 2 p.m.
Step 2: Choose a White Undertone
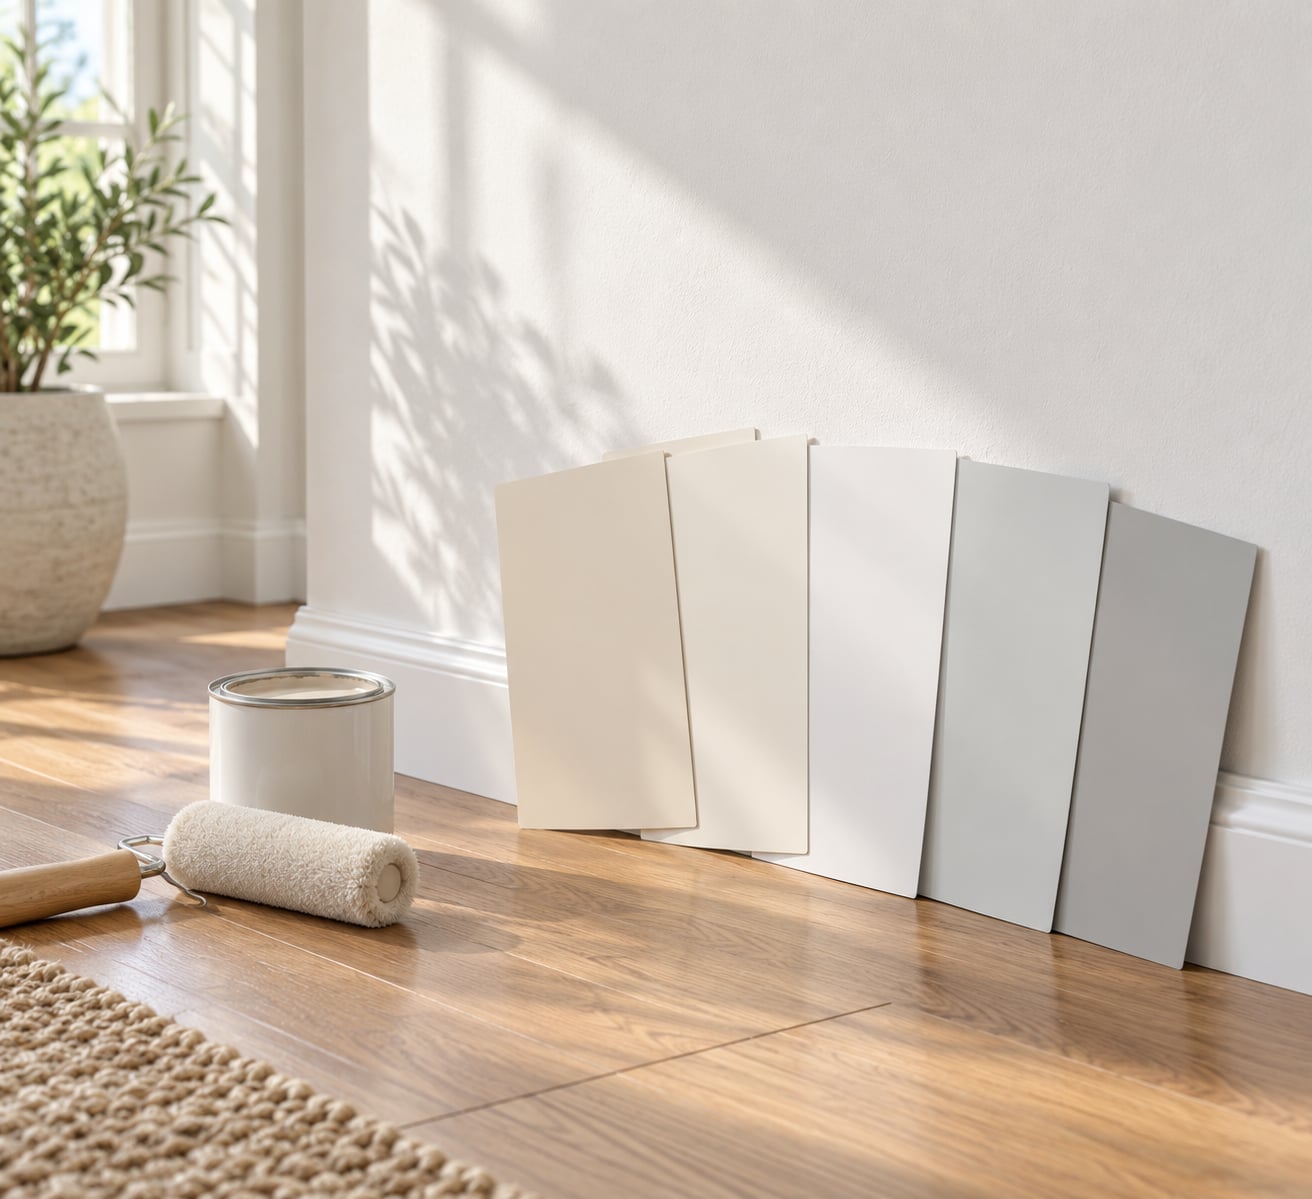
Undertone is the faint color hiding inside a white. Warm whites carry yellow, red or orange; cool whites carry blue, violet or green; neutral whites balance out with very little of either. The right choice is whichever undertone agrees with the wood, stone and tile already in your room.
| Room materials | Undertone that sits easily | What to avoid |
|---|---|---|
| Warm oak, walnut, pine floors and warm wood cabinets | Warm or neutral white | A crisp cool white, which reads gray-green next to honey wood |
| Cool gray tile, blue-gray floors, stainless and glass | Cool or neutral white | A creamy white, which picks up yellow against gray stone |
| White or cream marble, limestone, beige tile | Neutral white, or a soft warm white | Pure bright white, which looks chalky against veined stone |
| Dark wood floors, black or navy cabinets | Any undertone works, so pick for the light | Very cool white, which competes with the dark cabinetry |
| Existing white trim, appliances, tile | Neutral white that matches the fixtures | A warm white next to cool-white appliances |
The simple rule that decorators repeat is to match cool with cool and warm with warm, and to fall back on neutral whenever your room has strong opinions. Neutral whites are also the easiest to keep looking fresh as furniture changes, because they hand off contrast to your art and textiles instead of trying to supply the color themselves.
When you want a starting point instead of a blank search, sample two or three named whites in your own light. Colors people try first include Benjamin Moore White Dove, Chantilly Lace and Swiss Coffee, Sherwin-Williams Alabaster, Paperwhite and Pure White, and Behr’s Extra White. Treat names as marketing rather than description, which is exactly what the next steps fix.
Step 3: Pick the Right Sheen and Finish
Sheen changes the color, the durability and how many flaws you can see, so it is never a detail. Experienced painters land on eggshell for most walls and go shinier only where water or hand traffic demands it, because shinier surfaces telegraph drywall comp, nail holes and brush marks that matte hides.
| Room | Sheen to use | Durability and appearance |
|---|---|---|
| Bedroom, living room, dining room | Flat or matte | Least scrubbable, but it disguises bumps, patches and roller texture best |
| Hallway, stairwell, kids’ rooms, entry | Eggshell | Washes well and still soft enough to hide wall texture |
| Office, den, main living areas | Eggshell | The usual all-purpose wall choice; a middle ground on scrub and visibility |
| Kitchen, laundry, mudroom | Eggshell or satin | Satin holds up to grease and repeated cleaning better than eggshell |
| Bathroom | Satin or semi-gloss | Moisture and scrub resistance, and it will not hold onto soap film the way matte does |
| Baseboards, doors, cabinetry | Semi-gloss or gloss | Take the most handling, and the higher sheen gives a crisp edge line |
One trick decor writers use: keep the same color on the walls and the trim but change the sheen. Flat walls with satin trim read as two different colors because of how the light behaves on each surface, and it gives a room definition without picking a second color.
Ceilings take flat paint, almost always. A satin ceiling holds onto roller marks and shows every lap line under raking light.
Step 4: Check Coverage, Quality, and Paint Type
Whites have almost no pigment, so the quality of the formula shows up more than it does with a color. Look at the LRV, or light reflectance value, on the label. It runs from 0 for black to 100 for pure white, and interior whites usually sit somewhere around 80 to 90. A higher LRV bounces more light back into the room, which matters most in dim or north-facing spaces.
Then check the other label details. Paint and primer in one formulas save a step on a clean, previously painted wall, but they are not a substitute for primer on bare drywall, patched drywall, over a strong color, or anywhere you are going from white to white and need to cover scuffs. A high-build primer does something different from primer for adhesion: it levels texture and gives the topcoat a uniform surface to hide flaws on.
Watch the volatile organic compounds figure and whether the product is labeled low VOC or zero VOC. That matters in a small room you paint often, and in a house with kids or anyone sensitive to fumes. Match the product to the surface too, because an acrylic urethane enamel made for cabinets and doors is tougher than a wall formula and is the right choice for trim that gets touched constantly.
Coverage is usually listed around 350 square feet per gallon for a roller on smooth drywall, less on textured walls. Going from a strong color to white is the case people regret, because bare white over saturated color typically needs three or four coats, and priming with a tinted primer is what actually cuts that down.
Step 5: Test Large Samples Before Buying
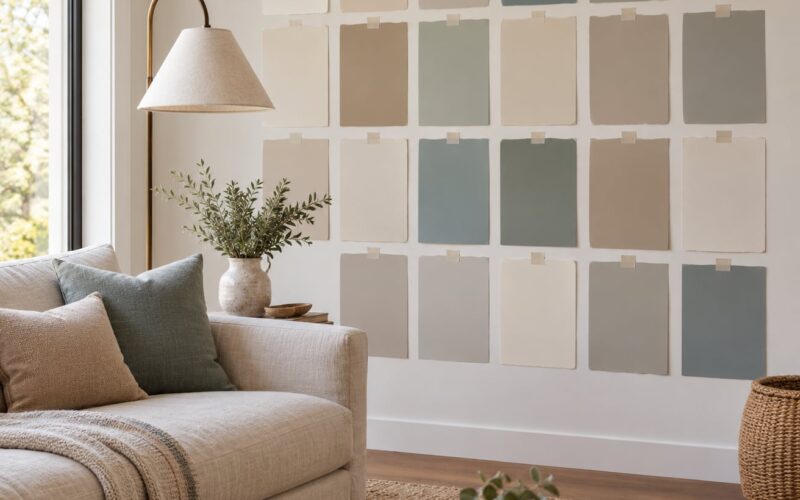
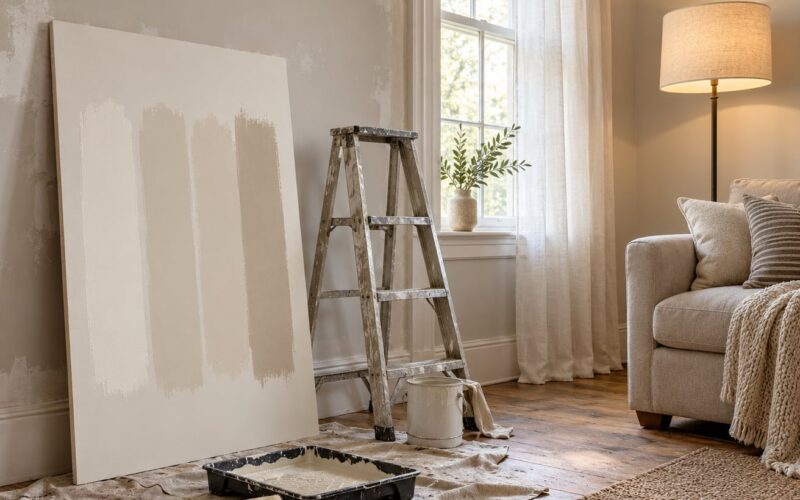
Take no more than four or five samples. Beyond that, people talk themselves out of the best one. Buy sample pots in the sheen you plan to use, then paint each one on two or three different walls in the room, not just the wall with the best light.
Put the samples up in the morning, look at them at midday when the sun is hardest, and look again after dark with only your bulbs. A white that looks flawless at noon can read yellow or dingy at night, and a warm white that seemed almost beige in the morning can look right in the evening.
Leave them up for at least 24 hours and preferably two days. Wet paint looks deeper and more saturated than dried paint, so judging a brush-out too early is the single most common way people end up with a white they don’t like. A sample with a white border around it also reads more honestly than one painted edge to edge, because the surrounding wall color otherwise bounces back and distorts what you see.
If a sample still looks different on two walls, trust the worse one. The dimmer, cooler wall is where a mistake will bother you for years.
Step 6: Buy the Full Amount and Plan the Roll-On
Once the sample wins, buy enough for two full coats plus about 10 percent for cutting in and touch-ups, and remember leftover white keeps. A typical 12 by 12 bedroom with a 9-foot ceiling has roughly 500 square feet of wall and floor area, so that room is one gallon for two coats and two gallons if you are coming off a dark color.
Wash the walls first, because dust and grime are what make a fresh coat of white look dingy. Patch holes, then scuff sand painted walls lightly so the new coat has something to grip, and fill and sand any drywall repairs. For white over white, a thin coat of high-build primer over the patched areas covers scuff marks and roller texture far better than a second coat of paint does.
On the roll itself, use a medium nap roller for textured walls and a light nap for smooth drywall, and always roll the same coat from the same direction. Cut in the edges and corners first with a brush, keep a wet edge, and do the second coat only after the first is dry enough not to lift.
If you are matching existing white trim, appliances or a stain rather than replacing them, take a clean chip about the size of a quarter to a paint store and ask for a match. A scanner match is close but rarely exact, and in direct sunlight you will see the difference, so ask for a sample of the match and test it before committing.
Common Mistakes
Choosing a white by its name. Swiss Coffee and Extra White are marketing words. Read the LRV and the undertone instead, and treat the name as a starting point for sampling, never as a description of the color.
Judging paint while it is still wet. Wet paint is darker and more saturated than the same paint dried. Wait at least 24 hours, and two days for anything warm-toned, before you decide.
Testing a 2-inch chip from a fan deck. Small chips are too small to see a shift in undertone and they are usually held in the hand, where your skin color distorts what you see. Use a sample pot brushed out at plate size on the actual wall.
Ignoring the sheen and picking the shiniest option. Satin and semi-gloss on a wall show every drywall imperfection and lap mark. Eggshell in a hallway or flat in a bedroom is the safer call for most walls.
Skipping primer when going white over white. One coat of paint will not cover scuffs and patched areas in a white room, because the shadow of the repair shows through the topcoat. A coat of high-build primer over the repairs fixes it faster than a third coat of paint.
Mixing a pure white down at the store to get a “softer” white. People regularly find the result is neither the color they wanted nor a match to anything else they own. Sample a real off-white instead of tinting white.
Buying too little paint. Underestimating the gallons is the most common expensive mistake. Two coats plus 10 percent is the working rule, and a third coat for going from a strong color to white unless you use a tinted primer.
Painting the whole house one white without checking each room. One white can look like two different colors in a north-facing bedroom and a sunlit living room, which is why sample boards in an r/paint thread on a whole-house repaint keep pointing back to room-by-room testing. Most people end up with one undertone in a few different values.
Frequently Asked Questions
What is the most popular white paint color for walls?
The most popular white paint colors for walls tend to be soft, light-reflecting off-whites rather than bright whites: Benjamin Moore White Dove and Chantilly Lace, Sherwin-Williams Alabaster and Swiss Coffee, and Behr equivalents. Warm off-whites are the most requested. Popularity varies by region and designer, so use these only as candidates to sample in your own light, not as a decision.
Should I use the same white paint on walls and trim?
Yes, and the same color in a different sheen is a standard designer trick. Paint the walls in eggshell or flat and the baseboards, doors and casings in satin or semi-gloss. Identical color in two sheens reads as two distinct tones because the surfaces reflect light differently, giving a room definition without adding a second color.
Is matte or eggshell paint better for white walls?
Eggshell is the better default for most walls, because it scrubs and wipes while staying soft enough to hide bumps and roller texture. Matte and flat hide imperfections best but hold onto grease, dust and scuffs and are hard to clean. Choose flat for ceilings and low-traffic bedrooms, eggshell for hallways, kitchens and general living space, and satin where moisture is a factor.
How long should I wait before judging a white paint swatch?
Wait at least 24 hours and ideally 48 hours after brushing out a sample, and look at it in daylight, at night under your bulbs, and during the strongest sun the room gets. Warm whites in particular look creamier as they dry. Samples also need to be on more than one wall, because the dimmest wall is the real test of how the color will live in the room.
Do I need primer before painting walls white?
On clean drywall that has already been painted, a paint and primer in one product usually covers it. Prime bare drywall, patched areas, new construction and anywhere you are going over a strong color, and use a tinted primer when converting a dark color to white to cut the number of coats. When painting white over white, spot-prime scuffs and repairs with a high-build primer rather than adding another coat of paint.
What white paint color hides wall imperfections?
A flat or matte white in a light neutral tone hides imperfections better than a bright white in eggshell or satin. Sheen does more to reveal dents and roller marks than color does, because a flatter surface scatters light instead of reflecting it. To hide texture on a wall you are keeping, a coat of high-build primer followed by two coats of flat paint works better than extra coats of paint alone.
Conclusion
Start with undertone, since it is the decision you cannot undo cheaply: warm whites for warm rooms, cool whites for cool rooms, neutral when you are unsure. Then settle the sheen for the room’s use, put four or five sample pots on two or three walls, and give them two full days. Buy two coats plus 10 percent, and your white walls will be the least noticeable thing you have ever done to a room, which is exactly the goal.