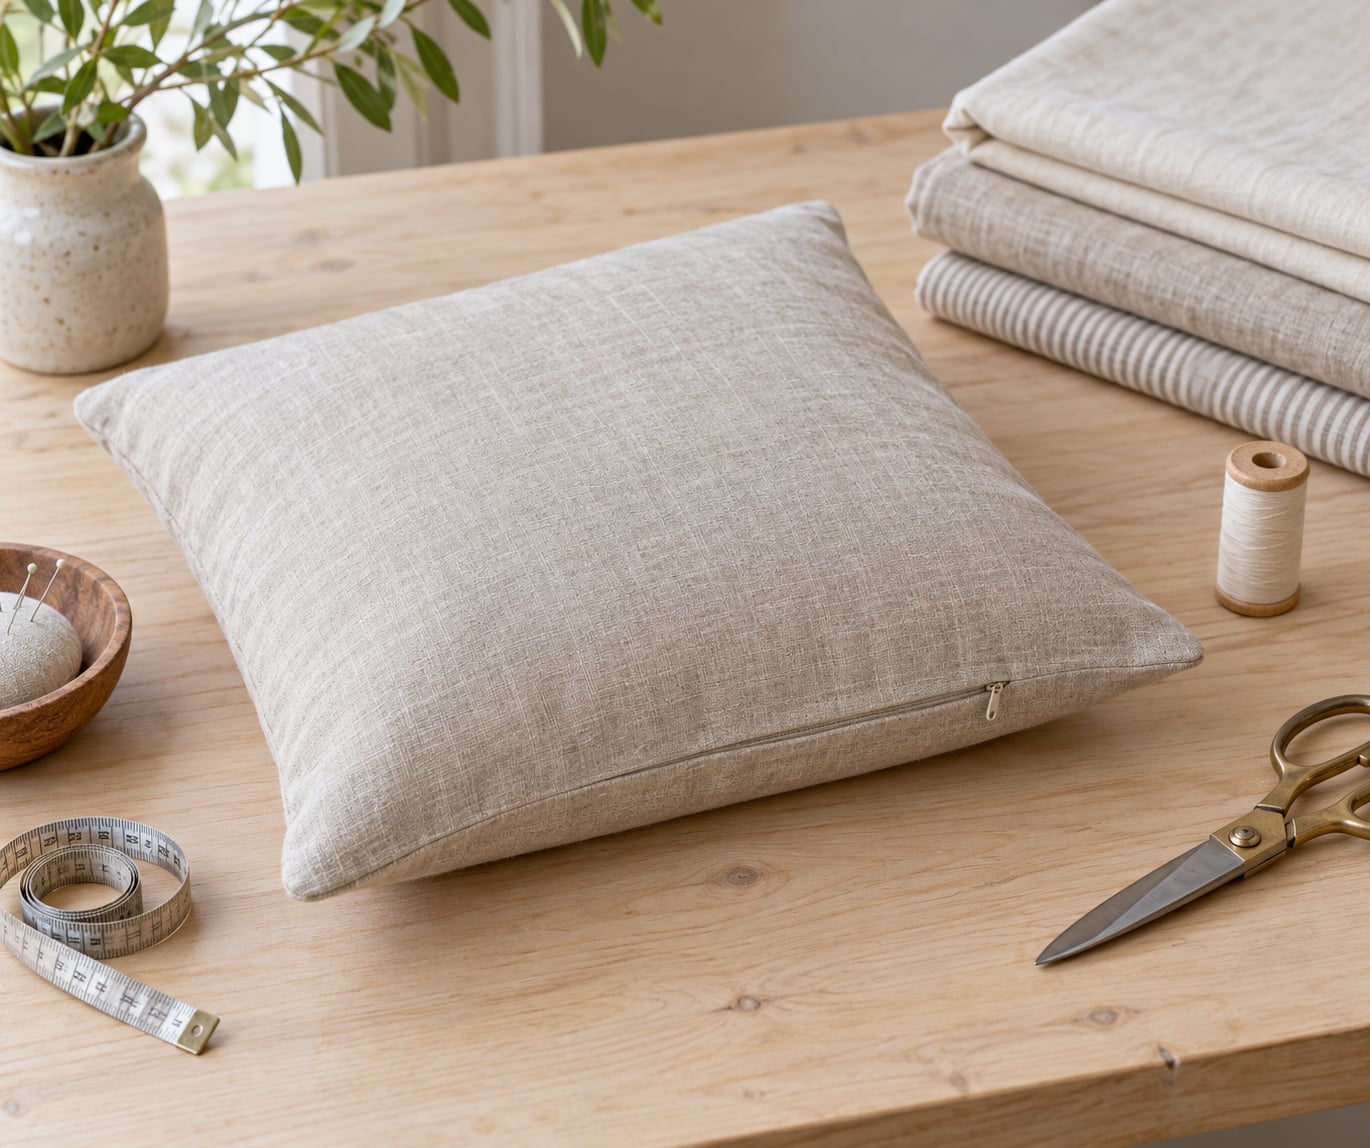
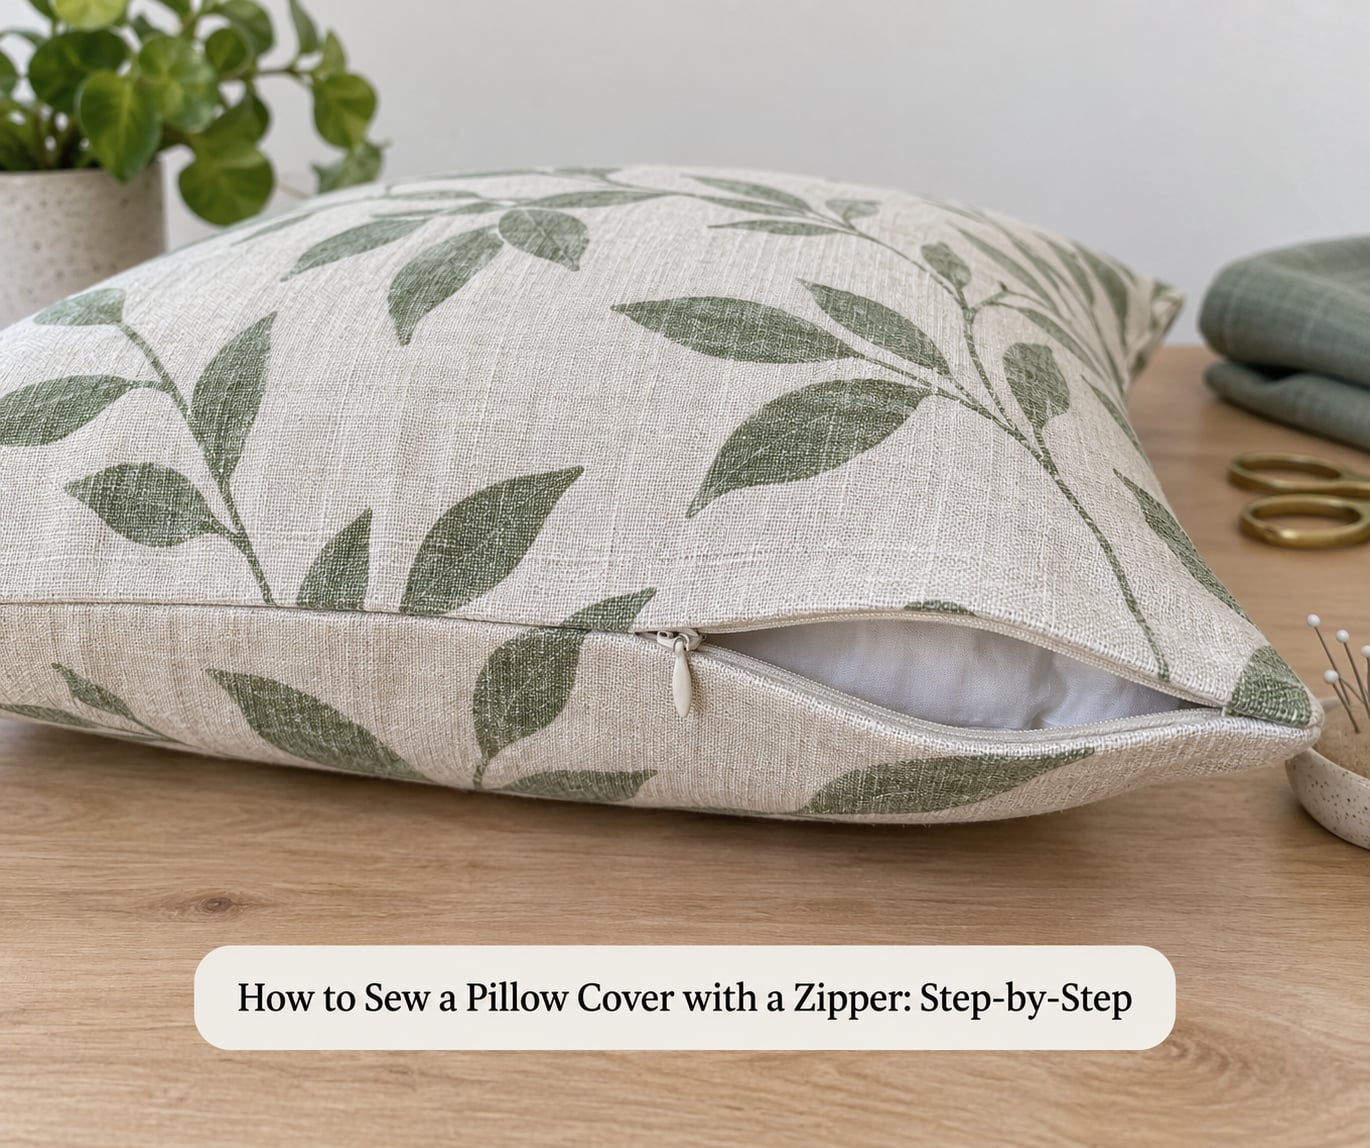
To sew a pillow cover with a zipper, cut two matching fabric panels, sew a temporary seam along one edge with a gap marked for the zipper, stitch the zipper into that gap, then sew the remaining three sides, trim the corners at 45 degrees and turn it right side out. The whole project takes about 45 minutes to an hour once you have the pieces cut.
It is the one closure that lets you wash the cover without fighting the insert out of an envelope back, and it keeps corners crisp instead of letting the pillow slump. Beginners find the zipper part fiddly for about ten minutes, then it clicks.
This is the method we use for throw pillows on the sofa: standard half inch seam allowances, a regular or invisible zipper on the bottom edge, and raw edges finished with a zigzag so the cover survives the wash.
Table of Contents
- What You Need
- Pillow Cover Size and Zipper Length at a Glance
- How to Sew a Pillow Cover with a Zipper: Step-by-Step
- Step 1: Measure the Insert and Choose the Zipper
- Step 2: Cut the Two Fabric Panels
- Step 3: Prepare the Zipper Opening on Both Panels
- Step 4: Attach the Zipper
- Step 5: Sew the Remaining Sides and Check the Fit
- Step 6: Turn and Shape the Cover
- Step 7: Insert the Pillow and Finish
- How to Care for a Zippered Pillow Cover
- Common Mistakes
- Frequently Asked Questions
- What is the easiest type of zipper for a pillow cover?
- Can I sew a pillow cover with a zipper on a regular sewing machine?
- How do I choose the right zipper length for my pillow?
- How do I keep the zipper from puckering or bunching?
- Should I line a zippered pillow cover?
- Can this method work for a decorative pillow without a removable insert?
- A Neat Pillow Cover Starts with Careful Measuring
What You Need
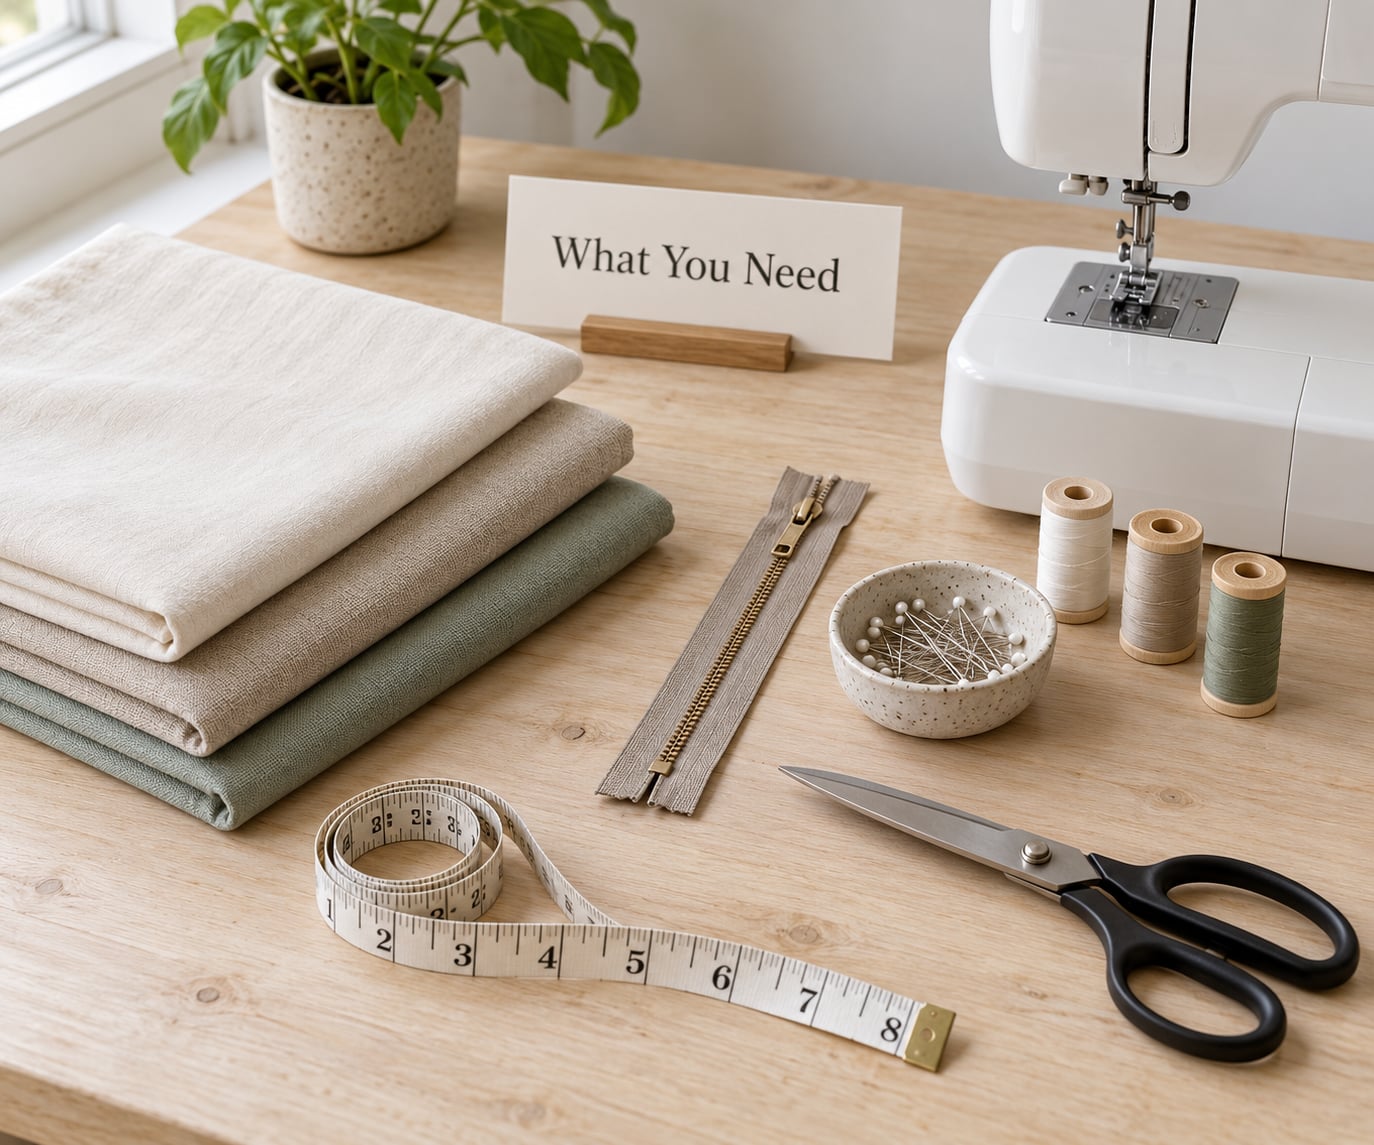
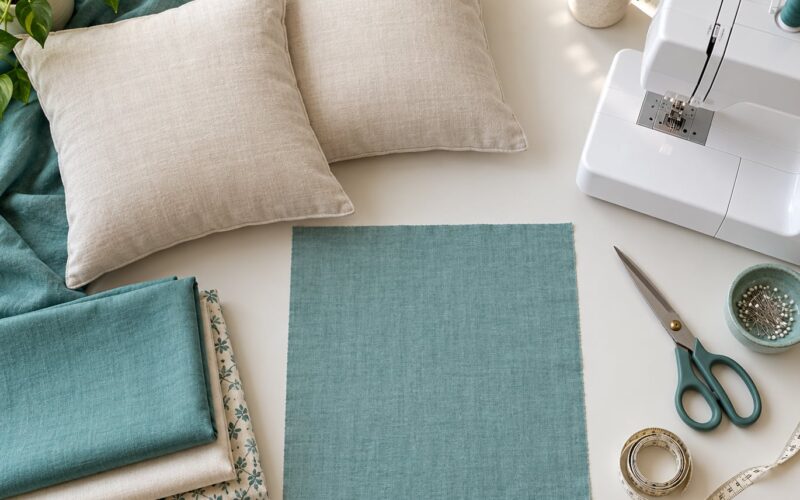
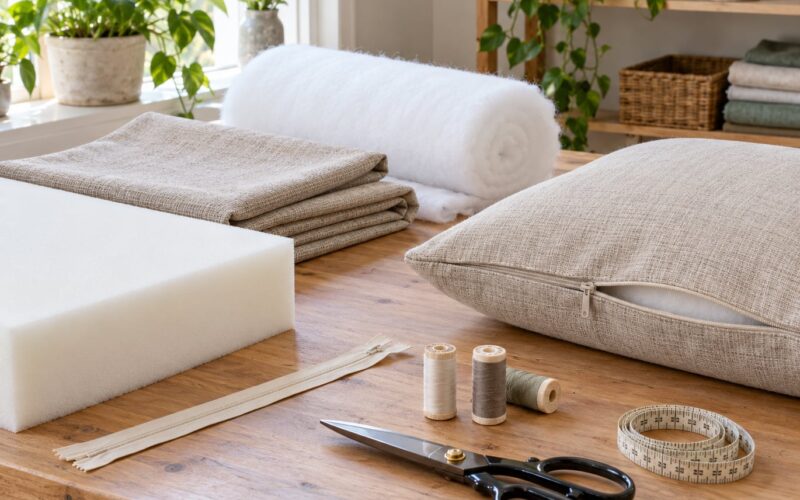
Everything here comes from a standard sewing kit. Nothing on the list is specialty, and three of the items have easy stand-ins if you do not own them.
- Fabric — medium weight cotton or quilting weight home decor fabric works best. Buy 1 yard for an 18 inch cover and 1.25 yards for a 20 inch cover, and pre-wash it first.
- Pillow insert or existing cover — measure the insert across the middle from edge to edge, not along the seam. That number drives everything else.
- Zipper — a closed-end zipper in a color that matches, sized 2 to 4 inches shorter than the width of the panel. A 14 inch zipper suits a 16 or 18 inch pillow.
- Zipper foot — the standard foot that came with your machine will sew a visible zipper fine. An invisible zipper foot is worth having if you plan to use invisible zippers often.
- Matching thread — a polyester all-purpose thread in the same color as the fabric.
- Pins or Wonder Clips — clips beat pins next to a zipper, because pins near teeth catch and drag.
- Scissors or a rotary cutter with a mat, plus a seam ripper for undoing the temporary stitch.
- Measuring tape, fabric marker and iron — pressing as you go is the difference between crisp and rumpled.
No machine? The zipper stages need one, but the panel cutting and pressing do not, so you can always cut first and finish later.
Pillow Cover Size and Zipper Length at a Glance
| Insert size | Cut each panel | Zipper length | Finished cover |
|---|---|---|---|
| 16 x 16 in | 16 x 16 in | 12 in | 15 x 15 in |
| 18 x 18 in | 18 x 18 in | 14 in | 17 x 17 in |
| 20 x 20 in | 20 x 20 in | 16 in | 19 x 19 in |
| 20 x 12 in lumbar | 20 x 12 in | 16 in | 19 x 11 in |
Cut each panel to the insert size and let the half inch seam allowance come off during sewing. This is the rule that settles the argument you will find in every forum thread: fabric cut one inch larger than the insert is exactly why covers come out baggy.
How to Sew a Pillow Cover with a Zipper: Step-by-Step
Step 1: Measure the Insert and Choose the Zipper
Lay the insert flat and measure it across the center in both directions, then measure the depth at the side seam. The flat width is what you cut; the zipper only needs to be long enough to get the insert in and out without stretching.
Pick a closed-end zipper two to four inches shorter than that width. You know it worked when the closed zipper lies across the opening without the fabric bunching on either side.
Step 2: Cut the Two Fabric Panels
Cut two rectangles at the insert dimensions, with the pattern running in the same direction on both so any print lines up. If your fabric has a border or directional print, center the design on the front panel before the needle goes near it.
Fold each panel right sides together along the edge that will carry the zipper, press it, and use that crease as your straight guide.
Step 3: Prepare the Zipper Opening on Both Panels
On the front panel, measure up from the bottom edge by half an inch plus the width of your zipper tape, mark both ends, and draw a line between them. Stitch a wide zigzag or a long basting stitch along that line instead of a plain seam, because a temporary zigzag rips out cleanly later.
Do the identical marking on the back panel, positioned on the same side so the finished zipper sits along the whole bottom edge. Press both seam allowances open and flat, and check that you have half an inch of allowance left beyond the marked line.
Step 4: Attach the Zipper
Open the zipper fully. Place it face down on the right side of the front panel, teeth centered on the marked line, with the end stops level with the marks. Clips hold it in place better than pins here.
Switch to the zipper foot and stitch along the tape. The rule that trips people up: the missing pin or missing needle on your foot goes on the side nearest the zipper, with the high side against the teeth. Backstitch at both ends and run a line to the top and bottom of the panel.
Fold the back panel over the zipper tape, right sides together, and repeat on the second side. You know the zipper is in when it still closes smoothly with the panels pinned and the opening ends even.
If you only own a standard presser foot, sew slowly with the teeth nudged away from the foot as you go. Stop often to check the alignment, and do not force the fabric through.
Step 5: Sew the Remaining Sides and Check the Fit
Pull the zipper pull all the way down so the opening is wide, then stitch the two side seams and the top seam at a half inch allowance. Backstitch at the corner where the side seam meets the zipper stitching so the corner does not blow out when you turn.
Test the fit now: slide the insert through the open zipper. If it barely passes, the cover will be tight. If it falls through loose, the cover is baggy. Adjust the allowance now rather than after turning.
Step 6: Turn and Shape the Cover
Trim the seam allowances at 45 degrees near each corner so the point turns without a lump. Leave the zipper open, then turn the cover right side out through the opening, working one corner at a time with your fingers or a blunt pencil tip.
Push each corner out fully, press the seams, and give the whole cover a light press so it lies flat. Corners should be sharp with no thick triangle of fabric showing.
Step 7: Insert the Pillow and Finish
Push the insert in through the zipper opening, rotate it so the corners sit in the corners of the cover, then zip it closed. Work the pull slowly; if it resists, the insert is probably caught in a corner.
Fluff, square up the corners and add a straight topstitch along the zipper seam if you want a tailored look. Then finish the raw inner edges with a wide zigzag to stop them fraying in the wash.
How to Care for a Zippered Pillow Cover
Close the zipper before washing so the teeth do not take the strain, then wash cold on a gentle cycle and line dry or tumble low. Air drying keeps the corners sharper, and skipping the pre-wash step is the main reason a cover shrinks onto its insert later.
Common Mistakes
The zipper will not close. Usually the seam was stitched too close to the teeth, so the tape cannot lie flat. Unpick the second side with a seam ripper and restitch with the foot pushed slightly away from the teeth so nothing sits on top of them.
The zipper is crooked or the fabric puckers along it. You sewed over a seam allowance that was thicker than the rest of the seam. Press the allowances open before attaching the zipper, and use the wide side of the foot against the bulk.
The cover is baggy. You cut the panels larger than the insert. Take it out of the wash and see how it looks damp; if it still hangs loose, you need to take the seams in, which means new fabric is the faster fix.
The zipper teeth show on the outside. You used a regular zipper on an invisible setting, or you turned the panels wrong. An invisible zipper should show only a faint line where the teeth sit under the fold.
The corners will not turn. You left the full half inch allowance at the corner. Trim diagonally to a quarter inch with long snips in one cut.
The seams fray after two washes. Raw edges were never finished. A wide zigzag over the seam allowances takes two minutes and adds years to the life of the cover.
The pattern does not line up across the front and back. You cut the two panels in opposite directions. Cut both with the grain running the same way and align the design before stitching the zipper seam.
Three habits prevent most of the above: press every seam before the next step, use clips rather than pins around the zipper, and test the insert through the opening before you sew the last side.
Frequently Asked Questions
What is the easiest type of zipper for a pillow cover?
A standard closed-end zipper is the easiest to sew on, because the teeth sit on top of the fabric and any ordinary presser foot will manage them. An invisible zipper looks more finished but needs the teeth uncurled with a hot iron before you start, plus a special foot for a truly flat result. Beginners often do an invisible zipper once and a visible one for every cover after that.
Can I sew a pillow cover with a zipper on a regular sewing machine?
Yes. A basic machine with the standard foot that came with it can sew the whole project, and a zipper foot is the only real upgrade worth buying. Switch to a shorter stitch length so the foot holds the fabric still around the teeth, and slow down near the ends. The only step a regular foot cannot do beautifully is a flat invisible zipper.
How do I choose the right zipper length for my pillow?
Measure the width of your insert, then choose a closed-end zipper two to four inches shorter than that number. An 18 inch insert takes a 14 inch zipper, a 20 inch insert takes a 16 inch one. Too long and the fabric ripples at the ends; too short and you strain the tape every time you open it.
How do I keep the zipper from puckering or bunching?
Puckering almost always means the seam allowance under the zipper is thicker than the allowance elsewhere, or the foot is pushing the fabric forward as you sew. Press the allowances open before attaching the zipper, position the foot so the bulk rides on the wide side, and stitch with a shorter needle length. If it still ripples, unpick and reset it.
Should I line a zippered pillow cover?
Skip the lining unless you are using a sheer or light fabric. Lining under a zipper opening adds bulk right where you least want it, and that bulk is the usual reason the seam puckers. For a plain cotton cover you get the same clean finish more easily by finishing the raw edges with a wide zigzag instead.
Can this method work for a decorative pillow without a removable insert?
You can use a decorative shell as long as it opens wide enough, which is why the two-to-four-inch zipper rule matters more here. Either cut the cover slightly larger than the shell and let it drape, or stitch a plain rectangle to the back of the shell to create a pull-through flap for the insert. Test the opening over the pillow before you sew the last seam.
A Neat Pillow Cover Starts with Careful Measuring
Most disappointing covers fail before the needle reaches the zipper. Measure the insert across the middle, cut both panels to that number with the grain running the same direction, and take a closed-end zipper two to four inches shorter.
Mark the opening on both panels with a zigzag you can rip out, press the allowances flat, and fit the zipper with clips rather than pins. Test the insert through the opening before you close the last seam.
Give yourself an hour the first time. The third cover takes half that, and you will find yourself making them for every cushion in the house.