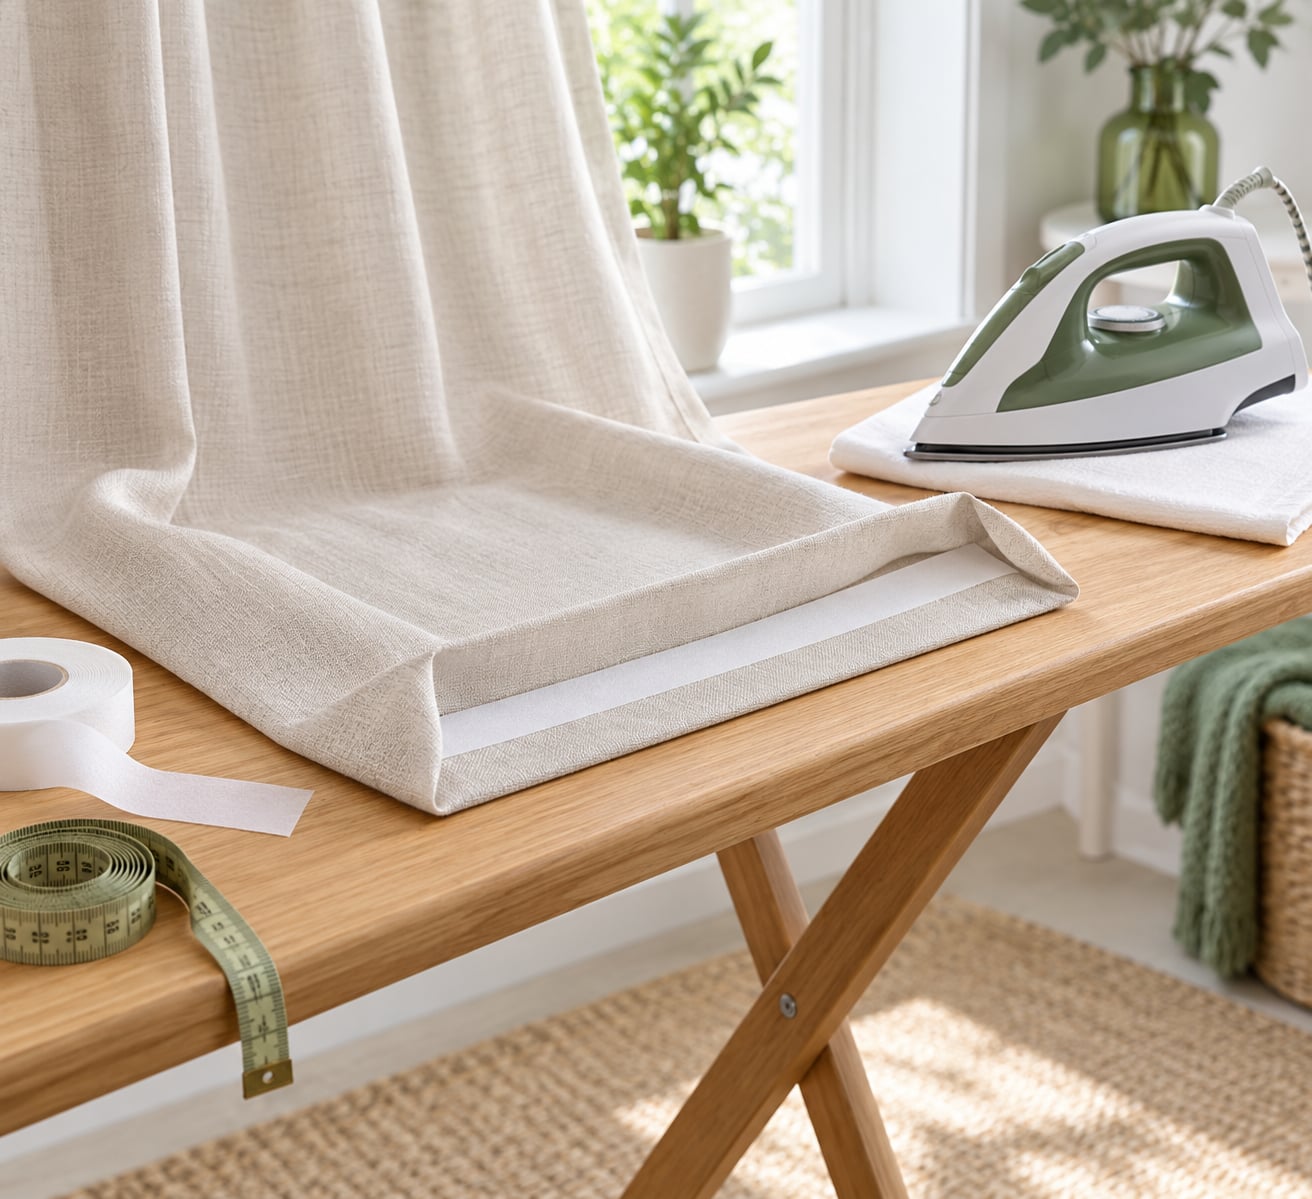
The easiest way to hem curtains without sewing is iron-on hem tape and a household iron. You fold the bottom edge up, sandwich a strip of double-sided fusible tape inside the fold, press it for 5 to 10 seconds per section, and let it cool. The whole job takes about 30 minutes a panel once you know the trick of measuring before you cut.
Most curtains arrive far too long. Standard drops like 84, 94, and 108 inches never match a real window, and the extra fabric drags on the floor and collects dirt. Fixing that usually means a sewing machine or a trip to an alterations counter. Neither is necessary.
I’ve hemmed more curtains with tape than with a needle, mostly polyester panels bought on a whim. The result is a real hem, not a temporary fix, and it holds up through washing. Here’s how to hem curtains without sewing, four ways, from most permanent to least.
One note before you start: wash or dry clean the curtains first if you can. Fabric shrinks in the wash, and a hem glued onto curtains that later shrink will sit crooked and gape at the bottom edge.
Table of Contents
- What You Need
- Step-by-Step: How to Hem Curtains Without Sewing
- Measure and mark the hem first
- Method 1: Use Iron-On Hem Tape
- Method 2: Use Fabric Glue
- Method 3: Use Clips or No-Sew Hem Tape
- Method 4: Create a Pressed or Pinned Hem
- Common Mistakes
- Frequently Asked Questions
- What is the easiest way to hem curtains without sewing?
- Can I use fabric glue to hem curtains?
- Will a no-sew hem stay attached after washing?
- How do I make a temporary curtain hem without sewing?
- Can I hem lined or heavy curtains without sewing?
- Conclusion
What You Need
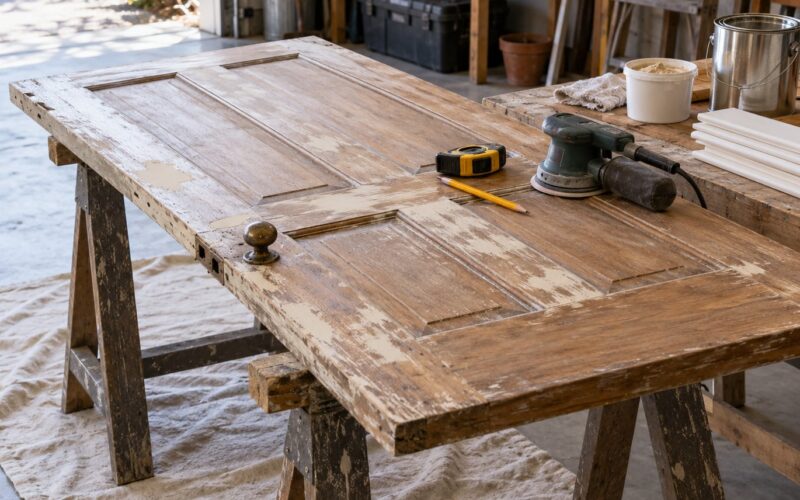
For the iron-on method, the core kit is small. Everything else on this list is optional and depends on which of the four methods you pick.
- Iron-on hem tape — also sold as fusible web, fusion web, or curtain hemming tape. HeatnBond Hem Iron-On Adhesive is the most widely available. Stitch Witchery is the other name you’ll see in the craft aisle. For thick or lined fabric, look for a wide or heavy-duty hem tape rather than the standard 1/2 inch width.
- An iron with a steam setting and adjustable heat. A cheap iron works fine; the fabric setting matters more than the iron.
- A pressing cloth — a clean cotton or muslin square. This protects the curtain face from shine, scorch marks, and glue transfer.
- Measuring tape and a pencil or tailor’s chalk for marking the fold line.
- Fabric shears or sharp scissors for trimming the excess.
- An ironing board, plus a towel or folded fabric underneath if you’re pressing on a bed or counter, since the panel needs a flat surface.
- Fabric glue (a solvent-based fabric adhesive such as Aleene’s) for Method 2, if you don’t want to press at all.
- Curtain hem clips or no-sew hem tape for Method 3, if you want a renter-friendly option you can undo.
- Strong pins, a small screwdriver, or hem clips for Method 4.
Step-by-Step: How to Hem Curtains Without Sewing
All four methods share the same first two steps, so measure once and choose your finishing technique after that.
Measure and mark the hem first
Hang the curtains on the rod and decide where you want the finished bottom edge to land. A curtain that just kisses the floor or breaks 1/2 inch above it is the standard; anything longer will scuff.
Mark the desired finished length with chalk, then subtract the hem depth. Four inches is the professional standard for a weighted, clean drape. For a light kitchen curtain, 1 to 2 inches is plenty. If you take up 12 inches, you will be folding 12 inches of fabric up into a 4 inch hem, so you need 8 inches of excess to work with.
Mark the hem line across the full width of the panel, and check it at three points — left edge, middle, right edge. A rod that is not level or a panel that is not hung evenly will give you a hem that is straight in one spot and crooked in another.
Method 1: Use Iron-On Hem Tape
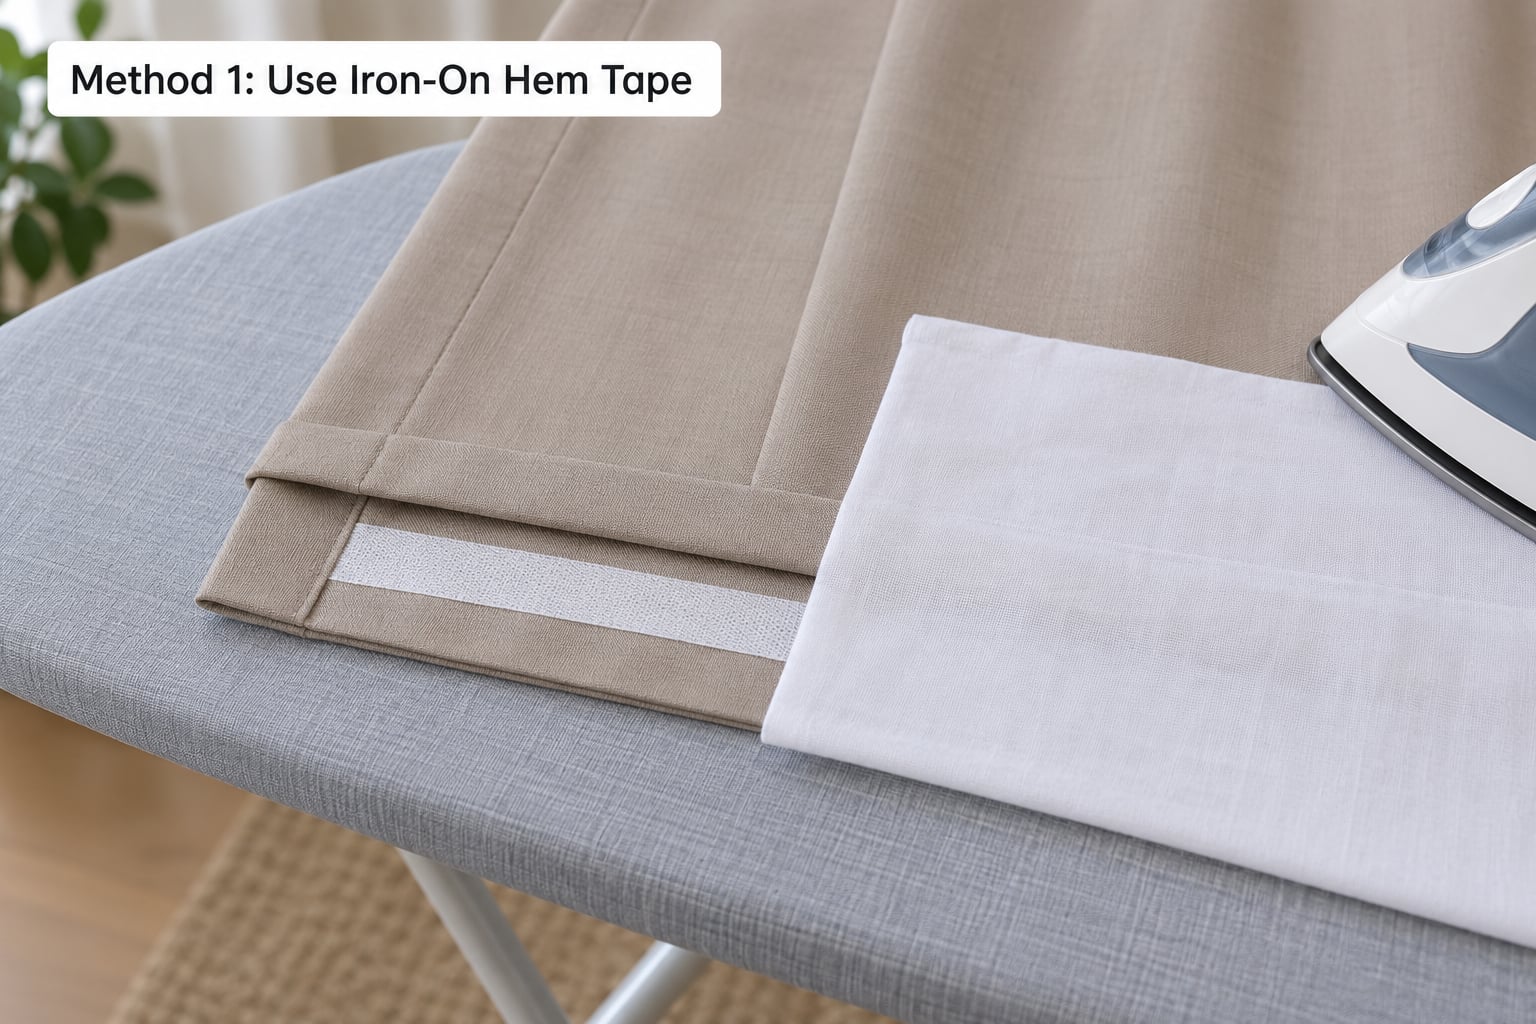
Iron-on tape is the most permanent no-sew method and the one I’d reach for by default. Iron-on hem tape is a double-sided heat-activated adhesive web: the heat melts the glue, and the two layers of fabric fuse together as it cools.
- Press the fabric first. Wash out any existing creases before you add tape. Iron the curtain damp, and pay attention to the bottom 4 inches especially, because that is where the fold will be sharpest.
- Fold and pin. Fold the bottom edge up to your marked line so the raw edge is hidden inside the fold. Run your fingers along the fold to sharpen it, then pin every 3 to 4 inches.
- Flip the panel over. Turn the curtain so the raw edge is visible, and trim off any excess fabric about 1/4 inch behind the fold. Trimming after pressing feels backwards, but leaving bulky excess inside the hem makes a stiff, lumpy edge.
- Measure and cut the tape. Iron-on hem tape comes in 1/2 inch and 1 inch widths. Use the narrower tape on light to medium fabric and the wider one on anything heavy. Cut a piece 1 to 2 inches longer than the hem.
- Position the tape inside the fold. Lift the folded hem, place the tape along the inside of the crease with the adhesive sides facing the fabric, and press the fold back down over it so the raw edge is completely covered.
- Press. Put your pressing cloth on top and press firmly for 5 to 10 seconds per section. The tape’s packaging will give you a temperature and dwell time for your fabric grade; follow those numbers over anything generic.
- Let it cool completely. Ten seconds of cooling sets the bond. Peeling anything off the backing before the tape is cold is the number one reason a fusible hem peels off in the wash.
- Test it. Let the panel cool flat for 15 minutes, then tug the hem gently in a few places. It should feel like one layer of fabric, with no lift or gap at the fold.
Method 2: Use Fabric Glue
Fabric glue works well on a lightweight curtain and on a temporary alteration, and it needs no iron at all. It suits anyone who does not want a pressing session, though the finished hem can feel slightly stiff and will not match a fused hem on heavy fabric.
- Fold, press, and pin the hem so the raw edge is hidden. The fold has to be sharp before you glue, because glue will not hide a wavy edge.
- Apply a thin, even line of fabric glue along one side of the inside of the fold. Less is more. A thick bead seeps through to the front, stiffens the panel, and shows as a shiny line.
- Close the fold and press it flat under a weight. Stack books on the hem, or put the panel under something flat and heavy, and leave it undisturbed for the drying time listed on the glue bottle. Twenty-four hours is a safe assumption if the label is vague.
- Test the bond with a gentle pull at several points along the hem, including the ends where the fold is under the most tension.
Check the label before you apply. Some fabric glues are water-based and safe to wash; solvent-based glues often need a separate seam sealer and warn against washing. On a panel you wash often, pick the water-based kind.
Method 3: Use Clips or No-Sew Hem Tape
Clip-on hems are the most reversible option. Nothing touches the fabric with heat or glue, so this is the pick for a rental, a borrowed room, or curtains you might sell.
- Lay the curtain flat with the bottom edge facing you, and work out where the bottom needs to sit.
- Fold the bottom up to that line and smooth the fold flat with your palm. Clamps grab fabric, so any ripple you leave here shows on the front.
- Attach the clips or no-sew hem tape along the inside of the fold, spacing them every 2 to 3 inches and starting at both edges. If your tape has a backing paper, peel it back as you go, a few inches at a time, so the adhesive does not stick to itself before the fabric is in place.
- Check the level. Step back and look at the bottom edge from across the room. Weight helps here: clips work well on medium-weight cotton and polyester panels, less well on thick lined blackout curtains where the fold is heavy and the grip has to hold a lot of fabric.
The tradeoff is honest: a clip hem is temporary. It will hold through normal use but not through a washing machine, and it can slowly stretch out of level.
Method 4: Create a Pressed or Pinned Hem
This is the display-finish option, useful when you need curtains to look right tonight and will deal with the permanent fix later.
- Make a narrow double turn at the bottom edge, about 1/2 inch, then fold that up to your marked line. A narrow turn looks finished even on its own, because the raw edge is buried inside the fold rather than left facing out.
- Press it with a pressing cloth so the fold stays sharp while you work.
- Pin it or clip it with strong pins, hem clips, or even bulldog paper clips, every 2 inches. Use more pins than feels necessary; a pin every 4 inches will let the edge drift.
- Keep the panel hanging and the floor weighted. If you can, leave the curtains on the rod with a small weight resting on the hem so gravity holds the edge straight.
Replace this with a fused or glued hem before the curtains go into the wash. Pinned hems are for a look, not for laundry.
Common Mistakes
Measuring from the curtain instead of the floor. Measure from the top of the panel to your floor line, not from the top of the fabric, so pleat and heading differences do not throw you off. Measure each panel separately.
Pressing wrinkles in before you measure. A panel that has been folded in a packet can hold a crease above the hem line that you will discover only after the hem is finished. Press the whole panel flat first.
Using too much fabric glue. Excess glue soaks through and leaves a stiff, sometimes shiny line on the curtain face. A thin line inside the fold is all that holds.
Ignoring the care label and the tape packaging. Hot iron settings differ by fabric. Polyester and nylon need a medium or permanent press setting; a scorching iron will leave a permanent mark on synthetics.
Peeling the backing off too early or pressing too briefly. A hem that will not stick is almost always one of three things: heat too low, no pressing cloth, or moving the tape before it cooled.
Testing only one section. Check the bond at both ends and the middle. Ends sit under the most tension when the curtain closes, and that is where a weak hem fails first.
Choosing the wrong method for the fabric. Polyurethane-lined blackout curtains are the hard case. The coating is essentially plastic, and a hot iron can melt or scorch it, so keep the iron on the main fabric only and check the label. On lined panels, a strong no-sew hem tape or a glued hem that isolates the lining is safer than a high-heat press straight over the coating.
Two more worth knowing: thick velvet should be hemmed with the pile hanging down onto the ironing board so the finish stays consistent, and any fusible hem can leave a faint stiff line on the curtain face, so keep it slightly narrower than the finished edge if that bothers you.
Frequently Asked Questions
What is the easiest way to hem curtains without sewing?
Iron-on hem tape is usually the easiest and fastest option. Fold the curtain to the desired length, position the tape inside the fold with the raw edge covered, then press with a hot iron and a pressing cloth for 5 to 10 seconds per section. Let the tape cool fully before testing the bond, and follow the temperature guidance on the tape packaging for your fabric.
Can I use fabric glue to hem curtains?
Yes, fabric glue works well on a lightweight curtain or a temporary DIY alteration. Apply a thin, even line inside the folded hem, press the edges together, and clamp or weight the fold until the adhesive dries completely, usually overnight. A thick bead will seep through to the front and leave a stiff line, so use less than you think you need.
Will a no-sew hem stay attached after washing?
It depends on the method, fabric, and wash frequency. A properly pressed iron-on hem on cotton or polyester survives cold machine washing well, and a good water-based fabric glue also holds. A pressed or pinned hem will not survive a wash, and clip hems are temporary. Wash the finished curtains cold and dry them flat or on a low setting to protect the bond.
How do I make a temporary curtain hem without sewing?
Fold the bottom to the desired length and secure it with curtain clips, fusible tape, or a narrow double turn held with pins. Keep the fold level with a ruler or a spirit level while you work, and check it from across the room. Put a small weight on the hem so gravity holds the edge straight. Replace it with a fused hem before washing.
Can I hem lined or heavy curtains without sewing?
You can, but the method matters. A thin fusible web often fails to bond to lining or thick fabric and peels after a few washes, so choose a wide, heavy-duty hem tape or a fabric glue that will not soak through. On blackout curtains with a polyurethane coating, keep the iron off the coating and check the care label first, because heat can melt or scorch it.
Conclusion
Iron-on hem tape is the answer for most people: it is fast, it looks like a real hem, and it holds through washing. Reach for fabric glue when you would rather not press, clips when the curtains belong to someone else, and pins when you just need them to look right tonight.
Start by washing the curtains, hang them, and mark the finished length on three points across the panel. Subtract 4 inches for the hem, test one hidden section, and only then work along the whole width. That single test tells you everything you need to know about whether the tape will take before you commit.