Checking thrifted furniture for bed bugs takes about ten minutes: flip the piece over, pull apart every seam, and look for live reddish-brown bugs, black pepper-like specks, shed skins, tiny white eggs, or rust-coloured stains. Grab a bright flashlight and a magnifying glass, and you have everything you need.
Bed bugs are flat, roughly the size of an apple seed, and they squeeze into places most people never look: mattress piping, screw holes, the gap between slats, the underside of a sofa frame. They need only blood to survive, and a single infested piece can seed an entire home. That is why ten minutes in a parking lot beats ten months of wondering whether your new dresser is the reason you keep waking up itchy.
None of this means you have to stop thrifting. A careful inspection, plus a short sealed quarantine before the piece crosses your threshold, keeps the risk small. Here is exactly how to check thrifted furniture for bed bugs, in the order that wastes the least time.
Table of Contents
- What You Need
- Step-by-Step: How to Check Thrifted Furniture for Bed Bugs
- Start with the seller and the furniture’s history
- Inspect visible surfaces and seams first
- How to check cracks, joints, and hidden areas
- Use movement, stains, and smell as supporting clues
- Inspect upholstered and second-hand furniture before taking it home
- Common Mistakes
- What to Do Before the Piece Crosses Your Threshold
- Frequently Asked Questions
- How do I check a leather couch for bed bugs?
- Are bed bugs common in thrift stores?
- Can a mattress with bed bugs be saved?
- How long should I quarantine thrifted furniture for bed bugs?
- How hot does a dryer need to be to kill bed bugs?
- What do bed bugs hate the most?
- How to Check Thrifted Furniture for Bed Bugs: The Takeaway
What You Need
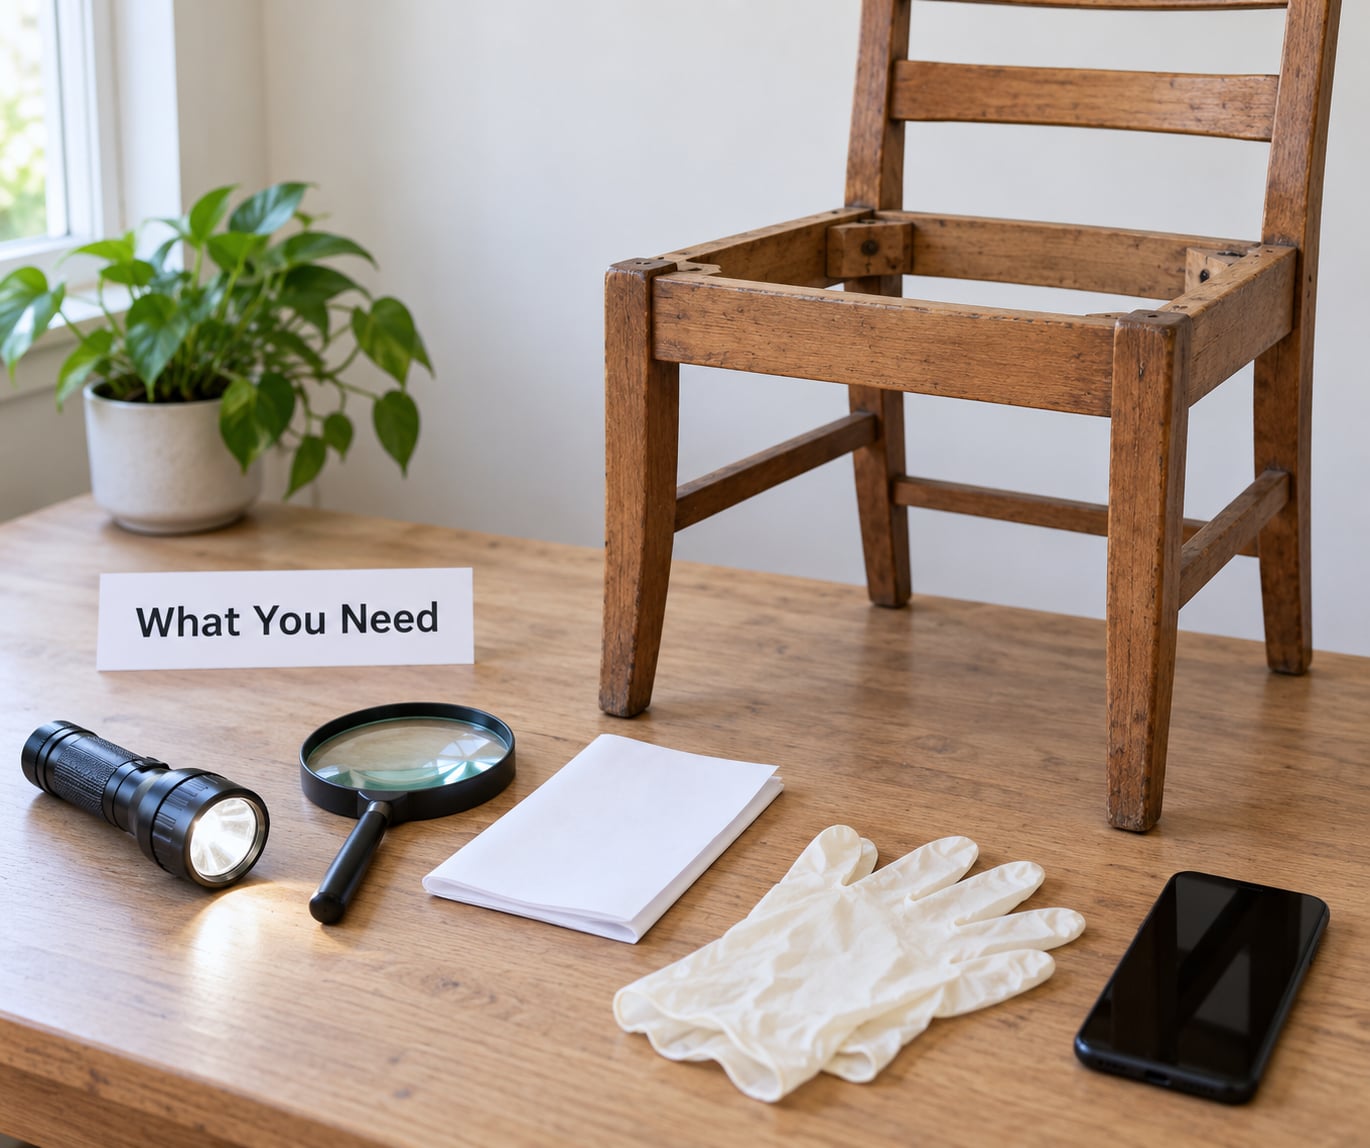
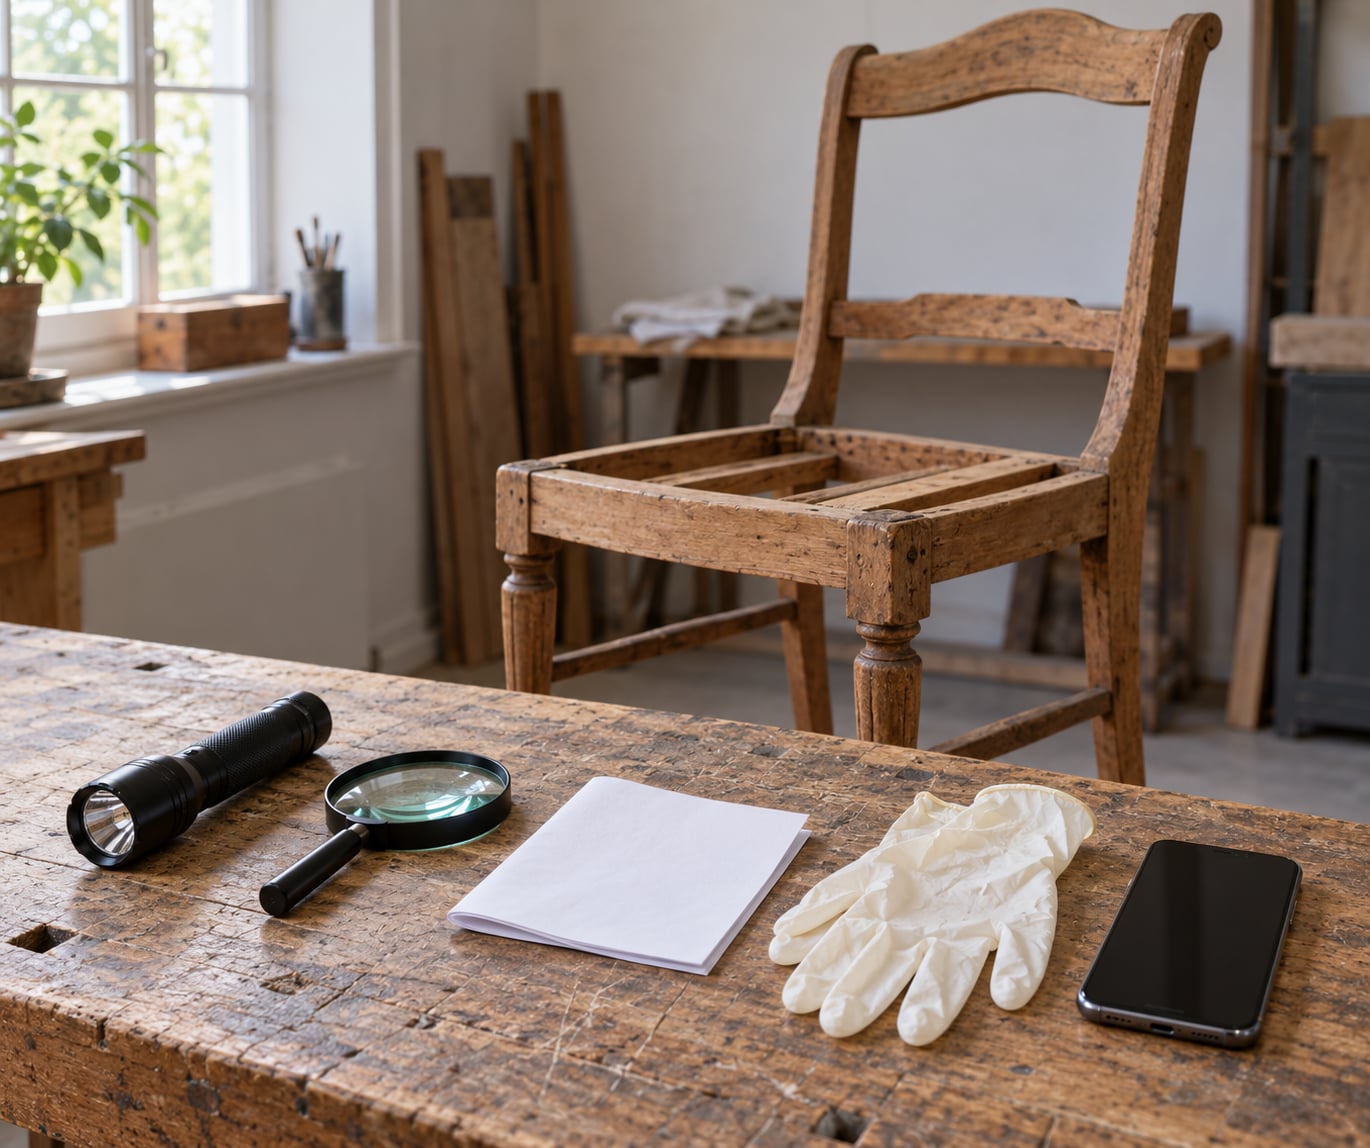
None of this is expensive, and most of it fits in a jacket pocket. Bring more light than you think you need, because bed bugs hide in shadow.
- A bright flashlight or torch. Angle it along seams rather than straight at them; raking light reveals raised edges and droppings a direct beam hides.
- A magnifying glass. A hand lens is ideal. Phone camera zoom works too, and the photo is worth taking so you can compare it against an identification guide later.
- A folded white sheet of paper or a white index card. Tap or scrape suspected debris onto it. Fecal spotting on white fabric is unmistakable; the same speck on dark upholstery just looks like dirt.
- Disposable gloves. Nitrile or latex. They keep you from handling what you find and from transferring anything to your car door handle afterwards.
- A flat card, plastic scraper, or old credit card. For prying up cushion corners, peeling back fabric, and checking the gap between slats and frame rails.
- Your phone. For photos of anything suspicious. Most guides describe bugs in words; a picture gets a far more reliable answer from an entomologist or extension office than a paragraph of text does.
- An insect identification reference. A university extension fact sheet or the CDC’s bed bug pages. Knowing what bat bugs, carpet beetle larvae and spider beetles look like saves you from throwing away a perfectly good armchair over a false alarm.
Add a sealed plastic bag or two if the seller will hold the piece while you inspect it. Having somewhere to isolate a questionable find means you can finish your shopping instead of abandoning a couch on the curb.
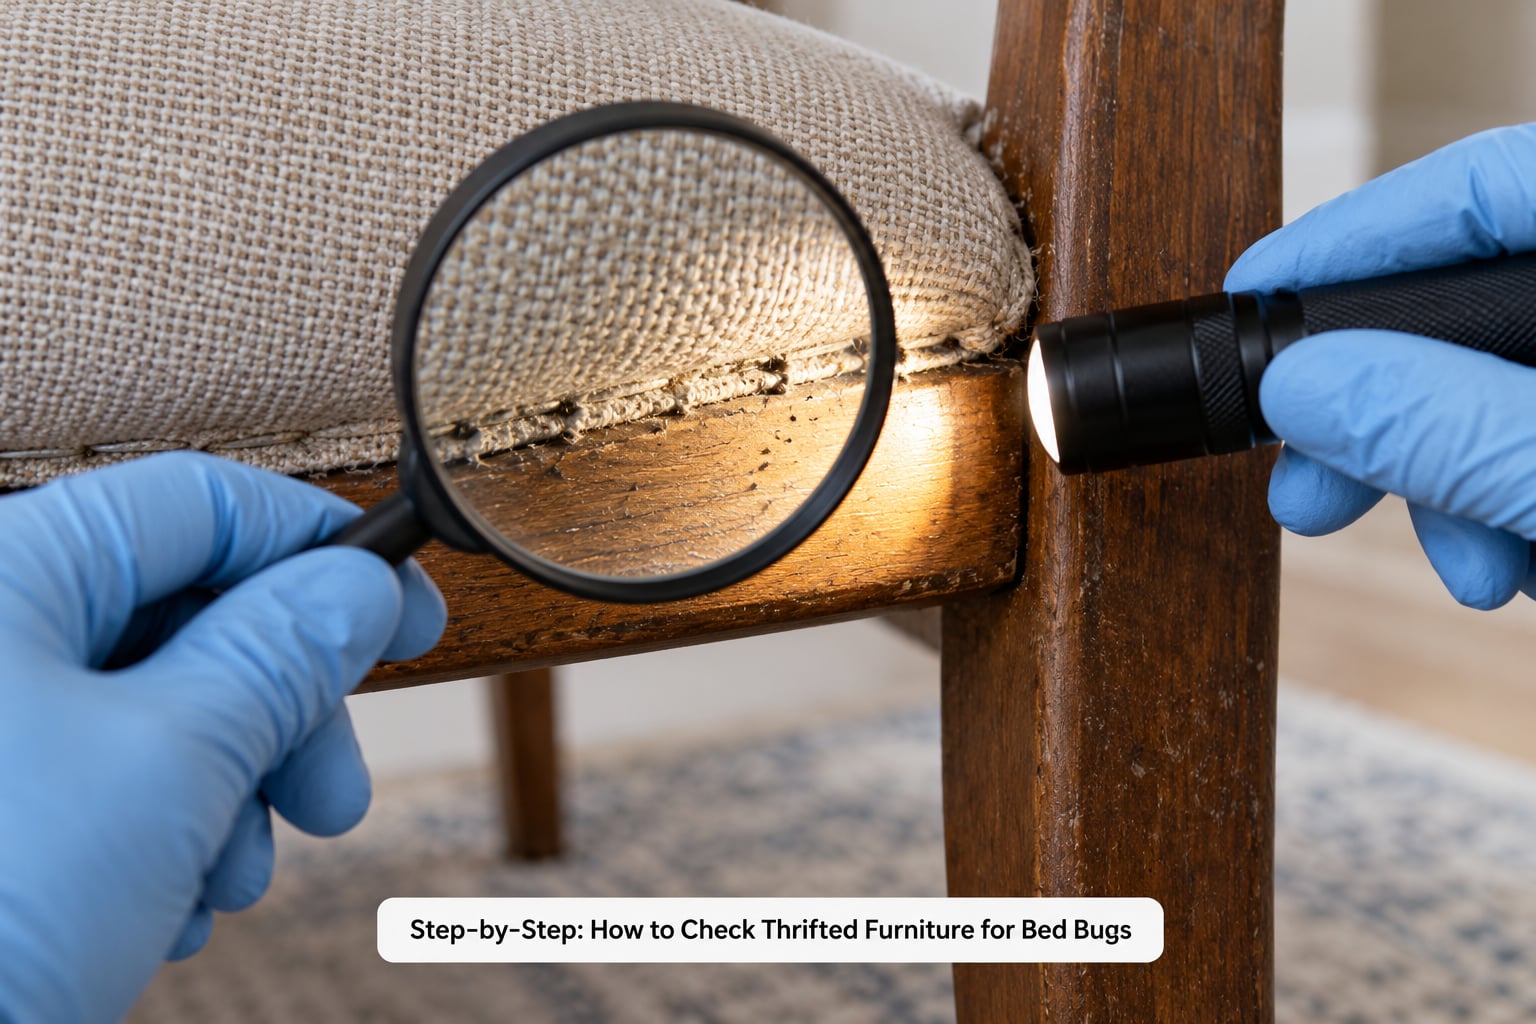
Step-by-Step: How to Check Thrifted Furniture for Bed Bugs
Start with the seller and the furniture’s history
Ask the questions before you touch the upholstery. Most people answer honestly when asked directly, and the answers narrow your search enormously.
- Has there ever been an infestation in the home, storage unit or vehicle it came from?
- Was the piece in a bedroom or a room where someone regularly slept?
- Has anyone in the household been treated for bites recently?
- Has it been in storage, a garage, or a self-storage unit, and for how long?
- Was it treated by a pest professional at any point?
Do not treat an unanswered question as a clean bill of health. Sellers rarely know, which is a fact worth repeating: bed bugs can survive more than a year without feeding, so a piece that sat untouched in a storage unit for two years is not automatically safer than one that came straight out of a bedroom.
Inspect visible surfaces and seams first
Work from the big flat areas inward. On upholstered pieces, start with the seams where two panels of fabric meet, the piping along edges, and the tufting buttons where a button pulls the fabric into a pocket. Those are the classic spots, because the pressure that creates a seam also creates a tight gap a bed bug can wedge into.
Work along the entire length of every seam, not just the part you can see. Lift each cushion and check the underside, where the fabric meets the deck. Look at the inside back of a removable back panel and along the welt cord. On a bed frame, check the headboard, footboard, side rails, and the box spring before the mattress.
Remember to look at the back and bottom of the piece, not just the sides presented to you in the showroom. Undersides get skipped constantly because the piece is awkward to turn over. That is exactly why bugs end up there.
How to check cracks, joints, and hidden areas
Bed bugs flatten themselves to slip through gaps far narrower than their own body width. Anywhere a card can slide, a nymph can follow. These are the places worth your flashlight and your lens.
- Screw holes and bolt heads on wooden frames, especially where a piece has been assembled and disassembled.
- Gaps between slats and the ledges where slats meet the side rails.
- Joints and seams where legs, aprons and rails meet the carcass.
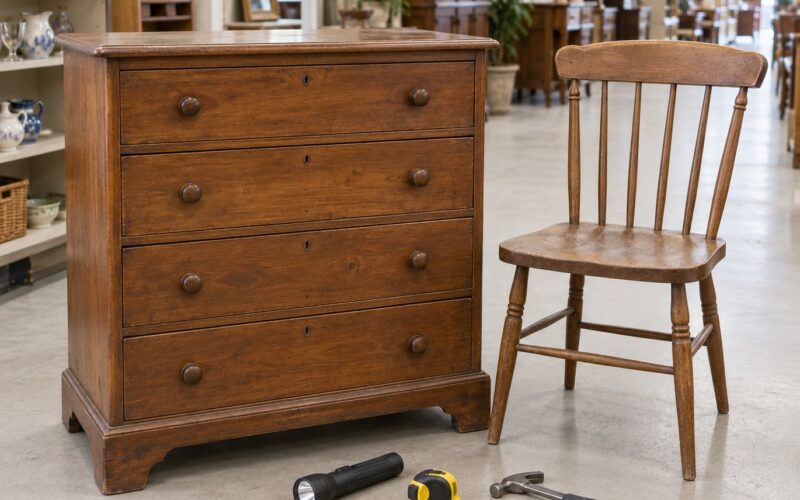
- Drawer runners and the underside of drawers. Slide each drawer all the way out and photograph the bottom of the box.
- Under fabric skirts and loose hems on upholstered pieces.
- Wicker and rattan weave. The gaps between strands hold both bugs and shed skins.
- The cavity behind a removable panel or inside a cabinet with a loose back.
Use the flat card to spread a gap open, then hold the light across it rather than into it. Raking light turns a flat surface into a relief map, and the shadow of a speck is often easier to catch than the speck itself.
Use movement, stains, and smell as supporting clues
Nothing on this list proves an infestation by itself. That is the honest truth about secondhand furniture, and plenty of people have walked away from a clean piece over a smudge of rust.
- Live bugs. Flat, oval, reddish-brown to mahogany, about the size of an apple seed. Nymphs are smaller and paler, closer to straw colour, and easier to miss.
- Fecal specks. Black or dark brown, the size of a grain of coarse pepper, often clustered along a seam or a tufting button.
- Shed skins. Translucent, hollow exoskeletons left behind as a bug grows. Look for clusters of them.
- Eggs. Tiny, pearly white, about the size of a grain of salt, glued to surfaces or laid in a seam. This is the reason a clean-looking piece is not proof of anything: eggs and early nymphs are nearly invisible without magnification.
- Rust-coloured stains. Old dried blood spots on sheets, mattress ticking or fabric, often grouped near a seam.
- A sweet, musty, slightly clammy smell. Stronger in infested rooms than on an isolated piece, so treat it as supporting evidence, not a verdict.
If you see a live bug or a cluster of skins, the decision is made: do not bring the piece home. A single sighting ends the inspection. If you see only suspicious staining with no bug, no skins and no history, some thrifters treat it anyway with heat and steam before it goes anywhere near a bedroom.
Inspect upholstered and second-hand furniture before taking it home
Upholstery, mattresses and box springs carry the highest risk, because seams, folds and cushions give a bug exactly the tight shaded gaps it wants. A solid wooden dresser carries far less risk, though it is not zero.
For a couch or armchair, check every cushion seam, the underside of every cushion, the welt along the arms, the gap where back cushions meet the seat, and the dust cover underneath. Open the underside skirt if it lifts. For a mattress, run your hands along the piping all the way around and press the tufted spots.
For a leather couch, work along the stitched seams and button tufts, and look along the gap between the seat cushion and the frame. Leather has fewer fibres for bugs to hide in, but the stitching is still a seam.
Then decide, and decide before you pay. A piece going into a bedroom or a child’s room gets the strictest standard, because that is where bites start. A piece for a garage, a covered porch or a craft corner can take a lighter standard, especially since heat and cold slow them down outside the range humans like. When the answer is genuinely unclear, decline. The flip will come around again.
Common Mistakes
Judging by visible stains alone. Droppings are evidence of a population that already lived there. The bugs have moved on, and eggs are still hatching in places you will not see.
Never flipping the piece over. The underside of a sofa, the bottom of a dresser drawer and the back of a headboard are the three spots most inspections skip. Make flipping it part of the routine, not an extra.
Trusting a clean smell. A musty absence proves very little. Bed bugs are flat and hide deep; a piece can smell like nothing at all in a well-ventilated shop and still carry a nymph in a screw hole.
Not asking whether there was ever an infestation. One direct question costs nothing and answers the question no inspection can. People who had a problem in a home usually remember it.
Looking without a plan. Wandering around the outside of a couch for two minutes is not an inspection. Move in a fixed order: seller questions, top and sides, seams, inside, underside, drawers, then decide.
Assuming a quick vacuum is enough. Vacuuming picks up loose bugs and droppings but does nothing for eggs attached to seams or bugs inside a joint. Heat is what actually kills them.
Taking an unchecked piece straight into a bedroom. If you cannot inspect it, do not let it into a sleeping room. Give it a sealed quarantine first, or leave it.
What to Do Before the Piece Crosses Your Threshold
If the inspection came back clean, you still have time to lower the odds further, and the order matters.
- Bag it first. An airtight bag or a wrapped sofa traps whatever you missed. A garage helps only if the bag is sealed.
- Heat the fabric. A household steamer is fine for a light infestation; r/Bedbugs regulars name the Wagner Spraytech 915 as a model that worked. Keep the nozzle moving and give every seam a slow pass. Slower steam needs longer contact, so do not rush it.
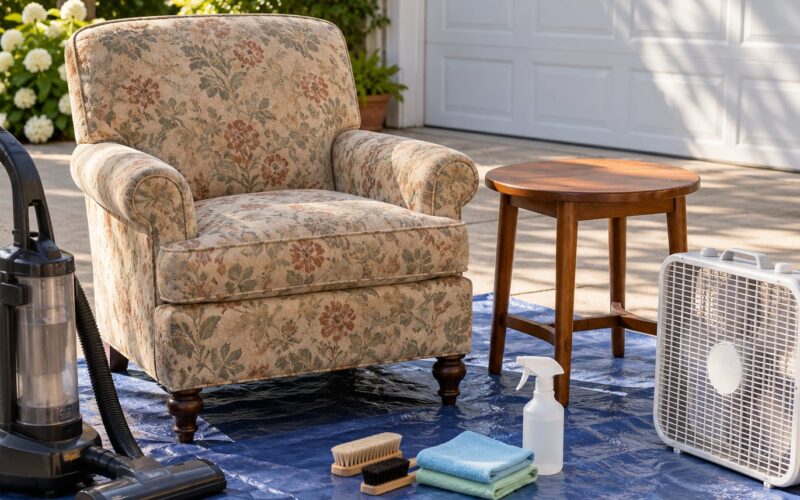
- Dry what comes off. Removable covers and cushion inserts go in the dryer on high for a full cycle, then stay wrapped until needed.
- Vacuum with a hose attachment and empty it into a sealed bag you can discard. Vacuum the underside, the seams and the floor around the piece.
- Decide where it goes first. Not the bedroom, and not near where anyone sleeps.
- Keep watching. Check encasement seams and any new specks on white fabric for a few months.
Two things people regret trying: foggers, which cannot reach bugs hiding in seams and can scatter an infestation, and hauling an infested piece to the curb, which spreads them to whatever else answers the curb alert. Never discard furniture outdoors.
If you are still unsure, a pest professional with a trained dog can inspect a piece on site, and professional heat treatment runs a few hundred dollars for a single item. That is often cheaper than replacing a sofa, a mattress and everything stored against the wall.
Frequently Asked Questions
How do I check a leather couch for bed bugs?
Work along every stitched seam, the welt cord at the edges, and each button tuft, since stitching creates the same tight gaps fabric seams do. Pull cushions off and check underneath them, and look into the gap between the seat cushion and the frame. Under the leather itself there is little to hide in, so a thorough seam check catches most problems.
Are bed bugs common in thrift stores?
They are found in donated and second-hand furniture often enough that donation centres and resellers cannot reasonably guarantee every item is clean. The useful framing is contact, not second-hand status. Someone on r/Frugal put it well: the common denominator is that an item touched something infested, not that it was pre-owned. A new piece carried into an infested room can start the same problem.
Can a mattress with bed bugs be saved?
Sometimes, but only in specific conditions. Sealing a mattress in an encasement traps any bugs already inside, where they eventually die, and stops new ones getting in. Sleep on the encasement for a full season and inspect the seams and straps regularly. If you see live bugs on the outside of the encasement, the problem has moved beyond the mattress, and that needs professional treatment.
How long should I quarantine thrifted furniture for bed bugs?
Twenty-four hours sealed in an airtight bag is the rule most thrifters use, and r/GoodwillBins treats that as enough for almost anything bought secondhand. That works because a sealed bag traps a handful of stragglers, who then go months without feeding. Longer is safer for upholstery. A garage is not sealed, so an airtight bag beats an open garage every time.
How hot does a dryer need to be to kill bed bugs?
Removable covers, cushion inserts, clothing and bedding go in a dryer on the highest heat setting for a full cycle, then get dried before they go back on. Bed bugs die above roughly 50C, which is about 120F, and a normal dryer cycle runs well past that. Steamers need more: pest control regulars on Reddit aim for 160 to 180F at the nozzle, since cooler steam just wakes them up.
What do bed bugs hate the most?
Heat. Sustained temperatures above roughly 50C kill them outright, which is the basis of professional heat treatment. Cold works too, just slowly, which is why a piece left in a freezing garage over one winter may survive. They also avoid smooth, bare surfaces they cannot grip, so hard frames and metal slats are far less inviting than fabric and seams.
How to Check Thrifted Furniture for Bed Bugs: The Takeaway
Start at the top and work down: ask the seller about any past infestation, check every seam and tuft with a raking flashlight, open the drawers, flip the piece over, and check the underside and screw holes. Any live bug or cluster of shed skins means you leave it there.
A clean inspection is encouraging, not conclusive, because eggs and early nymphs are too small to see reliably. Bag the piece, steam the seams, dry the removable parts, and keep it out of the bedroom for a while. Ten careful minutes at the sale is the cheapest pest control you will ever buy.