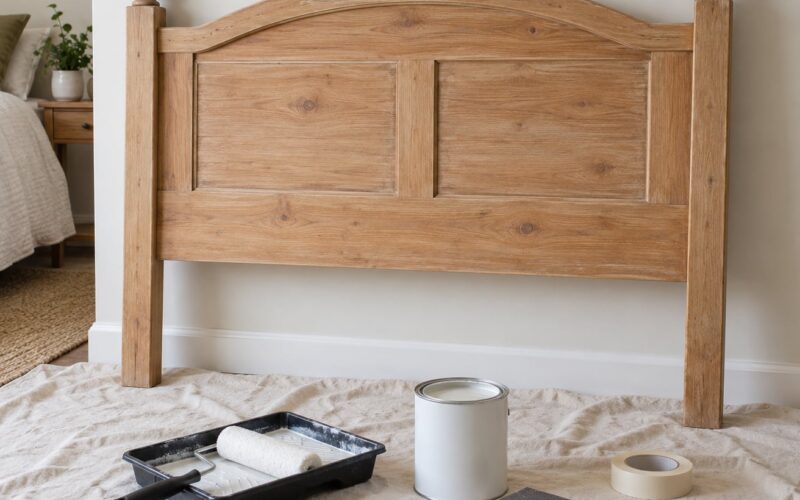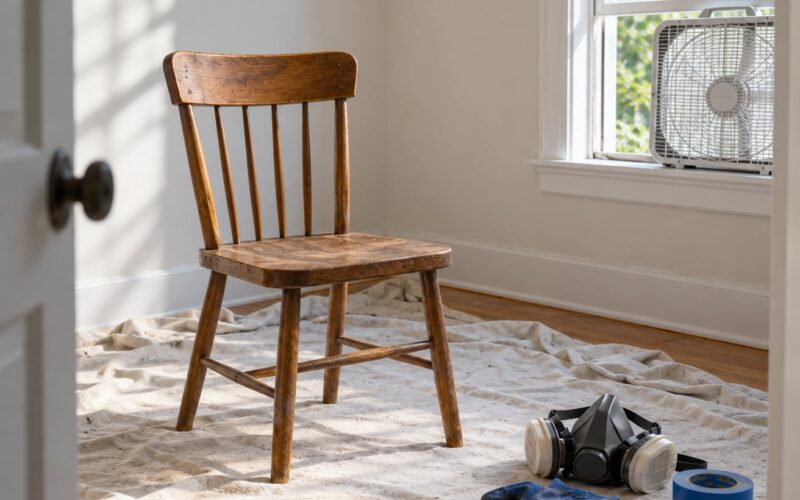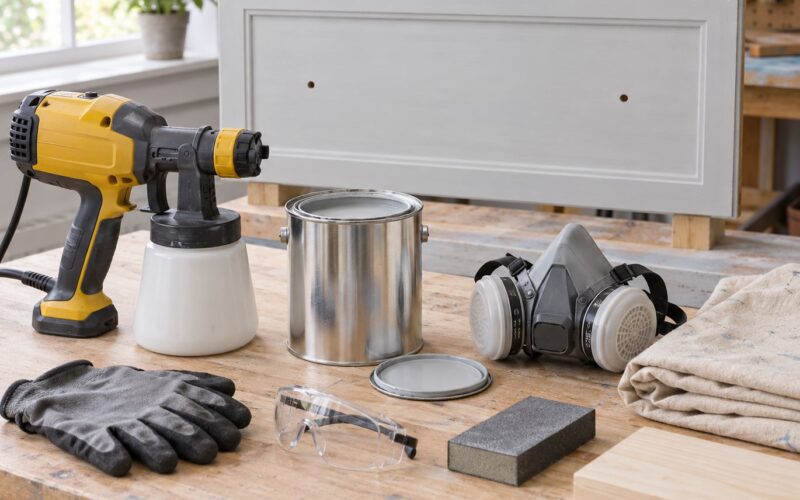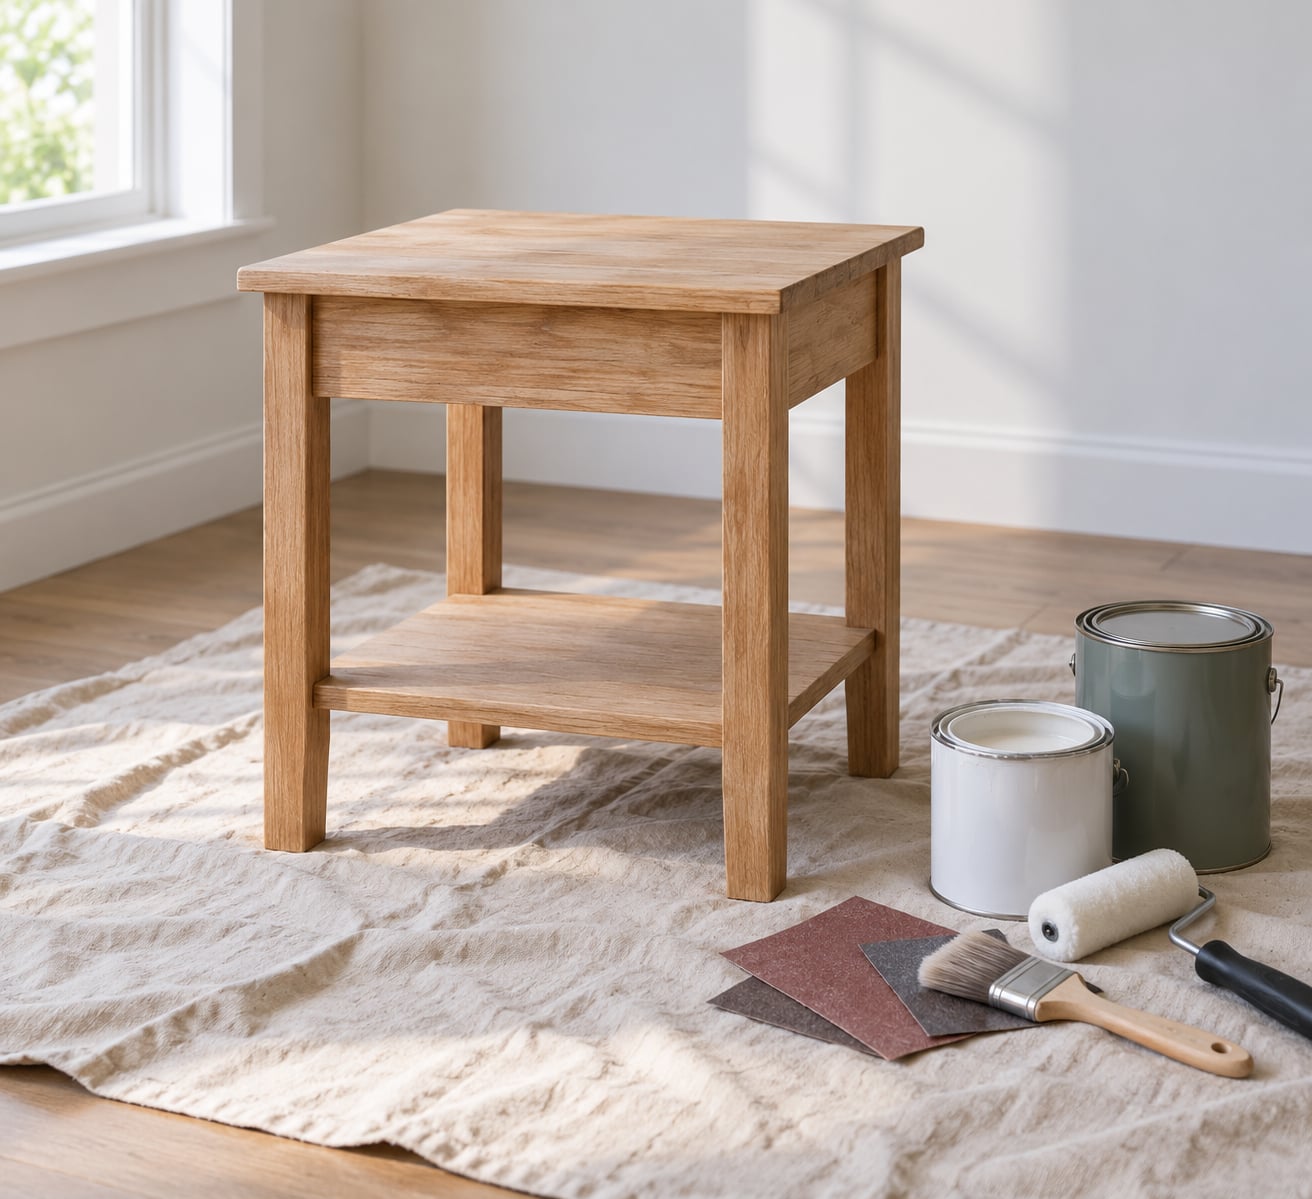
How to paint IKEA furniture so paint sticks comes down to four things: clean off the grease, scuff the shine off the surface, prime it with a shellac-based bonding primer, then roll on cabinet and trim enamel and let every coat dry fully. Skip any one of those and the paint peels off in sheets within a few weeks. Budget a full weekend for a dresser or a set of cabinet doors.
The five steps below are the whole method, in order. The rest of this guide explains why each one exists and what goes wrong when it is skipped.
- Clean and degrease the piece with trisodium phosphate or sugar soap and a lint-free cloth.
- Scuff sand the surface with 120-150 grit paper, just enough to remove shine without cutting through the coating.
- Prime with a shellac-based bonding primer that is labelled for non-porous surfaces, two coats if you are changing colour.
- Paint two to three thin coats of cabinet and trim enamel, cutting edges first and rolling the flat faces last.
- Seal and wait with a water-based polyurethane or polycrylic topcoat, then leave the piece alone for a few days.
Table of Contents
- What You Need
- Step-by-Step: How to Paint IKEA Furniture So Paint Sticks
- Prepare the Furniture for Painting
- Sand the Surface and Choose the Right Primer
- Apply Primer and Paint in Thin, Even Coats
- Let the Paint Dry and Seal the Finish
- Common Mistakes
- Repairing a Piece Where the Paint Already Peeled
- Frequently Asked Questions
- What paint will stick to IKEA furniture?
- Can I paint IKEA furniture without sanding?
- What is the best primer for painting laminate furniture?
- Why are my painted kitchen cabinets peeling?
- How long after painting IKEA furniture can you use it?
- Can you paint an IKEA LACK table?
- Conclusion
What You Need
The list is shorter than most paint aisles suggest, because you are coating a factory finish rather than bare wood. Every item below earns its place; a couple are optional depending on how rough the piece is.
| Item | Spec to look for | Why it matters |
|---|---|---|
| Degreaser | Trisodium phosphate (TSP) or sugar soap, mixed per the label | Hand oils and shelf grease are the usual reason a first coat never grips, even after priming |
| Sandpaper | 120-150 grit, plus 180-220 grit for scuffing between coats | Produces the micro-texture that gives paint something mechanical to hold on to |
| Bonding primer | Shellac-based, labelled for laminate or non-porous surfaces | Chemically bonds to surfaces that will not absorb paint at all |
| Topcoat paint | Cabinet and trim enamel or furniture enamel, eggshell or satin | Harder film than interior wall paint, which is what fails first on a door or drawer front |
| Application tools | 2 inch angled sash brush, 3 inch foam roller or small nap roller, tray, dust sheet | Covers a dresser in one coat rather than five |
| Protective gear | Nitrile gloves, dust mask or respirator for sanding, eye protection | TSP and sanding dust both irritate skin and lungs |
| Optional: filler | Wood filler or spackle for chips and screw holes | Needed on pieces with chipped veneer or exposed edges |
| Optional: sealer | Water-based polyurethane or polycrylic, water-based | Adds scratch and wipe-down resistance on high-traffic pieces |
| Optional: deglosser | Ammonia-based deglosser | Alternative to sanding when the piece is assembled and hard to reach |
Ventilation matters more here than usual, because the best primer for this job is unpleasant to work with. Shellac-based primer dries fast and smells strongly for an hour or two. Open the windows, prop the door, and if anyone in the house has asthma or the piece is small, a water-based bonding primer such as an adhesion-promoting primer for difficult surfaces is a reasonable substitute.
For paint, buy a quart even if the piece is small. Leftover enamel gets used on the second piece, and thin coats need more paint than people expect.
Step-by-Step: How to Paint IKEA Furniture So Paint Sticks
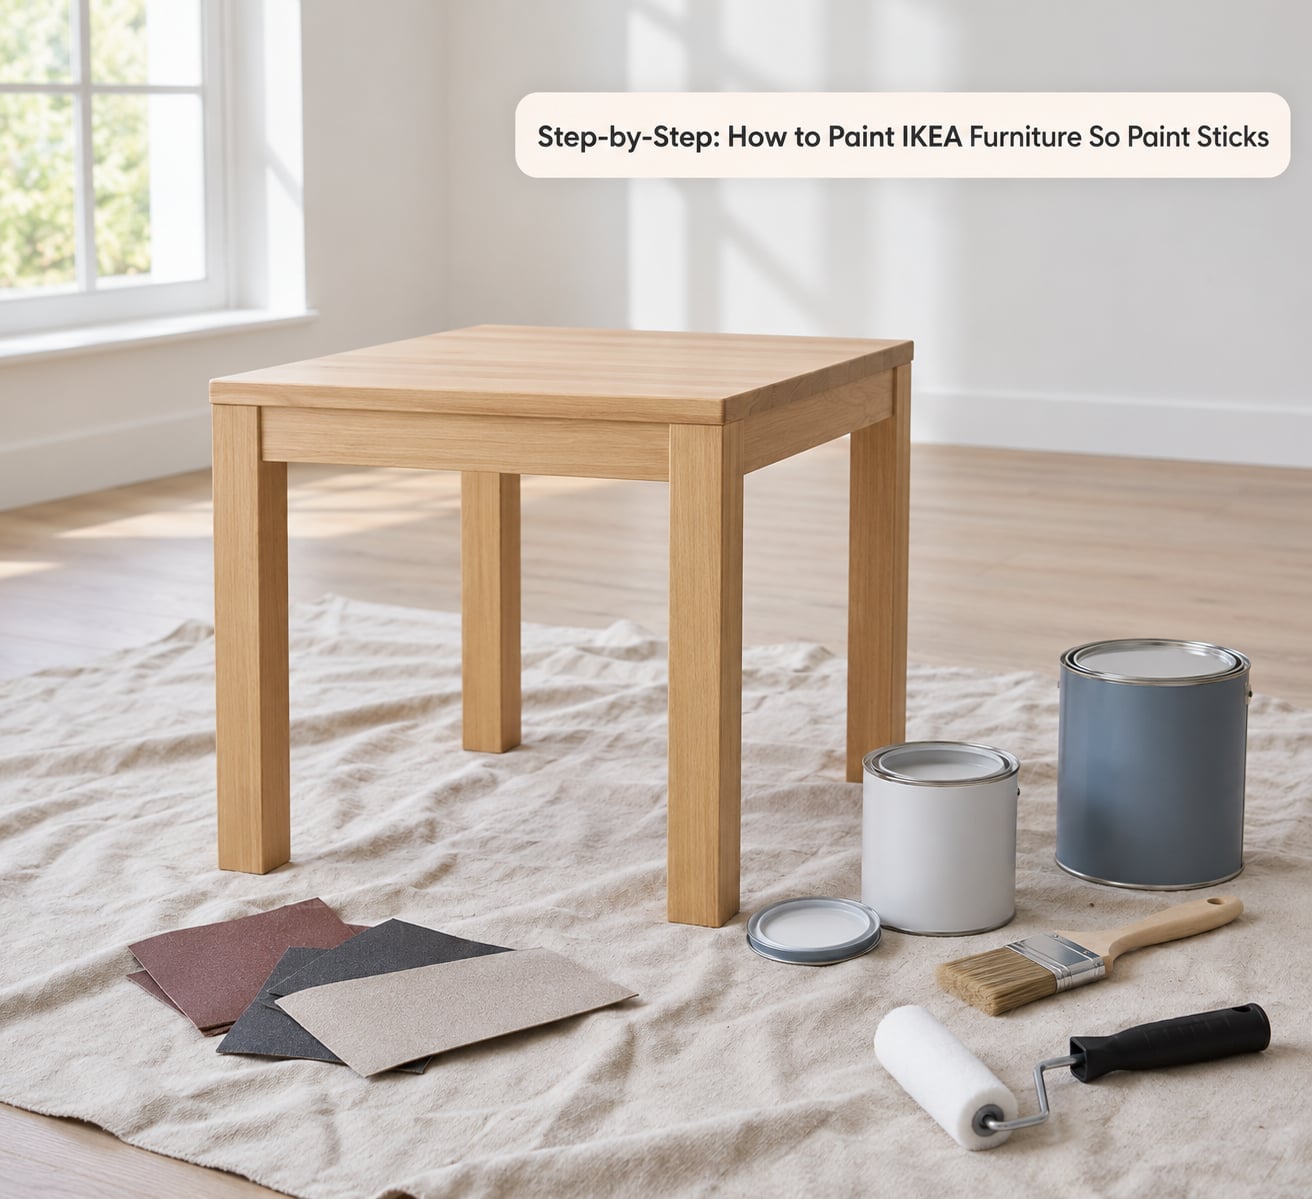
Prepare the Furniture for Painting
Start by working out what the surface actually is, because that decides everything else. IKEA pieces are not one material, and the prep for a melamine-coated wardrobe side is wrong for an untreated pine bed frame.
| Surface | How to spot it | What it needs |
|---|---|---|
| Melamine or foil laminate | Sealed, slightly textured plastic film, often over particle board; usually a colour or woodgrain print | Degrease, scuff sand, bonding primer. This is the surface that peels |
| Thin veneer | A real wood layer you can see at a cut edge, but often paper-thin and sanded smooth | Same as laminate, and extra care so the sanding does not cut through |
| Particle board or MDF core | Raw tan fibre visible where the coating is already chipped | Spot-fill with wood filler and sand the filler flat before priming |
| Untreated solid wood | Pale, absorbent, visible grain; sold as unfinished or untreated pieces | Light sand, then any good primer will do. No bonding primer needed |
| Lacquered solid wood | Warm wood grain showing under a glossy clear coat | Scuff sand or degloss, then bonding primer to be safe |
Put the piece on a dust sheet and take off everything that is not paint: knobs, pulls, hinges, cam fittings, shelf pins. Bag the hardware and label it, because a PAX wardrobe has more identical screws than you expect and none of them fit anything else. Drawers slide out and their fronts usually unhook with a small lift once the screws are out.
Mix TSP or sugar soap in lukewarm water per the label and wipe the whole piece down twice, letting it dry in between. If the piece came out of a garage, repeat it; the first cloth will show you how dirty it really was. Any silicone or wax on the surface has to go now, because nothing you paint later will stick to it.
Fill chips, screw holes and any spot where the core is showing with wood filler, let it dry, then knock it flat with 120 grit. On a piece that stays assembled, masking off the back and any surface you are not painting saves you from having to get into tight corners later.
Sand the Surface and Choose the Right Primer
Do you need to sand IKEA furniture before painting? A light scuff with 120-150 grit is enough on intact laminate, and with a shellac bonding primer you can get away with a chemical degloss instead. What you must not do is sand hard enough to cut through the coating and expose the particle board core underneath, which then drinks up the primer and gives you a rough, blotchy, weakly bonded patch.
Move the paper with the grain, in light even passes. You are not trying to remove the coating, only to take the gloss off it. The test is simple: the surface should look dull and hazy, and when you run a fingertip across it, it should feel slightly rough rather than slick. Vacuum the dust off and wipe once more with a clean damp cloth before anything else touches the surface.
That deglossing step is what lets you skip the paper. Wipe an ammonia-based deglosser on in the direction of the grain, let it sit for the time on the label, then wipe it off. The film goes dull and slightly tacky, which is exactly the texture you are after. It works best on assembled pieces where a sanding block will not fit.
Primer choice is the single decision that separates a paint job that lasts from one that peels. Four options come up constantly, and they are not equal.
| Primer | Adhesion on laminate | Dry time | Sanding needed first |
|---|---|---|---|
| Shellac-based bonding primer | Strongest; made for non-porous surfaces and widely recommended in DIY communities for IKEA pieces | Dries in 20-45 minutes | Scuff sand or degloss recommended, but this is the primer that forgives skipping it |
| Oil-based primer | Good, especially over stain | Slow, often 24 hours | Yes, and strongly odoured |
| Latex primer | Weak on anything non-absorbent; this is a common cause of peeling | 1-4 hours | Yes |
| Adhesion-promoting water-based bonding primer | Good, and much easier to work with than shellac | 1-2 hours | Scuff sand or degloss |
| Deglosser alone, no primer | Leaves the paint sitting on top with nothing to bind it | n/a | n/a |
Apply the primer in thin coats with a foam roller on flat panels and a brush in corners and along edges. One coat covers a repair or a same-colour touch-up. Two coats are worth the extra hour whenever you are going from a dark IKEA finish to white, or white to a deep colour, because the old finish bleeds through thin paint no matter how many coats follow.
Apply Primer and Paint in Thin, Even Coats
Use cabinet and trim enamel or a furniture enamel, not interior wall paint. Wall latex is built for a surface that breathes and gets touched lightly; a cabinet enamel cures into a harder film that survives drawer fronts, cupboard doors and the edge of a coffee table. Eggshell or satin gives you a finish that hides scuffs and wipes down; gloss shows every fingerprint and every sanding scratch you ever make.
Technique matters more than the product here. Cut in every edge, seam and inside corner first with the angled brush, then roll or brush the flat faces, working from one end to the other and staying wet ahead of your stroke. On a drawer front, go across the grain with the roller to avoid showing the direction of the nap.
Thin, even coverage is the goal. A heavy coat on a vertical panel sags, and the sagging edge is where the peel starts. Load the roller, offload it on the tray, and use two lighter passes instead of one heavy one.
Give each coat the recoat time printed on the tin, then pass over it with 180-220 grit to knock down the texture. That scuff between coats is what gives you the smooth, brush-free finish people are after. Wipe the dust off and move on. Two coats handle most pieces; a colour change or a high-traffic door wants three.
Spray paint works and is genuinely faster for a small item with lots of edges, but it is thinner, so it needs more coats and more distance, and it can be harder to control indoors. A roller on a flat panel gives the flattest result. A sprayer is worth renting for a set of cabinet doors, never for one small drawer.
| Method | Finish | Mess level | Best for |
|---|---|---|---|
| Brush | Good in corners, visible brush marks on faces | Low | Edges, trim, small repairs |
| Roller | Smoothest on flat panels | Low | Drawer fronts, doors, shelves, side panels |
| Spray can | Even, quick on small pieces | Medium, overspray settles on everything | Small tables, stools, fiddly shapes |
| Paint sprayer | Factory-smooth | High, needs masking and ventilation | Sets of cabinet doors or a full room of doors |
Let the Paint Dry and Seal the Finish
Dry to the touch and cured are two different things, and mixing them up is why people report peeling a week after painting. Recoat time is when you can safely put the next coat down. Cure time is when the film has hardened enough to take daily handling, stacking, and books with sharp corners pressed into it.
| Stage | How long before the next step |
|---|---|
| Cleaner drying on the surface | 1 hour or until fully dry |
| Shellac primer, coat one | 1-2 hours |
| Primer, coat two (colour change) | 1-2 hours |
| Between paint coats | 4 hours or the recoat time on the tin |
| Between the last coat and the topcoat | 24 hours |
| Topcoat before reassembly or reassembly | 4-6 hours |
| Safe for normal use | 24-48 hours |
| Fully hardened | About a week for water-based finishes |
Test the topcoat when it no longer feels tacky under a fingertip but the fingernail does not drag in it. Brush or roll on two thin coats of water-based polyurethane or polycrylic, following the grain of any visible texture. Paste wax works as a lower-effort alternative on a coffee table, and it can be refreshed, but wax is easier to stain and less scratch-resistant than a film sealer, so it suits low-contact surfaces better than a door.
If you used a quality cabinet enamel, a topcoat is optional. On drawers, doors, kitchen cabinets and any surface that gets scrubbed or knocked, add it anyway; that is where cheap paint jobs fail first.
Reassemble last. Put the hardware back on before the piece is moved, because carrying a wardrobe by its back panel and rebuilding it in the bedroom is a worse evening than an extra hour of curing time. Give it a full day before loading shelves, and a week before anything heavy sits on top.
Common Mistakes
If you have tried how to paint IKEA furniture so paint sticks and the finish still peels, the cause is almost always one of these.
- Using leftover wall paint. Interior latex has nothing to bond to on a sealed surface. Switch to cabinet and trim enamel.
- Skipping the primer. Paint sitting directly on laminate has only surface tension holding it. A bonding primer is not optional.
- Painting over wax, silicone or hand grease. Degrease first. Silicone must be removed with a dedicated remover, not just wiped.
- Sanding through to particle board. The exposed core drinks primer and never holds paint well. Scuff lightly and stop.
- Leaving sanding dust on the surface. Dust under a topcoat becomes part of your finish forever. Vacuum, then wipe with a clean damp cloth.
- Applying heavy coats. Sagging runs and thick edges peel first because the paint never cured through.
- Reassembling and using the piece too soon. Two days of handling a surface that looks dry is how dents and fingerprints become permanent.
- Painting a fully assembled piece. Seams and inside corners never get properly cleaned, sanded or coated, and those are the areas that fail.
Work in a room with airflow, wear gloves for the degreaser, and a mask when sanding. If you are around children or pets, keep them out until the shellac primer has dried and the room has aired out.
Repairing a Piece Where the Paint Already Peeled
You do not have to strip a failed job back to nothing. Take a plastic card and lift the loose flakes, then sand the edges of the peeling area with 150-180 grit until the boundary between old and new is smooth rather than a ledge.
Clean the whole piece again, feathering the bare spots with a sponge so the old paint thins out gradually. Spot-prime the bare areas with bonding primer first, then roll a full coat of primer over the entire panel so the old and new paint are not coated separately, let it dry, and continue with two coats of the same enamel.
If paint is coming off in large sheets down to the laminate, or the piece has been peeling for a few seasons, stripping it back fully and starting from step one takes longer and gives a better result than patching it.
Frequently Asked Questions
What paint will stick to IKEA furniture?
Cabinet and trim enamel or a furniture enamel in eggshell or satin. Wall latex and flat interior paint have nothing to grip on a sealed factory finish, so they peel. Paint only adheres properly once the piece is clean, scuff sanded and primed with a shellac-based bonding primer.
Can I paint IKEA furniture without sanding?
Yes, if you use a shellac-based bonding primer. Clean and degrease the piece, wipe on an ammonia-based deglosser, leave it for the time on the label and wipe it off, then prime and paint. A light 120-150 grit scuff is still ideal for grip, but bonding primer forgives skipping it.
What is the best primer for painting laminate furniture?
A shellac-based bonding primer labelled for laminate or non-porous surfaces. It chemically adheres to sealed laminate, dries in under an hour and resists the peeling that defeats latex primer. It has a strong smell, so work somewhere with open windows, or use a water-based adhesion-promoting bonding primer instead.
Why are my painted kitchen cabinets peeling?
The usual causes are interior wall paint, no primer, or wax and hand grease left on the surface. Kitchen doors and drawers also take the most handling, so any weak film fails there first. Degrease thoroughly, scuff sand, prime with a bonding primer and topcoat with water-based polyurethane.
How long after painting IKEA furniture can you use it?
Wait 24 to 48 hours before normal use and about a week before anything heavy rests on the surface. Those are cure times, not the shorter recoat times printed on the tin. Reassemble after about 24 hours, and push furniture back into place rather than sliding it, which drags the edges.
Can you paint an IKEA LACK table?
Yes. The finish on a LACK table is thin, so take extra care when scuff sanding and patch any spot where it wears through with wood filler first. Degrease, scuff sand lightly, prime with a shellac bonding primer and finish with two or three coats of cabinet and trim enamel.
Conclusion
Paint peels off IKEA furniture because the surface is sealed, smooth and non-absorbent, so ordinary paint has nothing to hold on to. Start by working out whether the piece is laminate, veneer, particle board core or untreated wood, because that decides how hard you sand.
Then clean it, scuff it lightly with 120-150 grit, prime it with a shellac-based bonding primer, and lay on thin coats of cabinet and trim enamel with a full recoat wait between each. Finish with a water-based polyurethane topcoat on anything that gets daily use, and leave the piece alone for a couple of days before it takes weight.
Test a small hidden spot first. A back panel or an inside corner tells you in an evening whether the primer is bonding, and it costs far less than discovering a peel across a whole wardrobe front.