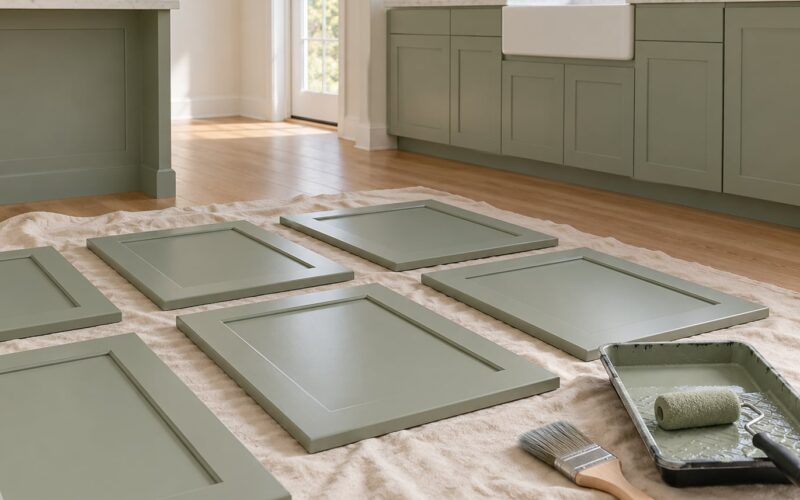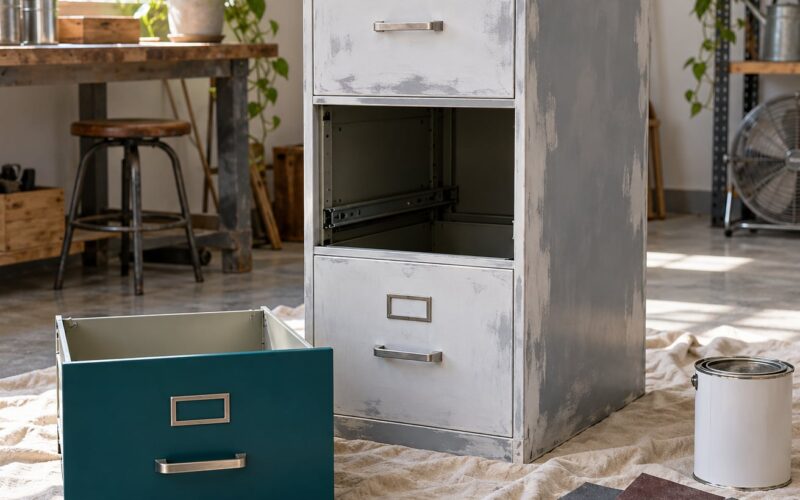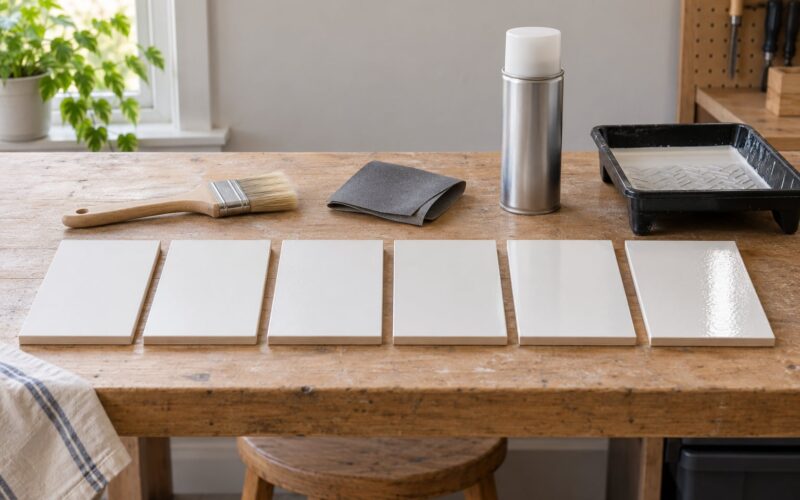
Using a paint sprayer on furniture for the first time is mostly about restraint: prep the piece properly, strain and thin the paint, test the fan pattern on scrap wood, then lay down thin, even passes from about 10 to 12 inches away with roughly half of each pass overlapping the last.
The finish people chase with a sprayer, that smooth factory look, comes from those thin coats rather than from the tool itself. A whole dresser job runs three to five hours including drying, and the whole process runs through a garage, porch or well-ventilated room on a calm, dry day. This guide walks the eight stages in order, then fixes the problems that trip up nearly every beginner.
Table of Contents
- What You Need
- Step-by-Step: How to Use a Paint Sprayer on Furniture for the First Time
- 1. Choose a Sprayer and Check Paint Compatibility
- 2. Prepare and Clean the Furniture
- 3. Set Up a Ventilated Practice Area
- 4. Strain and Mix the Paint Thoroughly
- 5. Set the Sprayer and Test the Pattern
- 6. Spray the Furniture in Thin, Even Passes
- 7. Allow Each Coat to Dry and Add More Thin Coats
- 8. Clean and Store the Sprayer Promptly
- Common Mistakes
- Frequently Asked Questions
- Is a paint sprayer better than brushing furniture?
- How far should a handheld paint sprayer be from furniture?
- Can I use a paint sprayer indoors on furniture?
- How long should furniture paint dry after spraying?
- How do I clean a paint sprayer after painting furniture?
- Conclusion
What You Need
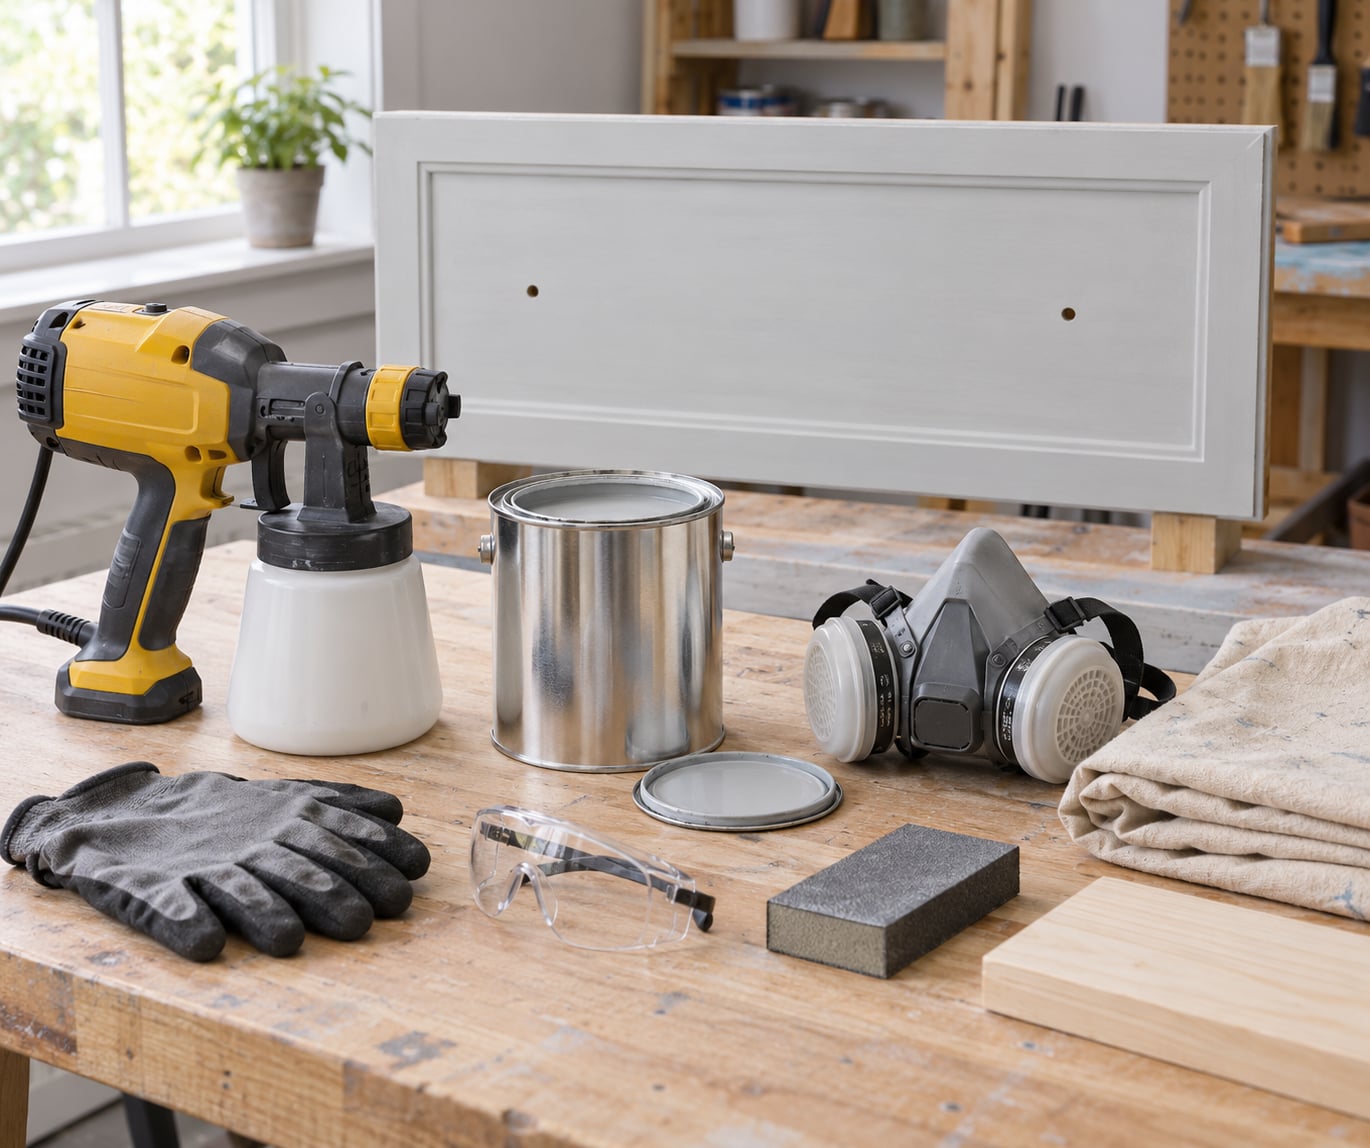
You need the piece itself, a sprayer that suits the paint, the paint and primer, basic prep supplies, safety gear and a scrap board for testing. Here is the short list before the process starts.
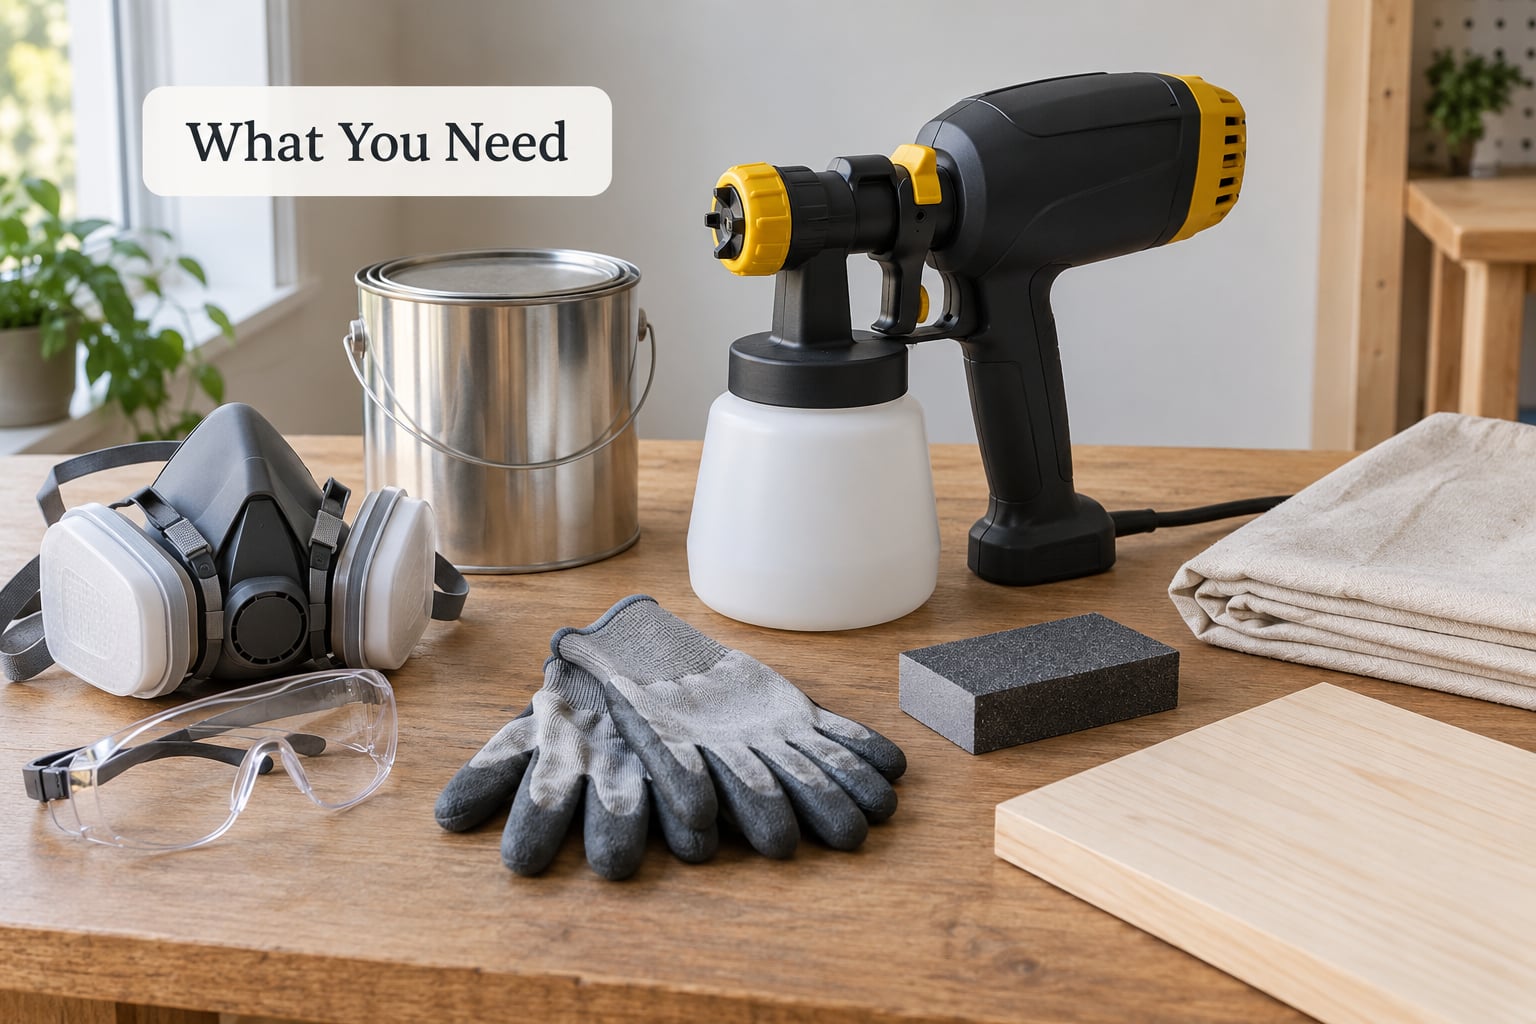
- The furniture piece. A dresser, cabinet, chair or table with a surface that is solid enough to hold paint.
- A sprayer. A handheld electric, battery or compressed-air model, plus a spare tip if the manual recommends one.
- Primer and paint. A bonding primer for bare wood, laminate or plastic, and a paint the sprayer manufacturer lists as compatible.
- Prep supplies. A screwdriver, degreaser or dish soap, wood filler or putty, sandpaper in a couple of grits, a sanding block, a tack cloth or vacuum, and painter’s tape with a drop cloth.
- Safety gear. A respirator, eye protection and gloves, chosen to match what the paint label calls for.
- A test surface. A piece of unfinished scrap board or corrugated cardboard, plus a strainer or mesh filter if the paint needs one.
- Optional extras. A viscosity cup, a plastic work container, painter’s plastic sheeting for hardware, and a small foam brush for touching up edges the fan cannot reach.
Before you buy anything, check two labels. The paint label tells you the recommended thinner, the thinning ratio and whether the product is sprayable. The sprayer manual tells you which paint types and tip sizes it handles. Those two documents answer the compatibility question faster than any product page.
Keep the guide current with the paint labels and sprayer manuals we check as we update this piece for 2026.
Step-by-Step: How to Use a Paint Sprayer on Furniture for the First Time
The eight stages below run in the order they actually happen. Work through them once and the piece comes out even; skip one and it usually shows. Most of the failures I see trace back to a rushed setup stage, not the spraying itself.
1. Choose a Sprayer and Check Paint Compatibility
Any of three sprayer families can put paint on furniture, and the easiest one to learn is the handheld electric or battery model. Pick the family, then confirm the paint and tip before anything else.
- Handheld electric. Low-pressure air pushes paint through a small tip, usually cup-fed. It suits water-based paints and stains thinned to the maker’s ratio, and it is the easiest family to learn as long as you read the manual and clean the tool right after.
- Battery sprayer. The same low-pressure idea in a cordless body, also aimed at water-based paints thinned as directed. There is no cord to snag on while you move around a piece, which is why many beginners like it.
- Compressed-air gun. A separate compressor pushes paint through a larger tip at a higher pressure. It handles a broader range, including heavier coatings with the right tip, but it needs a dedicated ventilated setup and more setup time.
Four things change your result: the tip size, the flow or pressure setting, how thin the paint is, and the paint itself. Bigger tips move more material and suit thicker paint. Smaller tips atomize finer and suit thin paint and detail work. Forum regulars who work with tip numbers often use a simple shortcut: double the first digit of the number and you are close to the spray size in thousandths of an inch.
Check the sprayer manual for what it says about water-based paint, because many low-pressure models are built for thinner materials and will simply clog on full-bodied latex. When the manual and the paint label agree, you are ready.
2. Prepare and Clean the Furniture
A clean, sound, dust-free surface is the whole job. Paint bonds to a surface that has been degreased, filled, sanded and vacuumed, and it peels off a surface that has not.
Remove every knob, pull, hinge and screw, and bag the hardware by room so reassembly takes five minutes instead of an hour. If you are working on drawers, pull each one out a couple of inches so you can spray the sides and inside the carcass without wrestling the gun into a corner.
Wash the piece with warm water and a degreaser, then dry it fully. Fill nail holes, chips and cracks with wood filler or putty, letting each one dry hard enough to sand. Sand the filled spots and any glossy or rough areas, moving through a coarser grit first and finishing with a finer one. Vacuum or tack the surface and wipe it once more, because dust under a sprayed coat becomes a permanent gritty speck.
Check the existing finish before you go further. If paint is already peeling in sheets, the surface is unstable and a fresh coat will lift with it. Stop, strip back to sound material, and start again. Painter’s plastic makes a decent temporary plug for the holes behind removed hardware so paint does not pool inside.
3. Set Up a Ventilated Practice Area
Spray outdoors on a calm, dry day, or in a room with the windows open and a fan pulling air toward them. Overspray travels further than people expect, and a windy afternoon puts fine paint mist on neighbouring surfaces.
Keep people and pets out of the space, especially children who might put a hand in front of the nozzle. Cover the floor, the furniture directly beneath the piece, and anything within a few feet of your work. A cardboard box around the piece and a sheet over the wall behind it cuts cleanup dramatically.
Follow the paint label and the sprayer manual, both of which cover ventilation, protective gear and handling. Some spray guns run at pressures high enough to inject paint through skin, so never point any sprayer at a person or an animal, and treat the trigger as something you keep locked off until the gun is aimed at your scrap board.
If you spray outside, aim for a shaded, dry stretch with temperatures roughly between 65 and 80 degrees. People report paint bubbling, crating and softening when a coat goes on hot or in direct sun, and the finish never recovers from that.
4. Strain and Mix the Paint Thoroughly
Strain the paint, and thin it only as much as the manufacturer says. Paint that goes into a sprayer unfiltered carries skin, rust flakes and dried chunks straight into the tip, and debris is the fastest way to brick a tool.
Stir from the bottom for a full minute or two, lifting settled material off the base. Skim the surface, then pour the paint through a mesh strainer or paint filter into a clean container. Work in small amounts, stirring often, which also keeps skin from forming on the surface.
To test consistency, run a finger through a dab on cardboard: a good sprayable paint runs slowly off the finger in a steady ribbon rather than sitting in a blob or running like water. If you have a viscosity cup, a simple dip-and-drain cup is easier to read, though the ratio the label gives you is what matters. Thin with the exact thinner the paint maker names, in the amount they specify, and re-stir.
Label your container with the paint name and the date you thinned it. Mixed paint behaves differently a day later, and a labelled container saves you from guessing mid-project.
5. Set the Sprayer and Test the Pattern
Set the sprayer to its starting settings and prove them on scrap wood before the furniture goes anywhere near it. A two-minute test saves a ruined coat.
Fit the container or cup, attach the tip the manual specifies, and set flow or pressure to the starting point in the instructions rather than to maximum. Many first attempts fail because pressure was opened up too far, which wastes material and lays down an uneven film. Spray onto the scrap board with the gun about 10 to 12 inches away, held square to the surface.
A good pattern is an even fan, roughly uniform in width, with soft edges and no tails, gaps or spitting at the sides. Paint should flow steadily rather than in pulses. If you see heavy deposits in the middle of the fan and dry mist at the edges, the paint is too thick or the tip is wrong. If the whole pattern fades to nothing, thin it a little and try again.
6. Spray the Furniture in Thin, Even Passes
Hold the sprayer 10 to 12 inches from the piece, square to the surface, and move it fast enough that each pass lays a thin film instead of a wet stripe. Everything about a good coat comes down to that steady, parallel movement.
Pull the trigger while the gun is still short of the edge, release it after you pass the far edge, and never stop moving while paint is flowing. Working into a stationary gun is what causes the sudden release of paint that people mistake for a fault in the tool.
Overlap each pass by about half the width of the fan, and keep the gun the same distance the whole way. Angle it back and forth instead of turning your wrist, and plan your route so you work from one side of the piece to the other rather than trapping yourself in a corner. Slightly overlap onto wet paint on the final pass of a section to avoid lap marks, where one pass dries against the next and leaves a visible seam.
Edges, corners and inside faces of drawers take the same care as flat panels. Let the fan wrap the corner rather than stopping on it, and use a small foam brush for tight inside corners the fan cannot reach cleanly.
Step back after each section and look at the piece from several angles and in different light. An even finish has no darker wet patches, no ridges and no bare streaks showing through.
7. Allow Each Coat to Dry and Add More Thin Coats
Give each coat the full dry time printed on the label, then add another thin coat rather than trying to cover in one heavy one. Two or three light coats build a smoother film than one thick one, every time.
The label’s touch, recoat and full cure times are different numbers and each has a purpose. Once the coat is dry to the touch, a light scuff with a fine sanding pad or 220-grit paper helps the next coat grip, particularly on cabinets and table tops that will get handled. Clean the dust off again before you spray.
Expect a slightly textured first coat. That orange peel look, a fine dimpled surface that reads as texture rather than gloss, is normal on coat one and usually settles under a thinner second coat with better atomization. If it still bothers you, a careful scuff and another light coat smooths it further.
When the final coat cures, seal the piece if it will take wear. A water-based topcoat such as polycrylic in a satin or matte sheen suits most furniture, while oil-based polyurethane yellows over time and works better on stained wood where the grain is already warm. Follow the topcoat’s own label for thinning and cure time.
8. Clean and Store the Sprayer Promptly
Clean the sprayer the same day you finish. Paint left sitting in the passages becomes a plug overnight, and a dried gun is the single most common reason beginners end up buying a second tool.
Flush the gun with the cleaner or warm water the manual specifies, running it through the tip into a waste container until what comes out is clear and free of colour. Many manuals describe a reversible tip that clears a clog when turned partway and sprayed into a bucket, which is often enough to save the tool.
Clear the filter, the pick-up tube and the passages carefully, then check for dry paint around the nozzle, trigger and housing. Store the sprayer dry in a protected place, and never leave water-based or oil-based paint in the equipment longer than the manufacturer permits. For most portable models, ten minutes of flushing saves an hour of soaking later.
Common Mistakes
Almost every disappointing first coat traces to a cause you can name and correct. Here are the symptoms beginners report most, with the fix for each.
- Runs and drips. You moved too slowly, held the gun too close, or loaded a heavy coat. Move faster, hold 10 to 12 inches back, and lighten the flow.
- Sudden release of paint at the end of a pass. You kept the trigger pulled while the gun stopped. Pull the trigger before the edge, release after, and keep moving at all times.
- Dry, dusty, uneven spray. The paint is too thin, the tip is wrong, or the pressure is too low. Check the label ratio first, then the tip size, then the settings.
- Spitting or sputtering. A clog in the tip, a failed pickup, or air in the line. Filter the paint, clean the filter and passages, and clear the tip as the manual describes.
- Nothing coming out at all. A first-timer with an air-powered gun reported exactly this. Prime the pump, confirm the container is seated and not empty, and check for a blockage before anything else.
- Visible lap marks. One pass dried against the next. Blend the final pass of a section into the wet edge while it is still workable.
- Bubbles and craters on the second coat. The first coat was not fully dry, or humidity was high. Extend the dry time, work in drier conditions, and sand the craters lightly.
- Sanding marks showing through. You skipped a finer grit or sprayed over coarse scratches. Finish every repair area with a fine grit and vacuum before spraying.
- Dust specks in the finish. Dust was still in the air or on the surface. Let the work area settle, clean the surface, and spray before handling the piece again.
- Coat one looks textured and lumpy. The paint was too thick. Thin it toward the recommended consistency and apply a lighter second coat.
Four habits prevent nearly all of that. Test the pattern before every session, hold a constant distance, keep coats thin, and inspect the piece from more than one angle before you call it done.
Frequently Asked Questions
Is a paint sprayer better than brushing furniture?
A sprayer is faster and gives a smoother, more even finish, and it reaches paneling, spindles and crevices a brush cannot. A brush is cheaper, needs no setup and puts no mist in the air. For one small piece, a brush and a good topcoat can look excellent. For a dresser with detailed drawer fronts, or a run of cabinet doors, spraying earns its setup time.
How far should a handheld paint sprayer be from furniture?
Hold the gun about 10 to 12 inches away and keep it square to the surface for the whole pass. Closer and the paint lands heavy, causing runs and drips. Further and you get a dry, dusty coat with weak coverage. Judge the distance on your scrap board first, then mark that distance on the sprayer handle with tape so you repeat it by feel.
Can I use a paint sprayer indoors on furniture?
Yes, with real ventilation. Open the windows, cover the floor and nearby surfaces, and use a fan pulling air toward an open window to move mist out. A respirator rated for the paint’s solvents, along with eye protection, keeps you comfortable. Outdoors on a dry, calm day is still easier and produces less overspray, so choose it when you can.
How long should furniture paint dry after spraying?
Use the dry times printed on the paint label, since they vary by product and humidity. A light coat is touch-dry in roughly an hour or two and usually recoatable within a few hours, but full cure takes days. Add time in cool or humid rooms, and never apply a second coat to a tacky surface, which is what causes bubbles and craters.
How do I clean a paint sprayer after painting furniture?
Clean it the same day, while the paint is still wet. Flush the gun with the cleaner or warm water the manual specifies, spraying through the tip into a waste container until the output runs clear. Then clean the filter, pick-up tube and passages, wipe the housing, and store the sprayer dry and empty. Skipping this is what turns a ten-minute cleanup into a replacement.
Conclusion
Spraying furniture for the first time comes down to three habits done properly. Check the paint label and the sprayer manual so the paint and tip match, prepare and clean the piece until dust is gone, and test the fan pattern on scrap wood before the first pass.
After that it is thin, even, overlapping passes at a steady distance, full dry times between coats, and a sprayer flushed out the same day. Expect the first coat to look thinner and slightly textured than you hoped. That is normal, and the second coat is where the finish starts to look expensive.