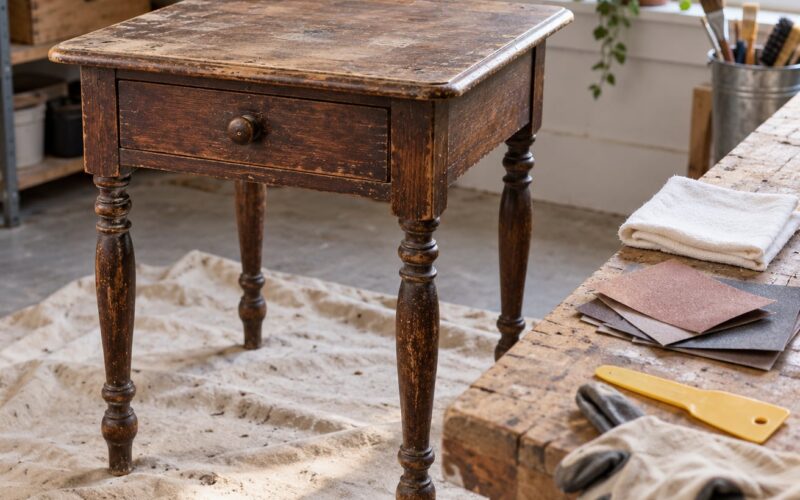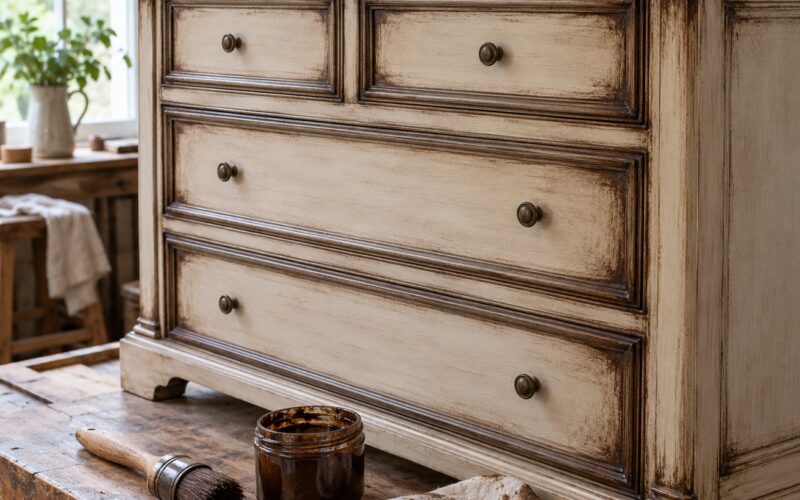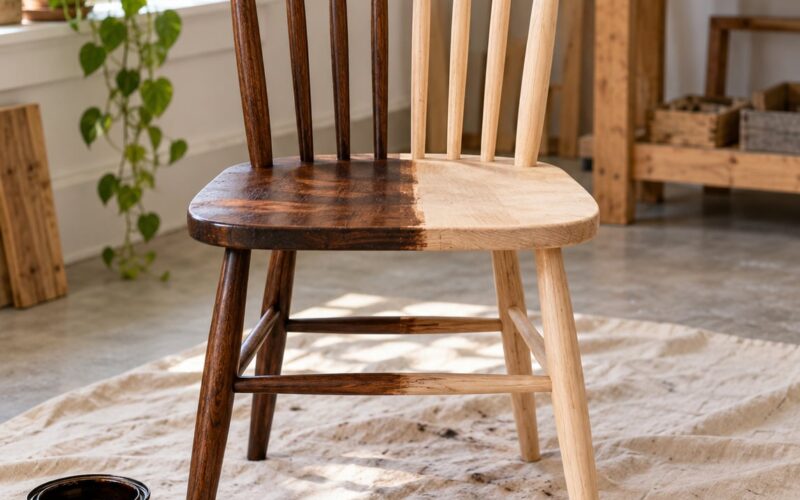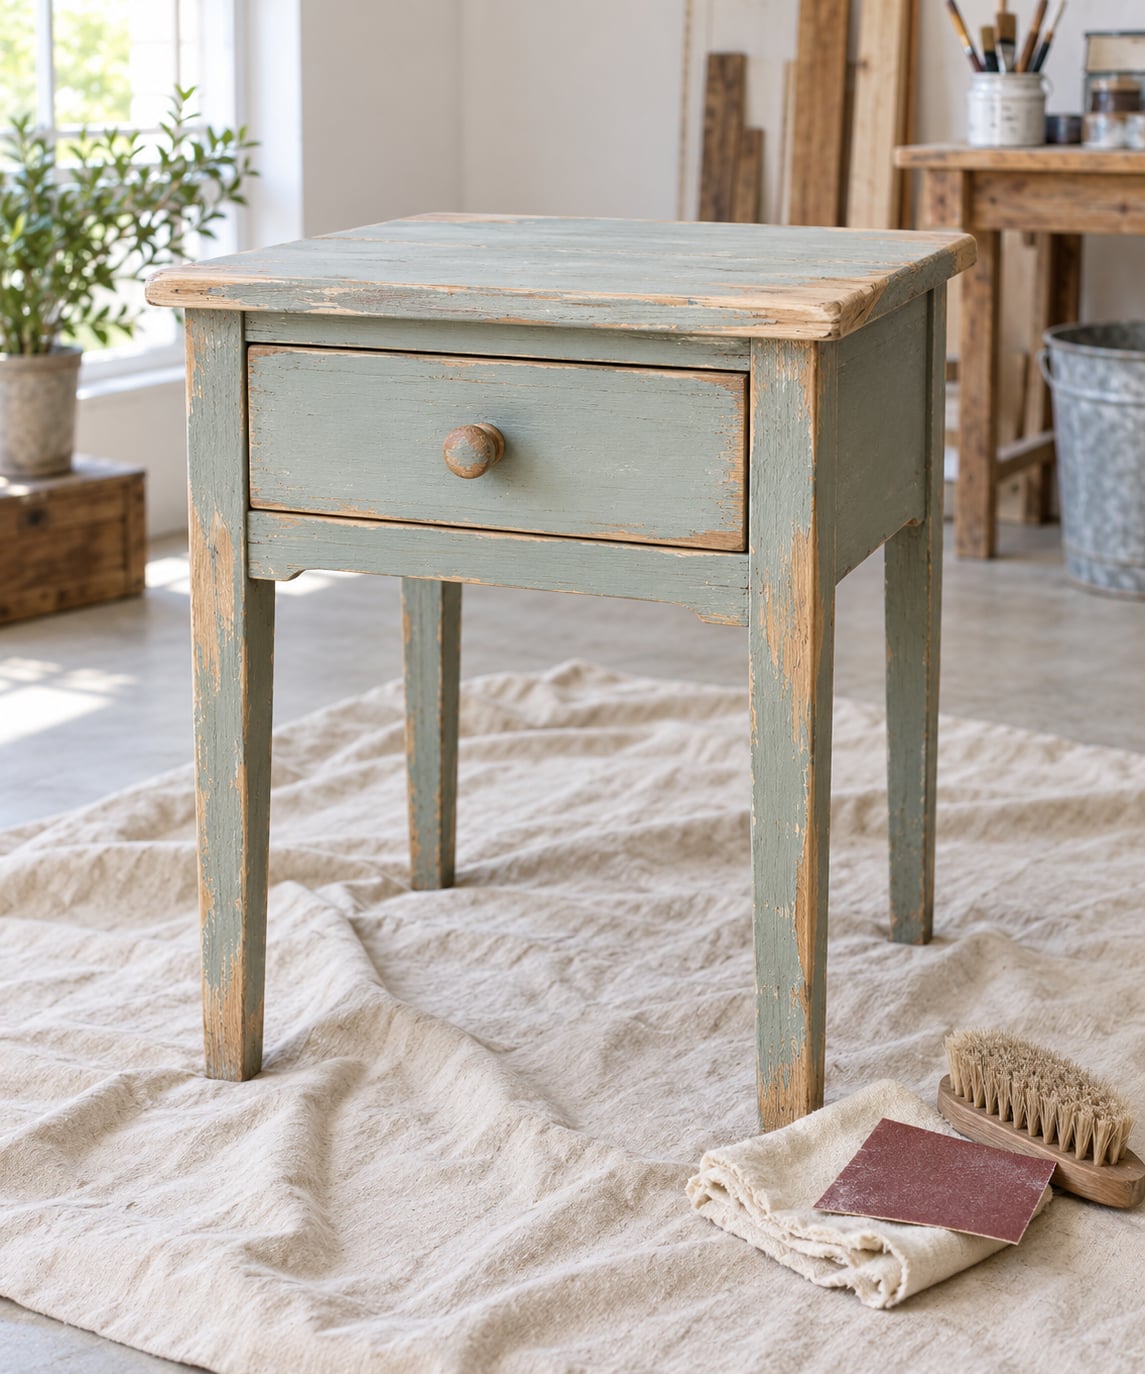
To distress painted furniture with sandpaper, wait until the paint is fully cured, then work fine to medium grit sandpaper (roughly 100 to 220 grit) over the edges, corners and other natural wear points with light pressure, following the direction of the wood grain. Wipe the dust off with a tack cloth, then seal the result with a matte clear finish.
The whole trick is restraint. Distressing works by thinning the paint film so the colour underneath, or the bare wood, peeks through in a pattern that looks like decades of handling. Get that wrong and the piece reads as scratched rather than aged.
I have re-painted the same thrifted dresser more times than I would like to admit, and the first attempt at distressing was scratchy, patchy and slightly embarrassing. What changed the result was not a better technique but three numbers: how long the paint had dried, which grit I picked up, and how long I spent on any one spot. Get those right and the sanding practically does the work for you.
A weekend is plenty. Most of the time is drying time, so plan around it.
Table of Contents
- What You Need
- Step-by-Step
- Step 1: Let the Paint Cure
- Step 2: Choose the Areas to Distress
- Step 3: Start with Coarse Sandpaper on Edges
- Step 4: Soften the Look with Medium Grit
- Step 5: Remove Dust and Check the Finish
- Step 6: Seal the Distressed Finish
- Common Mistakes
- Frequently Asked Questions
- What grit sandpaper is best for distressing painted furniture?
- Should I distress the entire furniture piece or only the edges?
- Can you sand a painted furniture piece to expose the wood?
- How do I make sanded paint look old instead of damaged?
- What should I apply after distressing painted furniture with sandpaper?
- Conclusion
What You Need
Gather everything before you start, because paint dust settles into a room faster than you expect and you will not want to stop mid-project to find a mask.
- A cleaned, painted piece. Wipe it down first so you are sanding paint, not years of furniture polish and dust.
- Sandpaper in a few grits. At minimum 120, 180 and 220. Add 320 if you want the softest possible edge.
- A sanding block. A flat block gives you even pressure and keeps your fingertips out of the work.
- A detail sponge or a folded cloth for tight corners and raised details where a block will not fit.
- A tack cloth plus an old cotton rag for the dust removal pass.
- A dust mask or respirator and eye protection. Paint dust is fine and it travels.
- A drop cloth, and an open window or a fan. Sand outdoors or in a ventilated garage when you can.
- A clean, damp cloth and a small brush for applying the finishing coat.
- A matte clear finish compatible with the paint you used. Wax works well too.
Not sure which grit does what? Here is the short version, and it applies to most furniture projects:
- 80 to 100 grit takes paint off quickly. Use it when layers of old paint need removing, not for the final wear marks.
- 120 to 150 grit is the workhorse for the first distressing pass on edges and corners.
- 180 to 220 grit blends harsh marks and feathers a transition so it looks worn instead of gouged.
- 320 to 400 grit softens everything further. Excellent as a final pass, and the safest choice if you are nervous about scratching.
Higher number means finer abrasive. That is the bit that trips people up: 400 is gentler than 100, not harsher.
Step-by-Step
Step 1: Let the Paint Cure
Dry to the touch and fully cured are two very different things. Dry to the touch happens within a few hours. Cured means the paint film has hardened enough to sand without smearing, peeling or balling up.
As a working rule, wait at least 24 hours before any light scuffing, and 48 to 72 hours before you do real distressing work. Flat matte paint and chalk-type paint hold onto a soft surface much longer and need the full 72 hours or more. Gloss and eggshell finishes harden faster because they are less porous.
Test a hidden spot before you commit. Push a fingernail into a back corner or an area behind a drawer. If it marks easily, keep waiting. Sanding soft paint is how beginners end up with peeling sheets instead of clean wear.
Older pieces you are buying already painted are usually past this stage, but check anyway. Thick built-up paint on a flea-market find can still be soft underneath a hard skin.
Step 2: Choose the Areas to Distress
Real furniture wears in predictable places. If you match your sanding to those spots, the result looks believable. If you sand evenly across a flat panel, it looks like an accident.
Look at the edges, corners and the top edge of drawer fronts. Check the bottoms and outer corners of table legs, the areas around keyholes and drawer pulls, and the raised borders on cabinet doors. Anything a hand grips, leans on or bumps goes first.
Work in small scattered patches rather than one long strip. Three or four short strokes read as wear; a continuous line along an entire edge reads as sanding.
Step 3: Start with Coarse Sandpaper on Edges
This is the main technique behind how to distress painted furniture with sandpaper, and the one that decides whether the piece looks good.
Take 120 or 150 grit paper, wrap it around a sanding block, and stand at the edge of the piece. Sand with the grain, using light pressure and letting the paper do the work rather than your arm.
Stop the moment the topcoat starts to break through. On a piece painted a single colour, that means the first hint of a different colour or the wood itself. Keep going and you will punch through to pale bare wood in a patch that looks like damage.
Two or three passes is usually plenty. Wipe the area with your thumb and look. Paint dust leaves a soft haze on your finger; exposed wood feels slightly rough and stands darker or lighter depending on what is underneath.
Hands beat power tools here. A random orbital sander does in thirty seconds what takes an hour by hand, and none of it is in the right place.
Step 4: Soften the Look with Medium Grit
Coarse grit leaves a definite line where it stops. Switch to 180 or 220 grit and feather that boundary: two or three light passes over the edge of the distressed area, easing off as you move onto the intact paint.
The goal is a gradual fade, not a border. If you can feel a step where the paint thins, keep sanding that spot lightly. Deep gouges cannot be blended out, so stop if the paper starts digging instead of scuffing.
If you want the subtlest possible effect, run 320 or 400 grit over everything you just distressed. It costs five minutes and takes the sharpest marks out of the finish.
Step 5: Remove Dust and Check the Finish
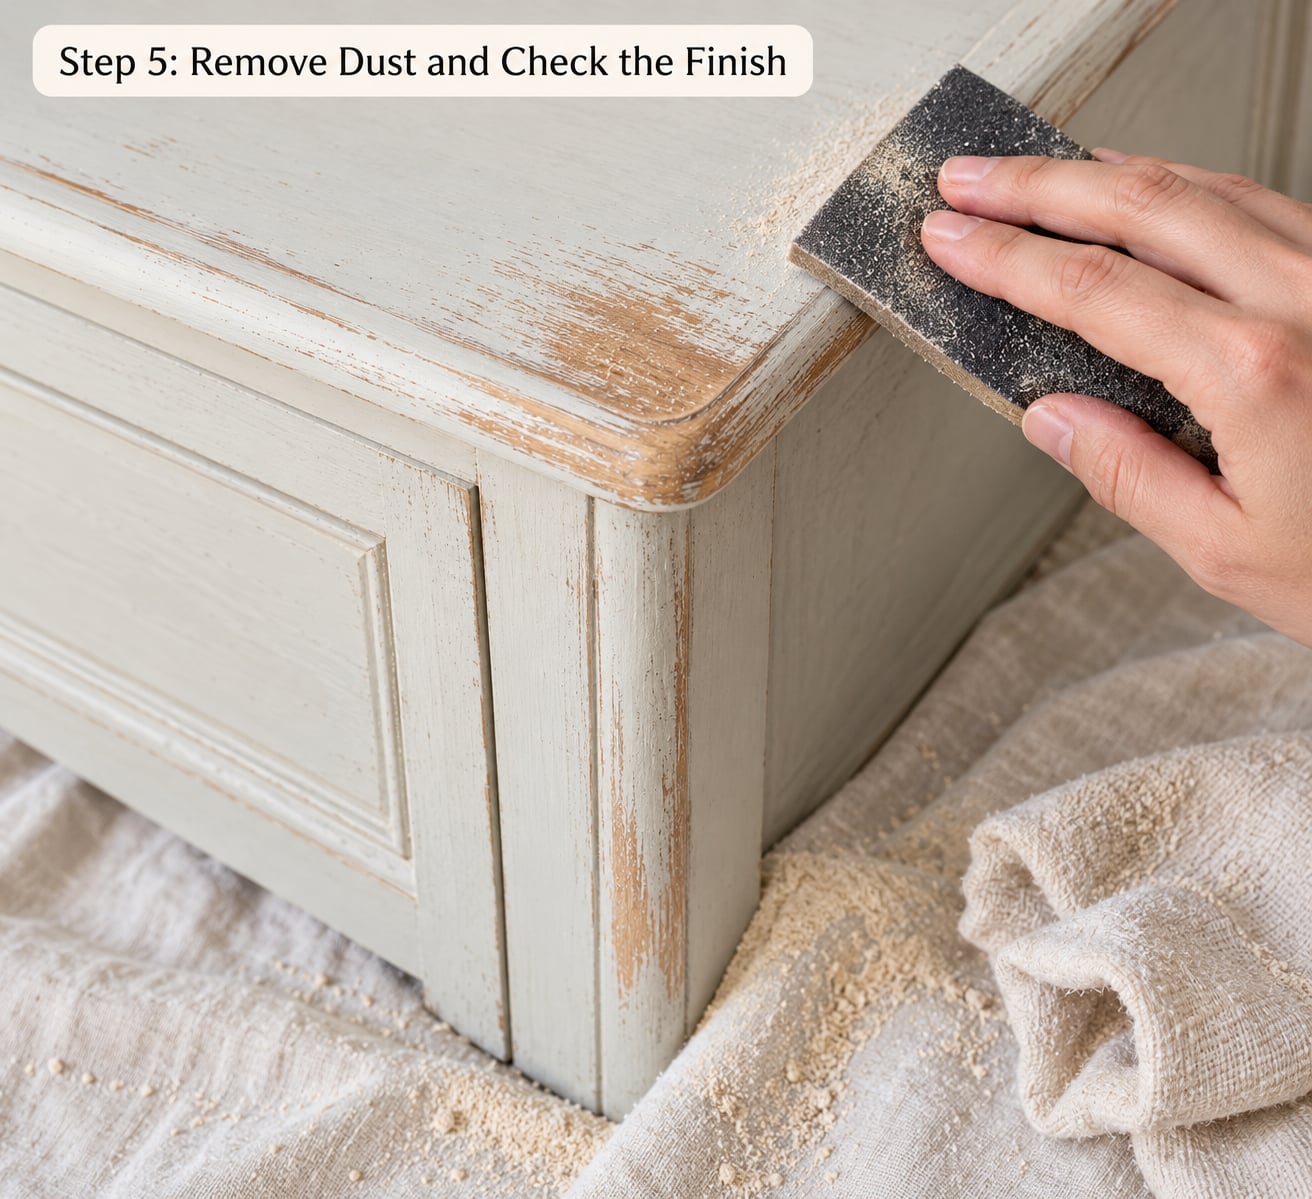
Dust left behind is the number one reason a distressed piece looks dirty rather than aged. Vacuum or brush it off first, then go over the surface with a tack cloth. A barely damp cloth works well for the final pass, as long as you let the piece dry fully before sealing.
Walk around the piece and look at it from a low angle and from above. Sanding marks that read as obvious scratches from one direction usually disappear from another, and this is the moment to catch the ones that do not.
Check what you have exposed. Paint dust is uniform and rubs off. Bare wood is warmer and textured. Primer showing through is chalky and flat, and usually means the paint layer was thinner than you assumed.
If primer is showing, you have two options: sand gently past the primer line so the wear is consistent, or leave it and let a dark glaze or wax settle into it. The second option often looks better on pieces with a lot of built-up paint.
Step 6: Seal the Distressed Finish
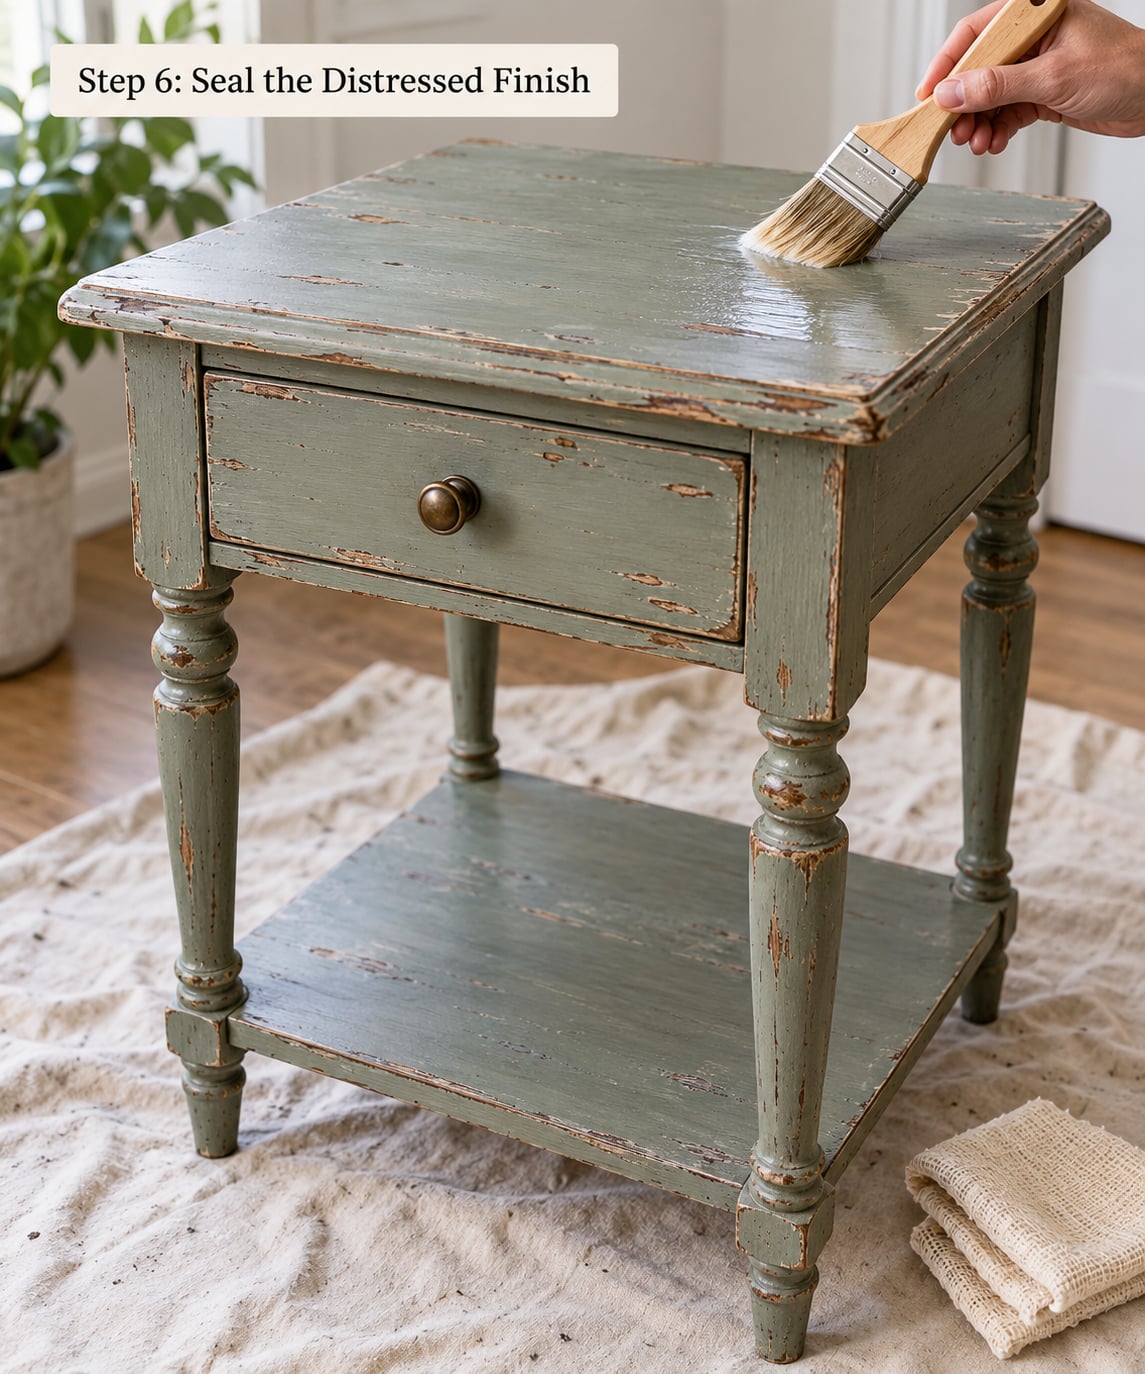
Sealing protects the worn areas from dirt, hands and moisture. A matte water-based finish keeps the flat, chalky look most distressing projects want, and a clear wax gives a softer sheen with a hand-rubbed feel.
Test compatibility first. Put a small dab on the back of the piece and leave it for 24 hours. If it beads up, turns yellow or lifts the paint underneath, use a different product rather than discovering the problem across an entire drawer front.
Apply thin, even coats with a soft brush or a clean lint-free cloth, following the instructions on the can for drying time between coats. Two light coats beat one heavy one every time; a heavy coat pools in the distressed areas and makes them look filled in rather than worn.
When the finish is fully dry, wipe on a final coat of paste wax if you want extra depth. It settles into the bare wood and darkens the exposed areas slightly, which reads as years of handling.
Common Mistakes
Most disappointing distress jobs come down to one of these. Each has a straightforward fix.
Sanding before the paint has cured. The paper gums up, paint balls into little beads and you lift whole flakes instead of abrading. Fix: wait the full cure time, then test a hidden corner with a fingernail.
Pressing too hard. Heavy pressure cuts scratches that read as damage and can reach bare wood in seconds. Fix: let the paper do the work and stop the instant the topcoat breaks.
Distressing the whole piece evenly. An all-over sanded surface looks stripped, not aged. Fix: confine wear to edges, corners, legs and hardware areas.
Skipping the blending pass. Coarse marks stop in hard lines. Fix: 180 or 220 grit over every edge you worked, easing off gradually.
Leaving dust behind. Fine paint dust works like a matte layer that dulls everything. Fix: vacuum, then tack cloth, then a barely damp cloth if needed.
Sanding into veneer or MDF. Veneer is a paper-thin skin over particle board, and MDF has no grain to hide marks. Fix: work with light pressure, follow the direction of any visible grain, and stop at the first sign of the substrate. On MDF, keep distressing to edges only.
Applying an incompatible finish. A water-based poly over an oil-based paint beads and peels. Fix: the 24-hour test on a hidden spot before you start.
Two habits will save you more than any technique. Practise on the inside of a drawer or the back of a leg first, where a mistake costs you nothing. And work in stages: pick one wear point, sand it, step back and look before committing to a whole drawer front.
If you over-distress by accident, most of it can be recovered. Paint over the bare patches with a thin coat of the base colour, let it cure, and then re-sand a smaller amount the next time. Worst case, you have learned exactly how far is too far on a piece you already love.
Frequently Asked Questions
What grit sandpaper is best for distressing painted furniture?
Start with 120 or 150 grit on edges and corners, then blend with 180 or 220 grit so the marks fade instead of stopping abruptly. Anything above 320 grit gives the softest result and the least risk of scratching. Grits below 100 are for stripping paint, not for creating wear marks, because they cut too deep and too fast.
Should I distress the entire furniture piece or only the edges?
Only the edges, corners and high-contact areas. Real furniture wears where hands grip, feet land and corners bump, so placing your marks there is what sells the effect. Sanding a flat panel evenly across its whole surface reads as a stripped or damaged piece rather than an aged one. Keep the distressed patches small and scattered.
Can you sand a painted furniture piece to expose the wood?
Yes, but do it deliberately and only on edges, corners and legs. Exposed wood is the strongest signal in a distressed finish, so a single accidental patch in the middle of a drawer front will stand out immediately. Wipe as you go so you can see the difference between paint dust and bare wood, and stop as soon as you reach it.
How do I make sanded paint look old instead of damaged?
Age comes from gradual transitions and uneven wear, not from rough sanding. Feather each coarse mark with 180 or 220 grit, vary how long you spend on each edge, and leave plenty of untouched paint between wear points. Then add a dark wax or glaze, which settles into the exposed layers and softens everything. Less is more on this technique.
What should I apply after distressing painted furniture with sandpaper?
A matte clear finish such as a water-based matte polyurethane, or a clear paste wax if you want a softer hand-rubbed look. Test it on a hidden spot and leave it 24 hours to check for beading or lifting. Apply two thin coats rather than one heavy coat, and allow the full drying time on the label before adding wax.
Conclusion
Distressing painted furniture with sandpaper is mostly patience and placement. Wait 48 to 72 hours for the paint to cure, sand 120 to 150 grit lightly along edges, corners and legs with the grain, blend with 180 or 220 grit, then remove every trace of dust before sealing with a matte clear finish.
Test the technique on a hidden area first and start with one small piece. Once you can place wear where hands and feet would naturally put it, the rest is just restraint.