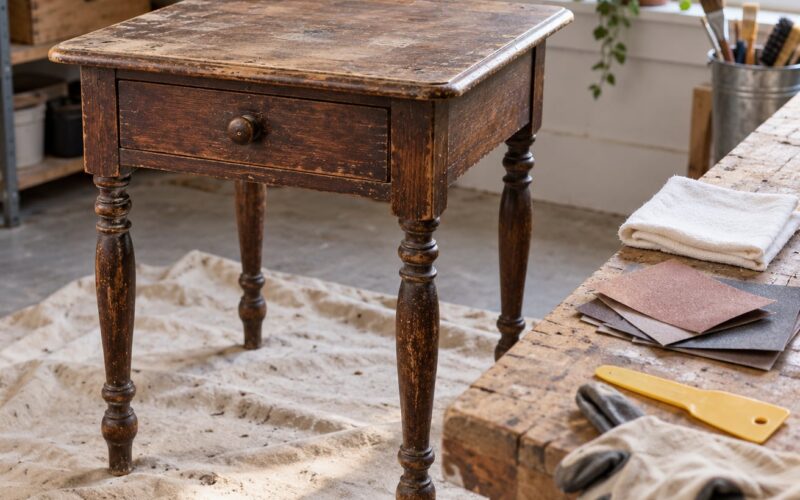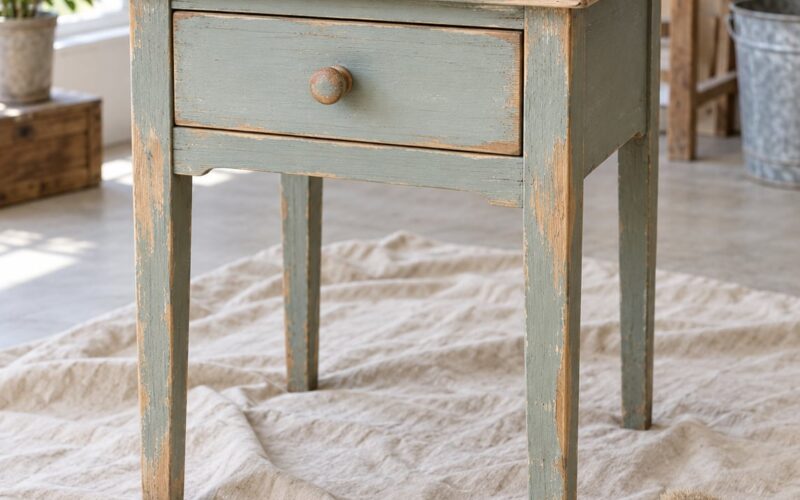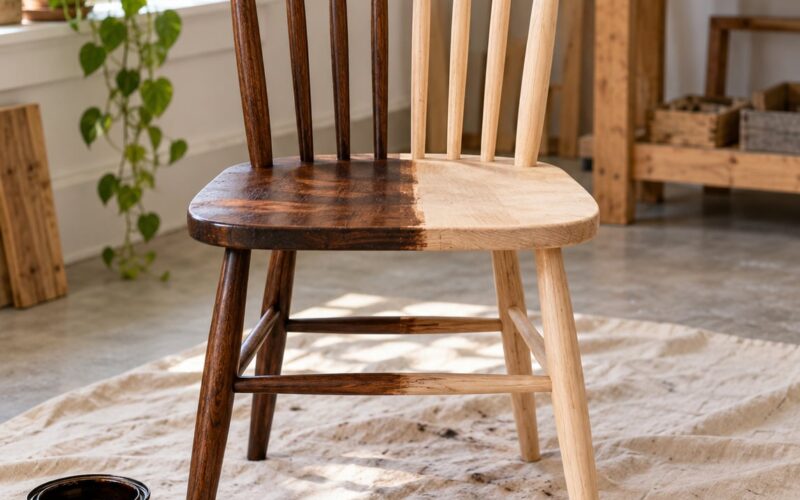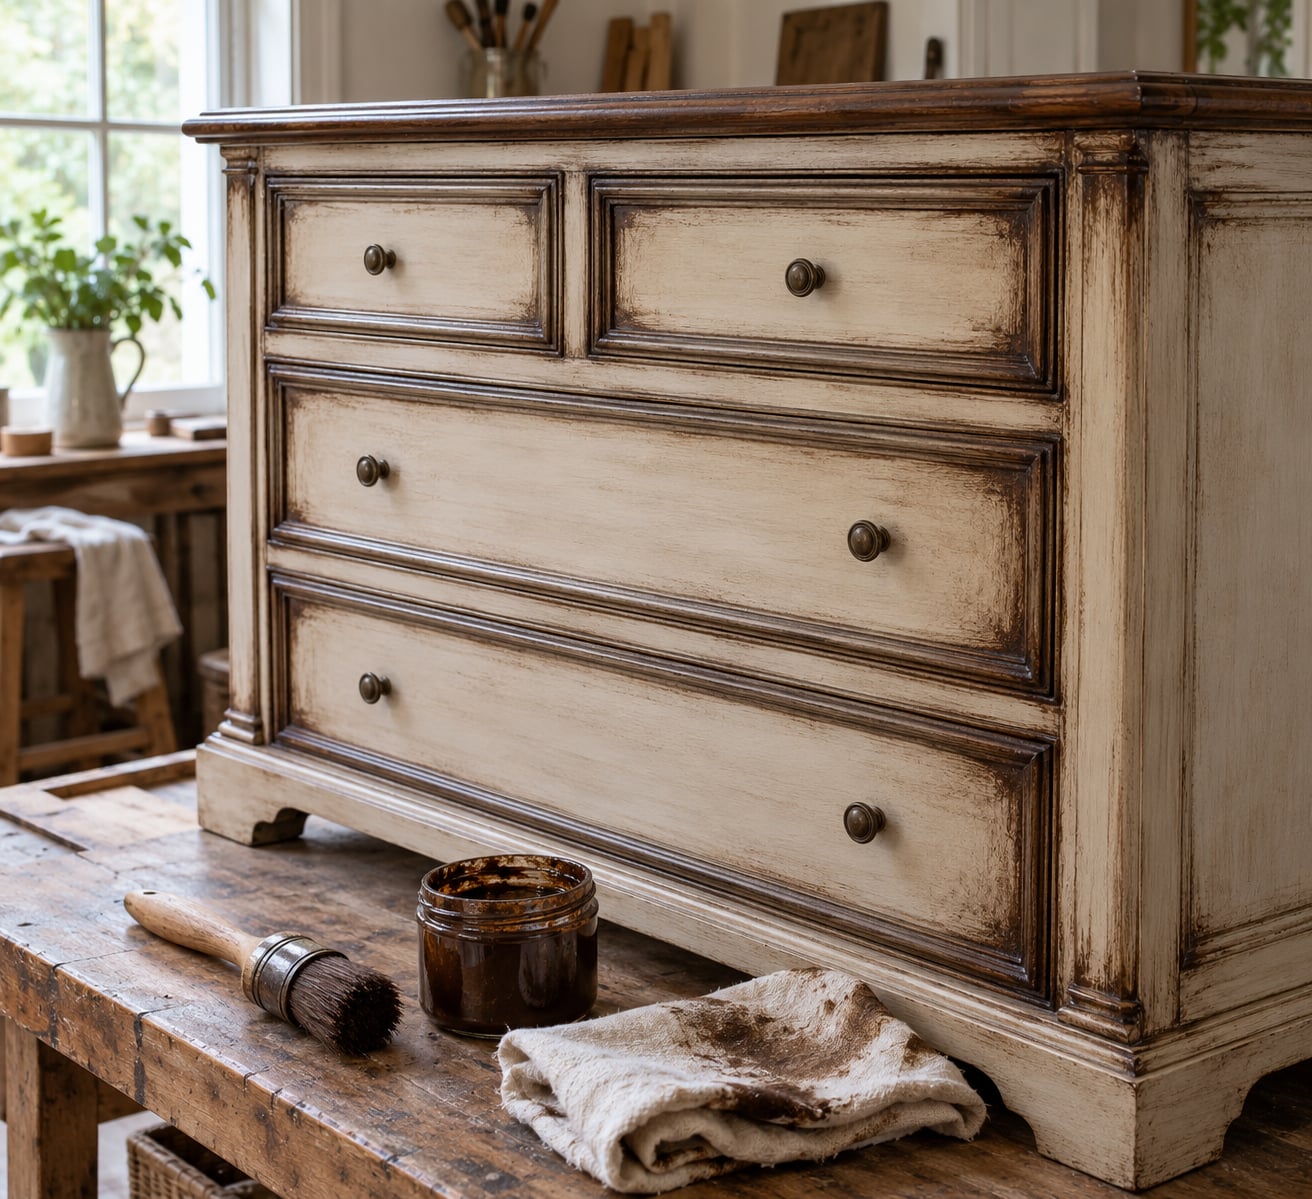
Antiquing furniture with glaze means laying a thin, translucent tinted liquid over a fully dry base coat of paint or stain, then wiping most of it away so it stays in the carvings, corners and grooves. That shadow is what makes new wood read as old. A dresser done well looks like it has been handled by three generations instead of one.
The whole process is six steps: clean and inspect the piece, prepare the surface, apply the base colour, apply the glaze, work in the age details, then seal it. Budget a full weekend for a dresser, less for a chair. Difficulty sits low if you go thin, and low again if you test a hidden spot first.
If you have never done it, this is how to antique furniture with glaze in the order I would actually follow, including what to look for at each stage and what to change when the result goes wrong.
Table of Contents
- What You Need
- Step-by-Step: How to Antique Furniture with Glaze
- 1. Inspect and Clean the Furniture
- 2. Prepare the Surface
- 3. Apply the Base Color
- 4. How to Antique Furniture with Glaze
- 5. Add Texture and Age Details
- 6. Seal and Finish the Furniture
- Glaze Colours and the Finishes They Create
- Common Mistakes and Fixes
- Frequently Asked Questions
- Do I seal the paint before I glaze it?
- Can you glaze chalk paint or mineral paint?
- How long do I wait between the glaze and the topcoat?
- Why is my furniture glaze blotchy and how do I fix it?
- Can you paint on top of glaze, or put wax over it?
- How do I mix my own antiquing glaze?
- Conclusion
What You Need
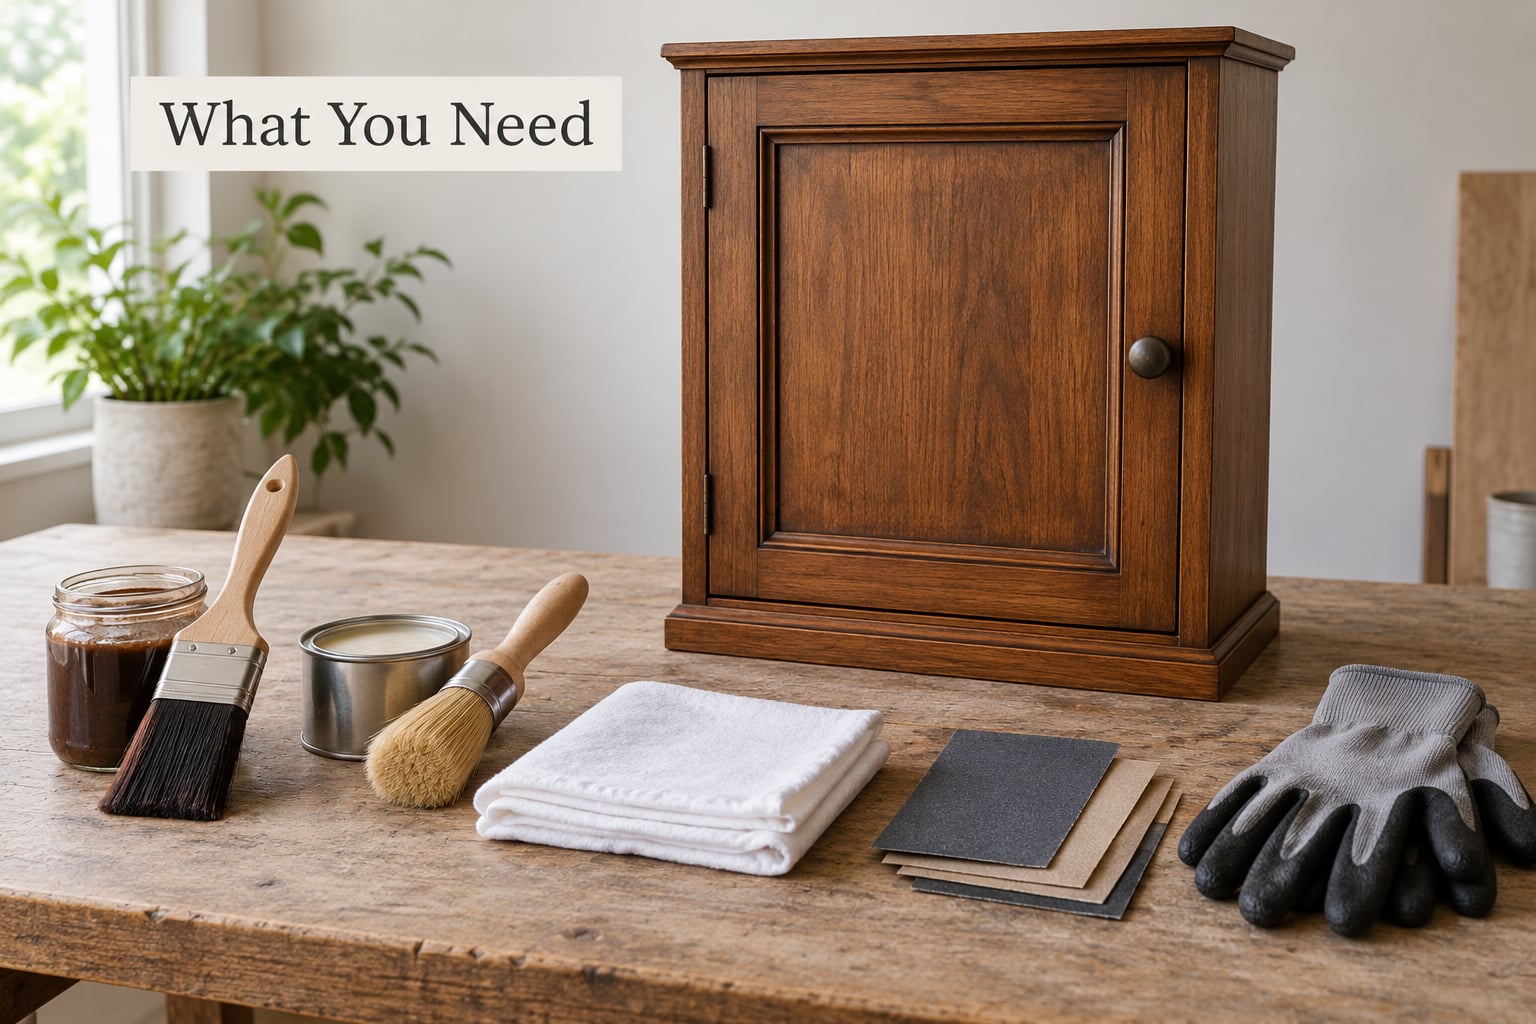
Most beginners already own about half of this list. The one item people miss is a cheap chip brush for dry brushing, and the one they over-buy is a full set of waxes they will not use.
| Item | What it does | Notes |
|---|---|---|
| Ready-mixed or tintable antiquing glaze | The translucent colour layer | Water-based acrylic glaze suits most beginners; oil-based alkyd glaze needs an oil-based base coat and mineral spirits for clean-up |
| Base paint in eggshell or satin sheen | The colour the glaze sits on | Skip flat and matte. Matte bases swallow glaze and go muddy instantly |
| Shellac-based primer | Stops tan bleedthrough on old wood and MDF | Optional on a clean modern piece, essential on a thrifted one |
| Clear coat or wipe-on polyurethane | Seals the base coat before glazing, and the whole piece after | Same product family as your paint is the safest bet |
| Flat or angled chip brush | Applies glaze evenly | Dampen bristles first so the glaze slides instead of dragging |
| Small stiff-bristle brush | Dry brushing and spatter | The cheap stencil brush from a craft drawer works |
| Lint-free cloths or white shop towels | Wiping the glaze back | Rag-free cloths leave fibres in the crevices |
| 180 to 220 grit sandpaper | Levels sheen and knocks down loose paint | Hand sanding is enough for most pieces |
| Small cup and stir stick | Mixing DIY glaze | Never mix in the original jar |
| Nitrile gloves and a dust mask | Safety | Especially for sanding old finishes and for solvent-based glazes |
Optional but useful: a wax brush and paste wax if you want a soft sheen, a fan on cool to speed drying between thin glaze coats, and a scrap board of the same wood for testing.
One terminology trap before you buy anything. Glaze for furniture is sold as a glaze coat or glazing liquid. It is not glazing putty, the window filler that some search results point you toward. Putty belongs on a frame, not on a dresser.
Step-by-Step: How to Antique Furniture with Glaze
1. Inspect and Clean the Furniture
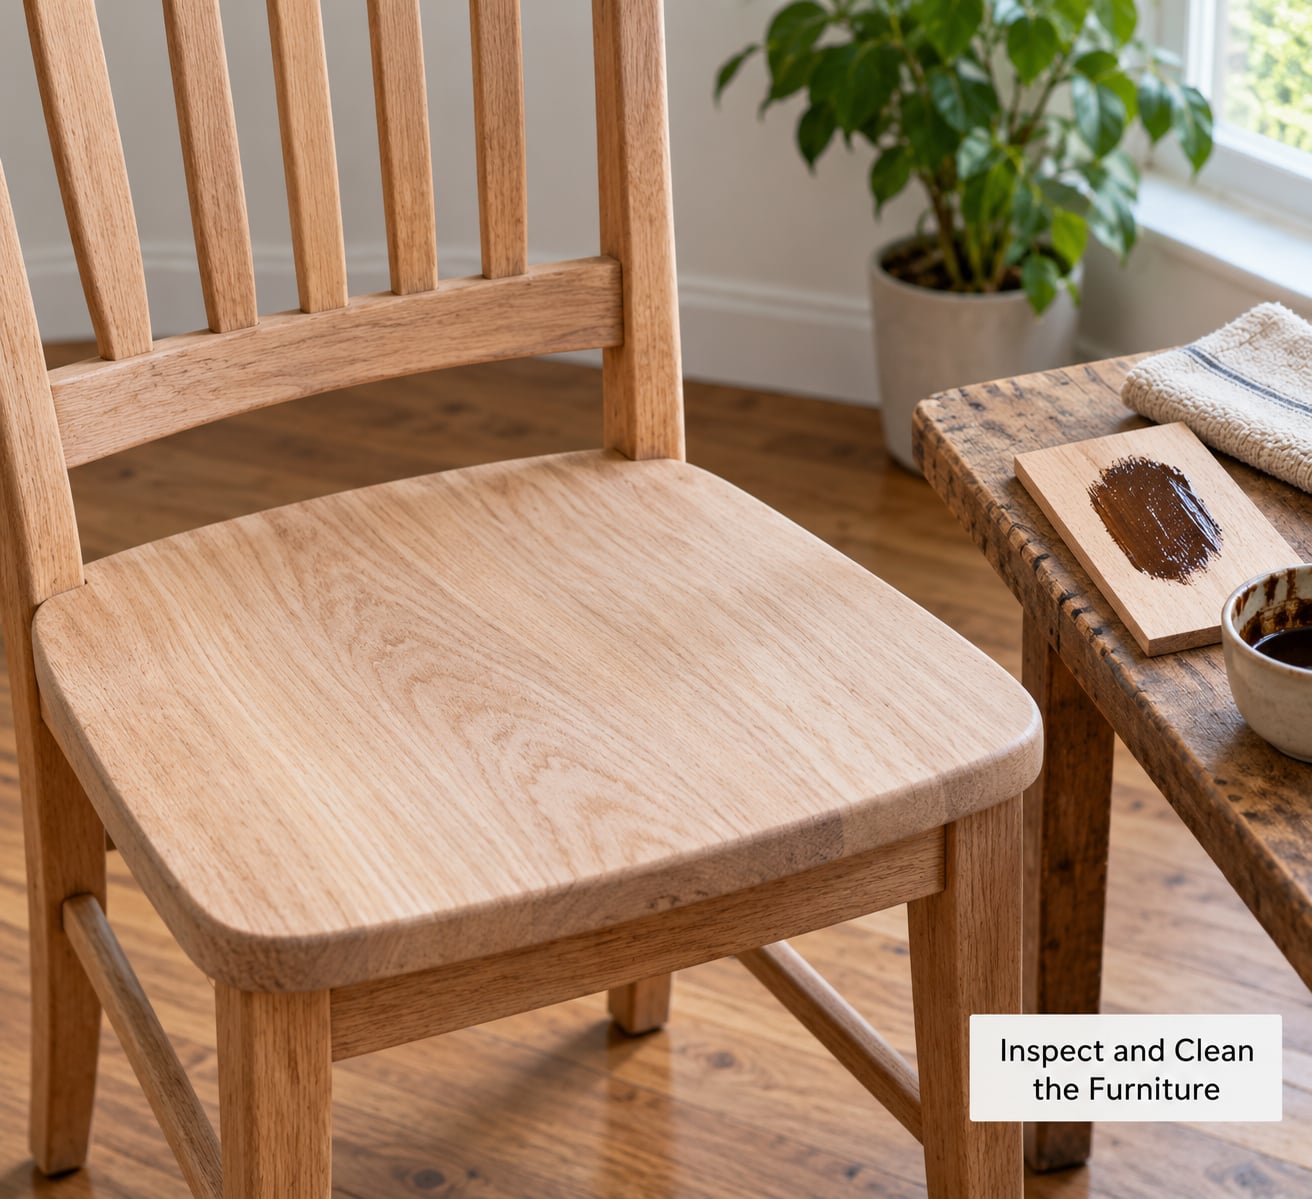
Start by finding out what you are dealing with. Run a fingernail across an inconspicuous spot: varnish and lacquer usually stay smooth and glossy, whereas an old waxed shellac or French polish finish can go dull and powdery. That difference decides everything that follows.
Wash the whole piece down with warm water and a drop of dish soap, then dry it. Grease left behind will make the first coat peel, and glaze bonds poorly to it.
Look for loose paint flaking at corners, lifted veneer edges, or wobbly drawer runners. Pull those nails, glue the veneer, and fix what moves now. It is much harder later.
Finally, test your whole colour plan on the back of a drawer or a scrap of the same wood. Base coat, dry, glaze, wipe, wait. Doing this costs ten minutes and saves a weekend.
2. Prepare the Surface
Not every piece needs stripping. If the existing finish is sound and you are painting over it, a clean and a scuff-sand is enough. If it is already failing, cracking or flaking, strip it back first, because glaze magnifies every flaw underneath it.
Sand with 180 grit to remove sheen, then 220 grit to smooth. Sand with the grain on flat panels and around mouldings in the direction the trim runs.
Stop before you see bare wood unless you want to. Sanding through old paint or veneer on a piece with two or three finish layers creates pale patches that glaze will highlight instead of hide. Those patches are the most common complaint I see in furniture painting groups.
If the wood is porous, MDF, or prone to bleedthrough, roll on shellac primer and let it dry fully. Shellac dries in minutes, and it stops tan knots and stains pushing through light paint the way nothing else does.
How do you know it worked? The surface should feel uniformly smooth, take an even fingerprint instead of a greasy one, and show no colour variation you did not put there.
3. Apply the Base Color
The base colour does the heavy lifting. Everything you glaze later sits on top of it, so pick it with the end look in mind: a mid-tone base like warm cream, sage or putty lets a brown glaze read as aged, while a pure white base will go grey and dingy under the same glaze.
Choose eggshell or satin sheen. Flat and matte surfaces drink glaze and turn it patchy, which is why so many first attempts look dirty rather than antique. On trim and hardware, a satin accent after the glaze adds contrast and a highlight.
Apply two thin coats with a good synthetic brush, letting each dry fully, rather than one thick coat that drags and gums. Scuff-sand lightly between coats with 220 grit if the brush leaves texture.
The visual cue: even colour with no brush lines showing through, and no bare patches where the primer or old finish peeks out. Let it cure longer than the can says if the room is cool or damp.
4. How to Antique Furniture with Glaze
Load the brush lightly and work in small sections the size of a drawer front. Wipe almost all of it back into the cup first, then brush on a thin veil. A heavy coat cannot be rescued later, and glaze does not sand off.
Dampen your brush with a few drops of water before loading water-based glaze. Readers report this one trick more than any other for cutting lap lines and brush marks, because the wet bristles let the glaze release instead of skipping over the surface.
Immediately wipe with a clean lint-free cloth, keeping more glaze in the crevices, around the handles and along the edges, and less on the flat panels. Use the corner of the cloth to pull colour out of the details.
Keep working while the glaze is wet. Once it sets, it stops moving, and you are left with hard-edged patches instead of a soft fade.
You know a section is right when the flat surfaces look almost untouched, the recesses read clearly darker, and there are no visible streaks or puddles left behind.
5. Add Texture and Age Details
This is where a painted piece stops looking painted. Four techniques cover most of what decorators call antiquing, and each takes under five minutes.
- Dry brush: Load a stiff chip brush with glaze and wipe most of it off on the paper towel until the bristles are almost dry. Drag lightly over the surface so the colour catches only the raised texture. Repeat on edges, mouldings and the raised panels of drawer fronts.
- Burnish: Apply a thicker glaze to an area, then rub it back with a soft cloth in tight circles until it deepens and shines slightly. Burnishing gives the polished-by-hand look in the middle of a flat panel.
- Spatter: Flick glaze at the piece with a stiff brush or a spray gun set to low air pressure so the colour lands as flecks rather than mist. Keep a scrap board underneath to catch the overspray.
- Cow tail: Drag a loaded brush in a long S-curve across the surface and wipe back most of it. The thin, wavy line that remains reads as a hand-wiped glaze mark, similar to what you see on old painted trim.
Distressing is optional and easily overdone. If you sand edges back to bare wood or gouge them, the result stops looking antique and starts looking damaged. Concentrate the dark colour in corners and detail, and vary the intensity so some areas stay almost clean. Real age is uneven.
6. Seal and Finish the Furniture
Let the glaze dry completely first. Most water-based glazes are dry to the touch in 30 to 60 minutes, but they need several hours before anything goes over them. Oil-based glazes take much longer, often overnight.
Protect the piece with a wipe-on polyurethane, a water-based clear coat or a satin spray. Thin coats beat thick ones, and a satin finish shows off the glaze depth without looking wet. Knock back any drips with a fine brush within a couple of minutes.
Paste wax goes on last, if at all. Wax adds a soft glow and a little extra protection but never a hard shell, so it suits a side table more than a kitchen cabinet. Buff it to a soft shine with a lint-free cloth, and remember that wax must never have paint or varnish applied over it later.
Before you put the piece back into service, rub a finger across a flat panel and a crevice. Satin with no drag means you are done. A tacky surface means the coat went on too thick or not dry enough, so give it more time.
Glaze Colours and the Finishes They Create
Glaze behaves predictably once you know the pairing. Raw umber and Van Dyke brown warm and darken; a grey or charcoal glaze cools a warm base without turning it green; white glaze softens and lightens a dark base. Black glaze is the strongest hand you can play, and it goes muddy fast, so keep those coats thin.
| Base colour | Glaze colour | Result |
|---|---|---|
| Cream or off-white | Van Dyke brown, thin | Subtle warm patina, honeywood look |
| Cream or off-white | Raw umber, two thin coats | Medium antiquing, shadowed detail |
| White | White or off-white glaze | Softened, chalky whitewash, no harsh contrast |
| Sage or putty | Charcoal grey, light | Cool, dusty aged finish |
| Black | Cream or white glaze | Reverse highlight, edges and carving pop forward |
| Brown or walnut stain | Black glaze, very thin | Deep shadow, dramatic antique look |
| Any colour | Dark glaze, heavy build-up | Dirt, not age. Wipe back harder |
These are starting points, not rules. Two thin coats always beat one heavy coat, because each thin coat dries slightly uneven in a way the eye reads as depth rather than as a stain.
Common Mistakes and Fixes
| Symptom | Likely cause | Fix |
|---|---|---|
| Blotchy, patchy finish | Unsealed porous base, usually chalk or mineral paint, or uneven wood hue on finger-jointed panels | Seal the base coat before glazing. On MDF or finger-jointed panels, mix a single batch of glaze and stir it often |
| Brush marks and lap lines | Glaze dried too fast, or the brush was loaded too heavily | Dampen the brush, use a smaller section, and work wet. Work in a cooler room to buy more time |
| Edges and corners too dark | Glaze pooled and was never wiped back | Wipe with a clean cloth before it sets. Once dry, glaze cannot be lightened except by stripping |
| Finish looks muddy | Too much glaze left on the flats, or a flat base coat | Wipe the flats harder next time and use an eggshell or satin base |
| Tacky or sticky finish later | Clear coat applied before the glaze dried, or too many coats | Wait for a full cure and use thin coats only. If wax caused the stickiness, wipe with a cloth dampened with the solvent the wax maker recommends |
| Peeling clear coat | Wax applied before the topcoat, or paint applied over wax | Remove the wax and start that stage again. Wax always goes last |
| Tan stains showing through light paint | Bleedthrough from knots and old wood | Two coats of shellac primer before paint, and again if needed |
Three rules solve most of it. Glaze only onto a clean, sealed, non-flat base. Work in small sections while the glaze is still wet. Finish with a protective topcoat, and put wax last if you use it at all.
Three things to never do: glaze over wax, glaze over a flat or matte finish, and glaze over a surface you have not cleaned. All three are hard or impossible to undo.
Finally, keep records. Write the glaze brand, colour, ratio and dry times on the back of a drawer. The second piece always goes faster, and you will want to know what worked instead of guessing again.
Frequently Asked Questions
Do I seal the paint before I glaze it?
Sealing first gives you a subtle, controlled result. Unsealed chalk and mineral paint are porous and drink glaze, producing a heavy grunge look in minutes. Seal with a shellac primer or a clear coat in the same sheen family as your paint, let it cure fully, then glaze. Skipping the seal is a valid choice, but only do it deliberately.
Can you glaze chalk paint or mineral paint?
Yes, and it is one of the most common uses for antiquing glaze. The material is very porous, so the glaze goes on darker and blotchier than on a conventional paint. For a softer aged finish, seal the base coat first. For a dramatic aged finish, leave it unsealed and work in thin layers, since the darkening is not reversible once it soaks in.
How long do I wait between the glaze and the topcoat?
Water-based acrylic glaze is dry to the touch in 30 to 60 minutes, but give it at least a few hours, ideally overnight, before sealing. Oil-based glaze needs much longer and often cures overnight. Applying a topcoat too early traps moisture and leaves a tacky surface. If you are in a hurry, a fan on cool setting helps more than a hairdryer on hot.
Why is my furniture glaze blotchy and how do I fix it?
Blotching usually means the base coat was too porous or the surface absorbed unevenly, not that you applied the glaze badly. Once dry, it cannot be fixed without stripping. Next time, seal the base, mix one batch rather than several, and stir it often. Thick glaze in the recesses is fine and intended. Thick glaze across the flats is what creates the muddy look.
Can you paint on top of glaze, or put wax over it?
You can paint or varnish over a dry glaze, though a fresh coat of paint will hide the antiquing you just applied. Wax goes last and only last. Paint, varnish or glaze applied over wax will not adhere and typically peels within weeks. The safe order is paint, optional seal, glaze, topcoat, then wax as the final step.
How do I mix my own antiquing glaze?
Mix roughly three parts clear or tintable glaze to one part acrylic paint for a ready-to-use tinted glaze. Push it to four or five parts glaze to one part paint for a lighter, more transparent wash that behaves like a stain. Never mix in the original jar, and stir frequently, because pigment settles quickly and separation causes the blotching people complain about most.
Conclusion
Start by testing your colour plan on the back of a drawer or a scrap of the same wood. Paint it, glaze it, wipe it back, and let it dry overnight. That ten-minute test is what separates a good antique finish from a muddy one.
From there the rules are simple. Clean the piece, seal a porous base, use eggshell or satin paint, keep the glaze thin, work in small sections while it is wet, and put more colour in the corners than on the flats. Two thin coats will always beat one heavy coat.
Once you have one small piece down, a chair or a side table, the technique stops being new and starts being quick. Updated for 2026, this guide on how to antique furniture with glaze reflects what actually goes wrong on thrifted furniture, so you can skip the mistakes and go straight to the good part.