If you want to know how to paint a metal file cabinet so the finish lasts years instead of weeks, the job comes down to five moves: clean the grease off, scuff or sand the old finish, prime with a rust-inhibitive metal primer, lay down two or three thin coats, then seal it. Almost every peeling cabinet skipped one of those, usually the first and the last.
Plan on a weekend with two dry days built in. Prep is the slow part, and the paint needs time between coats and again before you load the drawers. Done properly, a thrifted steel cabinet is the cheapest storage you will own.
Table of Contents
- What You Need
- Step-by-Step: How to Paint a Metal File Cabinet
- 1. Empty, Move, and Protect the Cabinet
- 2. Clean and Degrease the Metal
- 3. Remove Hardware and Treat Rust
- 4. Sand the Surface Smooth
- 5. Apply the Right Primer
- 6. Paint with Thin, Even Coats
- 7. Let It Dry, Finish, and Reassemble
- Common Mistakes
- Frequently Asked Questions
- Can you paint over a metal file cabinet with existing paint?
- What type of paint is best for a metal file cabinet?
- Do I need to remove all rust before painting?
- How many coats of primer and paint does a metal cabinet need?
- How long should I wait before using a freshly painted file cabinet?
- Can I paint a metal file cabinet for outdoor use?
- Conclusion
What You Need
Gather everything before the cabinet comes out of the room. Mid-project shopping trips are how people end up brushing dust back onto a wet coat.
- Safety gear: nitrile gloves, safety glasses with side shields, an N95 or P100 particulate respirator for sanding, and good airflow. Aerosol paint in a closed room is genuinely unpleasant to breathe.
- Cleaning: a degreaser such as Simple Green, warm water, microfiber cloths, and a green abrasive pad for stubborn grease around the drawer rails.
- Sanding: 180, 220, and 320 grit sandpaper, a sanding block, 0000 steel wool or a gray scuff pad, a shop vacuum, and a tack cloth. A dust mask is not optional on an old cabinet with decades of coatings on it.
- Rust treatment: a wire brush, a rust remover gel, a rust converter for pitted spots, and metal filler putty for gouges and chips.
- Primer: one labeled for ferrous metal. Paint-and-primer-in-one is acceptable only when the label says metal; the wood-bloc formulas and the ones that need a separate anti-corrosive primer are not the same product.
- Paint: aerosol enamel spray formulated for metal, a quality brush and foam roller, or chalk paint with a bonding coat and an oil-based topcoat. Satin hides drips better than gloss; gloss shows every fingerprint.
- Protection and finishing: drop cloth or plastic sheeting, painter’s tape, lint-free rags, and a clear topcoat labeled for metal if the cabinet will take abuse.
- Hardware tools: a full screwdriver set, a drill with a metal bit if you plan to add legs, and a small labeled bag for screws.
Read the primer and paint labels before you buy anything, and check that they are compatible with each other and with the cabinet’s existing finish. Layering a water-based primer under an oil-based topcoat, or the reverse, is a recipe for a soft finish that lifts.
One quick check first: skip fireproof locking cabinets and any unit with magnetic document fronts. Those depend on specific coatings and gaps you can ruin without noticing. A plain steel drawer unit can be painted all day.
Step-by-Step: How to Paint a Metal File Cabinet
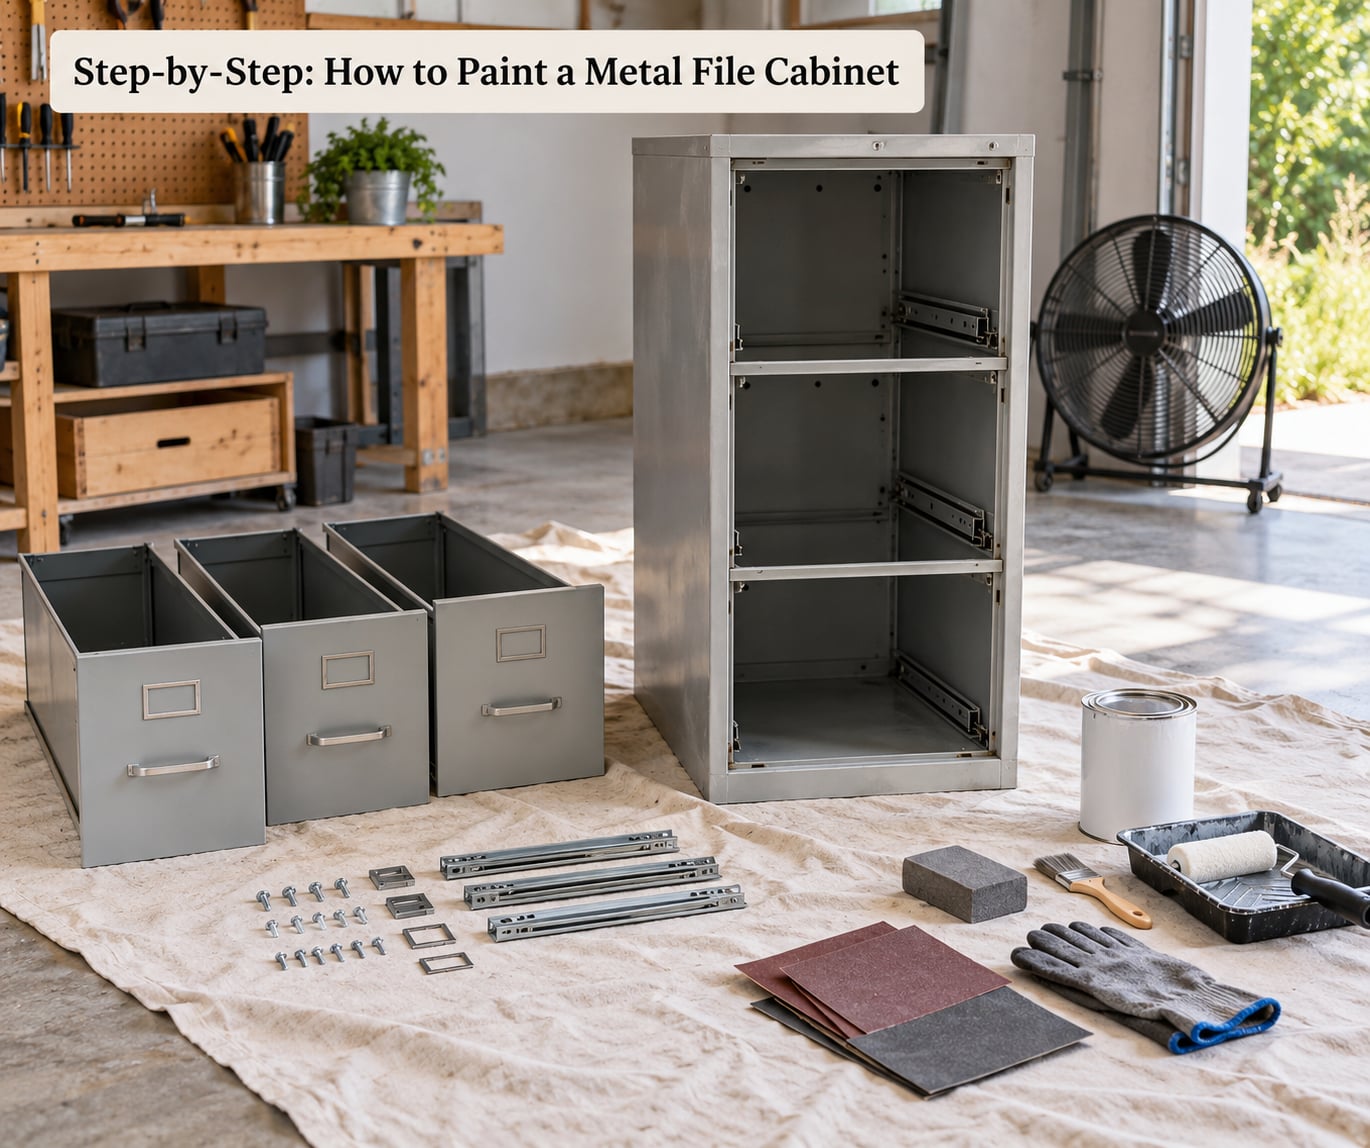
1. Empty, Move, and Protect the Cabinet
Empty every drawer and check underneath the cabinet and behind the rails for dropped paper clips, old labels, and dampness. A damp corner under a cabinet turns into a peeled finish later, so look before you lift.
Photograph the hardware layout before anything comes off, or sketch it. Then move the cabinet to a ventilated space away from direct sun and wind, set it on a drop cloth, and tape off anything you are not painting.
Full-size cabinets are heavy and awkward. A small furniture dolly makes repositioning for the sides and back far easier than dragging it across a floor.
2. Clean and Degrease the Metal
Dust, grease, adhesive from old label tape, and loose rust flakes all have to go before you sand. Mix the degreaser according to its label, scrub it over the surface with a microfiber cloth or green pad, and pay attention to drawer rails and seams where grime collects.
Rinse with a clean damp cloth and let the cabinet dry completely. Follow with a tack cloth to lift the fine dust that sanding will raise. Painting over a damp or greasy surface is the number one cause of peeling within a month.
3. Remove Hardware and Treat Rust
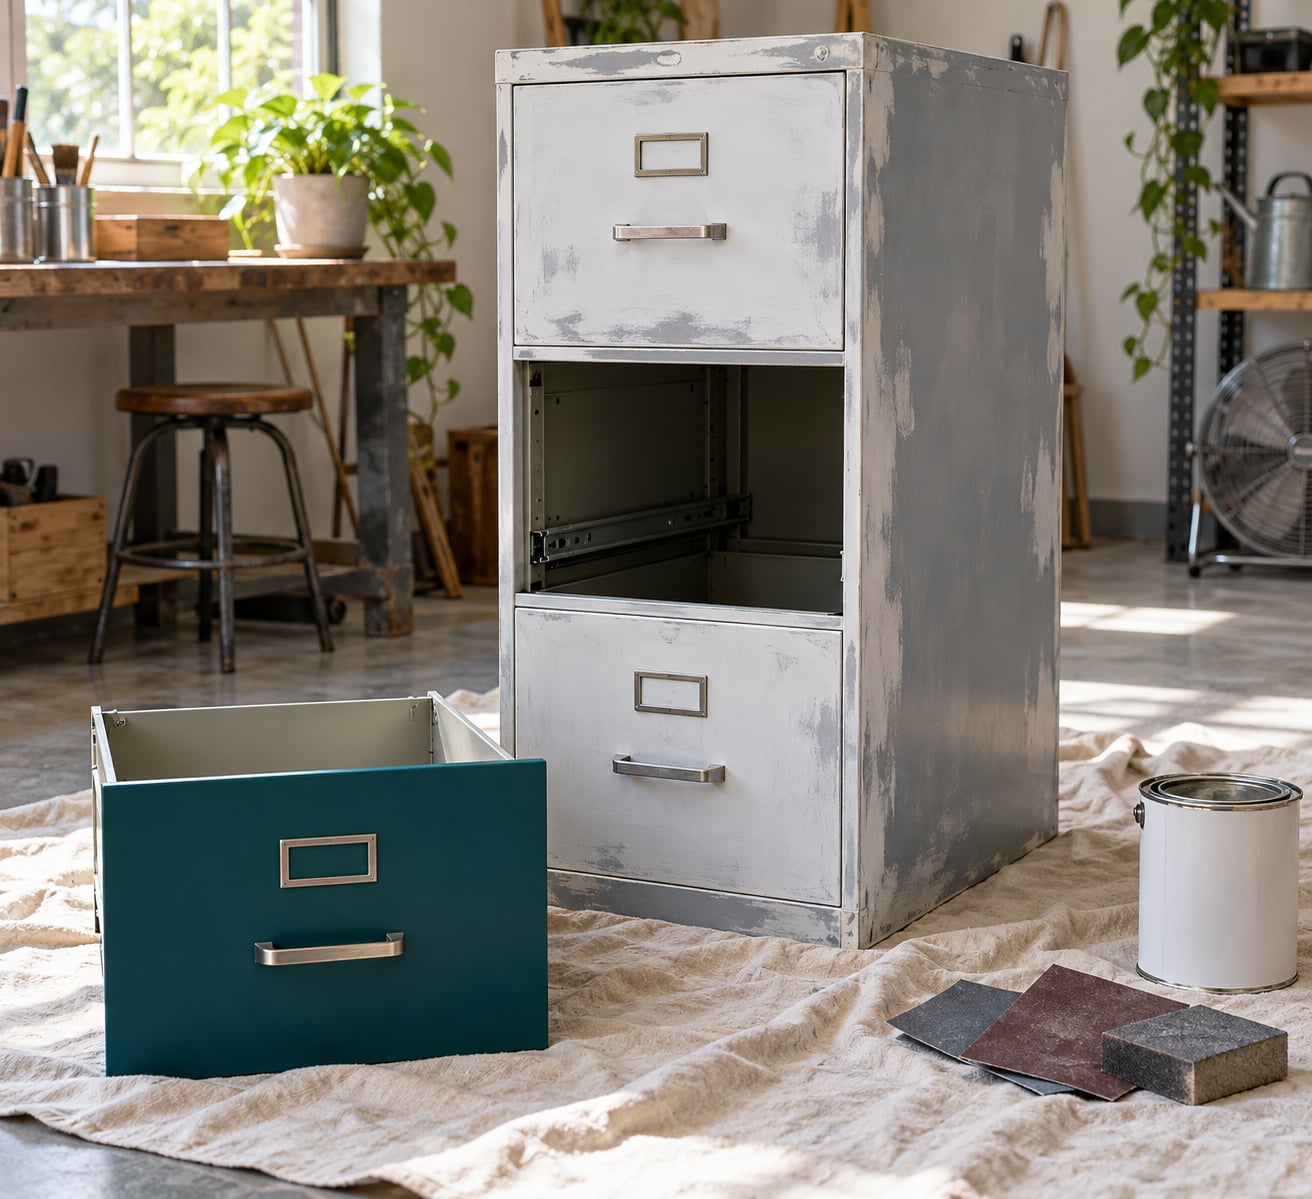
Take out the drawers, the label holders, the handles, and the lock. On most steel cabinets, a drawer releases by pressing up on the bar underneath it while you pull, which is far easier than wrestling the cabinet sideways. Bag every screw with its matching piece, or tape the hardware to a labeled bag so reassembly is guess-free.
For rust, judge what you have. Surface rust is orange, powdery, and wipes off with a finger; remove it with a wire brush and a rust remover gel left on for the time the label specifies, then wipe or rinse. Pitted rust that leaves a hole has to either come out with the gel or get converted, and deep structural rust at the base of a cabinet usually means replacing the unit.
You do not need to strip the whole cabinet back to bare steel. Removing the loose corrosion and sealing the rest under a rust-inhibitive primer is enough for a cabinet that lives indoors.
4. Sand the Surface Smooth
Sanding is not about removing the old paint. It is about giving the new coat something to bite into, so you are scuffing a glossy or peeling finish more than you are levelling a sound one.
Start at 180 to 220 grit on glossy paint, move to 320 if the surface is already satin, and feather any sharp edges between old paint and bare metal so nothing telegraphs through the new color. Keep the pressure light and change paper often; a deep gouge in soft steel is work you will have to fill and re-sand. A 0000 steel wool pad works well on edges and corners that a sheet will not reach.
Vacuum the cabinet and the floor, then wipe everything with a tack cloth. Drag your hand across a panel: it should feel uniformly matte with no shiny patches left.
5. Apply the Right Primer
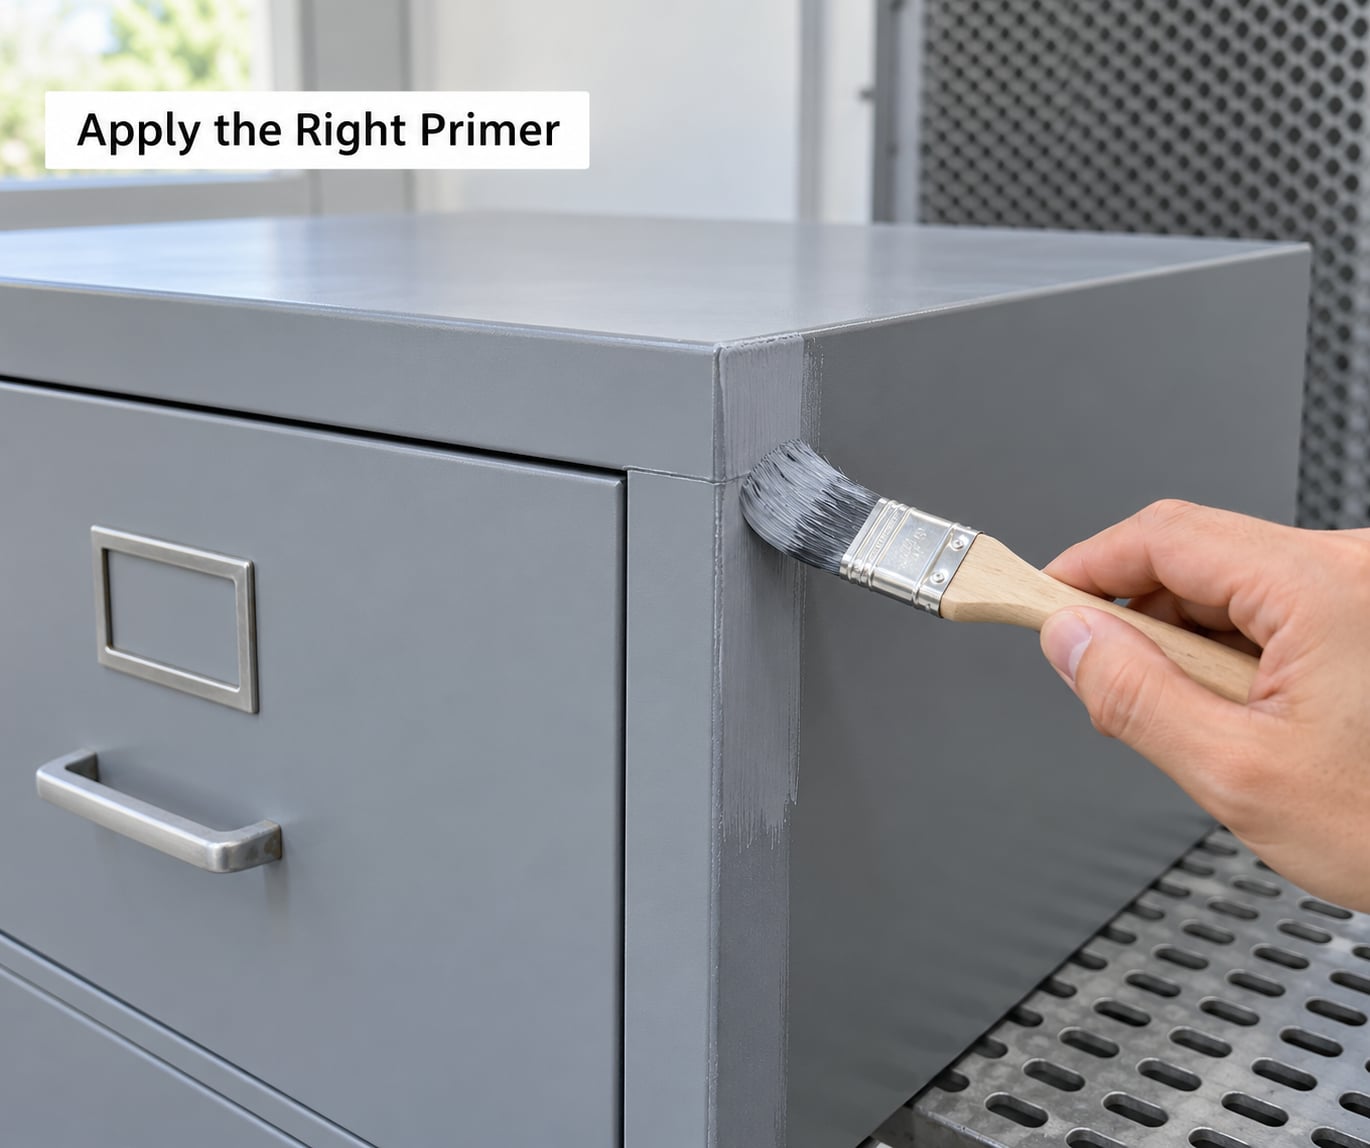
Brush or roll on a primer labeled for metal, thinned as the label directs, in thin even coats. Two light coats beat one heavy one every time. A thick primer coat sags on vertical panels and takes forever to dry all the way through.
Wait the drying time printed on the can before doing anything else, and ignore the touch-dry feel. Some primers ask for a light scuff with 320 grit or a tack cloth between coats, which is how you stop the second coat lifting the first.
Shine a flashlight across the panel at a low angle to find missed areas; they show up as dull spots against the uniform primer. Fill any deep chips with metal filler putty and sand that flush before the second coat goes on.
6. Paint with Thin, Even Coats
Stir brush paint with a stir stick and never shake the can. Dip about a third of the brush in, tap off the excess, and lay the coat on with light cross-hatch strokes, then feathering the edges. Overworking a non-porous surface lifts the paint mid-stroke, which is why the first coat on metal always looks thinner than you want. It is normal.
Work in sections you can finish in a few minutes and keep a wet edge moving so you never go back over a half-set area. That lap line is what you are trying to avoid, along with drips, misses, and orange peel texture.
With a spray can, hold 10 to 12 inches away, move steadily across the panel in one direction, and do not linger in one spot, which causes runs and sag. Can brands like Rust-Oleum 2X Ultra Cover, Krylon, and Valspar all make metal-rated enamels; pick one, and pick the same system from primer to topcoat.
Two to three thin coats beat one thick coat every time, so build coverage slowly and follow the can’s dry time between passes rather than your impatience.
7. Let It Dry, Finish, and Reassemble
Dry time and cure time are different things. Dry is when the surface stops feeling wet, often within a couple of hours; cure is when the coating has hardened enough to resist a knock or a scratch, which takes days rather than hours. Most peeling complaints trace back to a cabinet that was reloaded too early.
If you want extra protection in a busy room or on a cabinet that gets handled, add a clear topcoat labeled for painted metal once the color coat is cured. Wax or a polish works on a chalk paint finish and is easier to reapply, but it needs buffing and it is not a durability upgrade.
Touch up any fingerprints or small misses with the same paint, then reinstall the drawers, label holders, and hardware. Give heavy files and equipment a couple of weeks before loading up, and go easy on the first few months.
Common Mistakes
Painting over rust. Rust keeps growing under the paint and pushes it off in flakes. Wire brush the loose scale, treat what is left, and use a rust-inhibitive primer. If the metal is pitted through, stop and reconsider the cabinet.
Skipping the clean or the sand. Paint applied over grease or a glossy surface has nothing to grip, so it peels in sheets within weeks. A degreaser, 180 to 320 grit, and a tack cloth take an hour and prevent most failures.
Using paint that is not for metal. Interior wall paint chalks and flakes on steel. Check the label for metal or ferrous surfaces, and match the primer and paint from the same system.
Applying thick coats. Heavy coats sag, drip, trap solvent, and stay soft underneath. Thin coats dry faster and stick better, so resist filling in the coverage gaps in coat one.
Painting over damp metal or in direct sun. Moisture under paint causes blistering, and a hot panel or strong wind flashes the surface so it skins before it can level.
Reusing the cabinet too soon. Even fully dry paint needs cure time. Sliding drawers in and out on week one is how a good finish gets scratched through.
A few habits make steadier work: warm paint is easier to work, so store cans indoors for a day first; a tack cloth between coats picks up dust that would otherwise speckle the finish; and work the least visible panel first while you are still finding your rhythm. If a rusted or riveted handle will not budge, paint around it rather than levering and gouging the panel.
Frequently Asked Questions
Can you paint over a metal file cabinet with existing paint?
Yes, if the old paint is still firmly attached. Sand or scuff the surface to a uniform matte finish, clean off the dust with a tack cloth, and prime with a rust-inhibitive metal primer before painting. If the existing coating is already peeling, cracking, or bubbling, strip it back to sound metal or bare steel first, otherwise the new paint will lift with it within weeks.
What type of paint is best for a metal file cabinet?
Any paint formulated for metal works, and the format matters less than the label. Aerosol enamel spray gives the smoothest finish on large flat panels. A quality brush and foam roller give you more control and less overspray. Chalk paint needs a bonding coat on metal and an oil-based topcoat, and it needs longer cure time than enamel.
Do I need to remove all rust before painting?
No, but you need to stop it. Wire brush off the loose scale, treat what remains with a rust remover gel, and convert pitted spots that will not come clean. Then seal everything under a rust-inhibitive primer. Rust that has eaten deeply into the steel, especially at the base of the cabinet, is structural and usually means the cabinet is not worth saving.
How many coats of primer and paint does a metal cabinet need?
One to two coats of metal primer, then two to three thin coats of paint. Gloss and dark colors going over a lighter cabinet can need an extra coat for full coverage. The second primer coat matters most on bare or rusty steel, and the third paint coat only matters on a dark color over a light one. Read the can for the dry time between passes.
How long should I wait before using a freshly painted file cabinet?
Treat the two times separately. Dry to the touch usually takes a few hours, but full cure takes days, and the can tells you how long. Load the drawers lightly after 24 to 48 hours, and avoid heavy files for a couple of weeks. Most peeling happens because the cabinet was put back into service before the finish hardened.
Can I paint a metal file cabinet for outdoor use?
Only with paint and primer both labeled for exterior metal. Indoor enamel fails fast in sun and moisture, and bare spots start rusting within a season. Seal it with a clear exterior topcoat, keep it under cover if you can, and check the coat annually, because a cabinet outdoors will need touch-ups no matter how well you prep it.
Conclusion
Start by looking at the existing finish and finding out whether you are dealing with rust or just scuffing sound paint, then work through cleaning, prep, primer, thin coats, and curing without shortcuts. Get the cabinet emptied, degreased, and scuffed this weekend, and give the finish a full cure before you file a single folder in it.