Yes, you can paint kitchen cabinets without spraying, and the finish can look genuinely close to sprayed work. The trick is a two-tool combination: a good angled brush for edges and grooves, plus a small 1/4 inch mohair or high-density foam roller for the flat panels, worked immediately while the paint is still wet. Expect to spend a full weekend on prep and the first coat, then a couple of hours per coat with drying time in between.
The reason cabinets get a bad reputation is almost never the paint. It is skipping the cleaning, or rushing coats on a warm day, or brushing a thick coat onto a panel and hoping it evens itself out. Fix those three things and the brush-and-roller method holds up for years.
Below is the process I would follow, whether you are on a rental with dated cabinets or you have solid oak that just needs a color change.
Table of Contents
- What You Need
- Preparation supplies
- Paint tools
- Paint and primer
- Step-by-Step: How to Paint Kitchen Cabinets Without Spraying
- 1. Protect the Kitchen and Remove Hardware
- 2. Clean and Degrease the Cabinet Surfaces
- 3. Sand the Cabinets and Apply a Primer
- 4. How to Paint the Cabinets With a Brush and Roller
- 5. Let the Paint Dry Between Coats
- 6. Apply the Final Coats and Reassemble
- Common Mistakes
- Frequently Asked Questions
- Can you paint kitchen cabinets without a sprayer?
- What type of brush and roller should I use for kitchen cabinets?
- Do I need to sand kitchen cabinets before painting them?
- How long should cabinet paint dry before putting doors back on?
- Should I use primer on painted or laminate kitchen cabinets?
- Is brush-and-roller cabinet paint as durable as sprayed paint?
- Conclusion
What You Need
Most of this list is things you probably already own. The three items worth spending money on are the primer, the paint, and the roller.
Preparation supplies
- Drop cloth or canvas, plus painter’s plastic sheeting for the counters and appliances
- Painter’s tape, ideally a clean-release tape that will not leave a line on the finish
- Degreaser or trisodium phosphate substitute, a scrub brush, and clean rags
- 220 grit sandpaper, a sanding block, and a small detail sander for tight corners
- Wood filler for old hardware holes and any chips
- Stiff brush or small vacuum with a brush head for dust removal
Paint tools
- 2 to 2.5 inch angled sash brush, synthetic or natural bristle depending on the paint
- 1/4 inch nap mohair roller for the smoothest finish, or a high-density foam roller if you prefer a slightly textured surface
- A roller frame short enough to get into drawer fronts and narrow cabinet sides
- A stiff paint tray plus a bucket grid for strainer-free loading
- Small foam rollers or foam brushes for cabinet interiors and tight grooves
Paint and primer
Choose a primer matched to the surface: a shellac-based stain-blocking primer for bare or stained wood and glossy laminate, and a bonding primer if your cabinets are thermofoil or vinyl-wrapped. For the topcoat, look for an acrylic alkyd hybrid or urethane trim enamel. These self-level a little, scrub clean, and resist the blocking that makes cheap cabinet paint feel sticky after a week.
Optional but useful: a repaint tray liner, a small turntable for rolling door edges, and a fabric conditioner or pool noodle section to buffer doors while they dry.
Step-by-Step: How to Paint Kitchen Cabinets Without Spraying
1. Protect the Kitchen and Remove Hardware
Tape plastic sheeting over counters, appliances and the floor before anything else. If you can move the appliances out, that beats trying to paint around them.
Remove doors, drawer fronts and hardware. Some people label doors with tape, but a scratch of pencil or an awl mark etched into the hinge mortise is faster and never falls off. Stack hardware in labelled bags with the door it came from.
Do not try to paint doors hanging in place unless you are doing a quick refresh. The back side and the hinge side will never get full coverage while the door is on its hinge.
2. Clean and Degrease the Cabinet Surfaces
This is the step people skip, and it is the step that decides whether the paint sticks. Kitchen cabinets carry an invisible film of grease from cooking, and paint applied over that film will peel off in sheets later.
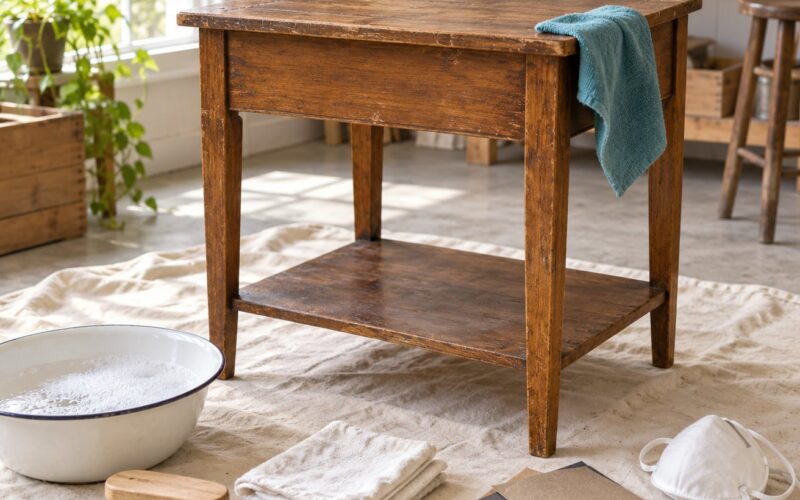
Mix a degreaser with warm water according to the label, scrub it over every face with a stiff brush, and wipe it down with a clean damp rag until the rag comes back clear. Let everything dry completely, overnight if you can. Primer applied over damp wood will show every streak.
3. Sand the Cabinets and Apply a Primer
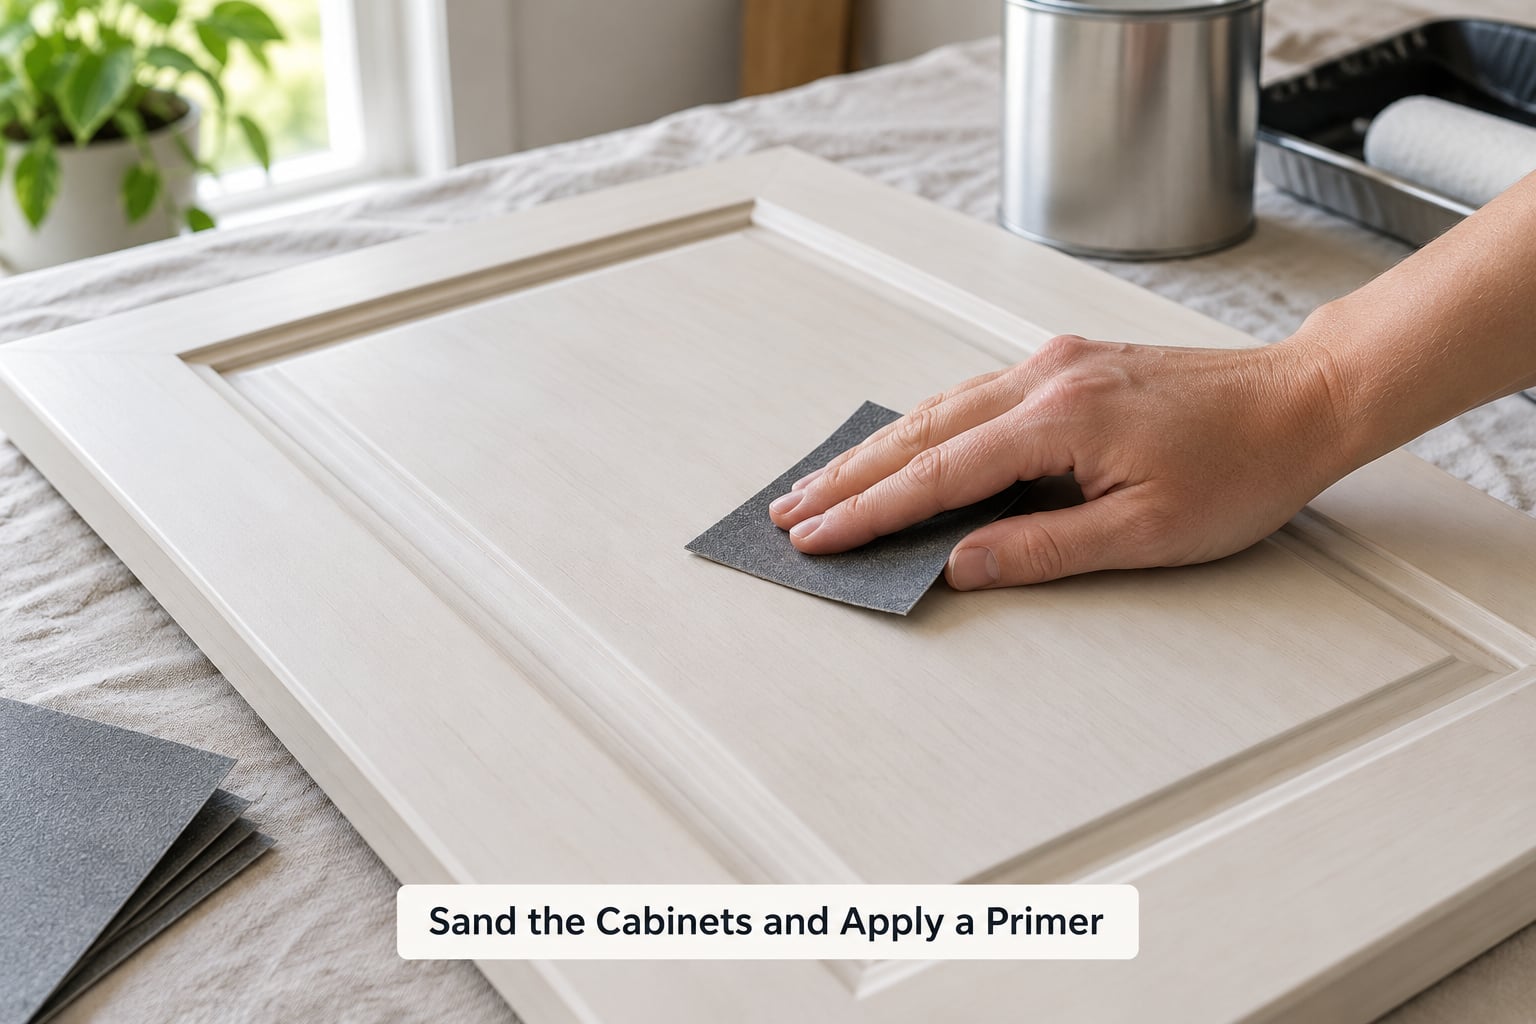
On bare wood, work up to the surface with 150 grit to take down ridges, then finish with 220 grit for an even face. On previously painted or lacquered cabinets you do not need to strip to bare wood. Scuff the shine with 220 grit until a matte surface appears, which gives the new coat something to bite.
For laminate or thermofoil, sand the edges and any shiny spots and lean on a bonding primer for the adhesion. Liquid deglosser is a reasonable option for pieces that cannot be sanded, and it is useful inside grooves and corners, but it does not replace sanding on flat surfaces.
Remove dust with a vacuum and a tack cloth before priming. Brush primer into edges and grooves, then roll the flats immediately, and give it the full dry time on the label before you sand it lightly with 220 grit. That quick sand is what keeps the brush marks from telegraphing through the color.
4. How to Paint the Cabinets With a Brush and Roller
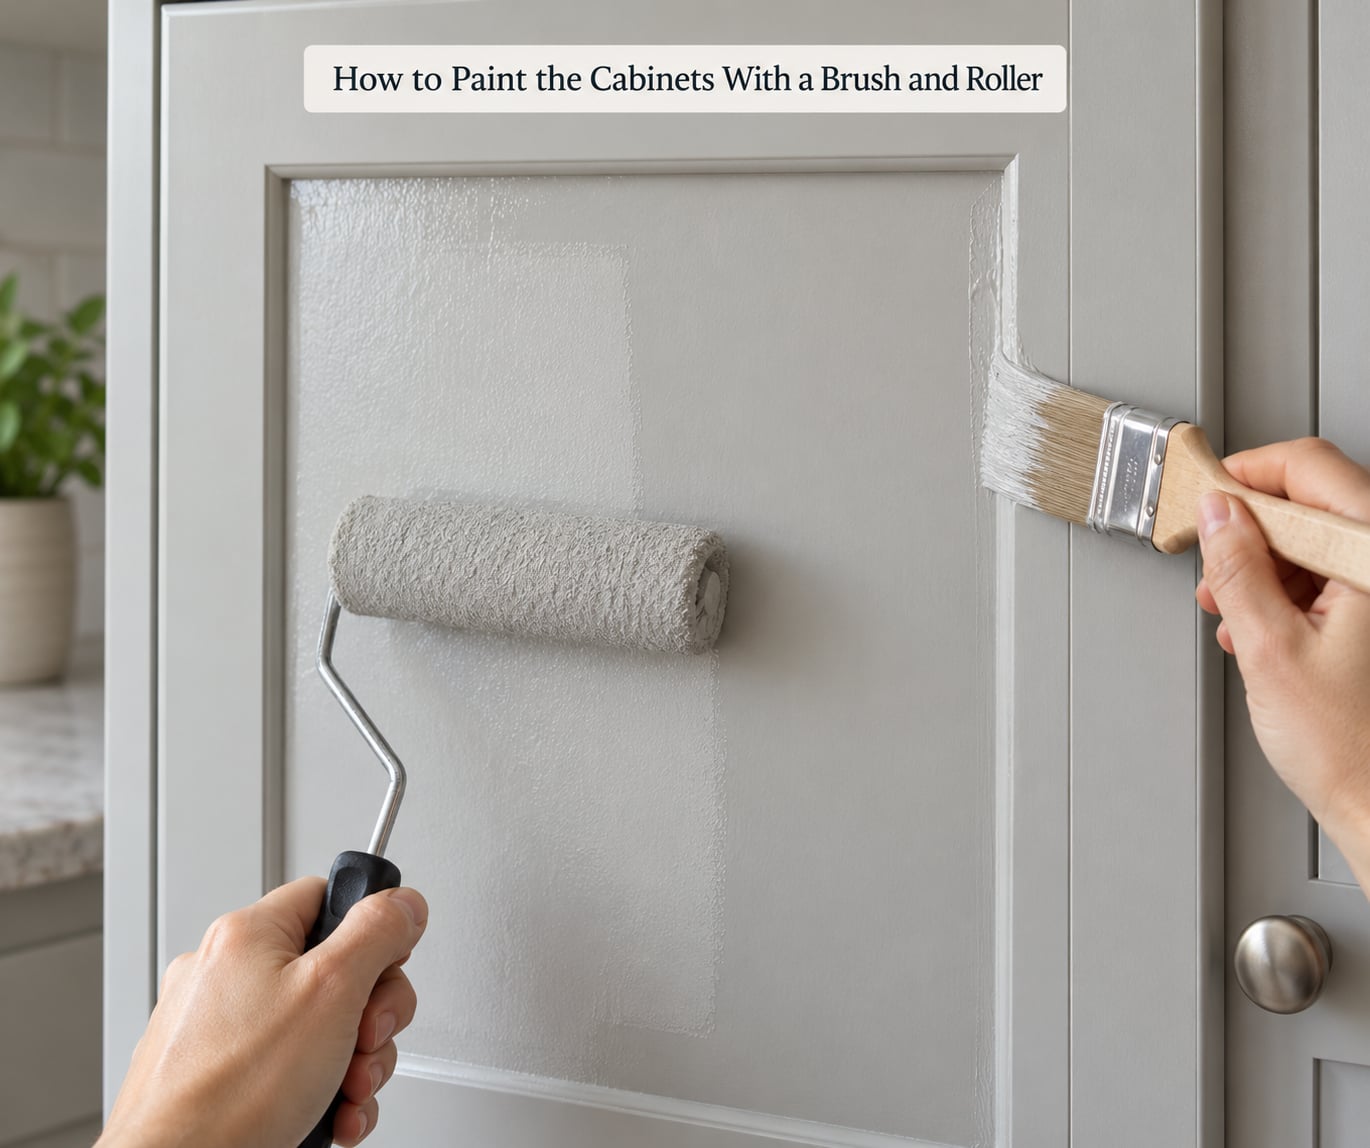
Load the brush about a third of the way up the bristles and tap off the excess. Too much paint on a brush is the main source of drips on the bottom edge of a door.
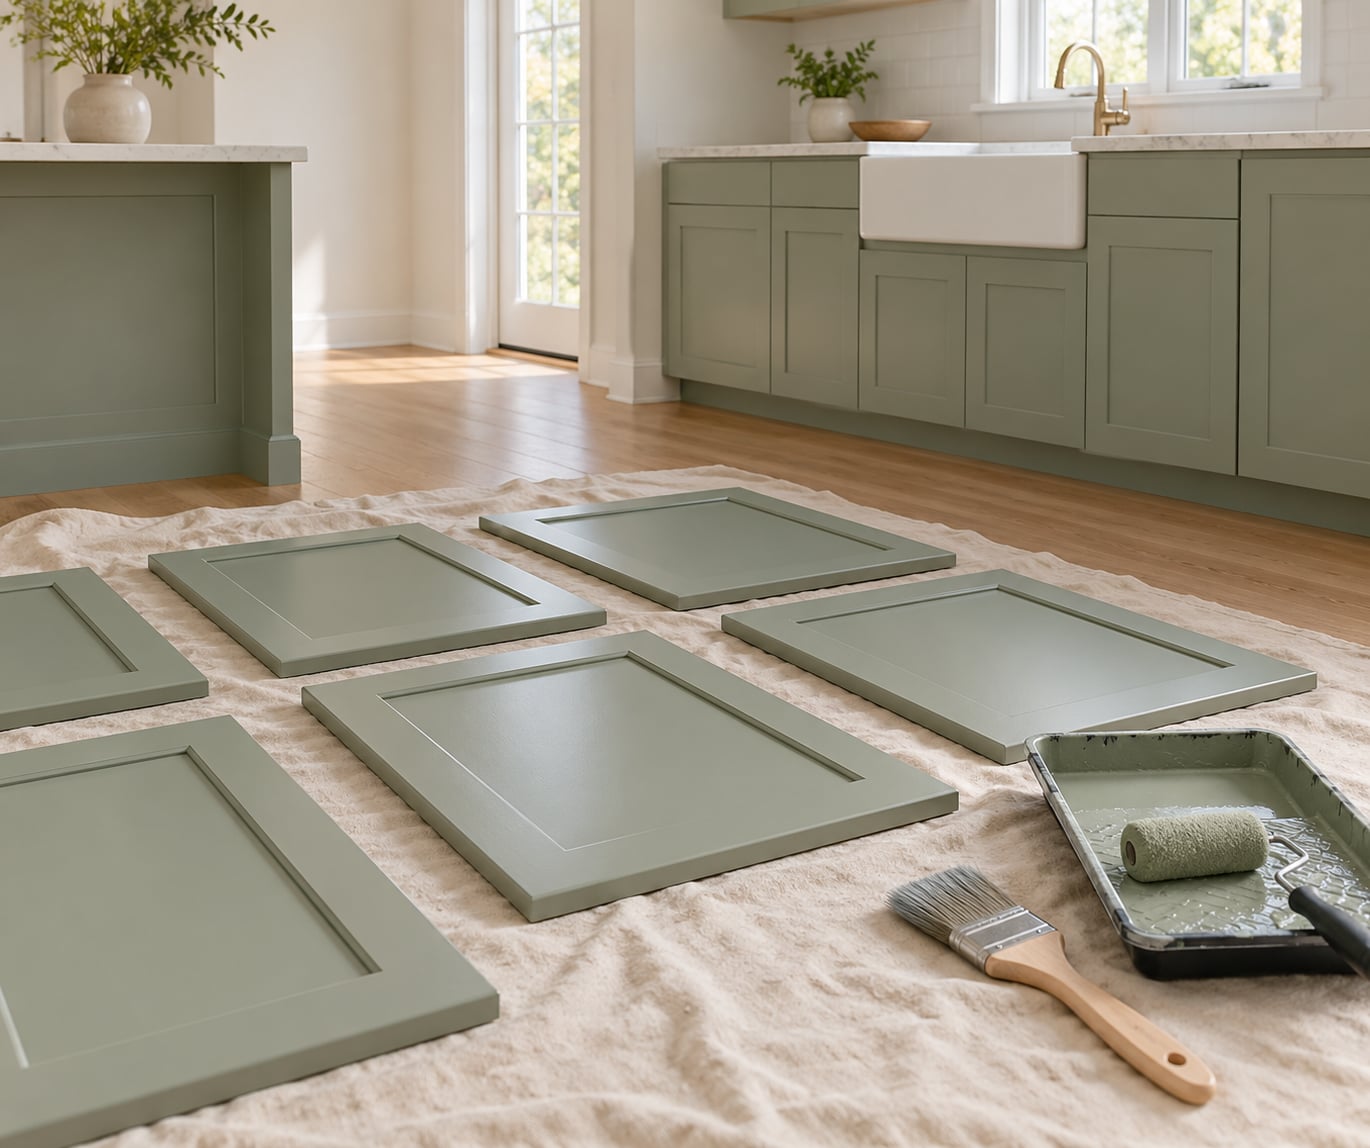
Cut in the edges, the rails and the grooves first, using strokes about four inches long. Then pick up the roller and roll the flat panel straight away, before the brushed paint starts to set. Rolling wet-into-wet flattens the brush marks into a single film. Wait a minute and you get a brush mark with a roller ridge next to it.
Keep a consistent direction on every panel so the light catches the surface the same way across the kitchen. Reload the roller often rather than pushing a nearly dry roller over wet paint.
Thin coats win. Three or four thin coats will outlast one thick coat every time, because a thick coat stays soft, sags on vertical faces, and takes days to firm up.
5. Let the Paint Dry Between Coats
Follow the label, and treat the label as a floor rather than a promise. Many cabinet enamels need 14 to 16 hours between coats, and some need even longer in cool or humid conditions.
You can tell a coat is ready when it is uniformly matte, it no longer feels tacky under the back of your wrist, and a light scuff with a clean finger leaves no mark. If the paint still pulls when you touch it, it is not ready, even if the can says so.
Temperature and humidity matter more than people expect. Painting in a cold or damp kitchen slows drying and can cause the paint to skin over on the surface while staying soft underneath. Warm, dry, well-ventilated rooms give the smoothest film.
6. Apply the Final Coats and Reassemble
Give each coat the same gentle 220 grit sand between passes, wiping the dust off with a tack cloth right before the next coat. The last coat goes on the same way as the others, thin and in the same direction.
Leave the doors off for at least 48 to 72 hours before light use, and treat the finish as still curing for about a month. That is when the paint reaches its full hardness and its real scratch resistance.
Reinstall hardware with fresh screws, fill the old holes with wood filler if you have moved the pulls, and paint the cabinet interiors with one coat so the inside is not bare primer. If you want extra protection in a busy kitchen, a waterborne polyurethane topcoat in a satin finish adds a layer of scrub resistance.
Common Mistakes
Painting over grease. The most common failure and the most expensive one to fix. Paint that peels off in sheets means the surface was never truly clean. Degrease, rinse, and let it dry overnight.
Waiting too long between the brush and the roller. Once the brushed edge starts setting, the roller leaves a visible line and a lip. Roll wet into wet, every time.
One heavy coat instead of three thin ones. Thick paint sags, drips, stays soft and takes forever to cure. Thin coats dry faster overall.
Rushing the dry time. A coat that feels dry on the surface can still be soft underneath, and the next coat will drag it up into a wrinkle. Give it the extra night.
Skipping primer, or using the wrong one. Standard latex primer will not adhere to glossy laminate, thermofoil or stained oak. Use a stain-blocking shellac primer or a bonding primer.
Using a foam roller with too coarse a nap on a panel that wants a factory look. Foam leaves a faint texture. The 1/4 inch mohair roller flattens out closer to sprayed.
Painting in a cold or humid kitchen with the windows open to a damp day. Slow drying is where most orange peel and bubbles start. Wait for a warm, dry stretch and close off the rest of the house.
Two habits smooth things out faster than any tool choice. Stir the paint thoroughly every time you reopen the can, and keep a damp rag in your back pocket so drips come off before they set. Beyond that, save a brush and a small amount of each color in airtight containers for touch-ups, because the finish will look new for a long time but hardware will get knocked.
Frequently Asked Questions
Can you paint kitchen cabinets without a sprayer?
Yes. A brush-and-roller method gets very close to a sprayed finish when the technique is right: a 2 to 2.5 inch angled brush for edges and grooves, a 1/4 inch mohair or high-density foam roller for flat panels, and the roller applied immediately while the brushed paint is still wet. Most of the visible difference between sprayed and brushed work comes from prep and coat thickness, not from the tools.
What type of brush and roller should I use for kitchen cabinets?
Use a 2 to 2.5 inch angled sash brush for cutting in edges, rails and grooves, and a 1/4 inch nap mohair roller for the flat panels. High-density foam is a good second choice and is easier to clean, though it leaves a faint texture. Match the bristle to the paint: synthetic nylon for water-based coatings, natural bristle for oil-based enamel.
Do I need to sand kitchen cabinets before painting them?
Sanding helps, but you rarely need to strip a cabinet down to bare wood. On previously painted or lacquered cabinets, scuff the entire surface with 220 grit until the shine is gone. On bare wood, start at 150 grit and finish at 220. For laminate or vinyl-wrapped thermofoil, sand what you can and rely on a bonding primer for adhesion.
How long should cabinet paint dry before putting doors back on?
Wait at least 48 to 72 hours before rehanging doors or using the cabinets lightly, and about a month before you treat the finish as fully hardened. Cabinet enamels often need 14 to 16 hours between coats as well, longer in cool or humid conditions. A coat is ready when it feels uniformly matte and no longer tacky to a light touch.
Should I use primer on painted or laminate kitchen cabinets?
On already painted cabinets, primer is optional but useful as an adhesion layer if the existing paint is sound. On laminate, thermofoil or vinyl-wrapped cabinets, prime every time with a bonding primer, and expect to keep it. On bare or stained wood, use a stain-blocking shellac primer so tannins and knots do not bleed through your color.
Is brush-and-roller cabinet paint as durable as sprayed paint?
With the right product, yes. A self-leveling acrylic alkyd hybrid or urethane trim enamel applied in three or four thin coats cures to a hard, scrubbable, chip-resistant film, and rollers leave less texture than a badly adjusted spray gun. Choose paint labeled for cabinets or trim, respect the full cure time, and durability comes down more to the coating chemistry than to the application method.
Conclusion
Start with the boring part. Degrease every surface, let it dry fully, scuff the shine, and pick a primer that matches what your cabinets are actually made of. That single evening decides whether the paint stays or peels.
After that, brush the edges and roll the flats while the paint is still wet, keep the coats thin, and respect the dry time even when the can says less than the weather does. Done that way, painting kitchen cabinets without spraying is not a compromise. It is the method most of the smoothest results are built on.