If you want to know how to replace dresser knobs with different hole spacing, the answer comes down to one number you have not measured yet: the center-to-center distance between the existing screw holes. Once you have that, you have three routes — reuse the holes and buy hardware that matches them, fill the old holes and re-drill for the hardware you want, or cover everything with a wide backplate. Most jobs take 5 minutes per drawer for the first route and closer to 45 minutes for the second.
I have done this on enough thrifted dressers to know where people go wrong. It is almost never the installation. It is measuring the diameter of the hole instead of the distance between two holes, or buying a pull because the overall length looked right on the listing.
Below is the whole process: what to measure, which of the three routes fits your situation, how to fill a hole without it reappearing next season, and how to pick screws that actually pull tight against the drawer face.
Table of Contents
- What You Need
- Measuring tools
- Removal and installation tools
- Hardware and repair supplies
- Nice to have
- Step-by-Step
- How do you measure dresser knob hole spacing?
- What if the new knobs have different hole spacing?
- How do I widen the holes in a dresser drawer?
- How do I attach the replacement dresser knobs?
- How do I test the finished dresser knobs?
- Common Mistakes
- Measuring the hole diameter instead of the center spacing
- Treating overall length as center-to-center
- Forcing mismatched hardware
- Drilling without backing the surface
- Over-tightening
- Ignoring drawer front thickness and clearance
- Forgetting screw length after adding a backplate
- Filling a hole on an antique or inherited dresser
- Letting filler sit proud
- Frequently Asked Questions
- How do I know what size dresser knobs will fit?
- What is the standard distance between dresser knob holes?
- Can I use knobs with wider hole spacing on my dresser?
- What drill bit should I use to enlarge dresser knob holes?
- How long should the screws be for dresser knobs?
- Can I replace old dresser knobs without painting or drilling?
- Conclusion
What You Need
Gather these before you touch the first screw. Half of a bad knob job is a job that started without the right bit or the right filler in the room.
Measuring tools
- A tape measure or steel rule — a flexible tape is easier on a curved drawer front, a steel rule is better for reading a short span precisely. A machinist’s rule or digital caliper gets you to a 32nd of an inch when the old holes are unusual.
- A pencil and a scrap of painter’s tape — mark the hole centers so they stay visible after the hardware comes off.
- A straightedge — to confirm you are measuring a true span, not a diagonal across a slightly skewed front.
Removal and installation tools
- Phillips or flat screwdriver, ideally a stubby 2 inch one — full-size drivers slip off the backs of drawers where there is no room to swing.
- Drill with a clutch setting or an electric screwdriver, so you stop the bit before you bury a screw head into the wood.
- Painter’s tape or masking tape over each screw head before unscrewing. It catches hardware that drops inside the drawer and gives you a clean surface to turn against.
Hardware and repair supplies
- Replacement knobs or pulls, plus the screws that came with them.
- Backup screws — #8-32 machine screws, in 1-1/2 inch, 2 inch and 2-1/2 inch lengths. These are the sizes that solve most drawer hardware problems.
- Washers and nylon locking nuts if the hardware uses a bolt-and-nut stack rather than screws alone.
- Wood dowels slightly smaller than the hole you are filling — usually 1/4 or 5/16 inch dowel for a 5/32 inch screw hole.
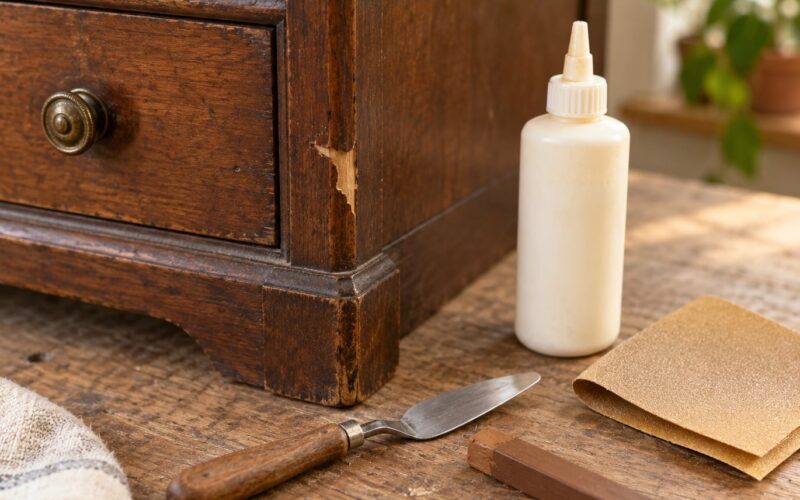
- Wood filler or wood glue plus a putty knife, 180 and 220 grit sandpaper, and a scrap block for clamping.
- A backplate or decorative rose in the diameter you need, if you are taking the cover route.
- Wood glue or epoxy, a brad point bit or Forstner bit, and a scrap board to work on if you will be drilling.
Nice to have
A scrap 1/4 inch plywood square cut to the size of your drawer face turns into a drilling template, so every knob in a bank of drawers lands in exactly the same spot. A thin foam gasket cut from craft foam stops a backplate from rocking on a slightly out-of-flat painted surface. A dab of thread-lock compound on machine screws keeps knobs from loosening after a year of drawer use.
Step-by-Step
How do you measure dresser knob hole spacing?
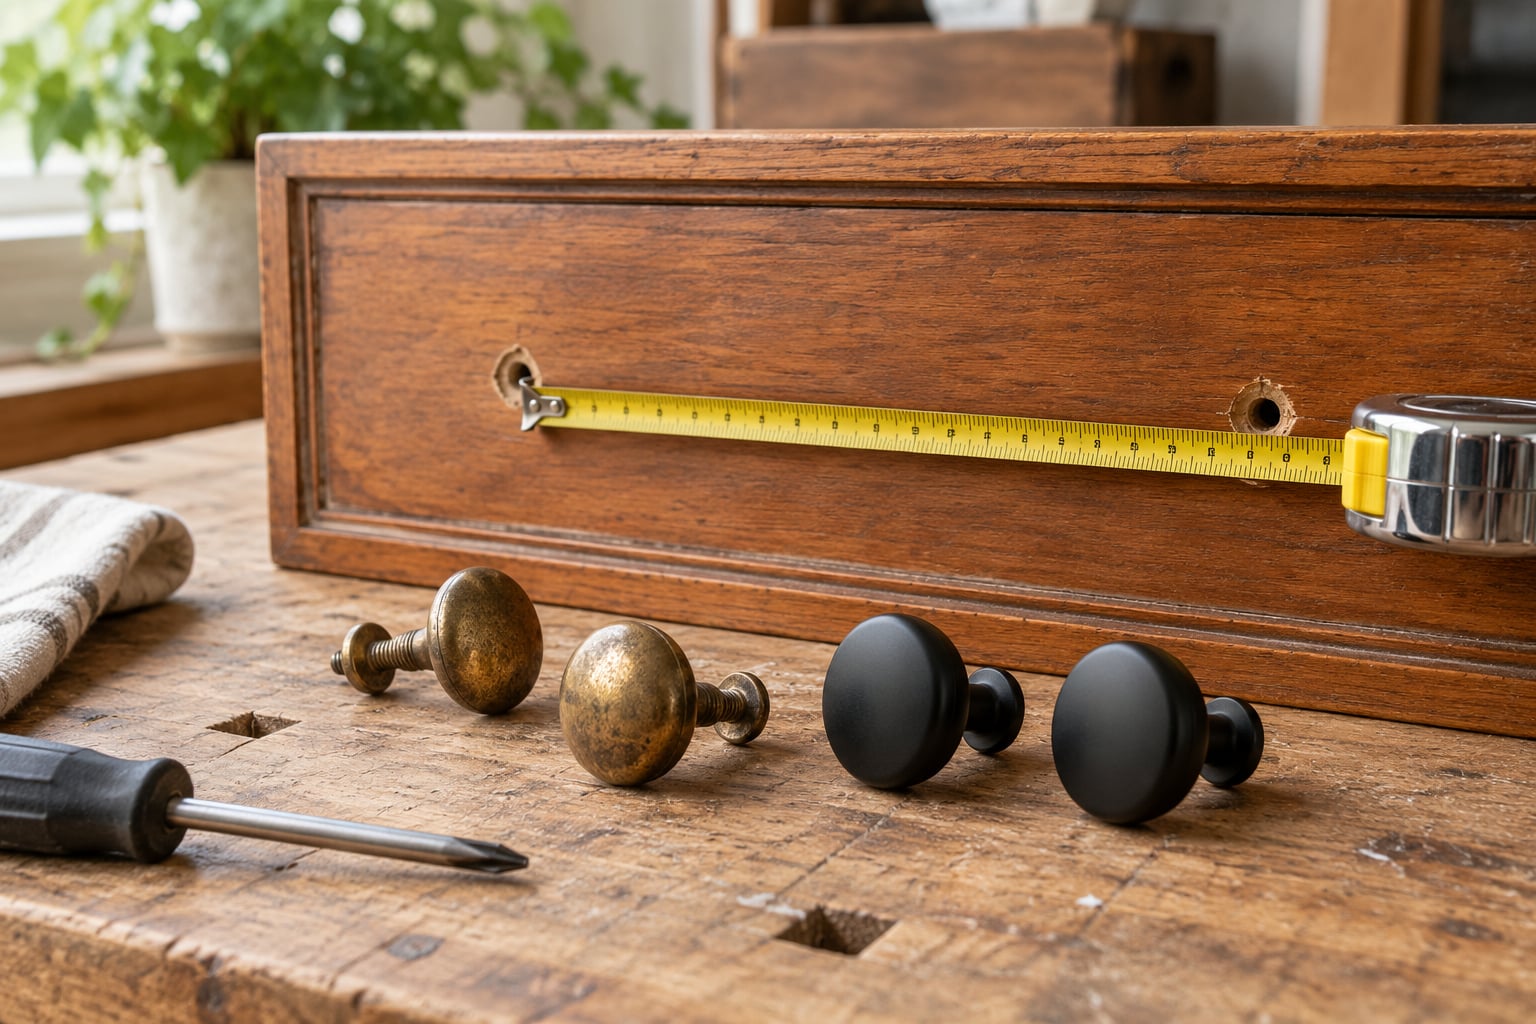
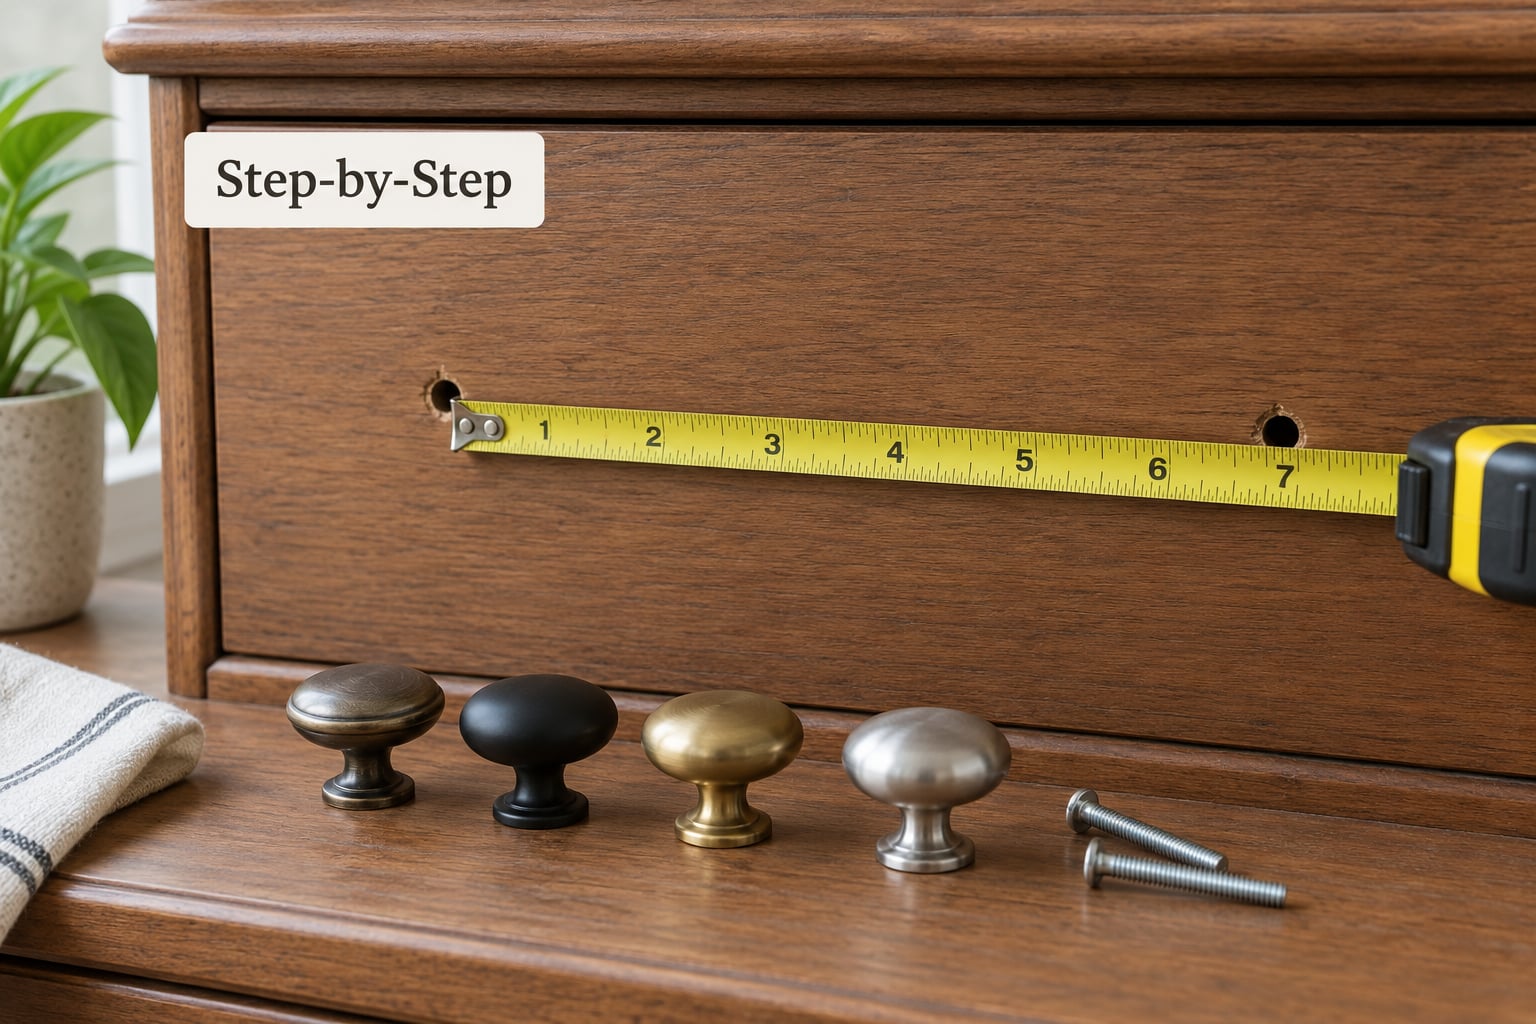
Remove the old knob first, then measure. Center-to-center spacing is the distance from the middle of one screw hole to the middle of the other, and it is the only number that decides whether new hardware fits. The overall length printed on a product listing is a different measurement, and comparing the two is the most common buyer mistake.
Here is the accurate method. Put a small dab of masking tape over each screw hole, then pierce the center of each hole with an awl or the point of a pencil so you have a visible target. Lay the tape measure across the two targets and read from center to center. Check the straightedge across both to confirm the span is square to the drawer front. Write the number down with its fraction, and check it twice on a different drawer from the same piece.
Also measure the drawer face thickness with a calipers or by using a flat-head driver and marking the depth, plus the diameter of the screw holes themselves. Most drawer fronts are 3/4 inch thick, which determines screw length. If you have two knobs on a wide drawer, measure the distance from each hole center to the nearest edge of the drawer face — that overhang should stay between 1/8 and 1/4 inch so the knob does not overhang the edge or crowd the center.
If you are drilling new holes, place them using the one-third rule: sit the new pull about a third of the way back from the front edge of the drawer face, which is roughly where the load naturally falls when you pull. Keep the same overhang on every drawer in the piece. The rule breaks down for cup pulls, whose castings stop short of the screw holes, so there the finger gap matters more than the proportion.
Now compare your measurement to the stated center-to-center figure on the hardware you want. If they match within about 1/16 inch, you are in the easy route. If they do not, move to the next section.
What if the new knobs have different hole spacing?
Pick a route based on how far off the spacing is, what the drawer face is made of, and whether you want to keep the piece reversible. This table is the decision most guides skip.
| Route | Best when | Time per drawer | Reversible | Risk |
|---|---|---|---|---|
| Reuse the existing holes | Your spacing is a standard size like 3 in or 3-3/4 in | About 5 minutes | Yes | You give up the exact style you wanted |
| Fill and re-drill | You want specific hardware and the face is solid enough | 40 to 45 minutes | No | Splitting pine or MDF, filler shrinking later |
| Cover with a backplate | Both old and new holes need to disappear under hardware | 15 to 20 minutes | Partly | Added stack thickness means shorter screws |
Route one: reuse the holes. Buy a knob or pull whose center-to-center matches what you measured. The trade publication knobs.co puts it plainly: if there are holes in the front, measure them first, because matching an existing spread is worth more than any proportion rule. This is the least invasive option and the right default for an inherited or vintage piece you want to keep restorable. It costs nothing but the time to measure.
Route two: fill and re-drill. The practitioner consensus in woodworking forums is the combination of a dowel plug and filler, sometimes finished with a backplate. On a thread about repairing crooked drawer pulls, one regular on festoolownersgroup.com suggested filling the existing holes with dowels, re-drilling, and switching to different pulls that include a backplate to cover the mistake. On familywoodworking.org, a restorer working raised-panel fronts found the new pulls had different hole spacing than the originals, so they patched the holes and repainted the front panels — which tells you to budget for a paint touch-up on this route.
Route three: cover it. A backplate, also sold as a decorative rose or escutcheon, is a flat disc or rectangle that sits over the drawer face and hides the holes underneath. The sizing rule matters here: the plate must clear each hole center by at least 1/4 inch, and 1/2 inch of coverage beyond each hole center is the professional standard. This is also the clean fix for the orphan hole problem — when two knobs become a single wide pull, the leftover hole sitting dead center disappears under the plate.
Here are the standard center-to-center spacings worth recognizing before you commit to a fill-and-redrill route. Knowing your number is in this list tells you whether matching hardware exists at all.
| Imperial | Metric | Where you meet it | Matching hardware easy to find |
|---|---|---|---|
| 2-1/2 in | about 64 mm | Older and small imported pieces | Hard to find |
| 3 in | 76 mm | Common standard cabinet sizing | Easy to match |
| 3-3/4 in | 96 mm | The most common dresser pull spacing | Easy to match |
| 4 in | 101.6 mm | Wider drawers and door fronts | Easy to match |
| 5 in | 128 mm | Wide single pulls on large drawers | Easy to match |
| 5-1/16 in | about 128.5 mm | Some older and imported cabinets | Hard to find |
| about 3-11/16 in | 94 mm | Imported pulls that will not line up with 96 mm holes | Only by importing |
If your measurement lands within a millimeter of one of these but not on it, you have an off-standard hole pattern. Check the millimetre figure in the listing rather than the inch figure, because a 94 mm pull will not enter 96 mm holes no matter how close the two numbers look.
How do I widen the holes in a dresser drawer?
Sometimes the spacing is close but the hole diameter is not. Widening is easy if you respect the material. Pine and other softwood split easily, MDF cracks outward when the bit is dull, and a veneered face can chip through to the substrate if you push too hard.
- Work on a scrap block first. Drill the same hole through a scrap of similar wood with the same bit. This shows you the chipping risk in under a minute.
- Back the surface. Put a scrap board against the back of the drawer face, or tape a sacrificial block behind the hole. Without backing, the bit lifts out a chip of the far face the moment it breaks through.
- Start at the size you have and step up. A 5/32 inch pilot bit can usually be opened to 1/4 inch by a second pass. Step up in 1/32 or 1/16 inch increments rather than jumping straight to the new size, which is what causes breakout.
- Use a brad point bit, not a masonry bit. A brad point has a pointed tip that starts the hole rather than walking across the grain. A Forstner bit works for a counterbore for a recessed screw head but is a poor bit for a plain clearance hole.
- Slow down near breakthrough. Ease off the drill pressure in the last half inch. That is where pine splinters and MDF cracks.
- Mark the new hole location from a template, not by eye. Cut a scrap 1/4 inch plywood square the size of the drawer face, bore the holes in it, clamp it to the face, and drill through it. Every knob in the run lands identically, which is the fix for the crooked-row-of-drawers look that forum painters complain about most.
To move a hole to a new spacing, the same drilling applies, plus the old hole has to disappear. Fill the old hole first, and dry-fit the new hardware before you commit.
- Dry-fit before you fill. Hold the new pull or a cut paper template over the drawer face and check the new hole centers land where you want them. Confirm no other hole is left exposed and that the pull clears the drawer box when it opens.
- Glue a dowel in. Coat a dowel slightly smaller than the hole in wood glue and press it into the old hole with a mallet until it stands roughly 1/16 inch proud. Wipe the excess glue off the face immediately.
- Cut the dowel flush. Once the glue sets, saw or chisel the dowel level with the surface and sand it smooth with 120 grit. Flush is the whole game here — a proud dowel leaves a ridge under new filler that shows through paint later.
- Fill with wood filler. Press filler into the dowel grain with a putty knife, let it dry fully, then sand with 180 and 220 grit. If the hole is near the edge of the face, a second thin coat works better than one thick coat.
- Seal the repair if the front is stained. Bare or sealed filler will take stain differently from the surrounding wood. A small brush of the original finish on a scrap board will show you how it cures before you touch the front.
- Re-drill to the new position. Drill the new holes with a 5/32 inch bit for an 8-32 machine screw, backing the surface as described above.
Filler does shrink as it dries, which is why a repaired hole sometimes reappears as a small dark circle a season later. The fix is a second fill after the first one has fully cured. If you are restoring an antique, step back and reconsider — original holes are part of the piece’s history, and the reversible route is the kinder choice.
How do I attach the replacement dresser knobs?
Installation is the easy part once the holes line up. Start by clearing the drawer box so a dropped screw does not disappear into the mechanism, then seat each screw by hand before you touch the drill. Hand-starting is your best guard against cross-threading a machine screw, which is how most damaged threads happen.
Use #8-32 machine screws where the hardware accepts them, because they cut clean threads into wood and resist loosening. Self-tapping screws work in softwood but can chew the hole in a hardwood front. Sheet metal screws are for thin metal backplates, not for the face itself. Thread-lock compound, applied sparingly, is worth it on any knob that gets daily use.
Tighten to snug and stop. Over-tightening is what splits a softwood front and what cracks MDF. If you have a drill, set the clutch low and back it off the moment it stops advancing.
Screw length is the part people get wrong when they change knob styles. A deeper post, or a backplate added underneath, means the screws that came in the box are now too short to reach enough thread in the wood. Aim for at least 1/4 inch of thread engagement in solid wood beyond the post depth, and add roughly 1/8 to 3/16 inch of screw length for every 1/8 inch of backplate thickness you add. A knob that will not pull tight against the face almost always means the screw is short, not that the hole is stripped.
Where the hardware uses a bolt and nut instead, run the bolt through the knob and backplate, thread on a nylon locking nut, and snug it until the stack pulls flush. Skip the nylon nut on the antique route, since it makes the joint semi-permanent.
How do I test the finished dresser knobs?
Test each knob before you put the drawers back in the dresser. Pull straight out with a firm, steady grip and then turn it — a knob should resist twisting and should not wobble side to side. Open and close the drawer about twenty times with the new hardware installed; the advice from knobs.co to tape one pull to a drawer and open it twenty times before ordering a full set is good practice, and it catches clearance problems with drawer boxes and slides immediately.
Then step back about six feet and look at the row. Alignment across a bank of drawers is the single most visible quality test there is, and it is the one people skip. Check that no old hole shows through, that no filler patch is visible under the light, and that the drawer face has no chips or splits around the new holes. If a knob rocks, back the screw out and check for an overdrilled or stripped hole before adding more torque.
Finally, load it lightly — a few folded shirts — and pull. If the hardware moves at all under real weight, the thread engagement is too short or the screw is too short.
Common Mistakes
Every one of these has shown up on a drawer face I have worked on or read about. The fixes are quick if you catch them early and slow if you do not. The table below maps the symptom to its cause.
| Symptom | Cause | Fix |
|---|---|---|
| New pull will not go on | Center-to-center spacing does not match | Reuse the holes, fill and re-drill, or use a backplate |
| Knob rocks or rotates | Screw too short, or thread stripped from over-drilling | Longer #8-32 screw, or fill the hole with wood filler and re-drill |
| Old hole shows through the finish | Filler shrank or was sanded below flush | Second thin fill, sand with 220 grit, then seal or repaint |
| Hardware will not pull tight to the face | Screw runs short of the deeper post or the added backplate | Step up one screw length |
| Star crack around the screw head | Over-tightening on softwood or MDF | Stop driving; glue and clamp a sacrificial block over the crack |
| Chip on the back face after drilling | Bit broke through without backing | Patch with a glued dowel slice or accept it on the hidden side |
| Pull catches the drawer box | Deep cup pull or too little clearance | Choose a shallower profile or move the hardware forward |
Measuring the hole diameter instead of the center spacing
The diameter tells you which screw fits. The spacing tells you whether the hardware goes on at all. Measure both, but compare spacing to spacing when you shop.
Treating overall length as center-to-center
A 5 inch bar pull might have 96 mm centers. The listing’s hero number is the pull’s total length, which is a different figure entirely. Read the spec line, not the title.
Forcing mismatched hardware
If the screws do not go in without a fight, stop. Wrenching a pull onto a face that does not match it splits the wood and ruins both the drawer and the hardware.
Drilling without backing the surface
Back the face with a scrap block. This single habit prevents most chipped drawer fronts and the majority of complaints I see about MDF cracking out the back.
Over-tightening
Snug is enough. Extra torque on a 3/4 inch softwood front produces a star crack around the screw head that will keep spreading with use.
Ignoring drawer front thickness and clearance
A 3/4 inch front with a deep cup pull can hit the drawer box behind it, especially on nested drawers. Open the drawer fully before you commit.
Forgetting screw length after adding a backplate
That added 1/8 to 3/16 inch of stack is exactly the amount that turns a snug fit into a knob that will not pull flush.
Filling a hole on an antique or inherited dresser
This is permanent and removes the original holes. On a piece you might resell or hand down, the cover route or the reuse route preserves the value.
Letting filler sit proud
A dowel standing above the face leaves a hard ridge under the filler that telegraphs itself through paint. Cut it flush and sand it before you fill.
Frequently Asked Questions
How do I know what size dresser knobs will fit?
Remove the old knob and measure the center-to-center distance between the two screw holes, middle of one hole to middle of the other. Also measure the hole diameter and the drawer face thickness, usually 3/4 inch. Compare your spacing to the stated center-to-center figure on the hardware you want, not the overall length. A match within about 1/16 inch means you can install directly with no filling or drilling.
What is the standard distance between dresser knob holes?
Most dresser and cabinet pulls come in a 3 inch (76 mm) or 3-3/4 inch (96 mm) center-to-center spacing, with 4 inch and 5 inch options on wider drawers. Older and imported pieces show up at 2-1/2 inch, 5-1/16 inch, or odd metric sizes such as 94 mm. A 94 mm pull will not fit 96 mm holes, so check the millimetre figure carefully.
Can I use knobs with wider hole spacing on my dresser?
Yes, but you cannot do it with the original holes. Either fill the old holes with dowel and wood filler and drill new ones, or choose a knob or pull that comes with a wide backplate, which hides both the old and the new holes. The backplate is the faster, lower-risk route and needs no drilling at all.
What drill bit should I use to enlarge dresser knob holes?
Use a brad point bit in the wood, stepping up in 1/32 or 1/16 inch increments rather than jumping to the final size. A 5/32 inch pilot usually opens cleanly to 1/4 inch in two passes. Always back the drawer face with a scrap board, and slow your drill pressure near breakthrough, where softwood splits and MDF cracks.
How long should the screws be for dresser knobs?
On a 3/4 inch drawer face, 1-1/2 inch #8-32 machine screws usually work for a standard knob. Longer posts need longer screws, and adding a backplate adds roughly 1/8 to 3/16 inch of stack. Aim for at least 1/4 inch of thread engagement beyond the post depth, or the knob will sit loose and never pull tight.
Can I replace old dresser knobs without painting or drilling?
Yes, if you pick hardware that matches your existing spacing, or a knob or pull with a backplate wide enough to cover the old holes. Both routes leave the finish untouched and take under 20 minutes per drawer. This is also the best choice on an antique dresser, since drilling and filling would permanently alter the original drawer fronts.
Conclusion
Measure first, buy second. Pull the old knob off, read the center-to-center distance middle-to-middle, and note the drawer face thickness and hole diameter — those three numbers decide everything else. Then choose the least invasive route that gets you the hardware you want: reuse the holes if your spacing is standard, cover them with a backplate if you want a different look without drilling, and fill and re-drill only when the piece is solid wood and the finish is yours to touch.
Last updated in 2026.