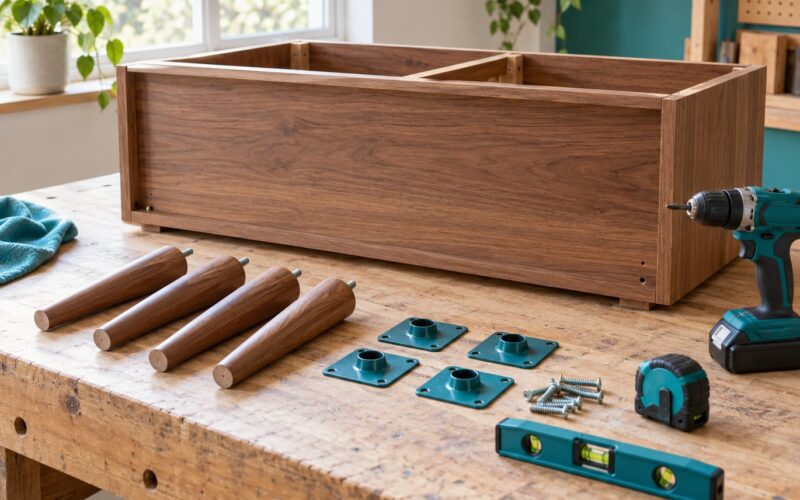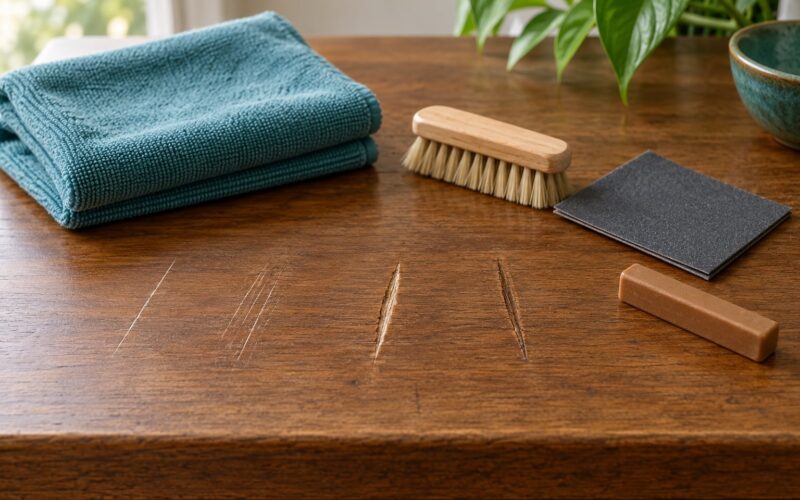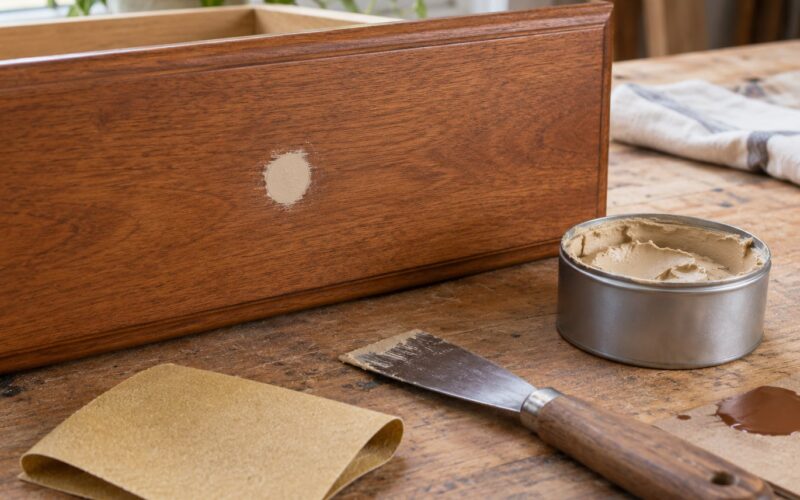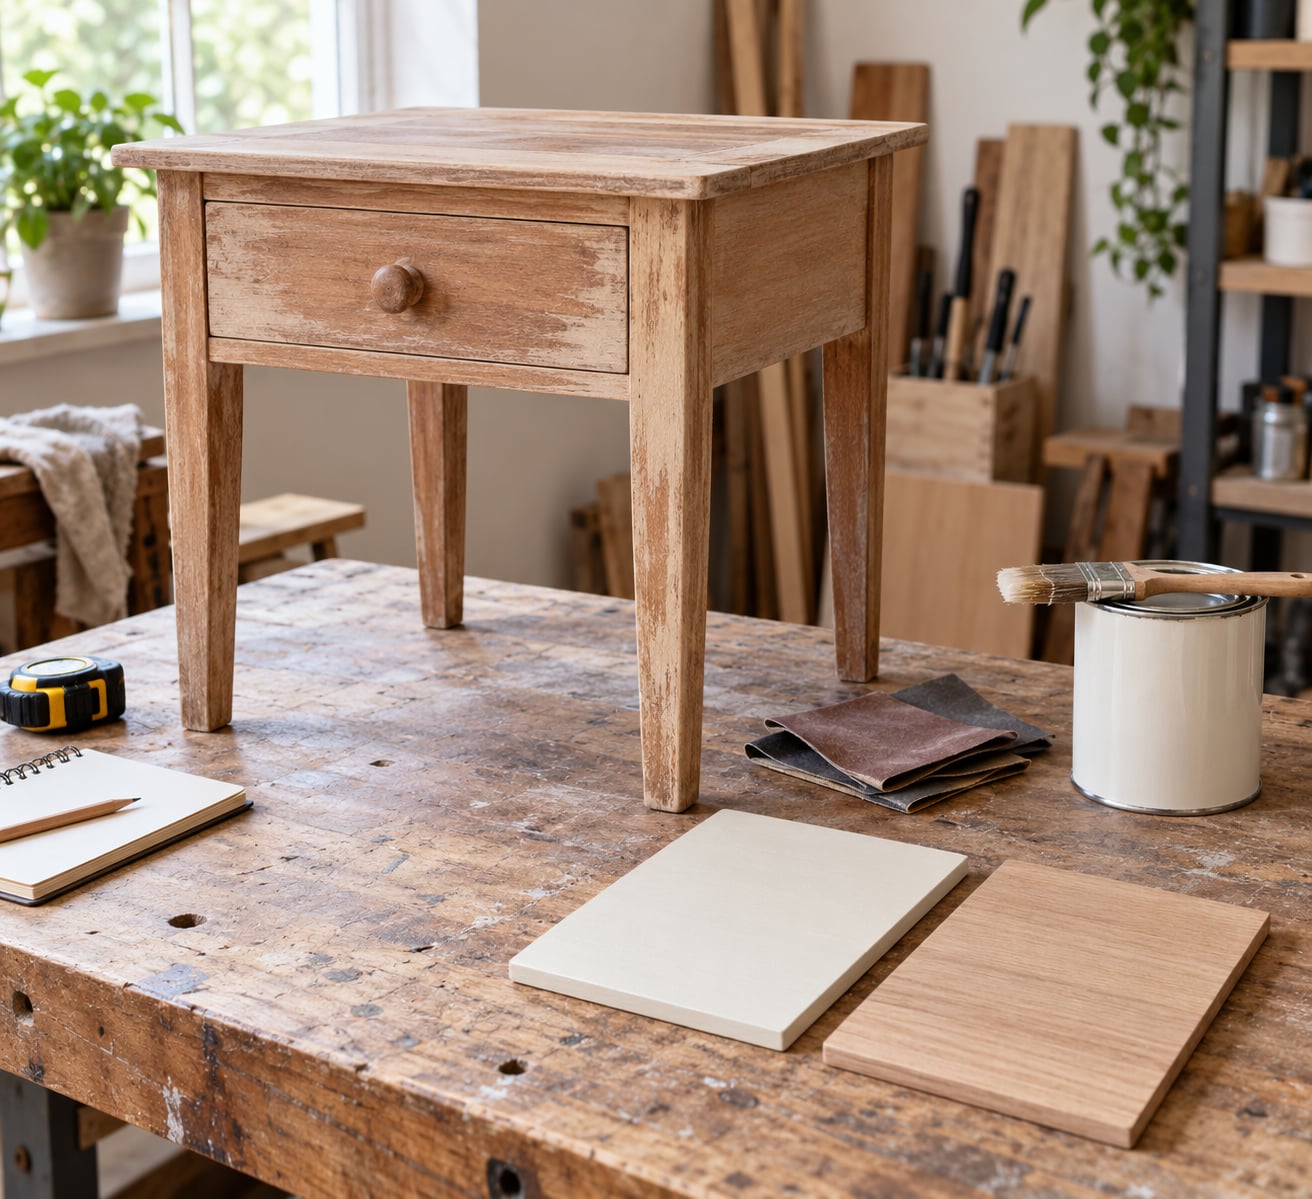
Furniture flipping means buying a secondhand piece for well under what a new one costs, then repairing, refinishing or updating it and reselling it for more than you spent. Profit comes from three places: buying below replacement value, adding value through work, and pricing against what the finished piece actually sells for in your area. A realistic beginner margin is 40 to 70 percent on a small side table or nightstand, and your real number to watch is profit per hour, not profit per piece.
Learning how to flip furniture for profit takes a weekend or two to understand and a season of practice to get quick at. Beginners usually start with one small piece, finish it badly, and learn more from that than from any guide. This one walks through the whole workflow, including the parts that decide whether you keep money in your pocket: what to pay, how long the job really takes, and what the finished piece is worth in your market.
Last updated: October 2026
Table of Contents
- What You Need
- The minimum starter kit
- What a comfortable kit adds
- Workspace and selling basics
- Beginner startup budget
- How to Flip Furniture for Profit for Beginners: Start With the Right Piece
- Run a material gate before you fall in love with a piece
- Prefer shape over style
- Check it fits through your doors, and your buyer’s
- Which furniture types actually hold up as flips
- Walk away from anything on this list
- Where to source pieces
- Step-by-Step
- 1. Plan Your Budget and Target Buyer
- 2. Clean and Inspect the Furniture
- 3. Strip the Old Finish Safely
- The sanding grit ladder
- 4. Repair and Update the Piece
- 5. Choose a Finish Buyers Will Value
- 6. Photograph and Stage the Finished Piece
- 7. Price, List, and Sell the Flip
- Common Mistakes
- 1. Hoarding pieces you think are good deals
- 2. Buying damaged pieces because they were free
- 3. Choosing on style instead of material
- 4. Skipping prep to save an hour
- 5. Underestimating time, especially dry and cure time
- 6. Using too much paint and overworking it
- 7. Forgetting the protective finish
- 8. Pricing from wishful thinking
- 9. Listing badly
- 10. Ignoring fees, delivery and unsold inventory
- Frequently Asked Questions
- How much money can a beginner make flipping furniture?
- What is the easiest type of furniture to flip for profit?
- Should beginners use paint, stain, or refinish a piece?
- Where can beginners sell a flipped piece of furniture?
- How do beginners know what a furniture flip will sell for?
- Is it better to buy furniture to flip or use pieces you already own?
- Conclusion
What You Need
You can start with hand tools and about 60 dollars of supplies, then upgrade as you find out which part of the work you actually enjoy. The list below covers the minimum, the comfortable version, and what a full setup looks like once a flip has turned into a regular weekend habit.
The minimum starter kit
- Sandpaper assortment: 80 grit, 120 grit and 220 grit sheets, plus a sanding block or a small hand pad to work them on.
- Cleaning supplies: warm water, dish soap, degreaser, microfiber cloths and a toothbrush for the crevices.
- Brushes and a foam roller: a 2 inch angled brush for edges and trim, a 4 inch brush for panels, and a small foam roller for flat faces.
- Basic paint supplies: paint, primer, painter’s tape, a plastic sheet or drop cloth, and a tack cloth or clean cloth for dust.
- Filler: wood filler for small holes and cracks. Body filler works for deeper gouges and dents.
- Safety gear: an N95 dust mask, safety goggles and nitrile gloves. Sanding dust and stripping chemicals are not optional hazards.
- Tools: a cordless drill, a screwdriver set, a hammer, a paint scraper and a wet cloth for immediate cleanup.
What a comfortable kit adds
A random orbital sander cuts sanding time on a dresser from an hour to about fifteen minutes, and it is the single tool most beginners end up buying after the first piece. A paint sprayer is worth it only if you expect several large flat surfaces. A shop vac with a brush attachment keeps dust off the floor, and a set of quality angled brushes saves visible brush marks that a foam roller alone will not fix.
Workspace and selling basics
You need a spot with ventilation, a floor you can cover, and somewhere to let a piece dry and cure undisturbed. A corner of a garage, a covered porch in dry weather or a spare room with the door closed works. You also want a tape measure, a phone with a decent camera, a notebook for costs, and a way to get a piece to a buyer.
Beginner startup budget
| Kit | What it covers | Rough total |
|---|---|---|
| Minimum | Sandpaper assortment, hand pad, one brush set, one tin of paint, small primer tin, wood filler, N95 mask, goggles, tape and drop cloth | About 60 to 90 dollars |
| Comfortable | Everything above plus an orbital sander with extra pads, a foam roller, a better brush set, a second coat of paint and a stain-blocking primer | About 160 to 240 dollars |
| Full setup | Everything above plus a paint sprayer, a dust extractor, hardware in a few finishes, a work light and shelving for pieces that need curing | About 400 dollars and up |
Spend on the starter kit and skip anything else until you know your own pace. A spray gun in a closet with no ventilation is a worse buy than a good brush and more patience.
How to Flip Furniture for Profit for Beginners: Start With the Right Piece
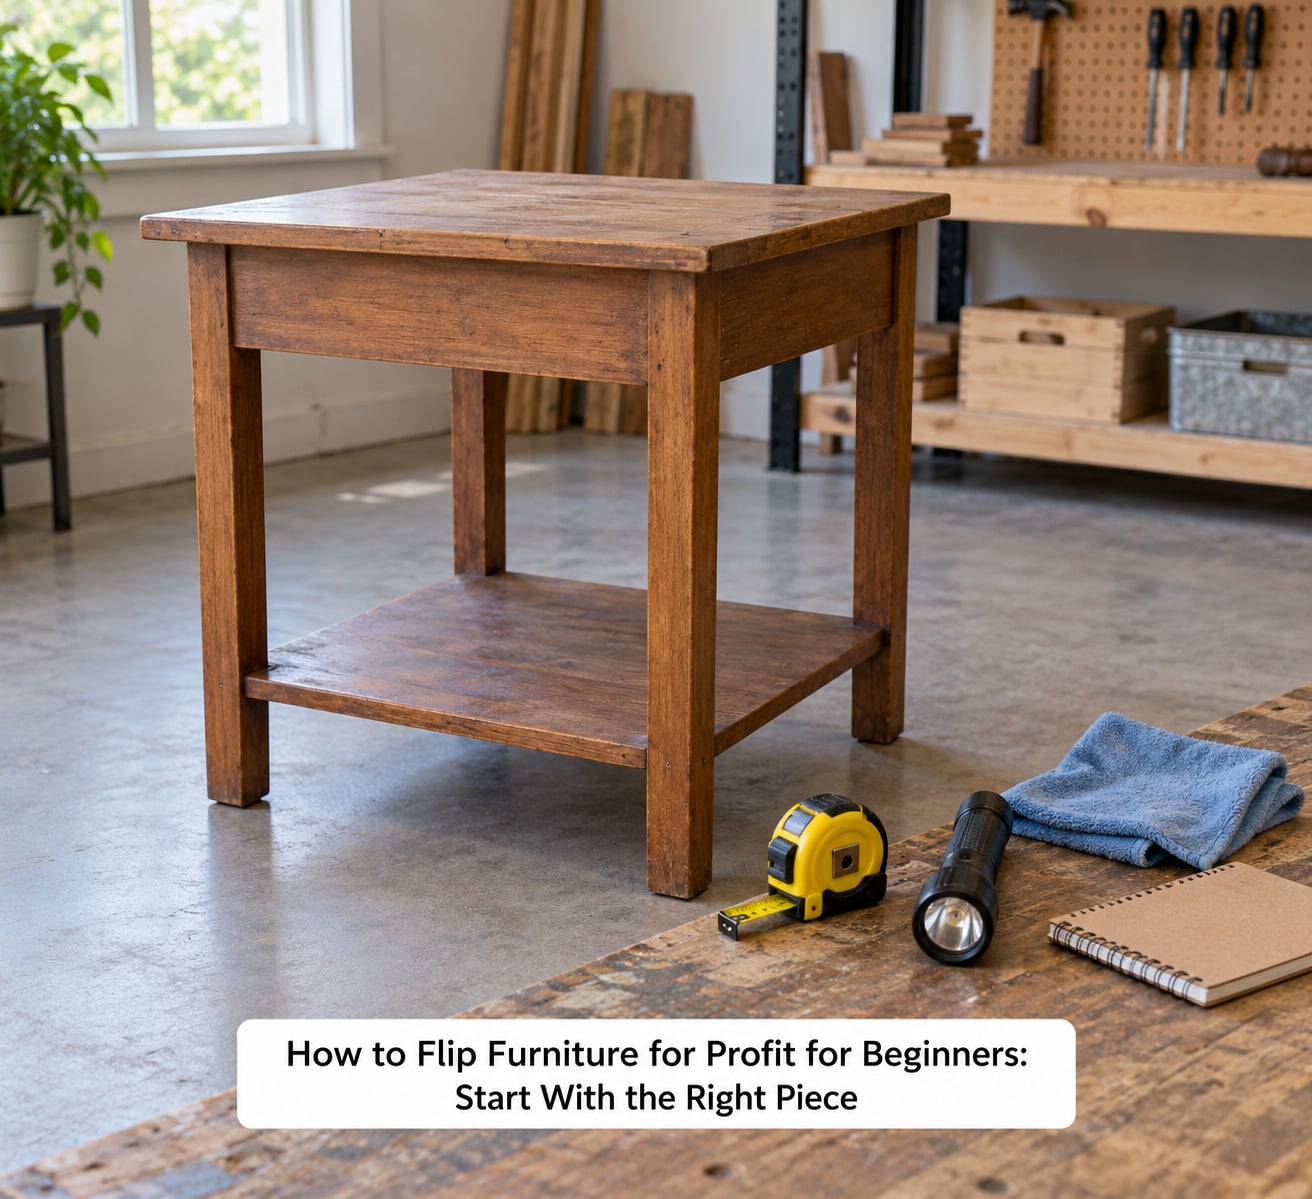
The right first piece is solid wood, structurally sound, roughly the size of your front door, and boring enough that you can finish it without special skills. Style matters less at the start than material, shape and how easy the piece is to move. Pick well and your first flip teaches you a process instead of a lesson in why that drawer will not close.
Run a material gate before you fall in love with a piece
Solid wood and good veneer are worth the effort. Particleboard, pressboard and laminate-covered flat packs are not, because the edge chips and the swelling cannot be fixed for less than the piece is worth. Test it by knocking on a panel: solid wood and thick veneer give a dull knock, while particleboard answers with a hollow, papery sound. On a veneered piece, look at the edges and the back. If the veneer is thin, lifting and already peeling, walk away.
Prefer shape over style
A good silhouette sells in any decade. Straight legs, a clean rectangular top, simple drawer fronts and honest proportions travel well; anything with carved appliqué, faux hardware glued on or a shape that no longer matches anything in your house is harder to sell and harder to photograph. Beginners are tempted to repaint something highly specific because it looks fun. The fun piece is not the one that pays.
Check it fits through your doors, and your buyer’s
Measure the piece where it stands now, then measure the narrowest doorway, stairwell and turn on your route out. Anything that will not clear those without removing legs or the top is a negotiation at pickup time and a headache for the buyer. If you plan to sell locally, that is almost always manageable. If you plan to ship, an oversized piece becomes a freight quote you will lose money on.
Which furniture types actually hold up as flips
| Piece | Typical buy price | Typical sell price | Hours to finish | Expected margin |
|---|---|---|---|---|
| Dresser, six drawer | 25 to 60 dollars | 150 to 300 dollars | 10 to 14 | Moderate to high |
| Nightstand | 10 to 30 dollars | 70 to 160 dollars | 4 to 6 | Good |
| End table or side table | 8 to 25 dollars | 50 to 120 dollars | 3 to 5 | Good, fastest to learn on |
| Wood coffee table | 15 to 40 dollars | 90 to 200 dollars | 6 to 9 | Moderate |
| Dining chair, set of four | 20 to 60 dollars | 120 to 280 dollars | 12 to 18 for the set | High, but labour heavy |
| Bookshelf or bookcase | 15 to 45 dollars | 80 to 190 dollars | 7 to 10 | Moderate |
| Vintage or mid-century high-value piece | 60 to 250 dollars | 300 to 900 dollars | 15 to 25, or refinish only | High and unpredictable |
| Flat-pack or particleboard piece | 5 to 20 dollars | 25 to 60 dollars | 3 to 5 | Low, usually not worth it |
Dressers and good wood end tables are the most reliable beginners because they are in constant demand, they hold their value, and the repairs are predictable. Vintage mid-century pieces can pay the most, but their prices swing hard with condition and design, which is a harder game to learn on than a piece you can finish in a weekend.
Walk away from anything on this list
- Wobbly legs, a sagging seat or a frame that creaks when you press on it. Structural repairs cost more than the margin.
- Water damage, mold, pet urine smell that does not leave after cleaning, or a piece stored in a damp basement.
- Drawers crammed solid with glue, or veneer glued down over an old crack.
- Anything that needs more than about eight hours of work and two materials you do not already own.
- Anything you want because the seller was pressure selling, not because you priced it and it pencils out.
That last one is the most common way beginners lose money. Free is not free. A piece found for nothing can still cost you 40 dollars in filler, a new drawer pull and four hours, and a broken piece costs you the whole afternoon for nothing.
Where to source pieces
Thrift and consignment shops give you the cheapest access but low consistency, so check weekly rather than once. Garage and estate sales give you volume and negotiation room, especially if you arrive early with cash and a van. Facebook Marketplace and Craigslist are both worth searching by keyword for free pieces that need rescuing, and OfferUp and Mercari turn over quickly in some regions. Curbside finds and family hand-me-downs are the easiest first flip because you already know the piece and you can take your time.
Step-by-Step
The order below is the one that wastes the least time, and it is how to flip furniture for profit without losing a weekend to a decision. Work through it in sequence on your first piece, even when a step feels skippable. Most of the steps on this list look trivial until you skip one and see the result.
1. Plan Your Budget and Target Buyer
Set a hard ceiling for total cost before you commit, and count everything: purchase price, sandpaper, paint, primer, filler, new hardware, selling fees, delivery and the hours you will spend. As a working rule, a beginner should not pay more than a quarter of what the finished piece will sell for, and that sale price comes from looking at what comparable pieces actually sell for, not from what you hope to get.
Then name your buyer. A clean painted nightstand with new hardware sells to a renter who wants something that looks new. A refinished solid-wood table with visible grain sells to someone furnishing a room and paying for material. Stain, paint and natural wood are three different products pointed at three different buyers, and choosing before you start saves you sanding a finish you will have to cover.
Decide how many pieces you allow yourself to keep at once. Reseller communities repeat this advice more than any other: one or two pieces in progress, never a garage full. Inventory you cannot sell is cash tied up and a workspace you cannot use.
Is furniture flipping still profitable in 2026? Yes, but it rewards people who price from comparables and count their hours, and it punishes the ones who buy on feeling. Local demand for solid-wood pieces holds up, but buyers are more price-aware than they were a few years ago and shipping costs eat small margins. This is a weekend income that grows slowly, not a quick replacement for a salary.
2. Clean and Inspect the Furniture
Clean the piece before you judge it. Warm water and dish soap, a degreaser for the greasy bits, and a toothbrush for the corners will reveal condition that dust was hiding. Strip it enough to see the joints and the underside, because the back of a piece tells you most of its history.
Then test it. Push hard on each corner, wiggle every leg, pull gently on the drawer fronts and open and close each drawer. A drawer that sticks is usually a swollen runner or a loose screw, and that is a 20 minute fix. A frame that rocks needs joint work, and joint work on a cheap piece rarely pays.
Write down every defect before you start, then sort it into three piles: fix it, fill it, or accept it and disclose it in the listing. Anything you will not fix and cannot hide goes into the description as a flaw. Buyers forgive honest defects; they do not forgive the stain you did not mention.
3. Strip the Old Finish Safely
Work in a ventilated space and wear an N95 mask, goggles and gloves. Sanding and chemical stripping both put dust and fumes into the air, and neither belongs in a closed room. If you use a chemical stripper, follow the label, keep the container closed when you are not using it, and dispose of the residue the way your local waste service requires rather than pouring it down a drain.
You rarely need stripper. Most thrift pieces are covered in loose paint that a scraper and sandpaper will take off faster and with less risk than a chemical bath. Chemical stripper makes sense on thick built-up layers and on hardware you want to keep intact.
The sanding grit ladder
| Grit | What it is for |
|---|---|
| 60 or 80 | Taking off old paint, varnish and heavy surface grime. Use outdoors or with strong ventilation. |
| 120 or 150 | Smoothing the surface after stripping and blending repaired areas. |
| 220 | The final pass before primer and paint, so light does not catch on rough patches. |
Work up the ladder and never skip from coarse straight to fine. A hand pad for edges and a sanding block for flats will get you a surface that looks the same under paint, and paint will not hide roughness.
4. Repair and Update the Piece
Do the small functional work first: tighten every screw and bolt, glue loose joints, replace missing drawer pulls and knobs with a matching set, and fit new glides if a drawer has been repaired twice. These changes are cheap and they are what a buyer physically checks when they open and close everything.
Fill holes and dents with wood filler for small defects and body filler for deeper gouges, letting each dry fully and sanding it back flush. Fill is not a substitute for a missing piece of wood, so do not fill a split or a missing corner of a drawer front and call it done.
Small design changes are worth it when they cost little and add real use: adding a shelf, fitting a wall anchor for mounting, replacing a flat top with a properly finished one, or cutting the piece down to a size people actually have room for. Avoid changes that add a weekend of work for a trend that may be gone by the time you list.
5. Choose a Finish Buyers Will Value
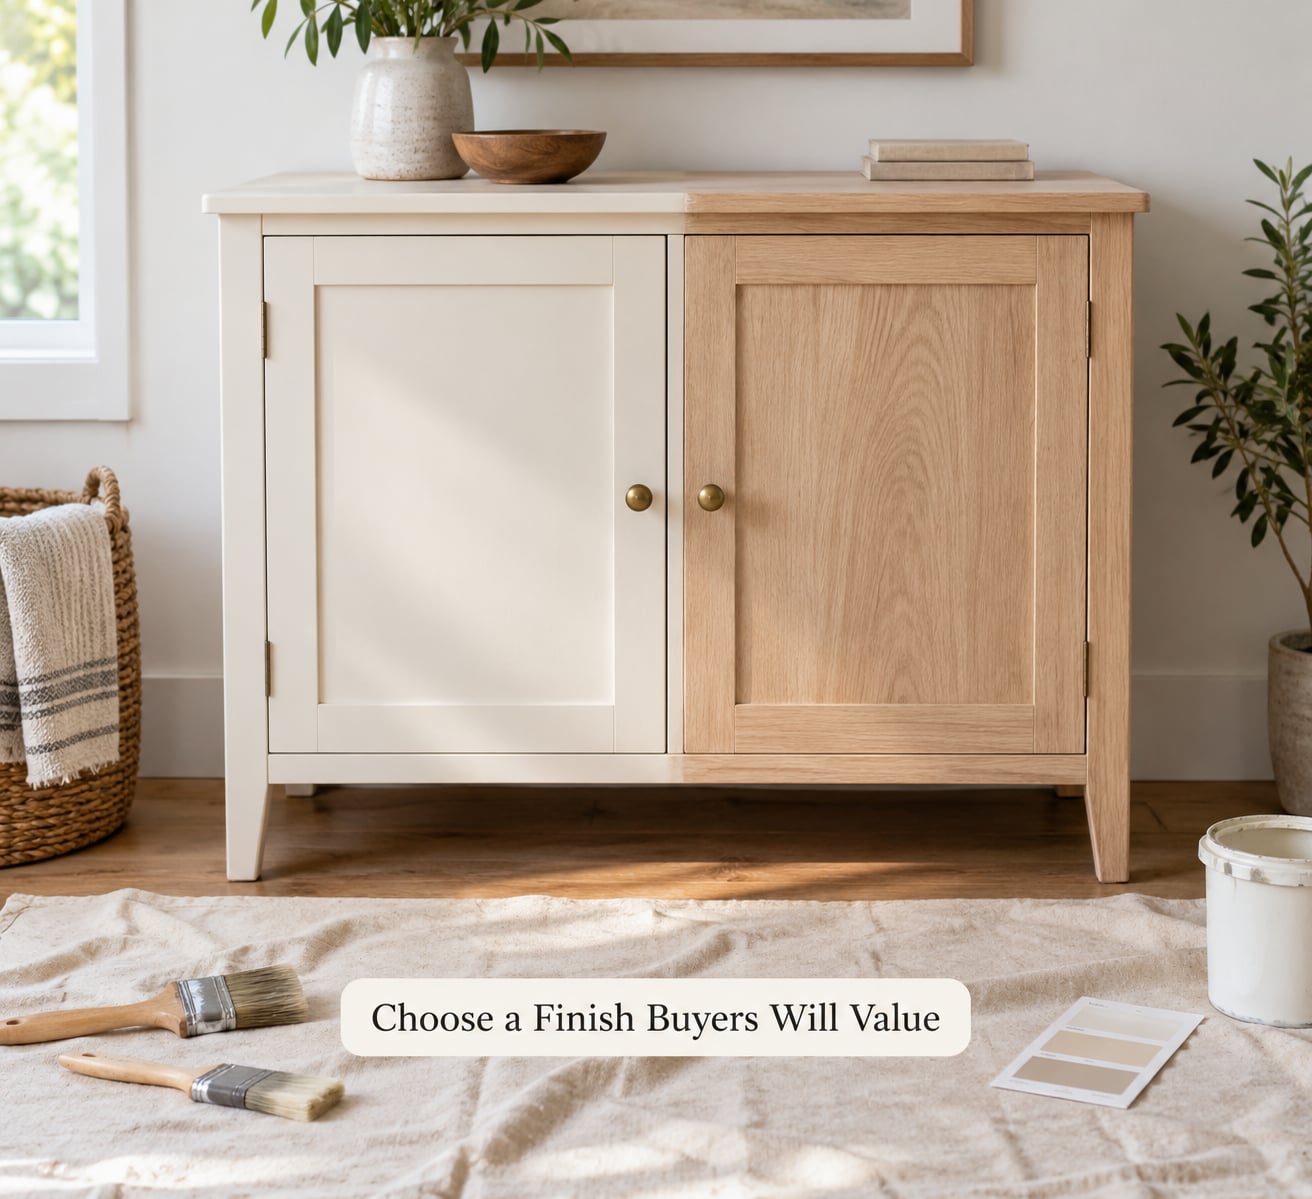
Choose based on the material and the buyer you named in step one. Paint suits a piece with good bones but an ugly finish. Stain or a clear natural finish suits solid wood with grain worth showing. Whichever you pick, test it on a hidden side or an inside panel first, let it cure, and then decide.
- Water-based latex or cabinet paint: easy cleanup, low odour, good durability when paired with a topcoat. Best default for a beginner.
- Chalk paint: adheres to more surfaces and skips prep more often, which is genuinely useful on pieces you cannot fully sand. It is also the finish most associated with social media and less consistently what buyers are searching for, so use it when the piece suits it rather than by default.
- Spray paint: smooth on carved and turned details but demands masking, ventilation and a clear run of good weather. It is not a first-project technique.
- Stain and clear topcoat: cheaper than a full paint job in time, and it sells at a higher price point because the grain reads as quality.
- Natural oil or wax finish: brings out colour with little equipment, but it needs buffing and periodic reapplication.
Thin coats beat heavy ones. Brush on the edges first with an angled brush, roll the flats, and let each coat dry properly before the next. Thick coats stay tacky, show brush marks and peel later, which is the finish that generates chipping complaints after sale.
Seal it. A water-based polycrylic or polyurethane topcoat over cured paint is what keeps a dining table from marking in a year. Follow the cure times on the can and treat drying and curing as real labour: paint that feels dry to the touch after a few hours may not take a coffee cup for days.
6. Photograph and Stage the Finished Piece
Shoot the finished piece in daylight, near a window, with the flash off. Set it against a plain wall with a little space around it rather than in the middle of your room, and turn on every drawer so the buyer sees what they are getting. Include a straight-on shot, a three-quarter angle, a close-up of the finish and hardware, and one photo with a tape measure in frame for scale. Listing photos do more for your sale price than any technique in steps three to five.
Keep your before and after shots of the same angle. They work well as a second listing gallery and they show the work honestly, which matters when you have no sales history to reassure a first-time buyer.
7. Price, List, and Sell the Flip
Price from comparable sales, not from the cost of the materials. Search the finished form of your piece on Facebook Marketplace, OfferUp and local resale groups, and on eBay check completed listings rather than active ones, since asking prices are fiction. Look at pieces in the same condition with a similar finish, ignore the top two outliers and land in the middle of what the range supports. Add roughly 15 to 20 percent headroom for negotiation, then be willing to hold your floor.
Run the cost-per-hour check before you commit. Add up the piece, the materials, the selling fees and the delivery cost, subtract that total from the realistic sale price, then divide what is left by every hour including dry and cure time. Under about 12 dollars an hour, the piece is a hobby project rather than income. That is fine sometimes. It is not fine as a business.
Choose a channel that matches the piece’s size. Big furniture sells to local buyers, so platform choice matters less than good photos, a fair price and a prompt response.
| Channel | Typical fees | Who buys there | Delivery | Typical sell-through |
|---|---|---|---|---|
| Facebook Marketplace | Free to list, no sale fee for most categories | Local buyers searching nearby | Pickup, or you arrange a local carrier | Fastest for mid-sized pieces |
| Facebook groups | Free | Local hobbyists, usually the steadiest demand | Pickup | Steady |
| OfferUp | Free in most areas | Local buyers, bargain focused | Pickup | Quick, price pressure |
| Mercari | Around 10 percent with buyer and seller fees on large items | National buyers | Pickup or shipped | Slow for furniture |
| Etsy | Listing fee plus a percentage on sale | Shoppers hunting a specific style | Pickup or freight on large pieces | Slow unless your style is on trend |
| Craigslist | Free | Local buyers | Pickup | Steady, lots of lowballers |
| Consignment shop | About 30 to 60 percent of the sale price | Walk-in shoppers | You deliver the piece | Very slow, but no selling work |
| Flea market or local market | Table fee per market | Walk-in shoppers | On site | Depends on the market |
Write the description accurately: dimensions, material, finish, what you repaired and what remains imperfect. Say it is a restored solid-wood dresser rather than a new one, and buyers who know exactly what they are getting will not haggle over it.
Local pickup beats shipping for anything large. Freight eats a 60 dollar margin in one quote, and the damage risk is yours. If you do ship, factor the freight quote into your price before you list, never after a buyer asks. One reseller posting about five listings a week reported a net of roughly 300 to 400 dollars a month after fees, with individual margins of only two to five dollars, which is a fair picture of a steady beginner pace.
When a piece has been listed for two or three weeks without a serious enquiry, lower it. Cut 15 percent, refresh the photos, repost on a Saturday morning, and move on. Money from a sold piece at a fair price beats a theoretical number on a piece you are storing.
Common Mistakes
These are the failures that show up again and again in reseller communities, and each one has a straightforward fix.
1. Hoarding pieces you think are good deals
Buying everything interesting fills your workspace, blocks the piece you are actually working on, and locks your cash in furniture you have not finished. Cap yourself at one piece in progress and one piece waiting to sell, then enforce it.
2. Buying damaged pieces because they were free
A free piece with water damage, a broken joint or a stripped veneer is a project, not a gift. Apply your walk-away list first, then look at the price.
3. Choosing on style instead of material
That cottage-core side table may be lovely and may sell for 40 dollars in a year. Solid wood with clean lines will sell repeatedly at a higher price to a wider group of buyers. Judge the piece, then decide the look.
4. Skipping prep to save an hour
Painting over grease, loose paint and unfinished filler produces a finish that peels and chips within months, and peeling means unhappy buyers and returns. Clean, fill, sand and prime every time.
5. Underestimating time, especially dry and cure time
This is the single most common math error. Include the hours between coats and the full cure window in your cost-per-hour calculation. Paint that feels dry is still soft.
6. Using too much paint and overworking it
Thin coats, laid off with a light touch, dry harder than one thick dragged coat. Leave it alone while it levels, and resist the urge to fix a brush mark mid-coat.
7. Forgetting the protective finish
A topcoat over cured paint is what stops a table from ring-staining. It costs little compared with a piece that fails in use.
8. Pricing from wishful thinking
Cost plus hours is not a market price. Check completed sales for comparable pieces in comparable condition, then price a little above the middle of that range.
9. Listing badly
Dark photos in a cluttered room with no dimensions are the fastest way to underprice yourself. Natural light, a clear wall and a measurement in frame recover money you already spent.
10. Ignoring fees, delivery and unsold inventory
Platform fees, freight and a piece that sits for two months are all real costs. Subtract them before you decide a flip was profitable, and have a plan for pieces that will not sell: price drop, curbside giveaway, parts harvest or donation.
Frequently Asked Questions
How much money can a beginner make flipping furniture?
Most beginners earn between 5 and 20 dollars an hour in their first few months, not the 100 percent margins often advertised online. A small side table bought for 15 dollars might sell for 90 after about five hours of work. Steadier sellers report a few hundred dollars a month net after fees and delivery, while individual margins can be as small as a few dollars. Judge progress by profit per hour and pieces sold per month, not by big one-off wins.
What is the easiest type of furniture to flip for profit?
A solid-wood end table or nightstand is the easiest first flip. It fits through a normal doorway, needs no door removal, and can often be finished in an afternoon. Dressers are next easiest and carry higher margins, but drawer repairs add time. Avoid particleboard and pressboard entirely for a first piece, because chipped edges and swollen runners cannot be repaired for less than the piece is worth.
Should beginners use paint, stain, or refinish a piece?
Paint if the piece has good structure but an ugly finish, and stain or clear finish if it is solid wood with attractive grain. Many buyers prefer natural wood to painted pieces, even though painted pieces get more attention online. Whatever you choose, test a small hidden area first, use thin coats, and finish with a protective topcoat. Always disclose that a piece is refinished rather than new.
Where can beginners sell a flipped piece of furniture?
Facebook Marketplace and local Facebook groups are the best starting points because large furniture sells to nearby buyers and pickup is free. OfferUp and Craigslist also work locally with no sale fee. Etsy and Mercari reach a wider audience but charge fees and require shipping, which can erase the margin on a small piece. Consignment shops and flea markets need no selling effort but take a large cut and move slowly.
How do beginners know what a furniture flip will sell for?
Research comparables before you buy. Search the finished form of the piece on Marketplace, OfferUp and eBay, then look at completed eBay sales rather than active listings, since asking prices run high. Match on material, size, finish and condition, ignore the two most extreme results, and price near the middle of what the rest support. Add headroom for a normal negotiation and hold your floor.
Is it better to buy furniture to flip or use pieces you already own?
Start with a piece you already own. You know its history, you are not tempted to overpay, and you learn the whole process on someone else’s furniture before you risk money. Then move to bought pieces once you can price a flip and price a finished piece accurately. If you are only refreshing your own home, check whether the piece is worth your weekend at all before taking it apart.
Conclusion
Start with one piece that is solid wood, structurally sound and small enough to move through your own doors. Set a firm ceiling on total cost including materials, fees and delivery, test your finish on a hidden panel before you commit to the whole piece, and price the finished result against what comparable pieces actually sell for. Two or three flips at that level will teach you more than any amount of sourcing in advance, and they will show you honestly whether this is worth scaling.