Yes, kitchen cabinets work well as garage storage, as long as you pick the right material and keep them away from damp concrete. Solid wood and plywood carcasses hold up fine in an unconditioned garage; particleboard and MDF do not, because they swell and crumble when they take on moisture. Plan on a weekend for the carpentry if you have never hung cabinets before.
Repurposing kitchen cabinets in a garage is mostly a planning job, not a building one. The order matters: you decide where each cabinet goes, check what it is made of, clean and dry it, add a moisture barrier, fasten it into studs or onto a frame, then paint and organize. Skip the moisture step and the whole project fails in a year.
If you are clearing out a kitchen right now, this is the week to use those cabinets. If you are shopping, the same rules apply to anything you find at a Habitat ReStore, a demolition salvage yard, or a Marketplace listing, since most of those carcasses are the same pressed wood and solid wood you would have pulled out of a house.
Table of Contents
- What You Need
- How to Repurpose Kitchen Cabinets in a Garage: Step-by-Step
- 1. Plan the Garage Layout and Measure the Cabinets
- 2. Inspect and Clean the Cabinets
- 3. Remove Doors, Drawers, and Hardware
- 4. Modify the Cabinets for Garage Use
- 5. Seal and Refinish Surfaces
- 6. Install and Organize the Cabinets
- Common Mistakes
- Frequently Asked Questions
- Can kitchen cabinets be used in a garage?
- Are particleboard cabinets okay for a garage?
- How high should garage cabinets be mounted?
- How do you keep kitchen cabinets from getting wet in a garage?
- Should I paint old cabinets before putting them in a garage?
- Where can I find free cabinets for a garage?
What You Need

You can absolutely learn how to repurpose kitchen cabinets in a garage with a basic tool roll and a Saturday afternoon of cleaning. Gather everything before the first screw goes in, because the trips to the hardware store mid-project are what turn a weekend into a week.
- Measuring kit: tape measure, 4-foot level, and a straightedge. A torpedo level and a speed square help you mark a true line across a long wall.
- Fastening gear: a drill/driver, a stud finder, a drill bit or two slightly smaller than your screws, and a set of structural screws long enough to bite into a stud by at least an inch and a half. For base cabinets, add a pry bar and a shim pack.
- Safety gear: safety glasses, a dust mask for sanding, gloves, and a respirator if you are cutting MDF or particleboard. Cutting compressed wood throws a fine dust that gets everywhere.
- Cleaning supplies: a degreaser or TSP substitute, warm water, a scrub pad, and a wet/dry vacuum. You also need a fan or a dehumidifier to dry out the carcasses after cleaning.
- Moisture barrier materials: a roll of 6-mil plastic or closed-cell foam sill pad, exterior sealant or construction adhesive, and paintable caulk. Steel wool and copper mesh cover the small gaps where a mouse could otherwise get in.
- Refinish supplies: wood filler, sandpaper, an oil-based or bonding primer, and interior/exterior acrylic paint in one color. You also need new hinges and drawer slides if the old ones are rusted or tired.
- Hardware and fasteners: pocket screws or construction screws, cabinet screws for joining carcasses together, and a few extra knobs or pulls so the mismatched pieces match each other.
- Storage materials: a label maker or label tape, shelf pin anchors, clear bins, and drawer dividers.
How to Repurpose Kitchen Cabinets in a Garage: Step-by-Step
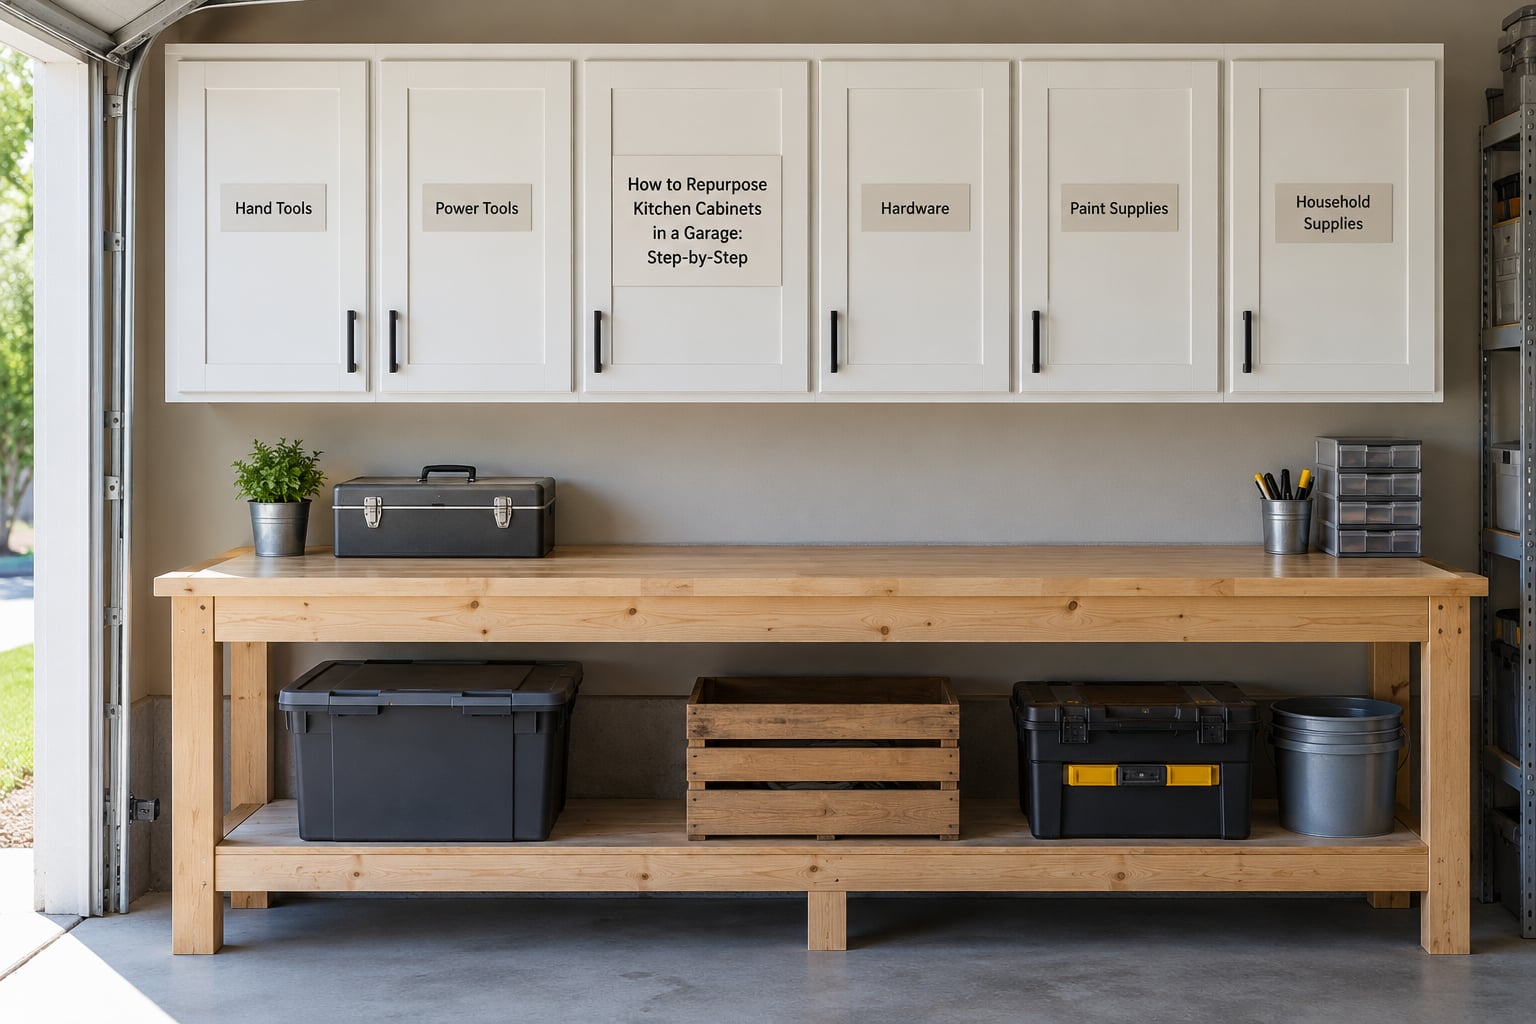
The whole process comes down to six steps, and the first three take the longest because they happen on the floor with the cabinets off the wall. The rest is a weekend’s work with a drill and a paint brush.
1. Plan the Garage Layout and Measure the Cabinets
Measure first, then decide. Most people plan a beautiful cabinet wall and discover the garage door track is in the way, or that the car doors hit the doors once they swing.
Stand in the garage with the car in its normal spot and look at the wall. Note the garage door path and the height of the tracks and springs, because cabinets cannot go above the door opening without blocking something.
Then measure the usable wall. Mark stud locations with the stud finder and note anything electrical on that run: outlets, a wall switch, the garage door opener unit, a panel, and any vent you need to keep clear.
Next, write down the size of every cabinet you have, height by width by depth, and note whether each one is an upper, a base, or a wall cabinet. Solid wood carcasses can weigh 50 to 80 pounds each, and a filled base cabinet with paint cans is heavier than that, so put the heavy pieces at the bottom of the plan and the light ones above your head.
2. Inspect and Clean the Cabinets
Most old kitchen cabinets are worth reusing, but a few are not, and it is easier to judge on the floor than after they are screwed to a wall. Look for soft spots, swelling at the bottom edge, mold, and a musty smell, and if you find any of those, the cabinet was already in trouble before you got it.
Press firmly on the bottom shelf and the back panel. Particleboard that has been damp shows a crumbly feel, and shelves that were meant for dishes often sag under a load of paint cans. Take a drywall square or a level and check the case for square; a warped case will never hang straight no matter how carefully you shim it.
Check the hinges and slides. A rusted, swollen hinge gets replaced with the cabinet, and a nine-inch drawer slide will not screw into a three-eighths inch cabinet side no matter how patient you are, which is a problem the woodworking crowd runs into constantly when they turn kitchen drawers into tool drawers. If you need deeper drawers, build a new box from plywood instead of forcing the old one.
Then clean. Wipe down every surface with a degreaser, scrub the carcass bottoms and corners where grease collects, and vacuum out the inside. Leave the cabinets open with a fan pointed at them for a full day, or a dehumidifier overnight, before anything else happens.
3. Remove Doors, Drawers, and Hardware
Taking the cabinets apart is what makes them light enough to carry and easy to modify. Most doors just lift off the hinge cups after you back out two screws per hinge, and drawers usually come free once you lift and pull.
Label hardware in a bag per cabinet. Write the cabinet number on the bag with a marker, and if the hinges are reusable, note which door each set came from so you can reinstall them the same way. That is the difference between a cabinet that closes flush and one that never quite latches.
Protect the pieces you want to keep. Set finished doors face-down on a blanket, and wrap drawer fronts in a drop cloth if you are carrying them across the garage. Fill the hinge holes with wood filler once the doors are off, and that repair disappears under primer anyway.
Use this stage to mark every modification before you touch a saw. It is much easier to decide that a cabinet needs a new shelf while it is lying on saw horses.
4. Modify the Cabinets for Garage Use
Garage use demands more from a cabinet than dishes ever did, so most people add a few things and skip the rest. What you add depends on what you plan to store, and the cheapest useful upgrade is usually stronger shelving.
Reinforce soft or sagging shelves with a piece of plywood or a steel brace screwed to the cabinet sides, or replace the shelf entirely. Add a second row of shelf pin holes if the side is solid enough, because extra shelves let you separate small parts from heavy ones.
Replace rusted hinges and tired slides with matching hardware, and use a few extra screws at each hinge cup. Wall-hung cabinets carry a swinging door load all day, so they deserve more screws than the original two. For a cabinet that sits on a base, level it with shims and secure the carcass to the wall so it cannot tip when someone yanks a drawer.
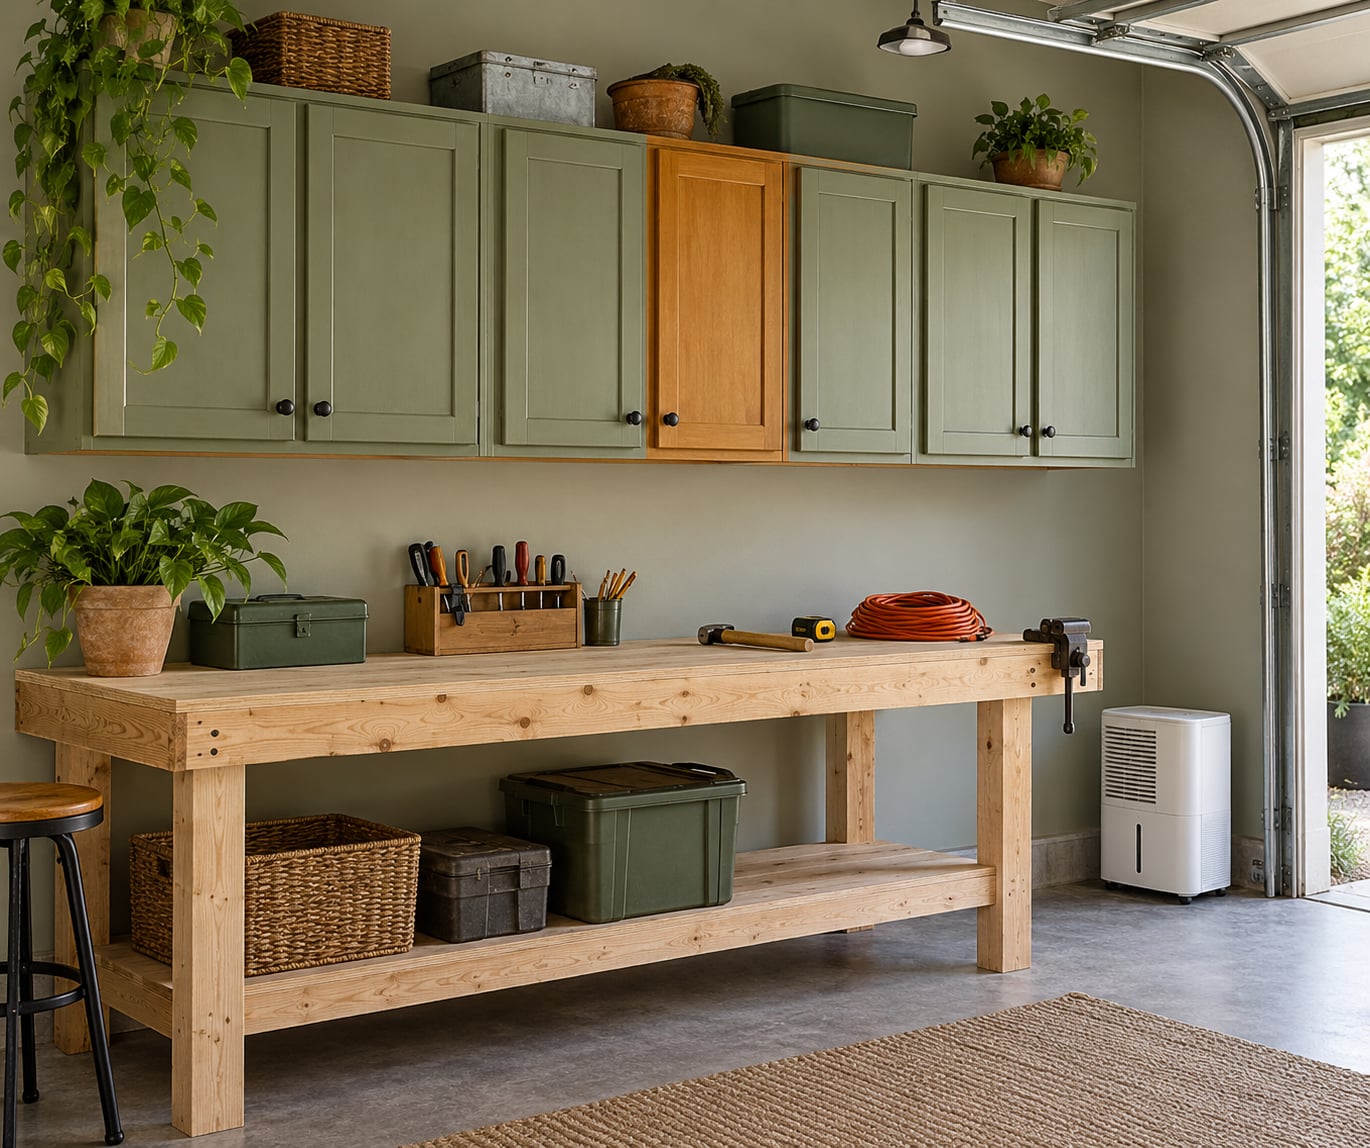
If your cabinets are mismatched, you have two clean options: take all the doors off and hang the carcasses as open shelving, or skin the fronts with hardboard panels so the whole wall reads as one unit. The hardboard route uses construction adhesive and a nail gun or screws, then wood filler over the seams. One paint color over the top and it looks intentional instead of secondhand.
Cut an opening for an appliance garage in one upper cabinet, and leave a little extra clearance inside. Things are bigger than the space you remember, and you want a cord to pass through a hole you drilled now rather than a cut you make later with the cabinet already on the wall.
5. Seal and Refinish Surfaces
Not every surface needs the same treatment, so paint the pieces that take handling and seal the pieces that take moisture. A tired but sound painted cabinet only needs cleaning, a scuff-sand, and fresh paint, while a cabinet with bare or water-stained wood needs a primer first.
Fill every hinge hole, gap between mismatched doors, and dent with wood filler, and let it dry fully before you sand it flush. Sand with 120 to 150 grit to give the paint something to grab.
Prime with an oil-based primer if there is any old lacquer or stain on the surface, because acrylic paint will peel off those finishes within months. Bare wood and factory-finished melamine both take a bonding primer well. Then two coats of a scrubbable interior/exterior acrylic in one color, with a full dry time between coats and a light scuff-sand between them.
The color is doing real work here. One satin color across every door, drawer front, and carcass hides age, hides the fact that your cabinets came from three different kitchens, and takes scuffs better than flat paint does.
6. Install and Organize the Cabinets
Install the cabinets into studs, not into drywall, and the wall will hold them for decades. Set the first cabinet in place, drive structural screws through the back panel into each stud it crosses, and use that cabinet as your reference line for the rest of the run.
For base cabinets with no wall to hang them on, build a base frame from 2x4s raised off the slab, set the cabinets on it, and screw through the frame. The frame also gives you somewhere to attach a plywood or butcher block countertop, which turns the whole run into a real work surface.
Set the mounting height before you drill: the bottom of an upper cabinet usually lands about 54 to 60 inches off the floor, which clears a 34 to 36 inch workbench and leaves your head room. Check door and drawer swings with the cabinet doors open, and make sure nothing blocks an outlet, a wall switch, or the garage door hardware.
Now seal the bottom. Run a bead of exterior sealant where the carcass meets the wall, back out any penetrations you made into a stud with a dab of sealant and steel wool, and if a cabinet sits on the floor, raise it on a foam or PVC sill and drill two small drainage holes in the bottom panel so trapped water has somewhere to go.
Label as you load, not after. A label maker or tape inside the drawer lip survives garage dust better than a marker on the front, and a door label tells a future version of you what is in there without opening everything. Store by weight and by frequency: the heavy power tools and paint cans go in base cabinets near the floor, shallow upper cabinets take hand tools and everyday items, and drawers hold fasteners sorted into small bins so nothing rattles.
Common Mistakes
Almost every failed garage cabinet installation traces back to one of a handful of mistakes, and all of them are avoidable before you start. Here is what goes wrong most often and the fix for each.
- Hanging into drywall only. A solid wood upper cabinet full of tools can weigh well over what a drywall anchor is rated for, and it will come down. Move the cabinet until a stud sits behind it, add a plywood backing strip screwed into two studs, or build blocking first. Fasteners must bite into framing by an inch and a half.
- Overloading upper cabinets. Kitchen uppers were built for plates. Keep cans, water, and lumber out of them and reserve them for light hand tools and small bins.
- Skipping the moisture check. A soggy bottom edge or a musty smell inside the carcass is a reason to pass, not to seal and hope. Sealed concrete wicks water, and particleboard that has already swollen cannot be saved.
- Putting cabinets flat on the slab. Use a foam or PVC sill, seal the toe kick and seams, and drill drainage holes in the bottom panel. Keeping relative humidity around 40 to 50 percent inside the garage, with airflow and a dehumidifier in damp seasons, protects both cabinets and cardboard boxes.
- Leaving everything unlabeled. Unlabeled storage is storage you will not use. Label drawers and doors as they go in.
- Blocking electrical or ventilation access. An outlet behind a cabinet, a panel you cannot reach, or a vent you have covered is a real problem. Leave working clearance in front of the panel, keep a switch within reach, and check clearance around the garage door tracks and springs before you hang a full run.
- Painting over an old finish without priming. Paint applied over lacquer or stain peels in sheets. Use an oil-based primer over those surfaces first.
Leave the cabinet doors open for a few hours every month or so. Airflow is what keeps a closed garage cabinet from sitting in its own damp.
Frequently Asked Questions
Can kitchen cabinets be used in a garage?
Yes, as long as the carcass is solid wood or plywood and it stays out of contact with damp concrete. Kitchen cabinets are essentially small wall-mounted boxes, so they work well above a workbench. Keep them sealed, raised off the slab, and fastened into studs, and most will outlast purpose-built garage cabinets.
Are particleboard cabinets okay for a garage?
Not in an unconditioned garage. Particleboard and MDF absorb moisture, swell, and disintegrate at the edges, which is exactly what a garage floor and seasonal humidity deliver. They are fine for a wall cabinet kept away from the floor, but a base cabinet made of them will soften and lose its joints within a couple of seasons.
How high should garage cabinets be mounted?
Aim for the bottom of an upper cabinet about 54 to 60 inches off the floor, which sits comfortably above a 34 to 36 inch workbench and leaves head clearance at the bench. Leave more height if you plan to stand at the counter, and keep the whole run clear of garage door tracks, springs, and opener hardware.
How do you keep kitchen cabinets from getting wet in a garage?
Raise base cabinets on a foam or PVC sill, seal the toe kick and every seam with exterior sealant, and drill two small drainage holes in the bottom panel. Keep relative humidity around 40 to 50 percent, run a dehumidifier in damp months, and crack the doors open now and then. Wicking from unsealed concrete is the usual culprit, not rain.
Should I paint old cabinets before putting them in a garage?
Yes, paint them, because one satin color across mismatched cabinets makes a salvaged wall look built on purpose. Fill holes and dents with wood filler, sand it flush, prime with an oil-based primer if there is lacquer or stain underneath, then two coats of a scrubbable interior and exterior acrylic. Paint takes scuffs far better than the bare melamine the cabinets came with.
Where can I find free cabinets for a garage?
Start with your own kitchen renovation, since those cabinets are already paid for. After that, Habitat ReStore shops, demolition salvage yards, local cabinetmakers selling closeout stock, and Marketplace or Craigslist listings from remodelers often have whole kitchens available for pickup. Bring a truck, gloves, and a plan for the doors, because many sellers will throw them in if you clear the floor.
Start by pulling out the two or three cabinets you are least sure about and pressing hard on the bottom shelves. If they are solid wood or plywood and square, you can reuse the rest. Measure your wall, mark the studs, and get the first cabinet hung into framing before you spend the weekend on paint.