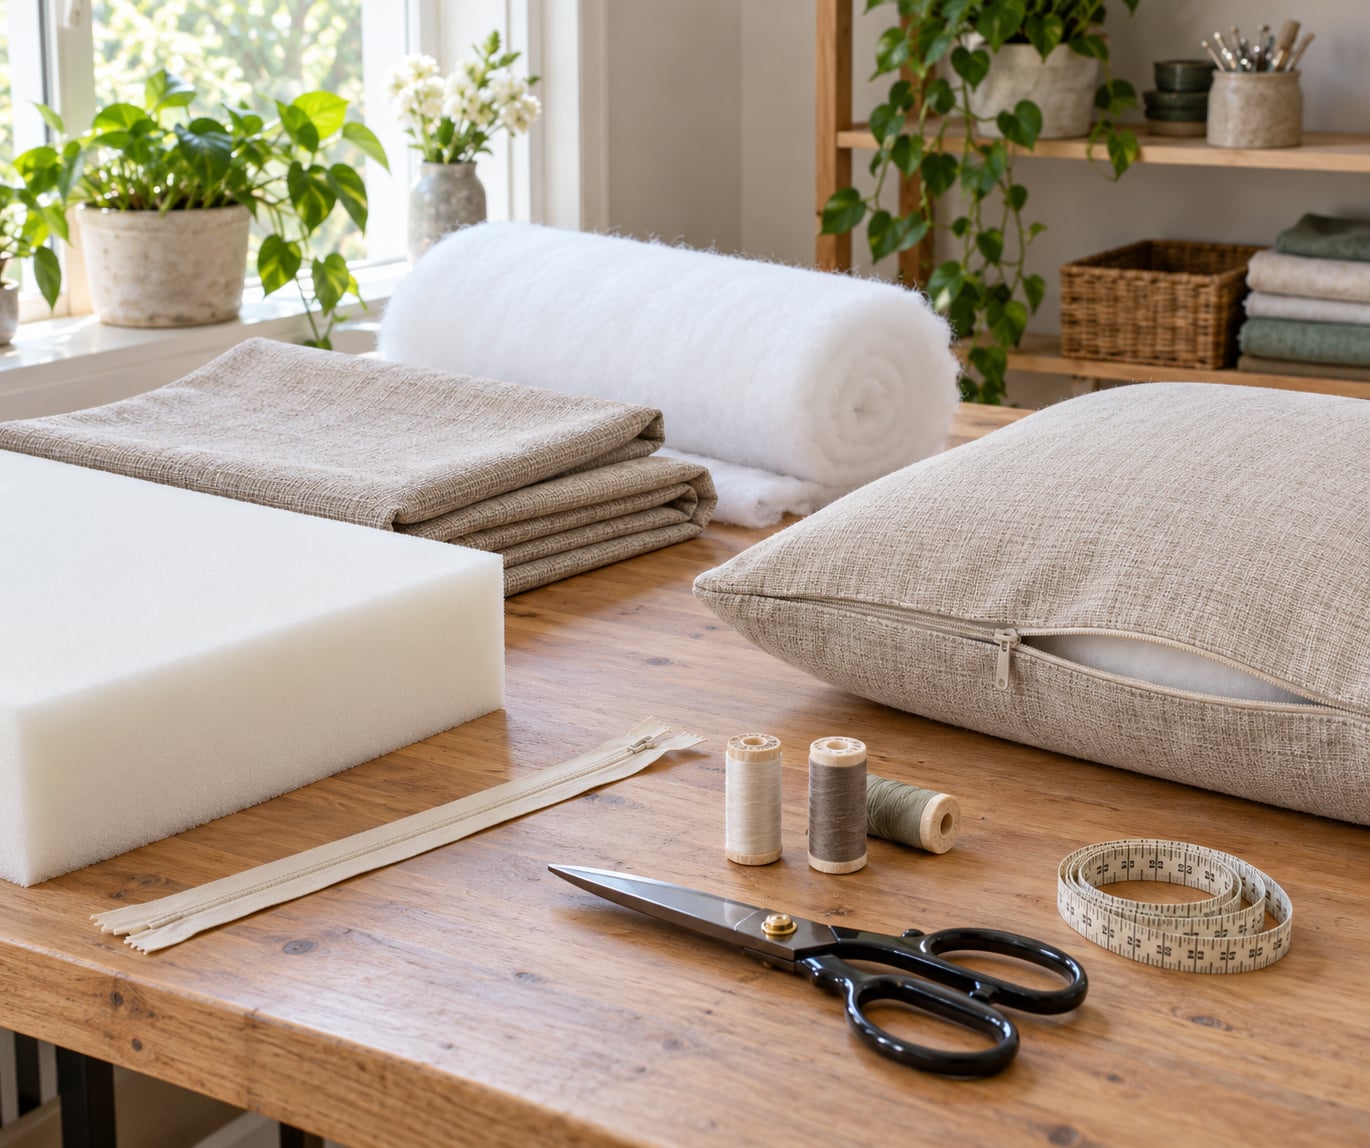
If you have a bare bench seat or a cushion that has gone flat, making a bench cushion with foam is a two-hour project that costs less than reupholstering anything. The build is simple: measure the seat, cut a block of upholstery foam, wrap it in batting, and pull a sewn cover over the top. If you can sew a straight seam, you can build this.
The part that trips most people up is sizing. Foam needs to be slightly smaller than the finished cushion in one direction so the cover can get over it, and slightly larger in the other so it fills without slack. Get those two numbers right and the rest is methodical.
Allow a weekend morning for a first attempt, or two evenings if you are sewing a zipper for the first time. You will need a tape measure, sharp scissors or a rotary cutter, and either a sewing machine or a needle and heavy thread.
Table of Contents
- What You Need
- Foam
- Fabric, batting and closure
- Tools
- Step-by-Step: How to Make a Bench Cushion with Foam
- 1. Measure the Bench and Plan the Cushion Shape
- 2. Choose or Cut the Foam
- 3. Cut the Fabric and Batting
- 4. Sew the Cushion Cover
- 5. Add the Closure and Insert the Foam
- 6. Check the Fit and Finish
- Common Mistakes
- Cutting the foam to the exact cover size
- Forgetting the seam allowance
- Using thin, low-density foam
- Leaving the corners bulky
- Inserting the foam unevenly
- Closing the cover too tightly
- Skipping the batting wrap
- Frequently Asked Questions
- How thick should foam be for a bench cushion?
- What type of foam is best for bench seat cushions?
- Do I need a sewing machine to make a bench cushion?
- How much fabric do I need for a bench cushion?
- What is the best foam for outdoor bench cushions?
- Conclusion
What You Need
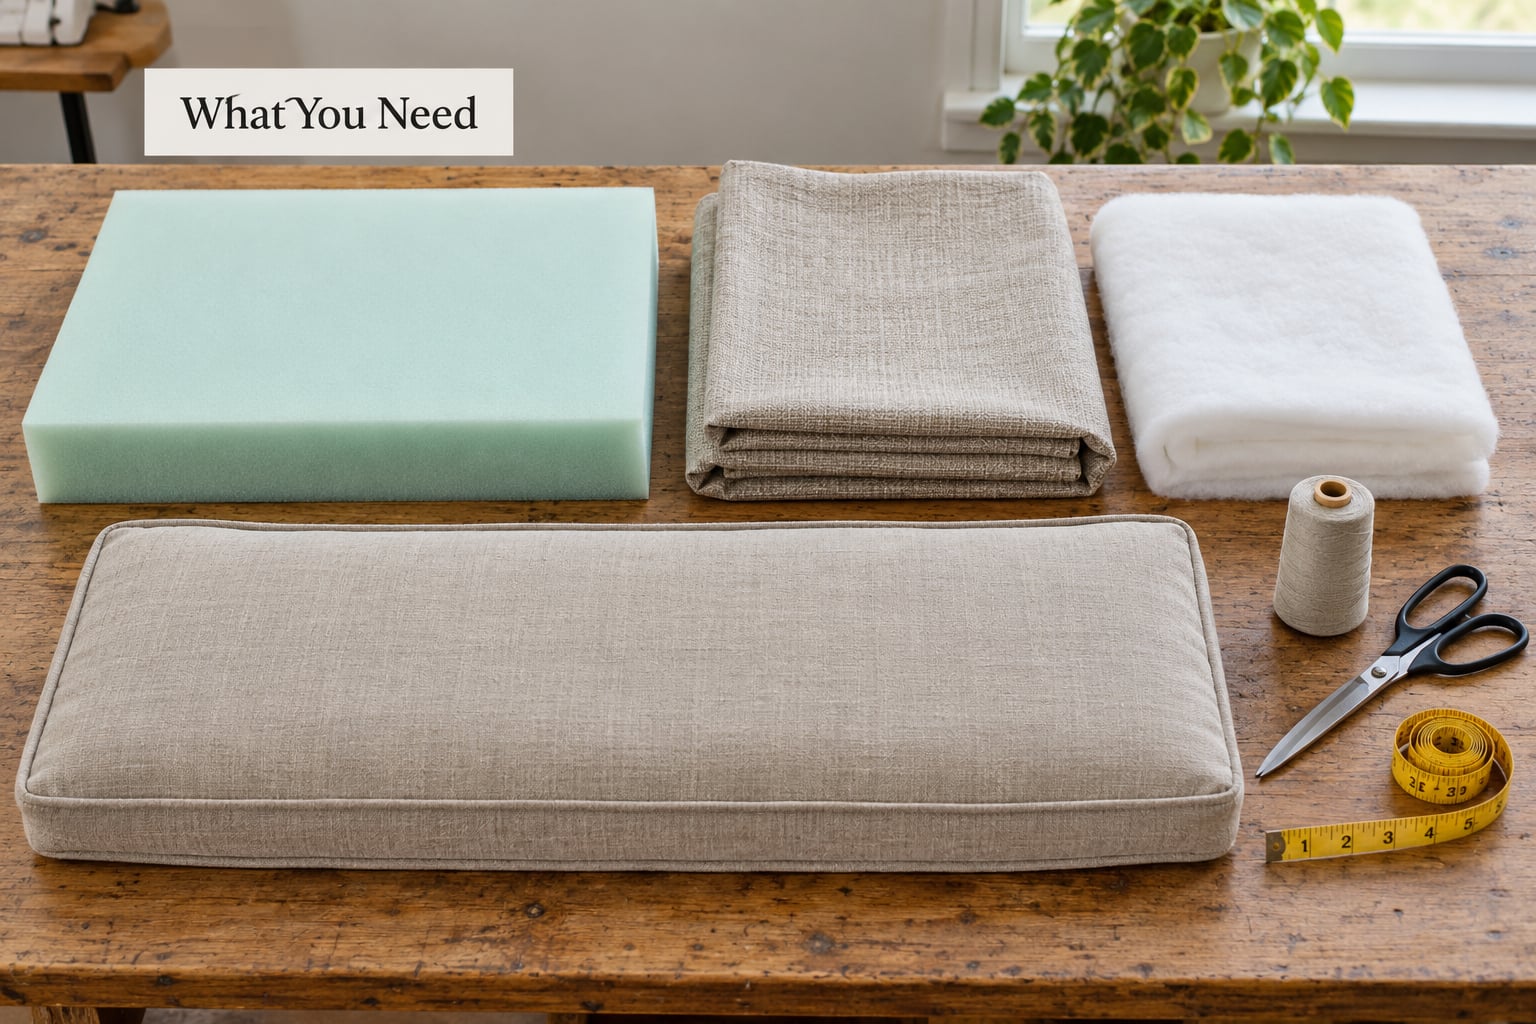
Foam
Foam comes in sheets sold by the foot and in pre-cut blocks. For a bench seat, look for high-density upholstery foam, which holds its shape far better than the low-density stuff sold for dollar-store cushions.
Density is weight per cubic foot, and it is not the same thing as firmness. A soft foam can still be dense enough to last, and a firm foam can still collapse early if it is thin. For daily kitchen or entryway use, anything around 1.8 pounds per cubic foot or higher is a reasonable floor.
Fabric, batting and closure
- Upholstery fabric, ideally 54 inches wide or wider so you can cut full-length panels without piecing.
- Polyester batting, sold as batting wrap or Dacron. This is what makes the finished cushion look plump rather than deflated.
- A closure: an invisible zipper, sew-on Velcro, or heat-bond tape for a no-sew version.
- Heavy thread and a needle if you are hand-stitching, or standard upholstery thread for the machine.
- Pinking shears or pinking tool for trimming seam allowances on the zipper opening.
Tools
A tape measure, a straightedge or yardstick, fabric chalk, sharp fabric shears, and long straight pins. For the foam, a serrated bread knife works for small cuts, an electric carving knife handles sheets quickly, and a hand saw with a fine blade gives the straightest edge on a thick block. Many fabric and craft stores cut foam to your measurements if you would rather not buy a tool for one cushion.
Step-by-Step: How to Make a Bench Cushion with Foam
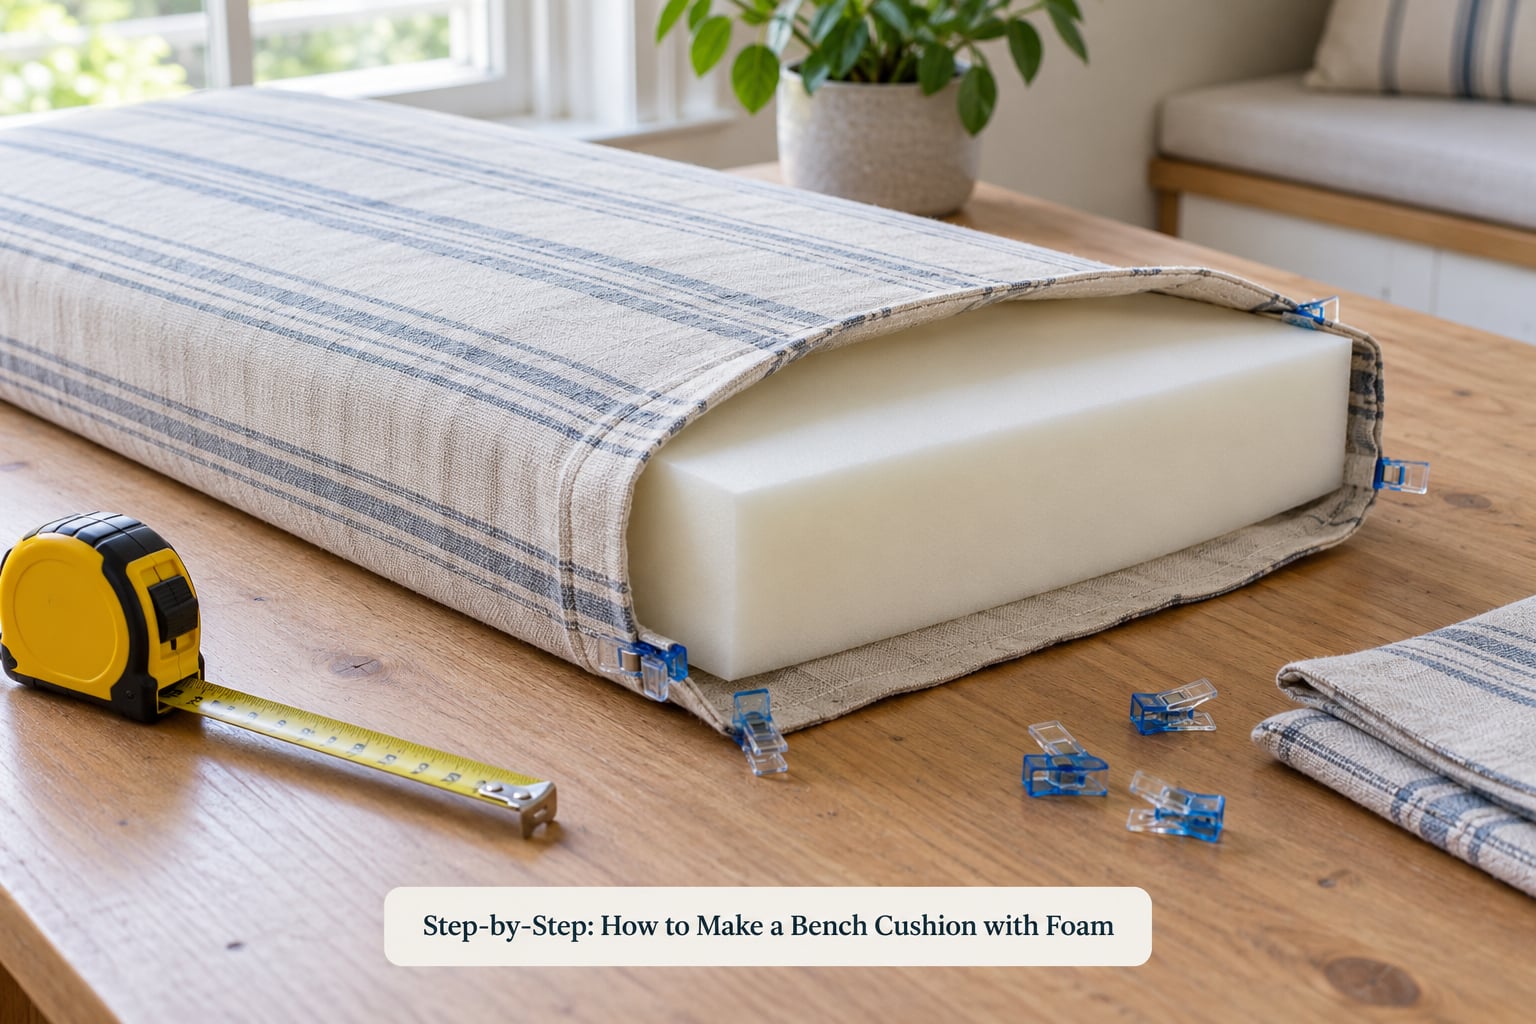
The full process in eight lines: measure the bench, plan the shape, choose foam, cut the panels, sew the cover, add the closure, insert the foam, and test the fit. Here is each one in detail.
1. Measure the Bench and Plan the Cushion Shape
Measure the seat width and depth at three points: the left end, the middle, and the right end. Odd-sized benches are the norm, not the exception, and the widest measurement is the one your cushion has to accommodate.
Then check the height of the back and any arms. If the bench has a back rail that sits above the seat, subtract that clearance from your finished cushion thickness so people can actually sit against it.
For a bay window or an L-shaped bench, lay kraft paper on the seat, mark the outline, and cut it out. That paper pattern becomes your top panel template, and it removes all the guesswork from the math later.
2. Choose or Cut the Foam
Cut the foam to the seat dimensions you measured. Here is the allowance that matters: the foam should be about 1 inch smaller than the finished cushion in the depth direction, so the cover can be pulled over it, and about 1 inch larger than the seat in the width direction, so the finished cushion is full and firm.
| Foam thickness | How it feels | Best for |
|---|---|---|
| 2 inch | Firm, low profile | Dining benches, window seats, kids’ nooks |
| 3 inch | Balanced sit | Kitchen banquette and entryway benches |
| 4 inch | Soft, lounge-like | Reading nooks, sunrooms, low-use seating |
Mark the cut line with a sharp marker and a straightedge, then cut in long slow strokes. Do not saw back and forth on one line, which leaves a wavy edge. Quarter-inch variance is fine, because foam compresses and expands into the cover.
If your foam comes in smaller retail sizes, glue two blocks together with upholstery contact spray and let it cure fully before wrapping. Lay the joined seam where a sitter is least likely to press on it.
3. Cut the Fabric and Batting
For a box cushion with a separate top panel, bottom panel and four side panels, the fabric math is: two panels at cushion width plus 1 inch, and four panels at cushion depth plus 1 inch, plus a half-inch seam allowance on every raw edge.
Worked example. A 36 by 18 inch seat with 3 inch foam gives a finished cushion of roughly 36 by 21 inches. Your panels need 37 by 22 inches before allowances, or about 38 by 23 with the half-inch added. Top and bottom are 38 inches, the four sides are 23 inches each, so from 54-inch-wide fabric you need roughly 2 yards.
Cut the batting in the same sizes as the top and bottom panels. A single wrap is enough on a 3 inch cushion; go thicker if you want a plumper, more upholstered look.
4. Sew the Cushion Cover
Stitch the four side panels to the bottom panel first, right sides together, with the seams running around all four edges. Add gussets if the cushion is more than about 4 inches thick, because a plain seam allowance will not close cleanly at that height.
Pin the corners and sew across them at an angle. Then turn the whole work 90 degrees and stitch down through the seam allowance to reinforce each corner. Corners are where a cushion fails first, and this doubled stitching is what keeps a zipper corner from blowing out after a year of use.
Leave one edge open, or attach the bottom panel last with three sides sewn and the fourth left open, so you have somewhere to pull the foam through.
5. Add the Closure and Insert the Foam
For a zipper, buy an invisible zipper about 1 inch shorter than the finished cushion width and sew it into the open edge before turning. Trim the seam allowances with pinking shears so the zipper closes without catching.
For a simpler route, use sew-on Velcro on two overlapping flaps along the back. It is easier, it hides in plain sight, and the cover still comes off for washing.
Wrap the foam in batting and use spray adhesive in a light, even mist to hold the batting in place while you work. Turn the cover right side out, then push the foam in through the opening, starting at the two back corners and working forward.
If the foam refuses to go in, put it in a plastic bag, close the bag over a vacuum hose and pull the air out. The compressed foam slides in easily, and you pull the bag out as it re-expands. Most people do not need a second pair of hands, but it helps if the block is thick.
6. Check the Fit and Finish
Zip or fasten the closure, then push the foam toward the corners from the inside so the corners lie flat. Smooth the cover with your palms from the center outward. A light steam from an iron on the wrong side will knock out stubborn wrinkles, but keep the iron off the zipper tape and the foam bond line.
Set the cushion on the bench and check three things: it sits flat without rocking, it does not overhang the seat edge, and the closure is on the back where nobody leans on it.
If the cover strains at the zipper, the foam is about an inch too thick. If it wrinkles, the foam is too thin or the panels were cut out of square. Both are fixable, and both are easier to correct now than after the cushion has been in use.
Common Mistakes
Cutting the foam to the exact cover size
This is the number one beginner error and the reason so many covers will not go on. Cut the foam about 1 inch under the cavity depth and let it compress into the seam.
Forgetting the seam allowance
Every panel needs a half-inch added on each raw edge. Panels cut to finished size will produce a finished cushion that is an inch smaller than you planned and a seam that is impossible to close.
Using thin, low-density foam
Soft foam feels great in the shop and collapses within a year or two on a bench that gets used daily. Buy firmer, denser foam and add comfort with a thicker batting wrap instead.
Leaving the corners bulky
Square off the corners with a small snip and sew through them at an angle so the seam allowances nest. That single detail is the difference between a crisp box cushion and one that flares at all four corners.
Inserting the foam unevenly
Fill the back corners first and work forward, pushing with your palms rather than shoving one whole block through the opening. Then redistribute from outside the cover after it is closed.
Closing the cover too tightly
If you have to fight the zipper, stop and take the foam out rather than trimming. A small sanding pass on the foam edge is faster than repairing a popped seam.
Skipping the batting wrap
Batting is what fills the gap between a flat foam face and a flat fabric panel. Without it the cushion reads as a slab of foam in a pillowcase.
Two finishing tips worth the extra ten minutes. Sew a strip of non-slip shelf liner or rubber grip dots to the bottom panel so the cushion stays put, and always zip or fasten the cover before pressing out the corners, so the stuffing cannot bunch behind the seams.
Frequently Asked Questions
How thick should foam be for a bench cushion?
Three inches is the sweet spot for most benches, including kitchen banquettes and entryway seats. Two inches works well for dining benches and window seats where people sit for shorter stretches, and four inches suits reading nooks and low-use seating. Cut the foam about one inch under your finished cushion depth so the cover can pass over it.
What type of foam is best for bench seat cushions?
High-density upholstery foam is the best choice for daily seating. Density means weight per cubic foot, so aim for roughly 1.8 pounds per cubic foot or higher. Memory foam feels wonderful but can soften in heat and is difficult to insert into a cover. For occasional use, plush poly-fill wrapped in batting costs less and works fine.
Do I need a sewing machine to make a bench cushion?
A machine makes box cushions much faster and gives you stronger seams, but it is not required. You can hand-stitch the panels with heavy upholstery thread and a leather needle, and use Velcro flaps instead of a zipper to skip the hardest seam. Expect the hand-sewn version to take two to three times as long.
How much fabric do I need for a bench cushion?
For a box cushion, add up two panels at cushion width plus 1 inch and four panels at cushion depth plus 1 inch, then add a half-inch seam allowance to every raw edge. A 36 by 18 inch seat with 3 inch foam needs panels of about 38 by 23 inches, which is roughly 2 yards of 54-inch-wide upholstery fabric.
What is the best foam for outdoor bench cushions?
Use closed-cell foam for patio, porch and garden benches. It does not absorb water the way open-cell upholstery foam does, and many versions resist UV and mildew. Pair it with solution-dyed or treated outdoor fabric, and expect to replace outdoor foam every few seasons since sun and moisture break down the cell structure faster.
Conclusion
The whole build comes down to five moves: measure the seat, choose foam that is firm and dense enough to last, cut and sew the panels, insert the wrapped foam through a generous opening, then test the fit before you call it done.
Start with the measuring tape and a paper pattern if your bench has any curves or odd angles, since that is the step that determines whether everything after it fits. Pick your foam second and cut the fabric last, once you know the finished dimensions to the quarter inch. Published foam grade specs change from year to year, so check the density label on whatever you buy in 2026 rather than trusting a memory of a brand.
A bench cushion that fits properly is also the easiest one to keep looking good. Zip the cover off, wash it, and swap it when the fabric wears out, and the foam underneath stays exactly where it was.