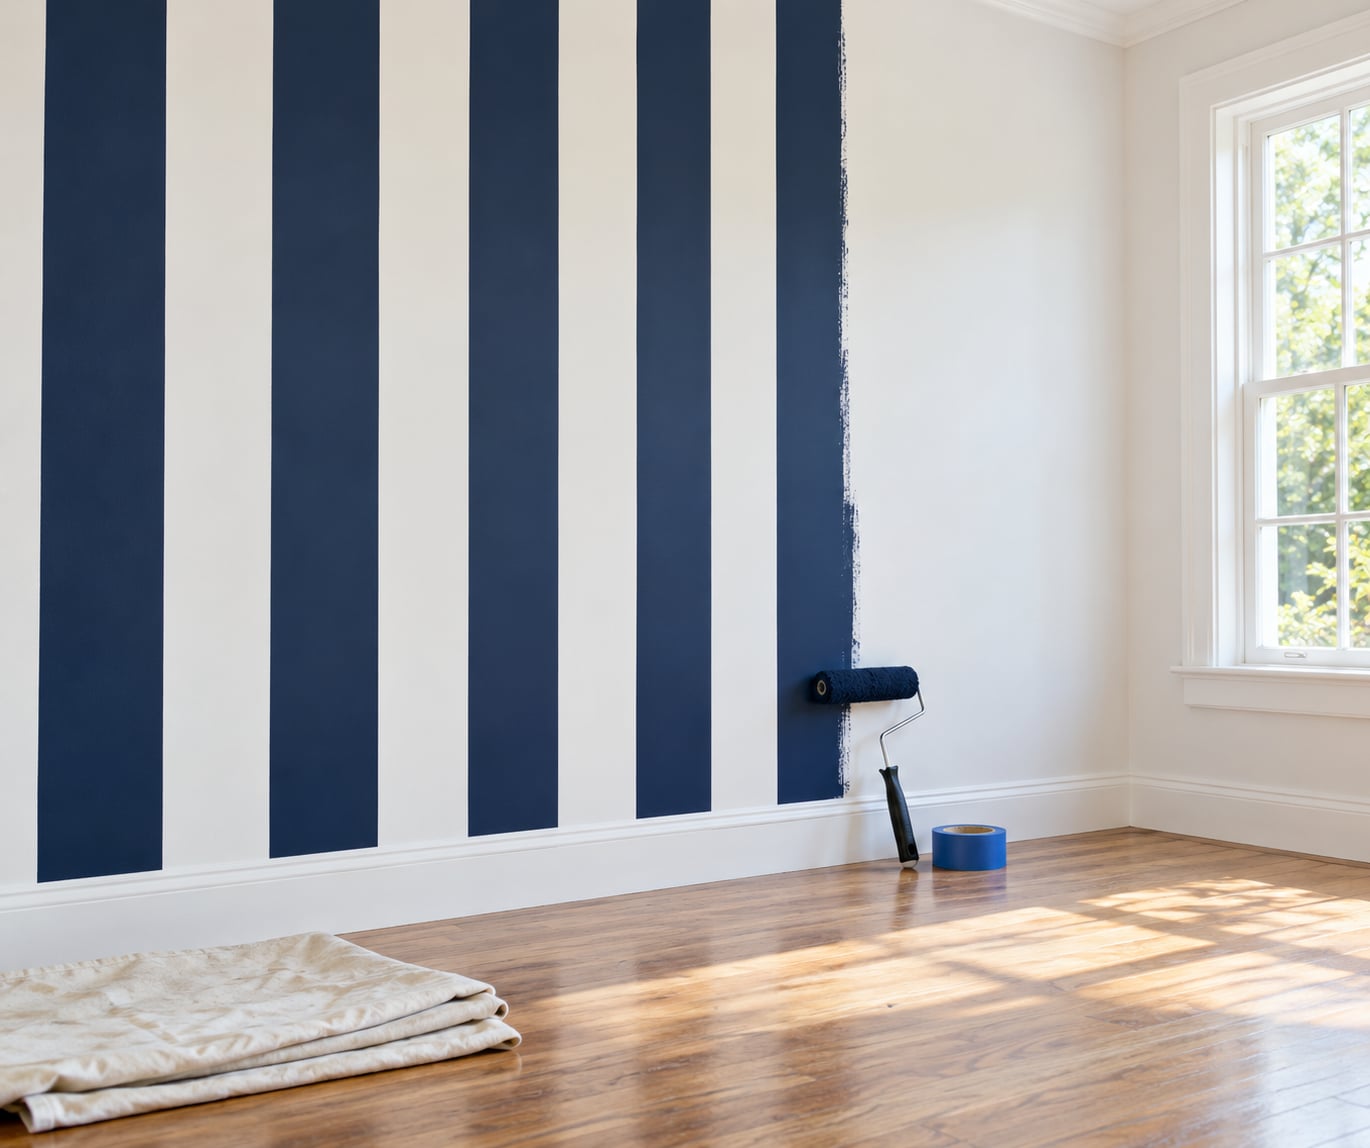
How to paint stripes on a wall is simpler than it looks: roll the whole wall in the lighter base color, mark evenly spaced lines with a level, tape every other stripe, seal the tape edge with the base color, then roll on the stripe color and pull the tape away before it dries.
That last part, sealing the tape edge, is the step most people skip, and it is the difference between crisp lines and the fuzzy striped mess you have probably seen on someone else’s wall.
Budget a weekend. The painting itself takes two or three hours, but the base coat needs a full dry before you tape anything, and a second stripe coat needs hours behind it too. Start early on a Saturday and you will be living with the finished room by Sunday evening.
Table of Contents
- What You Need
- How to Paint Stripes on a Wall: Step-by-Step
- Plan Your Stripe Layout
- Clean and Prepare the Wall
- Apply Painter’s Tape
- Paint the First Stripe
- Let the Paint Dry and Add a Second Coat
- Remove the Tape and Finish the Room
- Common Mistakes
- Paint bleeding under the tape is the most common stripe failure
- Crooked stripes usually mean the wall is out of plumb
- Tape that dried on pulls the paint with it
- Missed spots and patchy coverage come from loading the roller too heavily
- A thin sliver at one end means the width did not divide evenly
- Stripes on a textured wall need a caulk seal instead of tape alone
- Frequently Asked Questions
- How can I paint stripes on a wall without it bleeding?
- When should I remove painter’s tape when painting stripes?
- Should I use an odd number of stripes?
- Can you paint stripes on a textured or popcorn wall?
- How wide should wall stripes be?
- How long does it take to paint stripes on a wall?
- Conclusion
What You Need
Gather everything before you start. A stripe job is interrupted constantly if you have to hunt for a putty knife halfway through a wall.
Two colors of paint in the same quality and sheen. One gallon of each covers a standard 12 by 12 room, and a single accent wall needs far less. Satin or eggshell hides roller marks better than flat, and matching sheens matter more than most people expect, because a mismatch makes every stripe look slightly different from its neighbor.
Low-tack or safe-release painter’s tape. FrogTape and 3M ScotchBlue are the two most widely reviewed, and the category matters far more than the price. Cheap masking tape grips like glue and will either tear the base coat when you pull it or fail to stick at all. Wider tape bleeds less, so 1.5 inch or 2 inch rolls are worth having for wide stripes.
A 9-inch roller cover and frame, a roller pan with a liner, and a mini roller. The big roller fills the stripe body fast, and the mini handles the strips around outlets and window returns. A 2-inch angled brush does the seal coat and the cutting in.
A steel tape measure, a 4-foot spirit level or a laser level, and a pencil. A blue chalk line kit is a cheap upgrade for long horizontal runs. Use blue chalk only, since red and yellow chalk can stain drywall permanently.
A putty knife, spackle, fine-grit sandpaper, a damp cloth, and a dust sheet. Also useful: painter’s plastic for taping off furniture, a utility knife for lifting tape that has dried on, and a small latex caulk tube if your walls are textured.
How to Paint Stripes on a Wall: Step-by-Step
Plan Your Stripe Layout
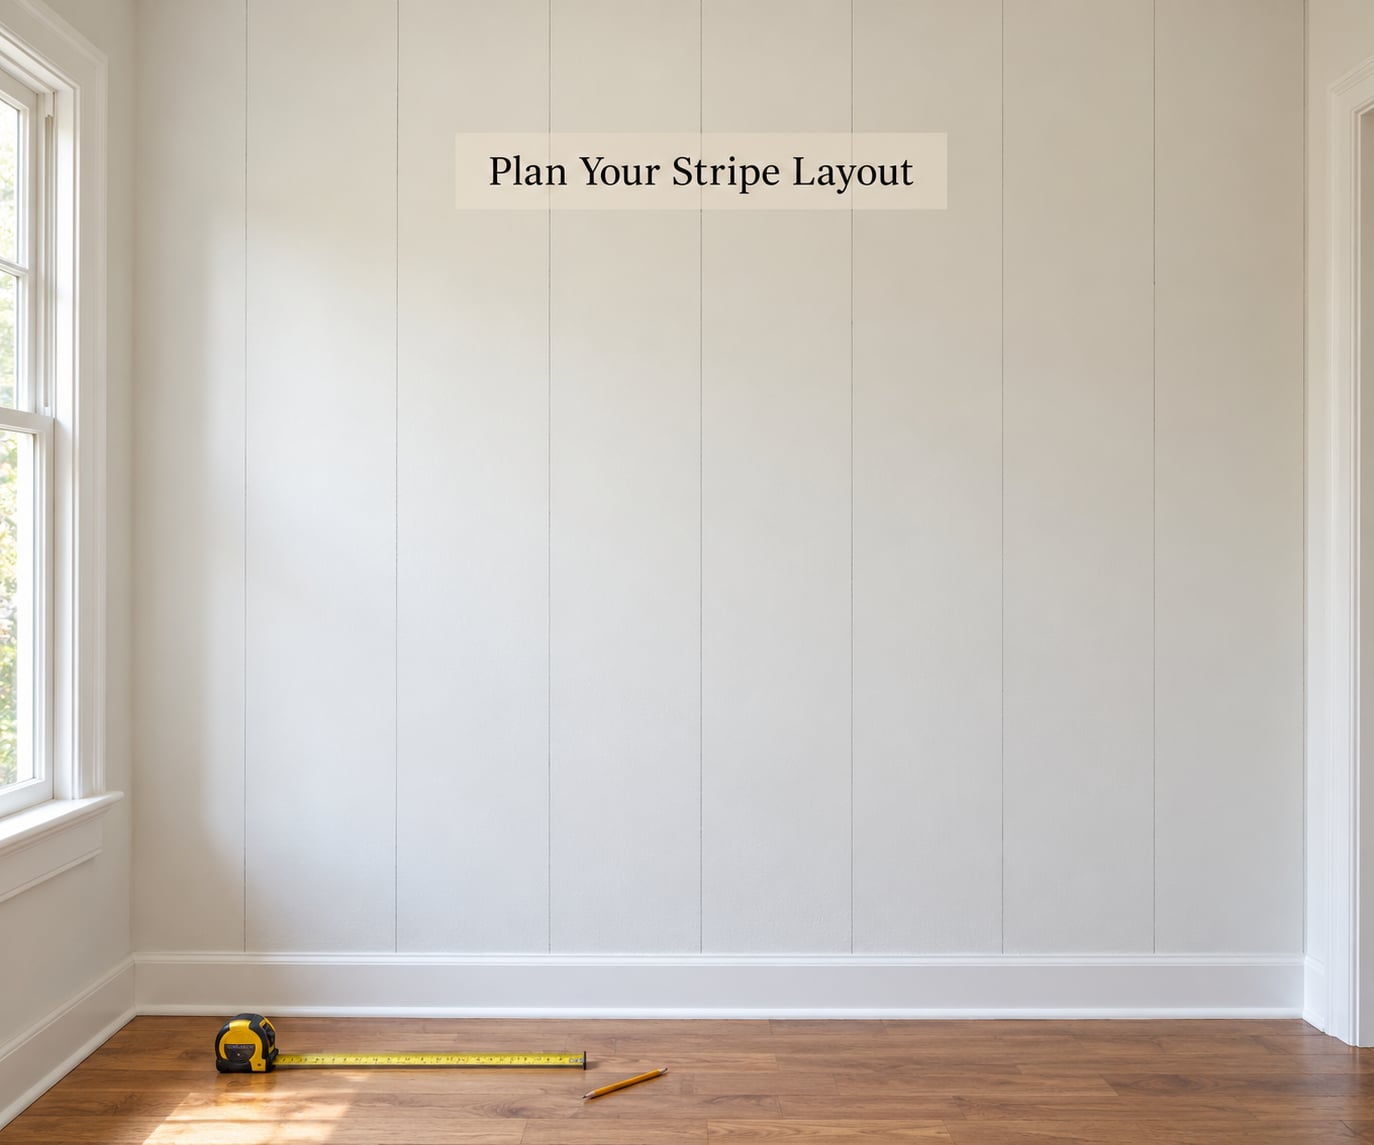
Divide the wall width by an odd number, and your corner stripes will match up automatically. Odd numbers also leave a full stripe of base color at the ceiling and the floor, which means you never have to mask off crown molding.
Measure the wall at the top, the middle and the bottom before you calculate anything. Walls are rarely plumb, so a single measurement near the ceiling can leave you two inches short at floor level. Use the smallest of the three numbers and treat the extra as the width of your corner stripes.
Start in the corner nobody looks at. Whatever leftover width is left over ends up there instead of across from the doorway, which is where a slightly narrow stripe would bother you every day.
| Wall width | 5 stripes | 7 stripes | 9 stripes | 11 stripes |
|---|---|---|---|---|
| 93 inches | 18.6 in | 13.3 in | 10.3 in | 8.5 in |
| 120 inches | 24 in | 17.1 in | 13.3 in | 10.9 in |
Anything from 4 to 12 inches wide works. Wider stripes suit big rooms and children who are outgrowing thin pinstripes fast, while narrow stripes can make a modest room feel busy if you go under 3 inches.
Mark your lines lightly in pencil before you tape anything. Do not use the baseboard, a door frame or the edge of a window as your guide, because trim is installed fast and rarely lines up with the wall behind it.
Clean and Prepare the Wall
Dust and grease are the two things that stop paint from sticking. Wash the wall with warm water and a little dish soap, let it dry fully, then wipe it once more with a clean damp cloth to remove the residue the soap left behind.
Fill every nail hole and scrape, sand them flat, and brush the dust off. If the wall is already painted with a glossy finish, scuff it with medium-grit sandpaper or a deglossing wipe so the new coats have something to grip.
Protect the floor with a dust sheet and tape around any baseboards you are not using as a stripe edge. Mask outlet and switch plates with a quick strip of tape pressed into the corners, and run a small piece of paper behind each opening so paint cannot run behind the cover.
Then let the base coat cure. Follow the recoat window on the can, treat four hours as the safe minimum, and give it a full overnight if you possibly can. Twenty-four hours removes almost every chance of the tape pulling fresh paint off later.
Apply Painter’s Tape
Apply tape along the pencil lines of every other stripe, which means the stripes you are not painting yet stay in the base color. Run the tape against a level or a straight edge as you stick it down rather than eyeballing it, because a gentle drift over 8 feet is very visible once the paint is on.
Press the tape down firmly with your thumb, then go over the whole edge with a plastic putty knife or an old credit card to burnish out every bubble and gap. This is the step that makes the seal coat work, and it takes thirty seconds.
Leave the tape up for no more than a few days. Adhesive that has had time to fully set is what pulls paint off walls.
Paint the First Stripe
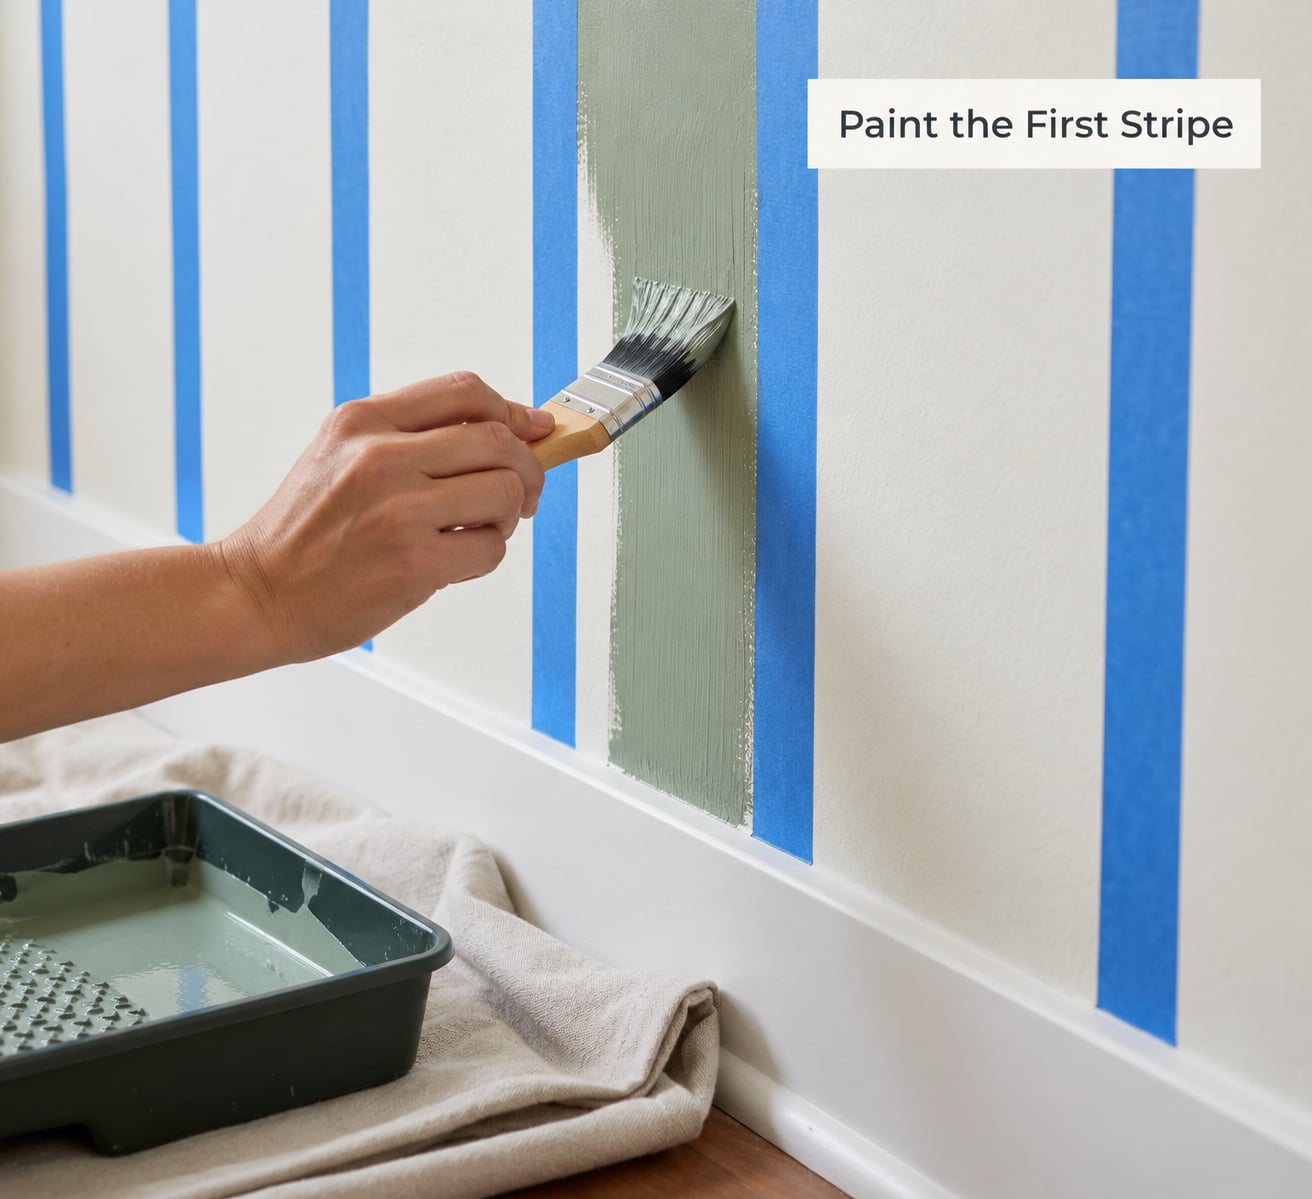
Use a 2-inch angled brush to paint a thin seal coat of the base color over the tape edge before you touch the stripe color. This fills any gap the burnishing missed, and once it dries the stripe paint has a hard wall to stop it.
Let the seal coat dry, then cut in with the brush along the ceiling line, baseboard and inside corners. Roll the middle of the stripe with a properly loaded roller, and pull it away from the tape edge rather than pushing toward it, since pushing drives paint underneath the tape.
Two thin coats beat one thick one every time. Dark colors over a light base, and black and white stripes especially, often need a third coat before the color reads as solid rather than patchy.
Let the Paint Dry and Add a Second Coat
Follow the recoat window printed on the can, which is usually several hours depending on temperature and humidity. Full cure takes far longer, often two to four weeks, so the wall may look slightly softer than you expect on day one.
Pull the tape after the first stripe coat, before the second goes on. Many painters do it this way because the edge is still slightly soft and lifts without a fight, which produces the sharpest line you can get at home.
Once the tape is gone, run a light second coat over the stripe and feather the edge with a dry brush if you can see the outline. If you would rather skip a second color entirely, paint the base color once and then roll on the same color in a different sheen, such as flat over eggshell, for a tone-on-tone stripe.
Remove the Tape and Finish the Room
Pull the tape slowly at a 45-degree angle, backward toward the wall you just painted rather than up and away from it. Keep the angle shallow and steady, and guide the strip with your free hand so it does not fold back on itself and leave a torn line.
If the tape has already dried on, slide a utility knife under the edge and lift it at a shallow angle so it separates from the base coat instead of taking the base coat with it. Work in short sections, and change the blade often.
Touch up any misses with the small brush, keeping the strokes feathered and light. Wash the roller and brushes out right away, they will not come clean tomorrow, and leave the room ventilated while everything finishes drying.
Keep the styling simple. One striped wall is plenty, and artwork hung low against wide stripes looks better than a crowded gallery wall fighting the pattern behind it.
Common Mistakes
Paint bleeding under the tape is the most common stripe failure
Bleeding happens when the tape edge is not fully sealed, which is usually caused by one of three things: paint that was too wet, tape applied to a dusty or glossy wall, or edges that were never burnished. Fix it by sealing the tape edge with a thin coat of the base color, letting it dry fully, and then applying the stripe color lightly. Heavier pressure on the roller adds to the problem, because more paint means more seepage.
Crooked stripes usually mean the wall is out of plumb
A stripe that follows the wall exactly still looks wrong if the wall leans. The tape is doing its job and the wall is not. Mark every line from the same two reference points rather than working stripe by stripe, and check your straight edge against a level rather than against the ceiling, which often bows. A laser level is noticeably more reliable than a hand level on long runs.
Tape that dried on pulls the paint with it
Adhesive left on a wall for a week can take the top coat with it when you finally pull it. Pull tape while the edge is still workable, and treat anything that has set as a job for a utility knife. Slide the blade under the tape, lift at a shallow angle, and keep the flat of the knife against the wall so the base coat stays put.
Missed spots and patchy coverage come from loading the roller too heavily
A roller dripping paint leaves a thick patch that dries rough, and a starved roller leaves a thin patch that never hides the base color. Roll the cover firmly in the pan, then lift and let it drip for a second before you touch the wall. Two even coats fix this where a third heavy coat only makes the texture worse.
A thin sliver at one end means the width did not divide evenly
If the wall width does not divide cleanly by your stripe count, the leftover goes somewhere. It belongs at the corner people walk past, not beside the window. Re-measure at floor level rather than ceiling level, and if the leftover is more than an inch or so, add or drop a stripe to redistribute it.
Stripes on a textured wall need a caulk seal instead of tape alone
Popcorn and orange-peel textures give the roller tiny valleys to hide in, and those valleys are where bleed starts. Run a thin bead of latex caulk along the tape edge and finger-smooth it flat, let it dry, then brush the base color over the top. Take your time burnishing the tape into the texture, and expect to spend noticeably longer than you would on a smooth wall.
Frequently Asked Questions
How can I paint stripes on a wall without it bleeding?
Seal the tape edge before you paint the stripe color. Once the low-tack tape is burnished down with a putty knife or an old card, brush a thin coat of the base color over the edge and let it dry fully. Paint the stripe color lightly over that seal, pulling the roller away from the tape rather than into it, and pull the tape while the paint is still slightly wet.
When should I remove painter’s tape when painting stripes?
Pull the tape as soon as the stripe coat is finished and the edge is still workable, usually within 15 to 30 minutes. If you wait for the paint to fully dry, the adhesive can set and take the base coat with it. Some painters pull after the first coat and apply the second straight over the clean edge, which gives the sharpest line of all.
Should I use an odd number of stripes?
Yes, and it is the single most useful trick in this project. Dividing the wall width by an odd number means your corner stripes are the same width as the rest, and you finish with a full base-color stripe at both the ceiling and the floor. That removes the need to mask off crown molding, which is where crooked lines usually start.
Can you paint stripes on a textured or popcorn wall?
You can, but tape alone will not hold a seal against the texture. Burnish the tape down hard, run a thin bead of latex caulk along the edge, finger-smooth it level, and let it dry before brushing the base color over it. A heavier nap roller and extra coats help too, since the low spots need more paint to fill.
How wide should wall stripes be?
Between 4 and 12 inches is the range most people land on. Under 3 inches, stripes start to look busy and hard to keep straight. Wider stripes work well in low-ceilinged rooms because they are visually calm, while mid-range widths suit a nursery or bedroom. Measure first, then pick the width that divides your wall evenly by an odd number.
How long does it take to paint stripes on a wall?
Plan on two full days. Day one is cleaning, filling, and rolling the base coat, which then needs a full dry. Day two is marking, taping, sealing the edges, and rolling the stripe color, followed by hours of drying and a second coat. A single accent wall moves faster, often finishing in one afternoon plus an evening of dry time.
Conclusion
Crisp stripes come down to four things: measure carefully and divide by an odd number, use low-tack tape and burnish it down, seal the tape edge with the base color, and pull the tape while the paint is still slightly wet.
Prep the wall properly, cut in before you roll, and give every coat the dry time printed on the can. Then paint one wall, or one section of a wall, and live with it a day before you commit to the whole room. That single test wall will tell you whether your stripe width and colors are right, and it is a lot cheaper than discovering it after the last coat.