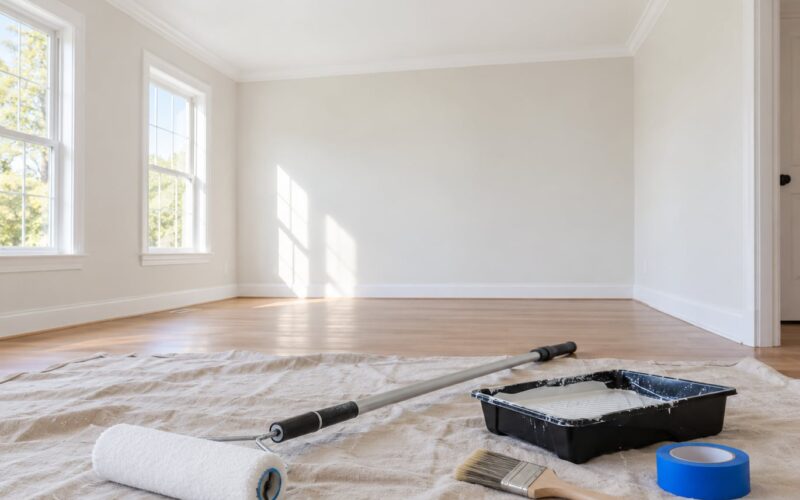
Cutting in means painting the tight edges where a wall meets a ceiling, trim or another wall with a brush, before you roll out the rest. To learn how to cut in paint without tape, load the bottom third of a 2.5 to 3 inch angled sash brush, start about an inch back from the line, and pull steadily along the edge in 2 to 3 foot strokes.
Budget about 15 minutes of practice on a piece of cardboard before you touch a real wall. The stroke itself is not hard, but the first three attempts on a living room ceiling usually look like they were done with a wobbling hand, because the brush was too heavy and the wrist was doing too much work.
Tape is not the only option. Plenty of working painters barely own a roll of it, though they will also tell you straight that freehand is harder and takes a few rooms to get comfortable. This guide covers the method, the numbers that make it repeatable, and what to do when the line goes wrong.
Table of Contents
- What You Need
- What brush size for what
- What do professional painters use instead of a brush?
- Step-by-Step: How to Cut In Paint Without Tape
- Step 1: Prepare the surface
- Step 2: Load a small amount of paint
- Step 3: Position your hand and brush
- Step 4: Make the first cut-in stroke
- Step 5: Continue in small sections
- Step 6: Let the paint level and inspect the line
- Common Mistakes and How to Fix Them
- Frequently Asked Questions
- How to cut in paint without using tape?
- What do professional painters use to cut in?
- What can I use if I don’t have masking tape?
- What is the best paint brush size for cutting in corners?
- What are some common mistakes when cutting in paint?
- Can I just paint without sanding?
- Conclusion
What You Need
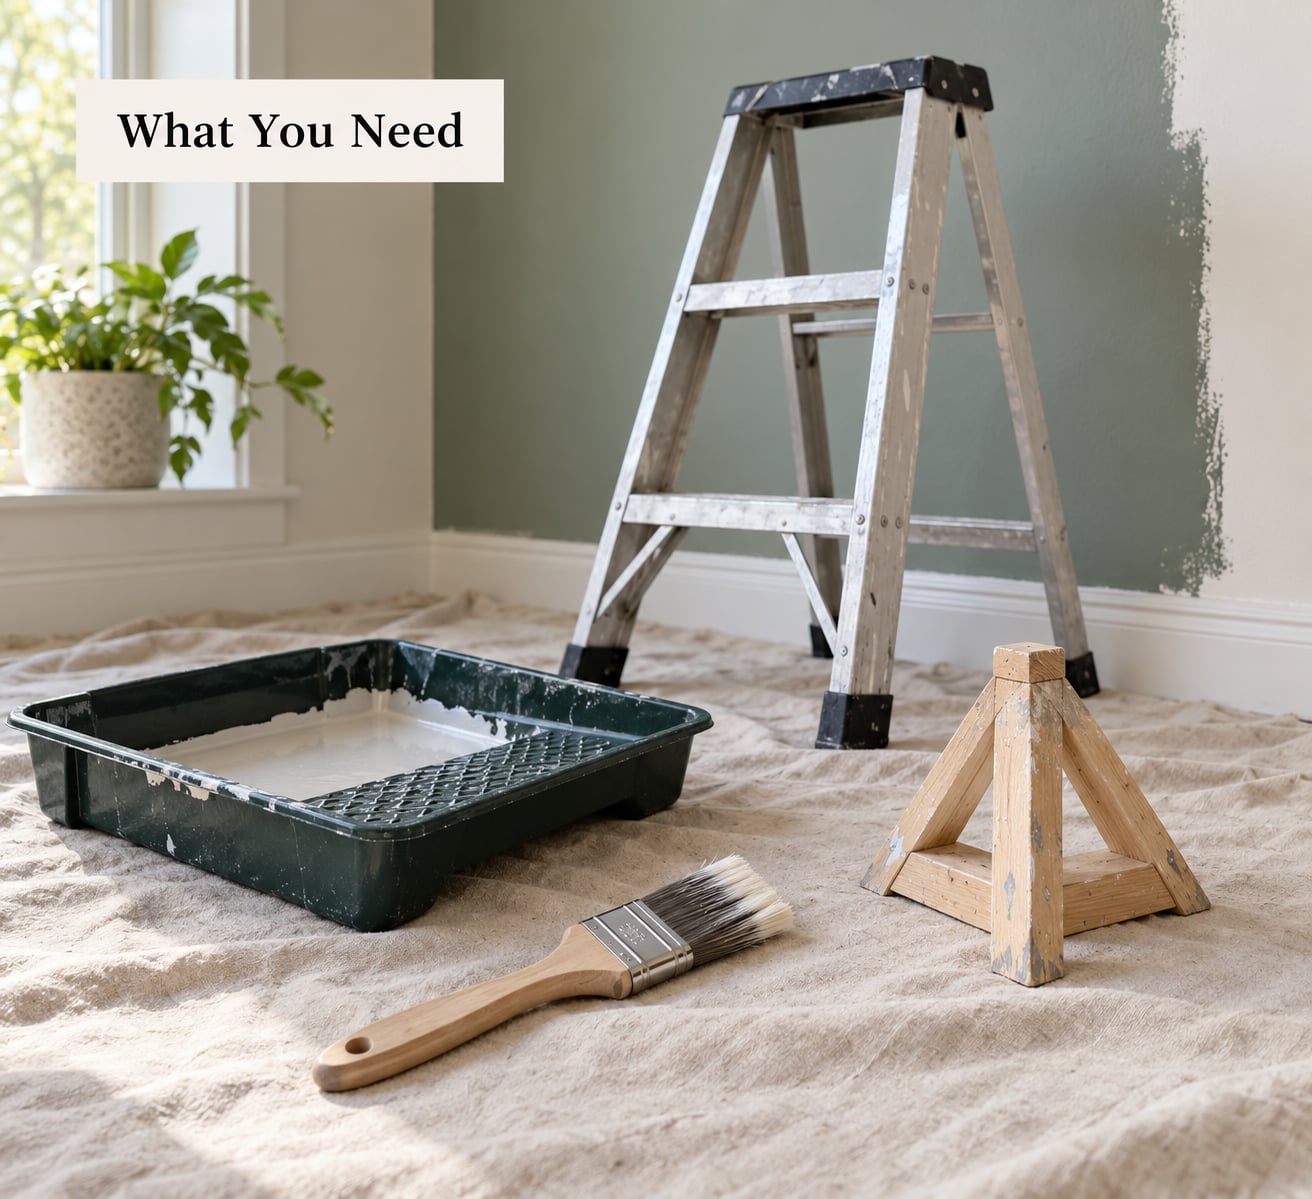
You need less than a hardware store aisle. The tools below cover a whole room, and most of them get reused on the next project.
- A 2.5 to 3 inch angled sash brush. This is the single tool that decides whether the line looks clean. The angled bristle tip is the guide, and a quality brush holds its shape when wet.
- A paint kettle or tray. A kettle lets you load and wipe the brush in one motion. A roller tray works if you have one, but a dedicated kettle keeps the paint deeper and the residue out of your roller nap.
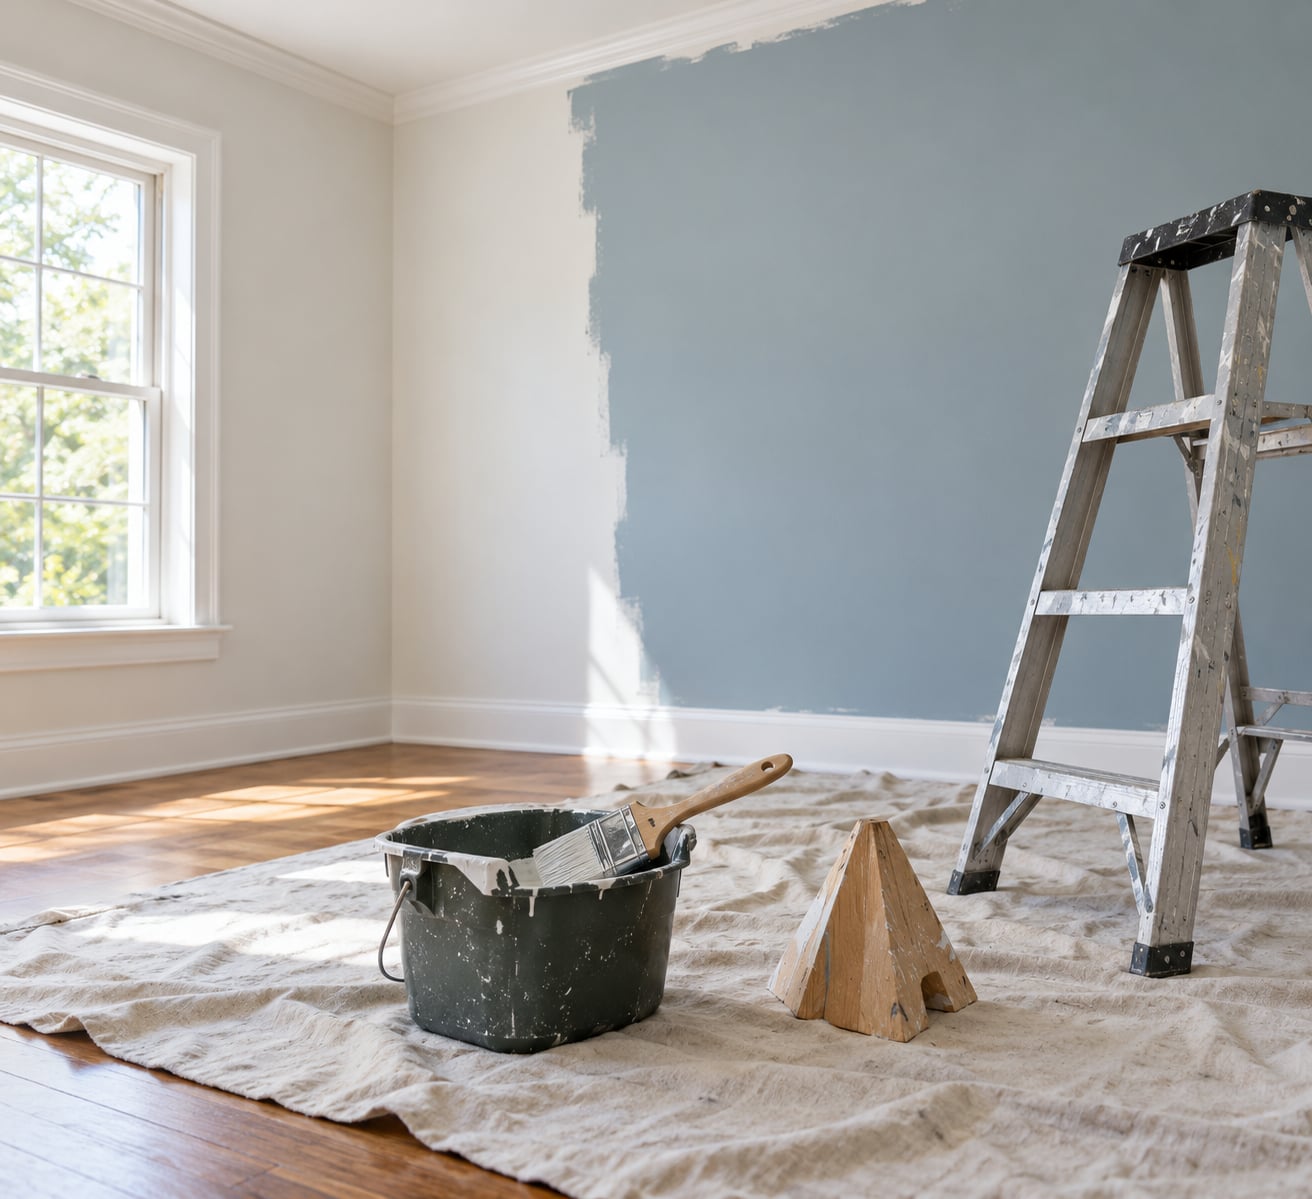
- A drop cloth and a painter’s pyramid. A folded sheet under the ladder catches drips; the pyramid keeps the ladder feet off the fresh floor coat.
- A small 1 inch trim brush. For corners, outlets and touch-ups. The big brush is not a substitute.
- A stir stick and a clean rag. Paint that has sat for more than a few hours develops a skin and a film on top. Stir from the bottom every time you reload.
- A paint shield or drywall taping knife. Optional, and the fastest route to a straight line. Details below.
What brush size for what
| Brush width | Use it for | Notes |
|---|---|---|
| 1 inch | Inside corners, outlets, short trim | Maximum control, slowest coverage |
| 1.5 inch | Window and door frames, baseboard edges | The trim-painter’s default |
| 2 inch | Short walls, cabinets, built-in shelving | Good all-rounder for a first room |
| 2.5 to 3 inch angled | Ceiling lines and long wall edges | Fastest and straightest on a big run |
What do professional painters use instead of a brush?
A stainless steel taping knife or a plastic paint shield, held against the edge while you roll or brush paint right up to it. Push the card along the joint, it blocks the paint from crossing onto the ceiling, and the metal or plastic gives you a physical straight edge to work against. Several painters on Reddit describe it as the drywall taping knife trick, and it works particularly well on a ceiling line where a freehand brush stroke is hardest to keep straight.
The tradeoff is a slightly harder, more built-up edge, and it takes a steady hand to keep the card moving. If you do not have one, a stiff piece of cardboard, a straight edge or an old credit card held flat does the same job. What matters is a rigid, thin guide.
Step-by-Step: How to Cut In Paint Without Tape
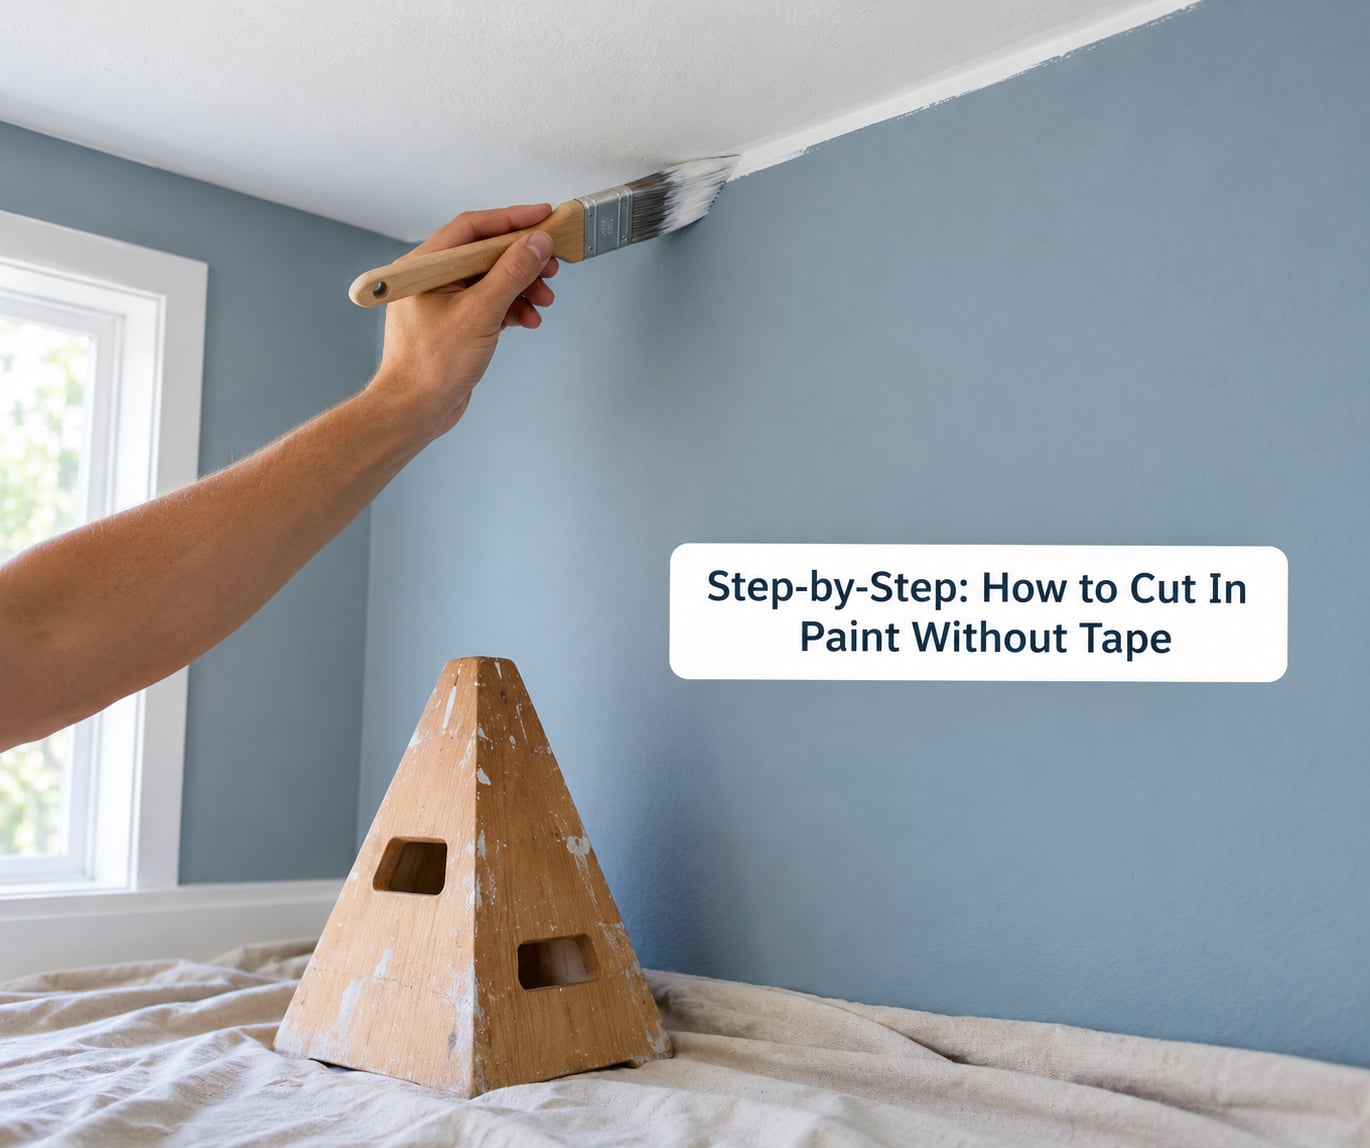
Work in sections you can finish in about five minutes. Keep the paint wet within each section and you will never see a lap mark. Here is the sequence that works.
Step 1: Prepare the surface
Clear the room first. Move furniture, take down wall art and covers, and lay the drop cloth with a couple of inches of overlap at the edges. Vacuum or wipe the wall-to-ceiling joint, because dust and cobweb fibres are what make a stroke skip and jump.
Look at the joint before you start. A wall that has been patched and sanded holds paint differently from a straight run of drywall, and a joint with old gloss paint needs a scuff or a second look for adhesion. If the edge is not square or the ceiling is wavy, expect a wavy line. No brush technique fixes bad drywall.
Step 2: Load a small amount of paint
Dip the brush in so only the bottom half-inch to an inch of the bristles is submerged. That is roughly the bottom third of the bristle length. Tap one side of the brush against the rim of the kettle to knock off the excess, then wipe the other side lightly on the rim.
This is where most beginners go wrong. An over-loaded brush is the direct cause of runs, drips and the fat ridge along a baseboard. If you can see paint beading on the end of the bristles, it is too much. When in doubt, load less and reload more often. Reloading takes two seconds; scraping a dried drip off a ceiling takes an hour.
Step 3: Position your hand and brush
Hold the brush near the ferrule, the metal band that holds the bristles, roughly an inch up from the bristles. Grip it like a pencil, loose, with your index finger driving the stroke. Holding further down the handle gives you fine control but no leverage, and holding at the very end of the handle gives you leverage you do not need.
Keep the bristles parallel to the edge you are cutting. The angled corner of the brush is the part that touches the line first, and it works like a tiny straight edge as you draw it along.
Step 4: Make the first cut-in stroke
Start about an inch into the wall, away from the ceiling. Pull the brush toward the line with light pressure, fan the bristles slightly as you arrive so the angled corner touches the joint first, then pull steadily along the edge in a single stroke of 2 to 3 feet.
Do not stop mid-stroke and do not change speed. One continuous pull is what keeps the paint laying down evenly. When you reach the end of your section, lift the brush away from the surface and lightly brush the bristles outward to feather the edge. Feathering out softens the boundary between the cut-in band and the roller area so no ridge shows later.
Step 5: Continue in small sections
Reload and overlap the next stroke back onto the first by an inch or two, picking up the still-wet paint rather than dry paint. This is the wet edge, and keeping it is the single most important habit in the whole job.
If your cut-in band has started to dry before you pick it back up, stop. Do not brush over it. Let it dry fully, then treat the cut-in as a normal paint band and roll right up to it with a little more pressure at the join. Painting over a semi-dry cut-in is what creates the halo that looks like a picture frame around the edge.
Step 6: Let the paint level and inspect the line
Stand back and look at the edge from an angle, not straight on. A line that looks terrible head-on often disappears at a normal viewing distance. Let the paint level for a few minutes before you roll.
Fill any small gaps with the tip of the lightly loaded brush, pressing rather than scrubbing. Keep the touch-up thin. A thick patch in a low spot is harder to blend than the gap it filled, and it dries as a visible ridge.
Then roll the wall. Load the roller lightly and roll into the cut-in band while both are still wet, so the roller texture and the brush texture merge into one surface.
Common Mistakes and How to Fix Them
Almost every bad cut-in line traces back to one of six things. The table pairs each symptom with its cause and the correction.
| Problem | Cause | Fix |
|---|---|---|
| Drip or run down the wall | Brush overloaded | Load less, tap both sides on the rim, reload every 2 to 3 feet |
| Wavy, wobbling line | Wrist and elbow driving the stroke | Move the whole arm, keep the brush parallel to the edge, slow down |
| Paint bleeding onto the ceiling or trim | Brushing past the joint on the finish stroke | Pull the brush away as you finish, and use a paint shield for the run-back |
| Unpainted gap along the joint | Brush ran out of paint before the section ended | Use three to four foot sections, reload before the stroke starts |
| Visible ring or picture frame | Cut-in dried before rolling, or roller stopped short | Keep a wet edge, roll into the band while both are wet |
| Ridge along a baseboard | Too much paint at the joint | Scrape the ridge level once dry, then feather with a light coat |
Slipped onto the ceiling or the trim? Do not try to fix wet paint with more wet paint. Let it dry completely, then touch it up with the small 1 inch trim brush and the matching colour. Once it is dry, a light touch-up disappears; smearing it while it is still soft makes it permanent.
Two situations are worth using tape anyway. A two-colour or accent wall with high contrast will show every wobble in the wall colour against the other colour. So will a first attempt on a room you have to hand back by a fixed date. Nobody is grading your freehand line in a single-tone room, and nobody is grading your deadline.
Frequently Asked Questions
How to cut in paint without using tape?
Load the bottom half-inch to an inch of a 2.5 to 3 inch angled sash brush, tap off the excess, and hold it near the ferrule like a pencil. Start about an inch back from the line, pull steadily along the joint in 2 to 3 foot strokes, and lift away as you finish. Overlap each section while the paint is still wet.
What do professional painters use to cut in?
Mostly a quality angled sash brush in the 2.5 to 3 inch range for wall and ceiling lines, and a 1.5 inch angled brush for trim and baseboards. For long straight ceiling runs, many use a stainless steel taping knife or plastic paint shield as a physical straight edge, brushing or rolling paint up against it.
What can I use if I don’t have masking tape?
A paint shield or drywall taping knife is the best substitute, held flat against the joint as a straight edge. A stiff piece of cardboard, a metal straight edge or an old card works the same way. You can also chalk or pencil a guide line on the surface and use it as a reference, which slows you down but keeps the line steady.
What is the best paint brush size for cutting in corners?
Use a 1 inch angled brush for inside corners, outlets and tight spots, and a 1.5 inch angled brush for window and door frames and baseboard edges. A 2.5 to 3 inch angled brush is too wide for a corner because you cannot fan the bristles without touching the adjacent surface.
What are some common mistakes when cutting in paint?
The usual four are loading too much paint, driving the stroke with the wrist instead of the arm, overrunning the joint on the finish stroke, and letting the cut-in dry before rolling into it. The last one is what creates a visible ring or picture frame around the edge of the wall.
Can I just paint without sanding?
You can paint over sound existing paint without sanding, as long as the surface is clean, dry and free of loose flakes. Wash off any residue, scuff glossy walls with a sanding pad, and fill nail holes and cracks first. Sanding matters most on patched or newly filled areas, where the filler will otherwise show through the finish.
Conclusion
Start on scrap cardboard, not on the ceiling. Draw a pencil line with a straight edge, load an angled sash brush lightly, and pull along it a few times until the stroke feels automatic. That drill takes fifteen minutes and it removes most of the wobble that makes beginners think they need tape.
Then take it to the real job in this order: clear the room, load less paint than feels comfortable, pull with your arm in 2 to 3 foot strokes, and roll into the band while both are wet. Keep a paint shield within reach for the ceiling line and for any edge where the colour contrast makes mistakes obvious. Freehand cutting in is a learnable skill, and the first good line usually arrives on the second room.