Knowing how to paint a ceiling without a mess comes down to three things: roll slowly, do not overload the roller, and put a floor covering down before you open the can. Splatter happens because fast strokes fling wet paint into airborne droplets, a heavy roller sheds drips, and gravity does the rest on the way down. Cut in the edges first, roll the middle with an extension pole, and you can finish a bedroom in a couple of hours with a mop and a scrub bucket as your clean-up kit.
I have painted enough ceilings to know that the mess almost never comes from the paint itself. It comes from hurrying, from a roller loaded past the point of dripping, and from discovering a stain halfway through coat two that should have been primed before coat one.
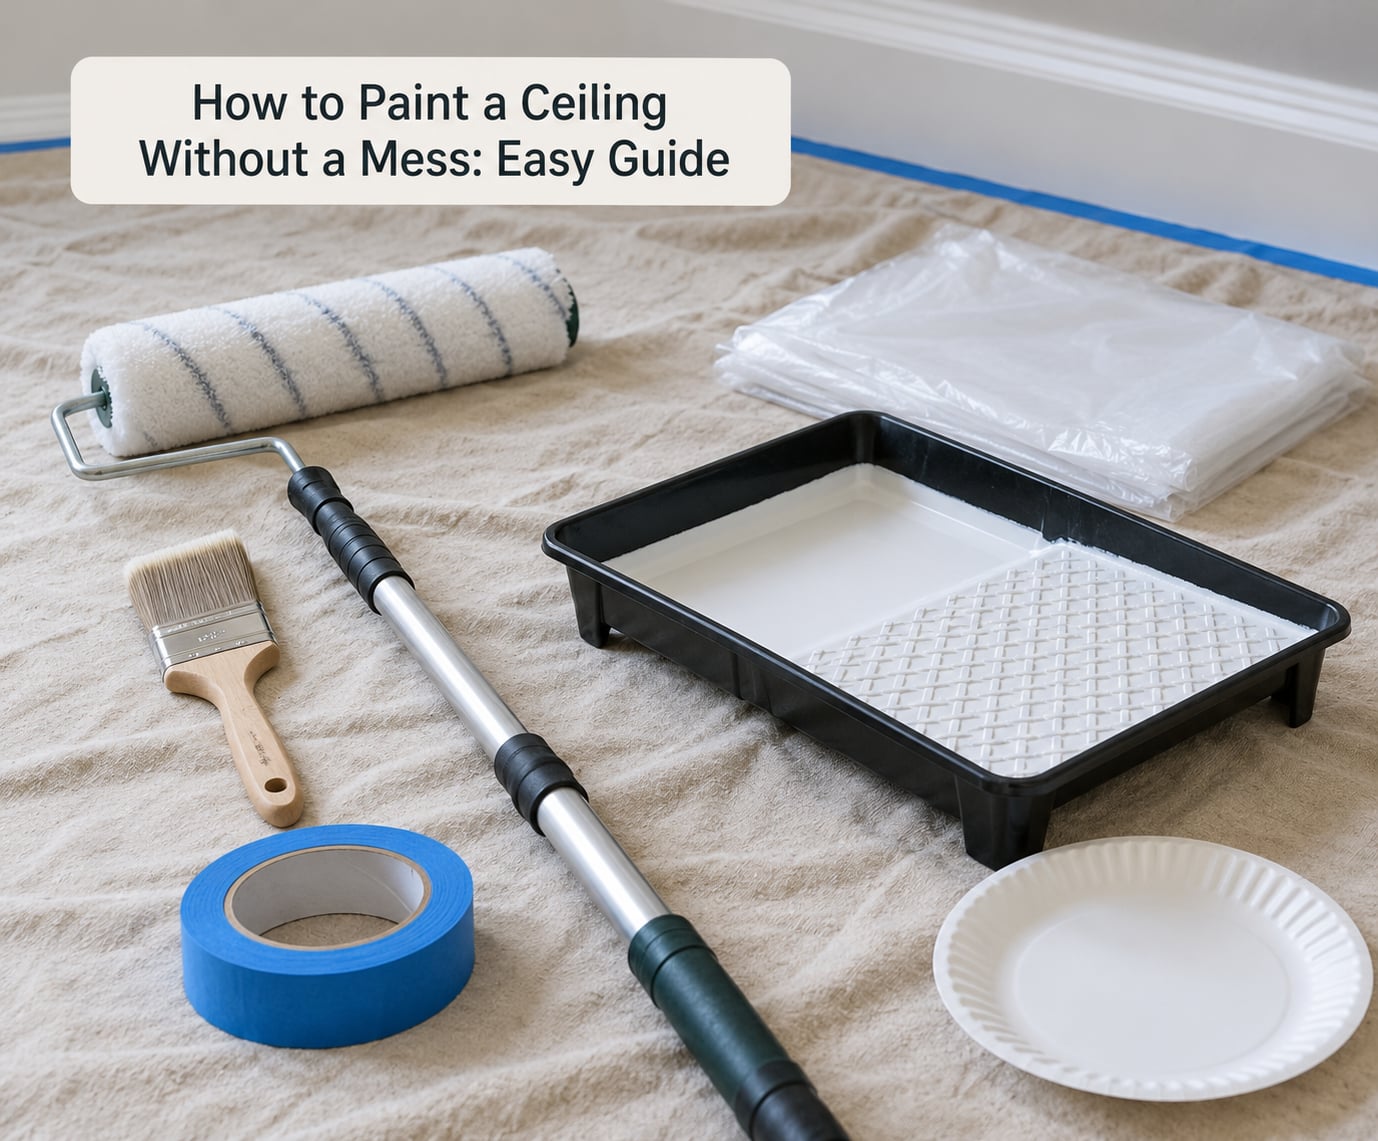
Here is the setup I use, the order I work in, and the six mistakes that turn a two-hour job into an all-day cleanup.
Table of Contents
- What You Need
- Which roller nap to pick
- Step-by-Step: How to Paint a Ceiling Without a Mess
- Step 1: Protect the Room and Prepare the Ceiling
- Step 2: Cut In the Edges
- Step 3: Roll the Main Ceiling Area
- Step 4: Let the First Coat Dry and Finish the Ceiling
- Common Mistakes That Create Ceiling Paint Messes
- Frequently Asked Questions
- Do I need painter’s tape to paint a ceiling without making a mess?
- What type of roller is best for a smooth ceiling?
- How many coats does a ceiling need after painting?
- How long should I wait before painting the second coat on a ceiling?
- How do I paint a textured ceiling without making a mess?
- What should I do if paint drips onto the floor while rolling a ceiling?
- Conclusion
What You Need
Gather everything before the first cut. Hunting for a brush with wet paint on the ceiling is how drips end up on the floor.
- Ceiling paint in a dead-flat or flat sheen. It is thicker than wall paint and spreads further, which means fewer trips to the tray.
- A lint-free roller cover, 3/8 inch to 1/2 inch nap for smooth ceilings, with a cage or grid inside the core so paint moves through evenly.
- An extension pole so you can roll overhead while standing on the floor.
- An angled sash brush, 2 to 2.5 inches for cutting in the wall-ceiling line.
- Blue painter’s tape for trim, light fixtures and ceiling fans.
- Plastic sheeting to hang over furniture and tape at the top.
- A canvas drop cloth or thick plastic sheeting for the floor. Paper tears under a ladder; plastic sheeting is lighter and cheaper.
- A paint tray with a ridged section for evening out the roller load.
- Stain-blocking primer and spackle for water marks, cracks and nail holes.
- Goggles, a dust mask and a step ladder if you cannot reach with the pole alone.
Two optional items earn their place on any tall or textured ceiling. A roller shield clamps under the cage and catches drips before they reach the floor, and a paper plate with a hole cut for the handle does the same job for a few cents if you have a spare plate in the cupboard.
Which roller nap to pick
Nap length decides how much paint the cover holds and how tightly it grips the texture. Longer nap holds more paint, which means fewer re-loads overhead.
| Ceiling surface | Nap to use | What happens |
|---|---|---|
| Smooth drywall | 3/8 inch | Fine, even finish and the least chance of drips |
| Slightly textured | 1/2 inch | Covers the texture without leaving a gritty surface |
| Popcorn or heavy texture | 3/4 inch or wool | Reaches into the pits, but load it more lightly |
Step-by-Step: How to Paint a Ceiling Without a Mess
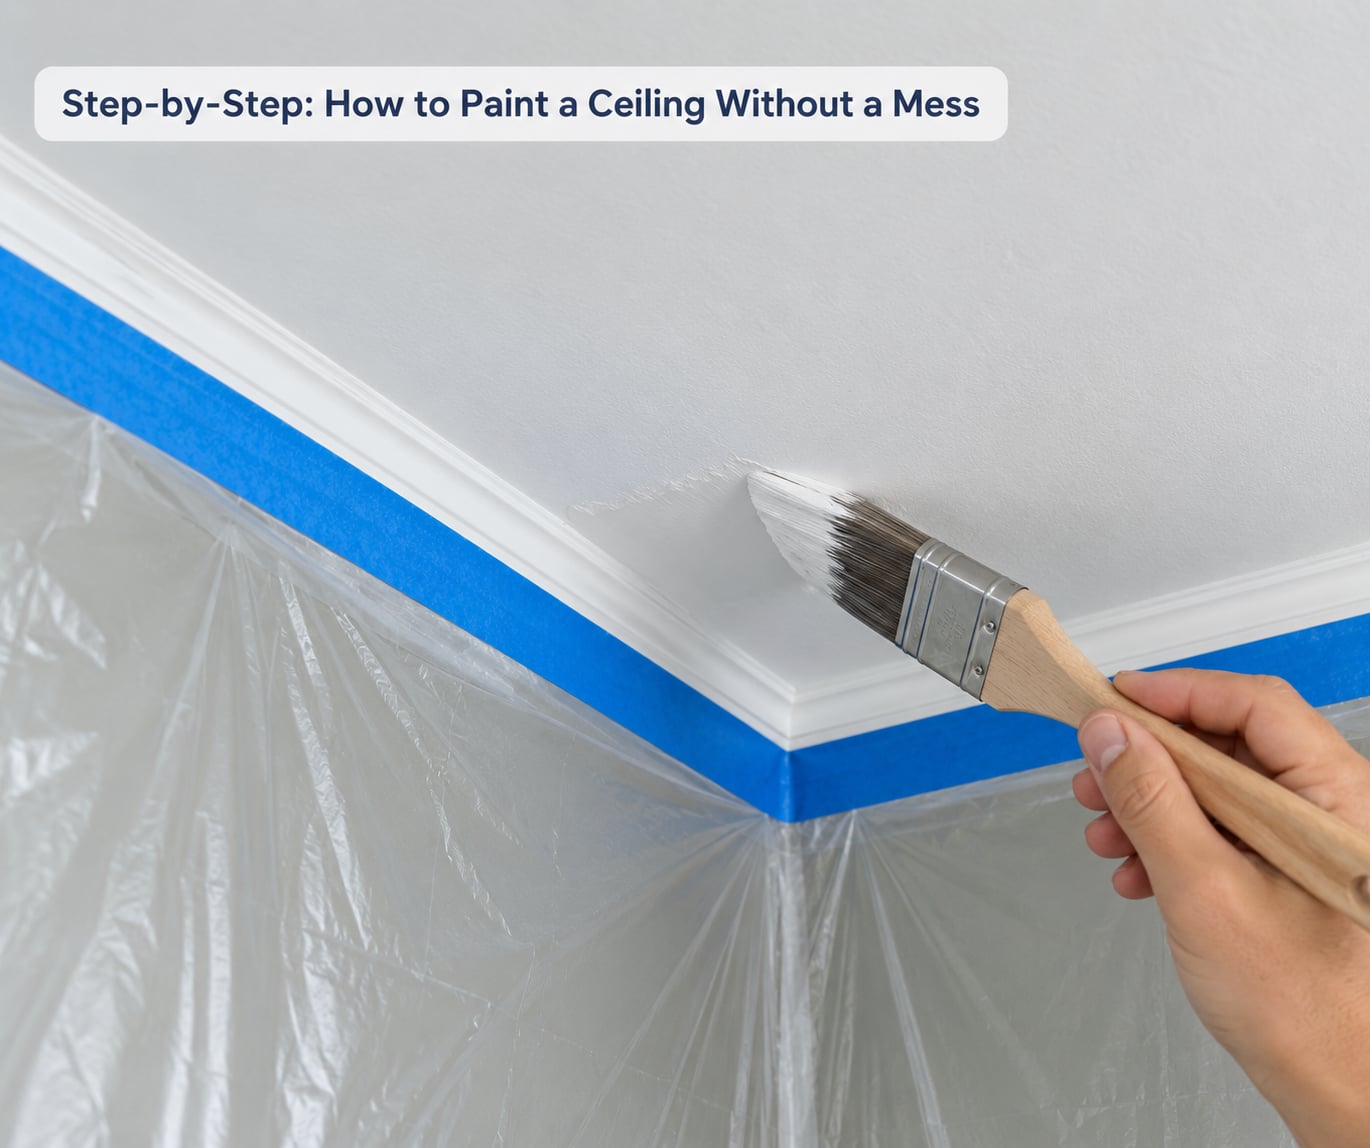
Work in this order every time. Prep, cut in, roll, then let it dry before you touch the tape.
Step 1: Protect the Room and Prepare the Ceiling
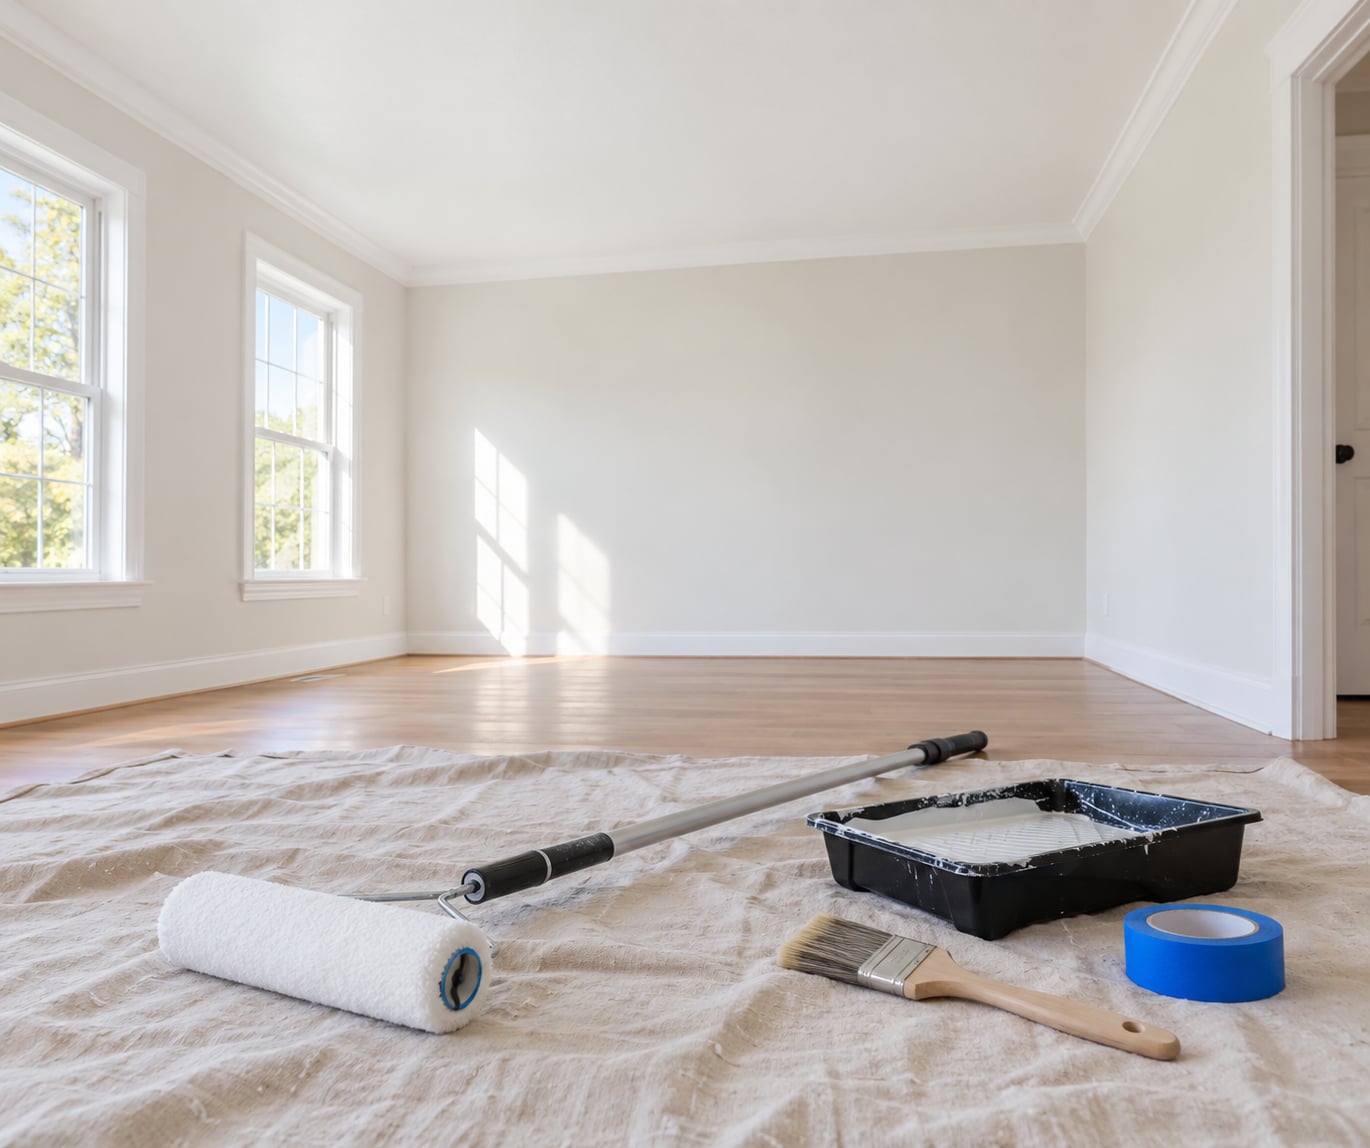
Push furniture to the centre of the room and drape plastic sheeting over it, taping the top edge about an inch above the highest point. Lay the drop cloth across the whole floor, overlapping the seams by a few inches and weighting them with a second layer of tape where you will walk.
Tape trim, door frames and light fixtures with blue tape pressed down by hand, not by roller, so the adhesive grabs without gouging the paint underneath. If you plan to leave a fan in place, run a strip of tape around the base of the canopy and a second strip a few inches out, so you have a clean line to cut against.
Now look at the ceiling itself. Wash off dust, patching compound and old drips with warm water and a little detergent, then fill cracks and nail holes with spackle. Sand the patches smooth and wipe the dust off again with a damp cloth, because dust under a roller becomes a permanent stipple in the finish.
Prime the areas that need it. Water stains and bare builder drywall both drink paint unevenly, which shows up later as shiny streaks that no amount of extra coats will hide. A stain-blocking primer over the marks and a high-build primer over bare drywall solve the problem before it starts.
Step 2: Cut In the Edges
Loading a brush properly is the whole trick. Dip about a third of the bristle length, tap the excess against the side of the can, and wipe the last of it on the rim. A brush that sheds a puddle when you lift it is a brush that will mark your ceiling line.
Start at a corner and brush a narrow, continuous line where the wall meets the ceiling, about two inches wide. Keep the bristles on the ceiling, not tilted into the wall, and let the brush do the work rather than your arm. Paint in one continuous run, not three small ones, so the stroke dries as one piece.
Cut in around fixtures, the fan canopy and any crown moulding while the roller is still in the tray. Do not worry about razor-sharp edges at this stage. You will come back with the roller and blend the line, which is far easier than trying to freehand a perfect border.
Step 3: Roll the Main Ceiling Area
Pour paint into the ridged section of the tray and roll the cover back and forth a dozen times to spread it evenly and work air out. Lift the roller and let it drip for a second. If paint is running off the bottom, it is too heavy.
Start at the far corner and work in sections roughly four feet wide, the width of your arm plus the roller. Roll a W pattern across the section, then go back over it lightly with no added pressure to knock down any ridges. The pressure is the enemy here; you want the nap to lay the paint down, not squeeze it.
Keep a wet edge and follow it. Feather each new section into the paint you just laid before that edge starts to set, and do not go back over a pass that has already started to dry. Rolling over tacky paint in a different direction is exactly what causes lap marks.
Glance up at the light after every section. Any darker wet patches in the sheen are missed areas, and any pooled beads are drips still sitting on the ceiling. Roll those beads out now, while the paint is wet, rather than hoping they level themselves.
Step 4: Let the First Coat Dry and Finish the Ceiling
Follow the drying time on the can, which is usually a few hours for a latex ceiling paint. Paint that feels cool and slightly tacky to the back of your hand is not ready, even if the room feels dry.
Look at the dried ceiling from a low angle with the lights off and on. Grazing light from a window at the end of the day is the harshest judge you will get, and it shows lap marks, missed corners and roller texture better than anything else.
Touch up any thin spots with a small roller and the same paint. Do not sand between coats unless you have a definite reason to; a light scuff with a sanding pad on a cured coat helps adhesion, but aggressive sanding just puts dust back on the ceiling.
Pull the tape while the final coat is still slightly soft, before it fully cures, and pull at a low angle so it peels away rather than tears. Late tape leaves either a dried ridge or a bare strip of the old colour.
Roll up the drop cloth from one end so the paint on it folds inward instead of sliding off onto the floor. Wash brushes and rollers in warm soapy water while the paint is still soft, and store the remaining paint sealed in the can with a layer of plastic film pressed onto the surface.
Common Mistakes That Create Ceiling Paint Messes
Overloading the roller is the big one. Paint that rolls off the bottom in a steady thread will drip no matter how carefully you move. The fix is simple: roll it out on the tray until it stops shedding, and reload less often.
Skipping the cut-in leaves a jagged unpainted line at the wall, and trying to cover it with the roller smears fresh paint into the old colour. Brush the edges first, always, even if the line looks straight.
Painting over stains or moisture guarantees a re-do. Paint will peel off a damp patch like a sheet. Fix the leak, dry the area, prime with a stain blocker, then paint.
Leaving tape on too long is the most common avoidable repair job. It leaves a ridge or a stripe, and both need sanding and a third coat. Tape comes off while the paint is still slightly soft.
Working in bad light hides everything. You cannot see lap marks, missed spots or roller texture until the sun rakes across the ceiling at dusk, and by then the whole ceiling is dry. Check your work as you go, not at the end.
Not protecting the floor is the mistake that turns a project into a bad week. Carpet takes latex paint almost permanently if you let it dry, and a soaked drop cloth stops working halfway through. Use two layers where the ladder or pole will rest, and keep a damp sponge in your back pocket.
One more worth naming: thinning the first coat heavily to save paint. A very thin coat goes on blotchy and has to be redone anyway. Painters on decorating forums usually report that a coat of primer on bare drywall does the same job with less mess.
Frequently Asked Questions
Do I need painter’s tape to paint a ceiling without making a mess?
Tape is not strictly necessary if your wall-ceiling line is clean and you cut in carefully with an angled brush, but it is cheap insurance. Blue painter’s tape on trim, fixtures and a fan canopy gives you a straight edge and a defined stopping point, and it pulls off without residue if you remove it before the paint cures. Many experienced painters skip tape on flat wall-to-ceiling joints and rely on a steady brush line instead.
What type of roller is best for a smooth ceiling?
A lint-free roller cover with a 3/8 inch nap on a cage-style core works best on smooth drywall. The fine nap lays down a thin, even coat that dries flatter, and the cage lets paint move through the cover evenly so you are not reloading every few feet. For textured ceilings, step up to a 1/2 inch nap, and for popcorn go to 3/4 inch or a wool cover.
How many coats does a ceiling need after painting?
Two coats is the standard for a ceiling. Over bare or unpainted drywall, or anywhere you have patched spackle, apply a coat of primer first and then two finish coats, because the drywall absorbs the first coat unevenly and leaves shiny streaks. Repainting an existing sound ceiling over its own colour usually needs two as well, since one coat rarely covers enough to hide the old colour in raking light.
How long should I wait before painting the second coat on a ceiling?
Follow the drying time printed on the can, which for most latex ceiling paints is around two to four hours and longer in cold or humid rooms. The test is touch: the ceiling should feel dry and no longer cool or tacky to the back of your hand. Painting the second coat too early lifts the first one, and painting too late makes the new coat stick to the dried one and pull it up.
How do I paint a textured ceiling without making a mess?
Texture holds more paint, so the mess risk comes from loading rather than technique. Use a 3/4 inch or wool cover, roll out the excess on the tray until nothing drips, and work in small sections with an extension pole. Cover the floor in two layers and tape plastic over anything you cannot move. Painting textured ceilings is far less disruptive than removing the texture, and you can leave it in place.
What should I do if paint drips onto the floor while rolling a ceiling?
Catch it early and it comes straight off. For latex paint, blot the wet drip with a damp cloth or sponge, then wash the area with warm water and a little detergent. Oil-based paint needs a cloth dampened with mineral spirits. If a drip has already dried, scrape off the hardened blob gently, then clean the residue with the same solvent. Always test on an inconspicuous spot first.
Conclusion
The cleanest ceiling is the one that goes in order. Cover the room, clean and prime the surface, cut in the edges with a lightly loaded brush, then roll the middle slowly in overlapping sections with an extension pole and a shield under the roller.
Start tonight with the drop cloth and the tape. Everything else on the list you can borrow, but protecting the floor and the trim is what separates a tidy ceiling from a cleanup that takes the rest of the day.