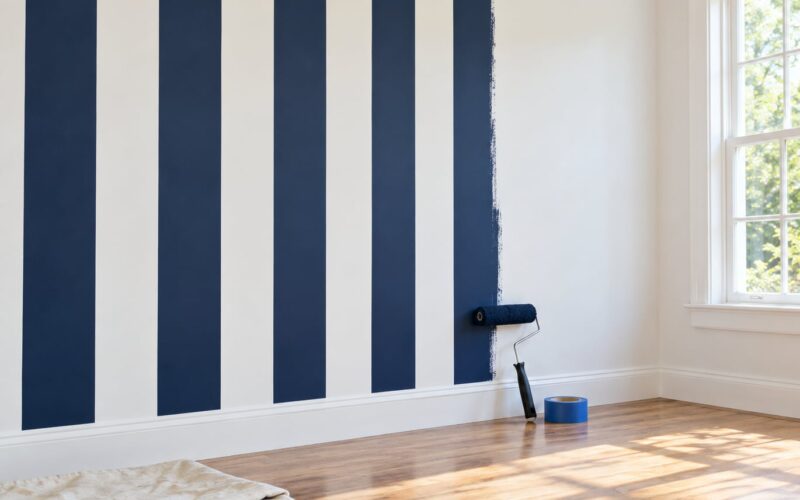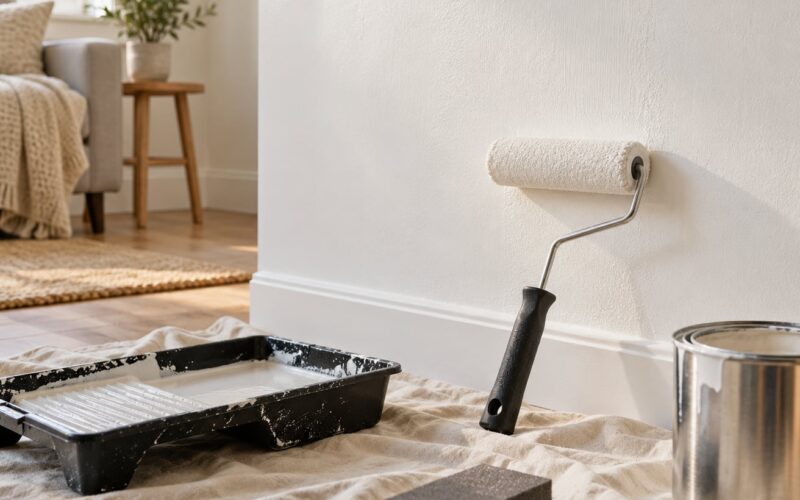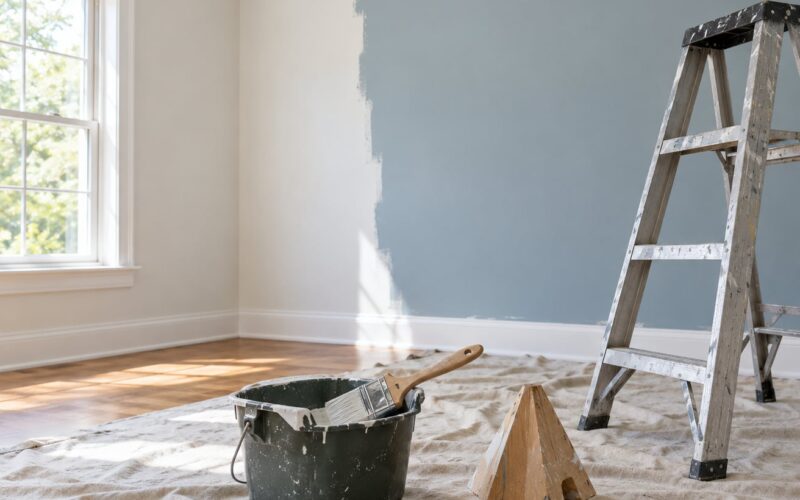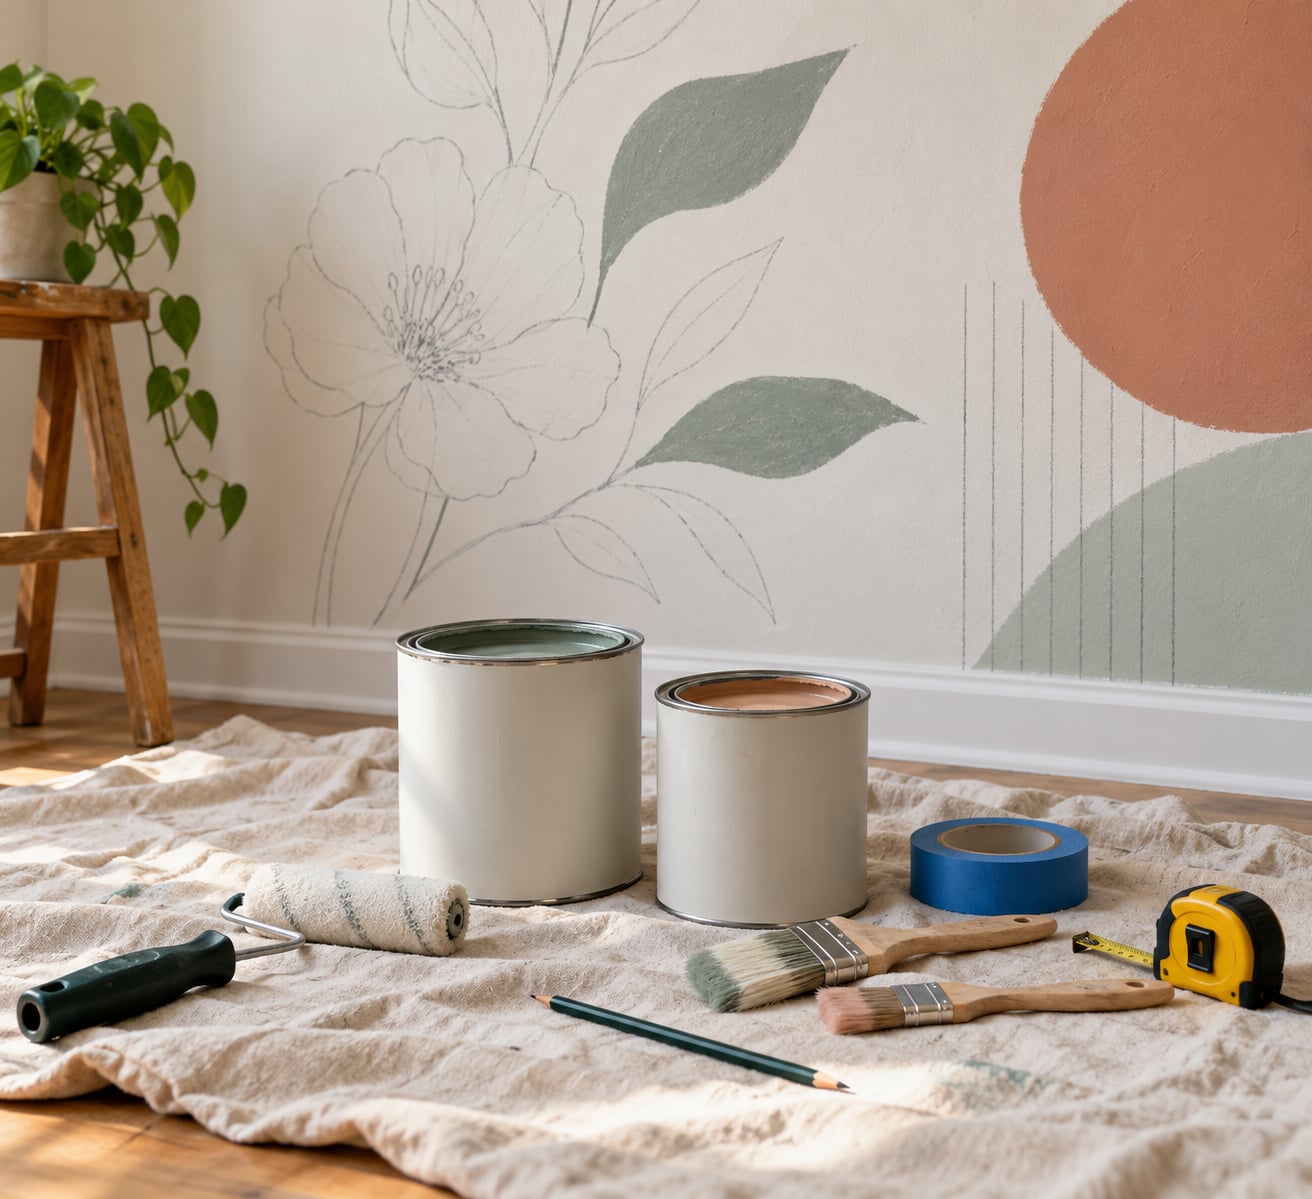
A mural is just paint applied in layers to a prepared wall, and almost anyone can do it. The trick to learning how to paint a mural on a wall for beginners is to keep the design simple: a few large shapes, four or five colors, and clean outlines. Most first murals take a couple of afternoons spread over two or three days, because each color needs dry time before the next one goes on.
You do not need an art degree, a steady hand, or a large budget. You need a clean wall, a pencil sketch you can scale to fit, matte interior wall paint, a couple of brushes, a small roller, and enough patience to let things dry. Here is the full process, from measuring the wall to sealing the finished piece.
Table of Contents
- What You Need to Paint a Mural on a Wall
- Step-by-Step
- Plan a Simple Design That Fits the Wall
- Transfer the Design Without Leaving Pencil Marks
- How to Paint a Mural on a Wall Without Pencil Marks
- Paint the Largest Background Areas First
- Add Shapes, Details, and Fine Lines
- Let the Mural Dry and Protect the Finish
- Common Mistakes
- Beginner Mural Painting Tips
- Frequently Asked Questions
- What kind of paint is best for a beginner wall mural?
- Can I paint a mural with chalk paint instead of wall paint?
- How long does a wall mural take to dry before adding details?
- How do I fix mistakes or paint drips on a fresh mural?
- Can I paint a mural in a rental apartment?
- Conclusion
What You Need to Paint a Mural on a Wall
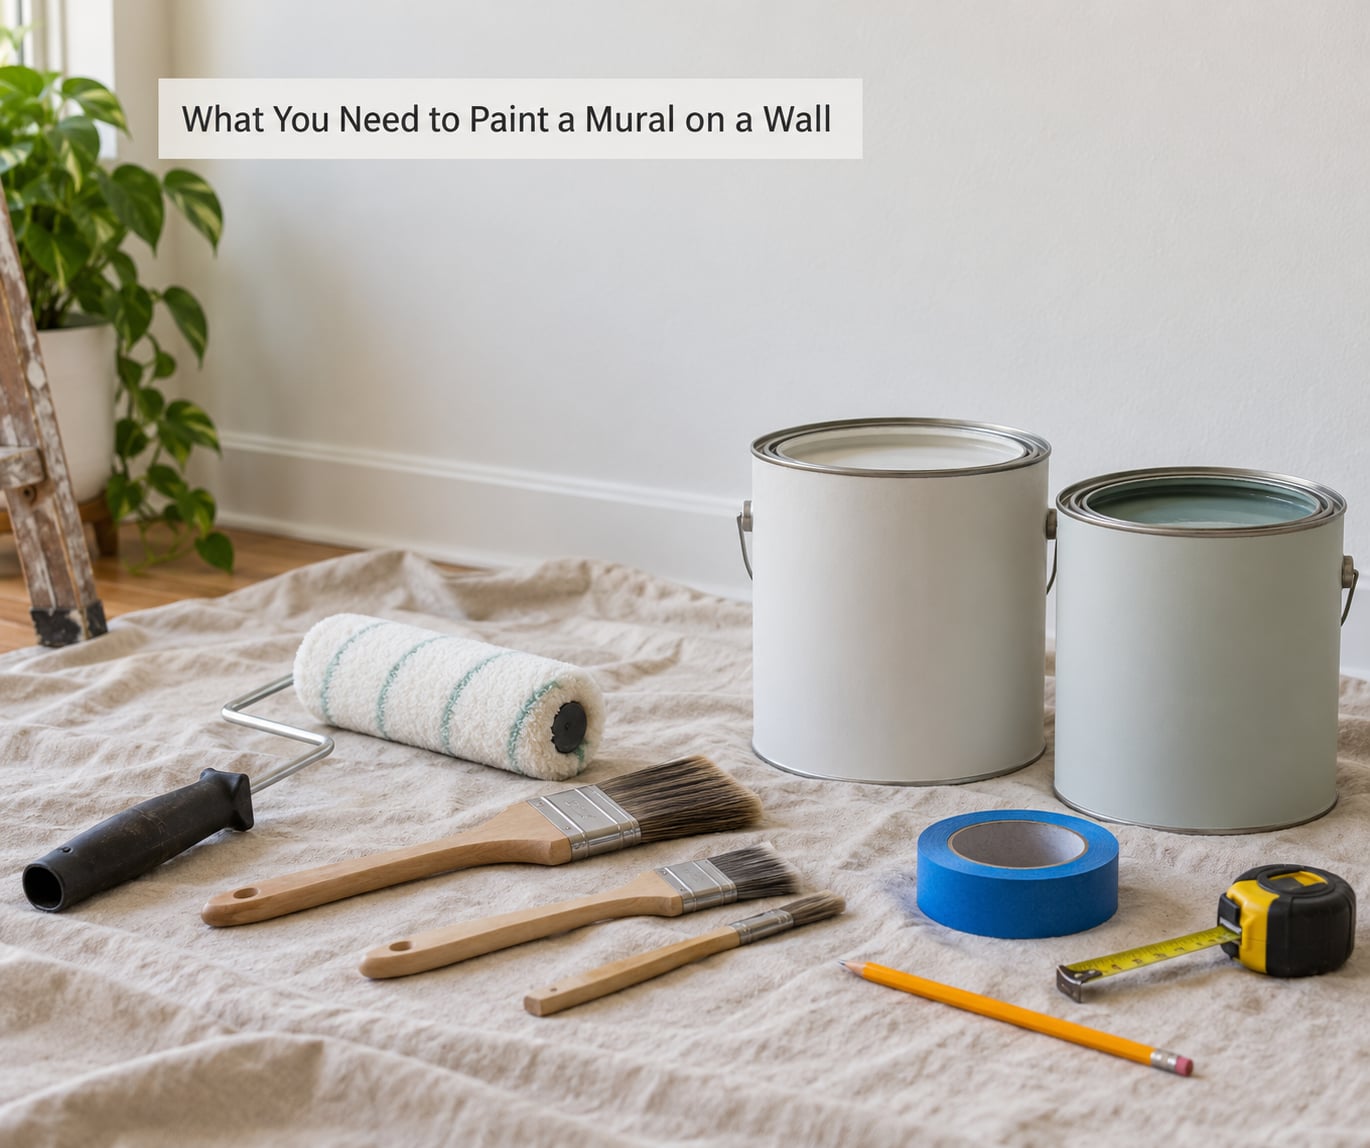
The required list is short. For most beginner murals you need:
- Matte interior wall paint. Two base colors minimum, more if your design has blocks. Matte finishes hide brush marks better than satin or gloss.
- A small foam or nap roller for broad background areas, plus a paint tray.
- One angled brush around 2 inches for cutting in edges, and one or two small detail brushes for lines and shapes.
- Painter’s tape for straight edges and crisp borders.
- A measuring tape and pencil for the grid and the sketch.
- Graphite transfer paper for getting your sketch onto the wall.
- A drop cloth, plus a clean rag and a bucket of water.
Optional items make life easier rather than being required. A sanding block helps on textured walls, a stencil brush holds more paint for detail work, a small hand-held projector beats gridding on complicated designs, and a plastic primer matters if the surface is bare drywall or previously glossy.
Step-by-Step
Here is the order that works. Measure and design first, then clean and prime, transfer the drawing, block in the background, add shapes, add detail, and seal. Beginners who jump straight to painting usually end up repainting a wall that already has a failed layer on it.
Plan the calendar honestly too. A small accent mural might be finished in two sessions. A full feature wall usually spreads across three or more, because wall paint needs several hours between coats and overnight to be safe for the next color.
Plan a Simple Design That Fits the Wall
Measure the wall’s width and height in inches, then pick a design whose proportions roughly match. A wide landscape design stretched onto a narrow stairwell wall will look squeezed, and a tall vertical design crammed onto a wide wall will look lost. Simplify the reference aggressively: drop tiny details, limit yourself to four or five colors, and keep outlines confident and clear.
Sketch the design full size on regular paper first, then scale it down or up so the largest shape matches your wall measurement. Draw the full-size version directly on the wall in pencil once you are happy with it. Renters should get written permission from the landlord before a single drop of paint goes down, and some buildings or complexes have rules about murals specifically.
Transfer the Design Without Leaving Pencil Marks
The graphite paper method is the most forgiving. Lay your full-size sketch face down on a clean table, tape it flat, rub graphite transfer paper over the back with a pencil, then lift the corners and tape the whole sheet to the wall in the same position you sketched.
Trace over the original lines slowly and firmly so the graphite transfers to the wall. Keep the sheet pinned with tape at several points so it cannot shift halfway through. When the lines are complete, peel the paper back a few inches at a time and check that the transfer transferred before pulling the rest. If the paper slips, you will end up with a doubled outline and a smudge.
A lighter alternative is to hold the sketch against the wall and trace the outline with a pencil directly, skipping the middle details. For outdoor work where graphite will disappear in the rain, use chalk or a marker line instead.
How to Paint a Mural on a Wall Without Pencil Marks
Any pencil lines that survive the transfer will still show through, so decide what covers them before you start painting. Paint the base color slightly over the line rather than trying to trace it perfectly. Lay narrow painter’s tape over pencil marks and burnish it down with a fingertip so the edge seals and no grey ghost shows through.
A third option is to run one thin pass of the base color over the entire sketched area at low opacity, letting it dry and then painting normally on top. Beginners who tape every pencil line before rolling find the wall looks flat and busy, so tape only the lines you actually need crisp.
Paint the Largest Background Areas First
Start at the top of the wall and work downward, cutting in with your angled brush along edges and corners first, then rolling or brushing the broad areas. This answers the question beginners search for most: when painting a wall, start at the top, so you paint over any drips instead of dragging them into clean paint below.
Keep a wet edge as you move across a section, and do not go back over a drying edge to fix a small gap. That is what causes lap marks and streaks. Load the roller fully but not dripping, and if a pass looks thin, let it dry and add a second coat rather than scrubbing the first one.
The pass is done when the roller stops skipping and the color is even with no lighter patches showing. Move on. The surface is ready for the next color when it is dry to the touch with no cool or tacky feeling, which usually takes a few hours and is safer overnight.
Add Shapes, Details, and Fine Lines
Let each layer dry before the next, then step back a few feet and look at it. Beginners who work from large to small get cleaner results because the small shapes land on a stable, dry background.
For fine lines, load a small brush with a small amount of paint and pull the line in one steady stroke. If you are thinning acrylic paint, use a matte medium rather than water; too much water weakens the paint film and it can streak or crack later. Wipe the brush on the rag between colors.
Pull painter’s tape while the edge underneath is still slightly damp rather than fully cured. Tape left too long can take a thin layer of paint with it when you peel.
Let the Mural Dry and Protect the Finish
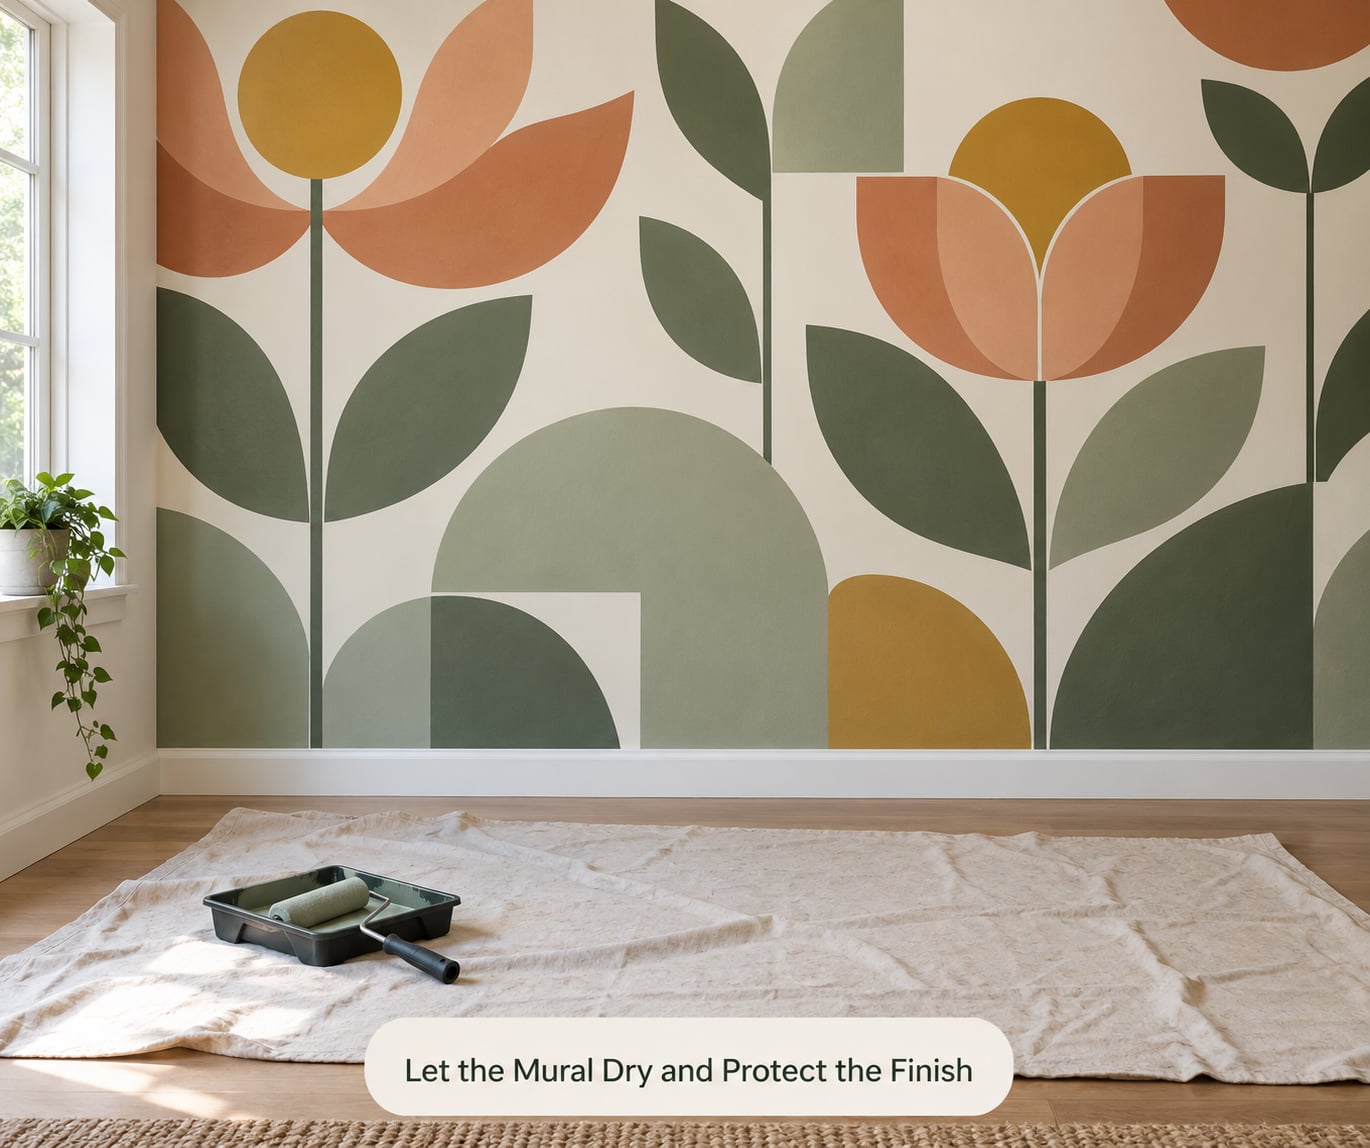
Give the mural a full dry day with good airflow before anything touches it. Keep the room ventilated, and avoid pushing furniture back against the wall until the paint is dry to the touch everywhere, including the edges people brush past.
If the mural will be handled, stained, or lived around, add a clear protective topcoat once the paint is fully dry. Follow the label on your paint for cure times, since a matte wall paint and an artist acrylic dry very differently. Wash brushes and rollers out while the paint is still wet, then hang them to dry rather than standing them on bristles.
Common Mistakes
These are the errors that show up again and again in first murals, each with a simple fix:
- Painting over a dirty or greasy wall. Wash the surface first, especially near kitchens and switch plates, or the new paint peels later.
- Choosing an overly detailed design. Halve the detail level. Simple silhouettes read better from across a room anyway.
- Working in bad light. Paint in daylight or under bright lamps. Shadows hide gaps until the room goes dark.
- Rushing between colors. Each layer needs dry time, and a full mural runs several days, not one afternoon.
- Leaving pencil lines visible. Cover them with base paint or narrow tape before moving on.
- Overloading the brush. A dripping brush gives you drips. Wipe one side against the rim on every load.
- Peeling tape too late. Remove tape while the paint is still slightly damp so edges stay sharp.
- Skipping a color test. Paint a swatch on scrap board first. Wall paint can look flatter and lighter on a wall than in the can.
Beginner Mural Painting Tips
Paint sample swatches on scrap board before mixing anything, so you learn your colors on the actual wall color rather than on a white surface. Use the grid to keep proportions honest: draw a light pencil grid over the transfer, then fill one grid square at a time, which makes a large design far less intimidating.
Start on the least noticeable wall if you are nervous. It gives you room to learn the paint and the tools before committing to a focal point. Label each container with masking tape and a marker, including the mixture ratios if you are tinting your own colors.
House paint is easier to work with than artist acrylics for a first mural, and mixing a small amount of white into a darker color gives you tints without buying a whole set of sample pots. Beginners who stick to simple designs with few colors are the ones who finish, and they tend to paint a second one right away.
If the wall cannot be painted at all, removable mural wallpaper gives you a similar result with no commitment, which is often the right call in a rental.
Frequently Asked Questions
What kind of paint is best for a beginner wall mural?
Matte interior latex wall paint is the easiest choice for a first mural. It is forgiving, washes up with water, and hides brush marks better than satin or gloss. Buy one base color for the background plus two or three accents, and save small detail work for a few inexpensive brushes. Artist acrylics give brighter color but dry faster and are harder to correct, which makes them better for experienced painters.
Can I paint a mural with chalk paint instead of wall paint?
You can, but check the label first. Some chalk-paint products advertise a furniture finish with a wax or sealant topcoat, and those are not always built to stick to a wall or scrub clean in a busy room. For a wall mural, standard matte interior wall paint is the safer bet. If you want a chalk look, use chalk paint only for small decorative details over a wall-paint base.
How long does a wall mural take to dry before adding details?
Most wall paint feels dry to the touch in a few hours and is safe for a second color overnight. Thicker applications, cool rooms, or humid weather slow that down considerably. Judge by touch rather than the clock: if the surface is cool, tacky, or the color lifts when you rub it, it needs more time. Check the drying time printed on your paint can for the exact number.
How do I fix mistakes or paint drips on a fresh mural?
Let the area dry fully first, then fix it, because touching a wet drip smears it further. For a drip in the base color, feather the edge out with the same paint on a clean brush. For a line or color you did not intend, paint over it with the correct color once the surface is dry, feathering outward so the edge blends. Deep gouges or peeled spots should be sanded lightly, filled, and repainted.
Can I paint a mural in a rental apartment?
Only with written permission from your landlord, and check whether your lease has a separate clause about murals. Get the approval in writing before buying paint, because removing a mural later can mean restoring the original wall color. If you cannot get permission, a removable mural wallpaper or peel-and-stick decal gives you a full-wall design with no paint and no damage on move-out.
Conclusion
Learning how to paint a mural on a wall for beginners comes down to four habits: measure the wall before you pick a design, simplify the design so it is genuinely paintable, test your colors on a scrap board first, and let every layer dry before adding the next one. Start with one small practice area and check it in different light before committing to the whole wall.
Your first step tonight takes ten minutes. Measure the wall, tape your simplified sketch to it, and mark the grid. From there it is one color at a time, with a weekend of drying in between.