Bubbles in peel and stick wallpaper come down to one thing: air getting trapped between the vinyl and the wall. To hang peel and stick wallpaper without bubbles, clean and smooth the wall first, mark a true vertical line, peel back only 6 to 12 inches of the backing liner at a time, and press each section down with a plastic smoother working from the center of the strip out to the edges.
That whole method takes about two hours for a standard wall, and most of that time is prep and measuring rather than sticking anything down. The part people skip is slowing down. Peel and stick adhesive grabs whatever it touches, so a fast panel with a wrinkle in it is a panel you will be repairing for years.
Below is the full process, plus what to do when bubbles show up after the paper is already up, because that is the part most guides skip and the part people actually search for later.
Table of Contents
- What You Need to Hang Peel and Stick Wallpaper Without Bubbles
- Step-by-Step
- 1. Prepare the Wall and Measure the Area
- 2. Apply the First Panel Carefully
- 3. Smooth the Panel from the Center Outward: How to Hang Peel and Stick Wallpaper Without Bubbles
- 4. Trim and Fit Edges and Corners
- 5. Fix Any Remaining Bubbles
- Common Mistakes
- Frequently Asked Questions
- Can you use peel-and-stick wallpaper on textured walls?
- How do you get air bubbles out of peel-and-stick wallpaper?
- Should peel-and-stick wallpaper be applied to a painted wall?
- How long does peel-and-stick wallpaper take to stick?
- How much backing should I peel back at a time?
- Why is my peel-and-stick wallpaper bubbling months after hanging?
What You Need to Hang Peel and Stick Wallpaper Without Bubbles
You do not need a lot. Everything on this list is available at a hardware store and most of it you may already own.
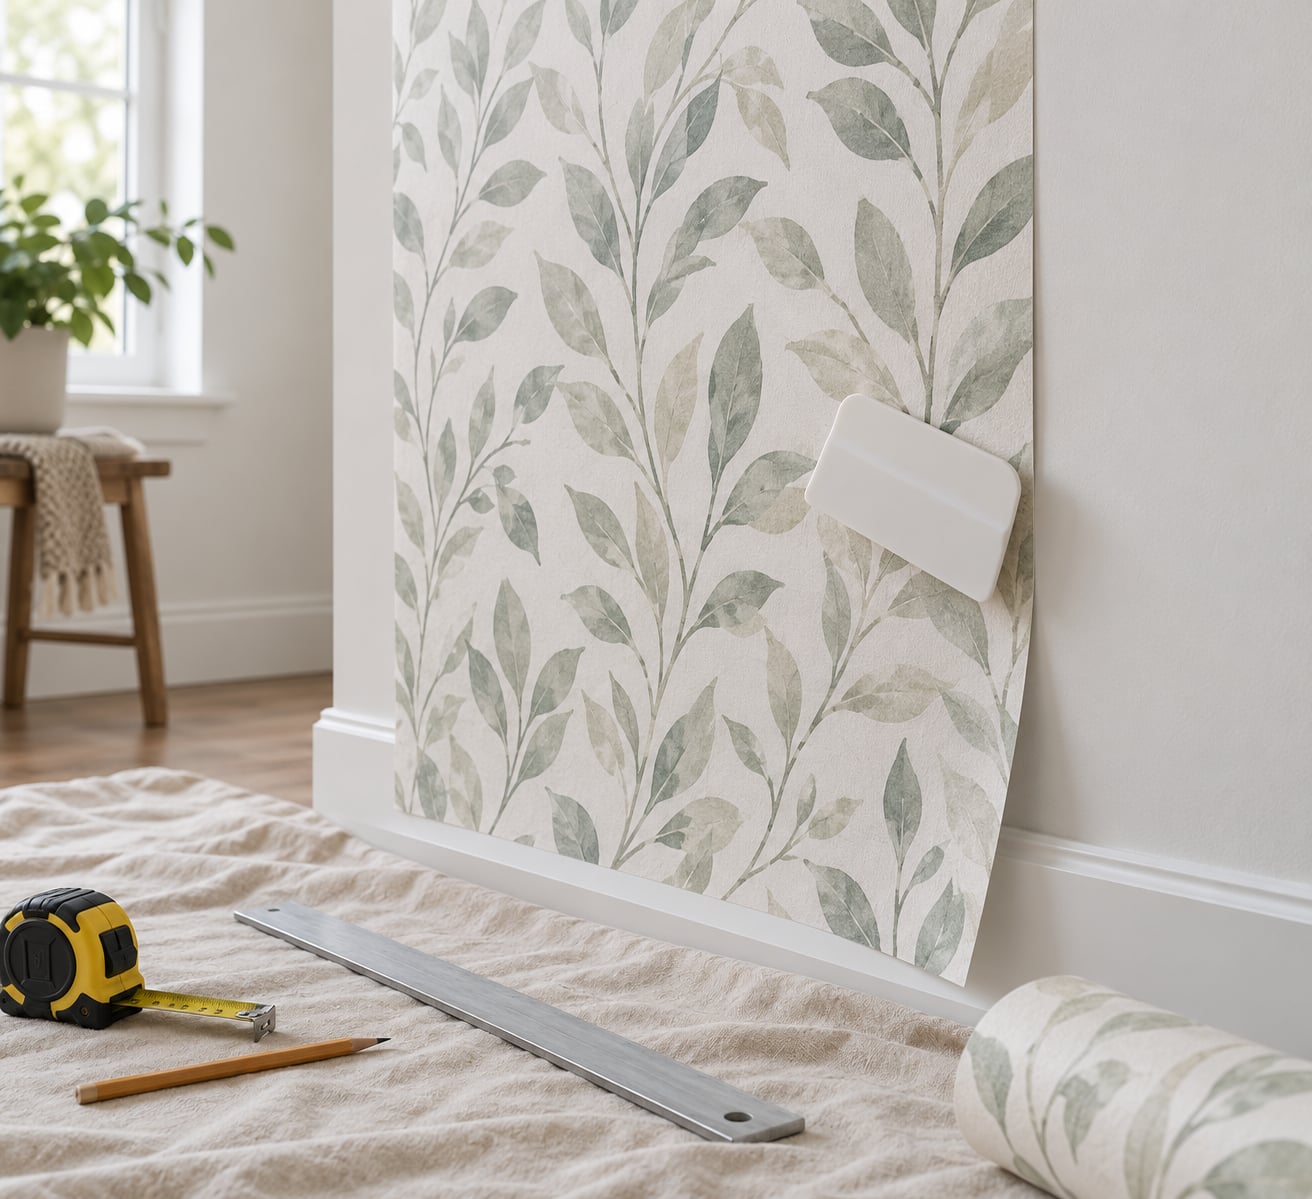
- Plastic smoother, squeegee, or soft-sided scraper. This is your main tool. A rigid plastic card is fine, but a felt scraper is gentler on delicate vinyl.
- Seam roller. Small enough to press into tight corners where a flat card will not reach.
- Spirit level or a plumb line with a weight. Your guideline has to be genuinely vertical or every panel inherits the drift.
- Pencil and a straightedge or ruler. For marking the vertical and for guiding cuts.
- Tape measure. Measure the wall height and add a few inches if the surface is slightly out of true.
- Utility knife with fresh blades, plus a straight cutting edge. Dull blades drag and crease the vinyl.
- Straight pins. The single best tool for popping small bubbles after the paper is dry.
- Painter’s tape and masking tape. Low-tack tape holds a panel in position while you peel with one hand.
- Mild soap, sponge, and a clean cloth. For washing the wall down.
- Optional: hair dryer on low, and a hairdryer-safe smoothing tool for heat reactivating stubborn bubbles.
Before the first panel comes out of the box, unroll the panels and lay them flat in the actual room for 24 hours. If the roll came out of a cold garage or a hot delivery van, that settling step alone prevents a surprising share of problems.
Temperature matters too. Aim for roughly 18 to 25 °C with relative humidity between 40 and 65 percent. Cold adhesive is stiff and gummy, and adhesive applied to a damp wall will never fully bond no matter how hard you smooth it.
Step-by-Step
1. Prepare the Wall and Measure the Area
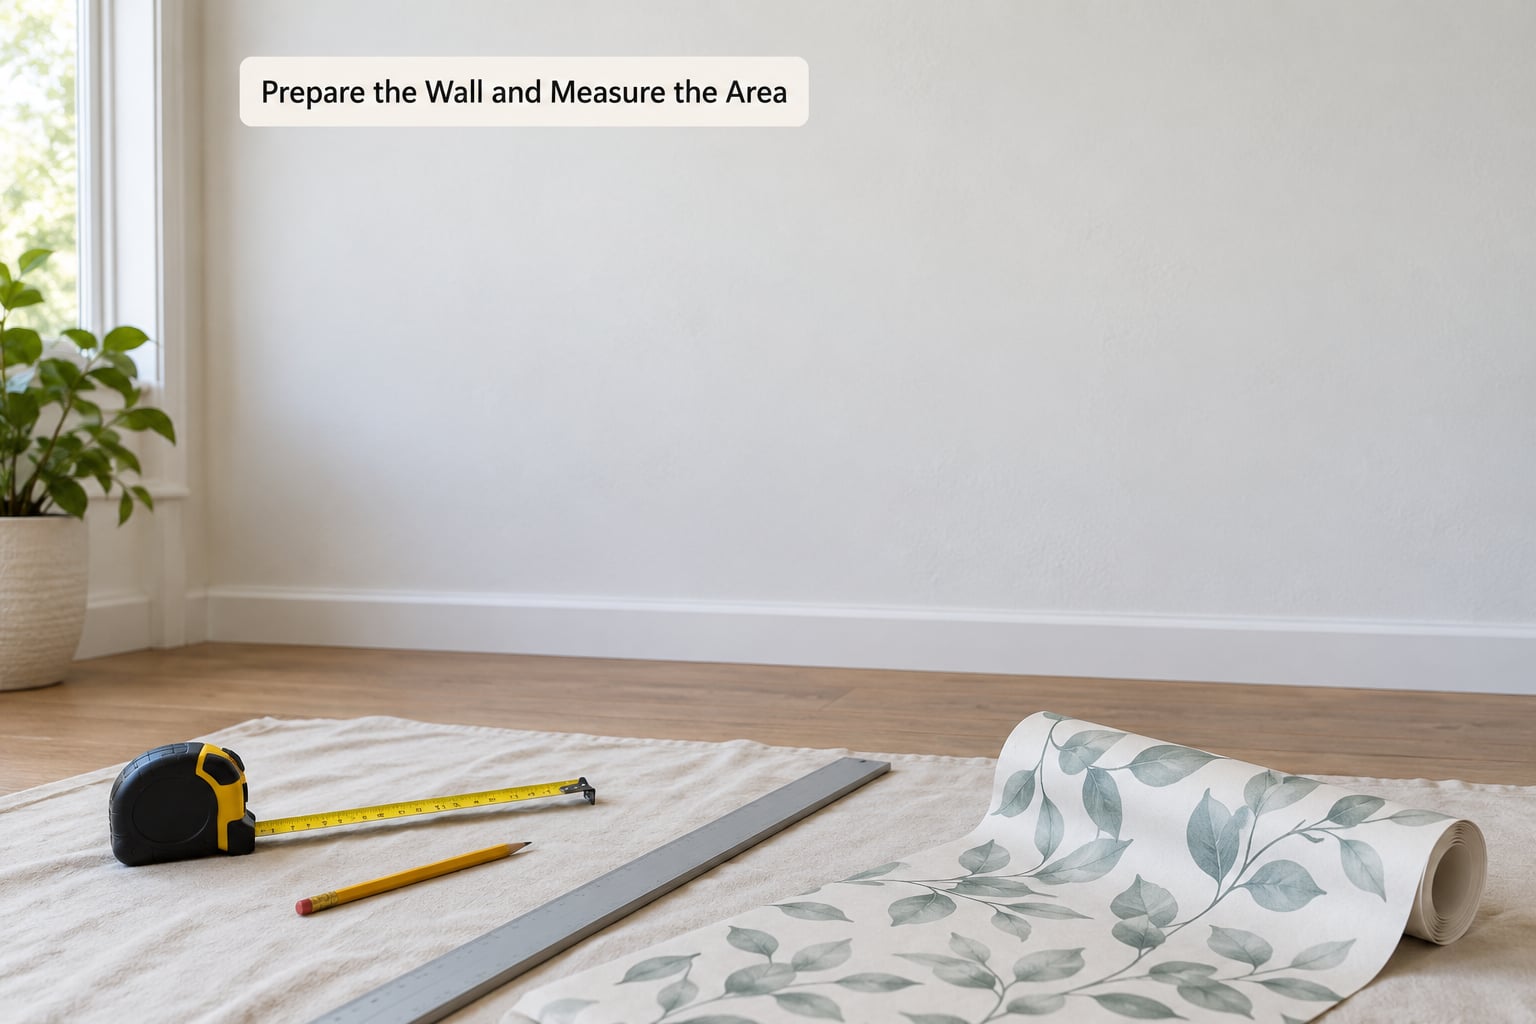
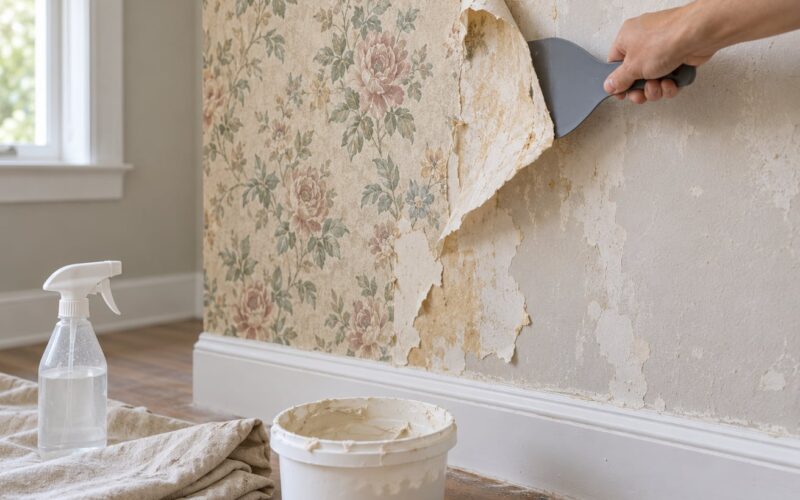
Wash the wall with warm water and a drop of mild dish soap, then dry it completely. Give it 24 to 48 hours of dry time if you have washed a significant area. Dust, grease, spiderwebs, and leftover texture paint are the usual reasons panels lift later, and none of them show up until weeks in.
Run your hand flat across the wall. If you can feel ridges, bumps, or orange peel texture, the adhesive will only touch the high points and the low points will stay open air pockets no matter how well you smooth. Sand the texture down or skim it with lightweight joint compound, let it dry, then sand the edges until it is flat.
| Wall surface | Verdict | What to do |
|---|---|---|
| Smooth painted drywall | Go | Wash, scuff very lightly if the paint is satin, wipe clean |
| Fresh latex paint (under 4 to 6 weeks old) | Wait | Paint is still curing and soft. Wait the full window, or prime and let the primer dry. |
| Flat or matte paint | Best case | Nothing special beyond cleaning |
| Orange peel texture | Skip or sand | Adhesive reaches only the peaks, so you get bubbles in the valleys |
| Knockdown or swirled texture | Skip | Same problem, more pronounced. Sand flat, skim, or use pasted wallpaper instead. |
| Unsealed new drywall or plaster | Prime first | Unprimed board drinks adhesive and later releases it |
| Existing wallpaper | Not recommended | The old seams telegraph through and both layers lift together |
Measure the wall height and the width of one panel, then write the panel numbers on the backing liner in pencil so you know the pattern sequence before you touch the wall. Mark your first vertical one panel width in from the left corner using the plumb line, and extend the pencil line from ceiling to floor.
Success check: the line is vertical at the top, middle, and bottom when you sight down it. That is the whole game for the rest of the wall.
2. Apply the First Panel Carefully
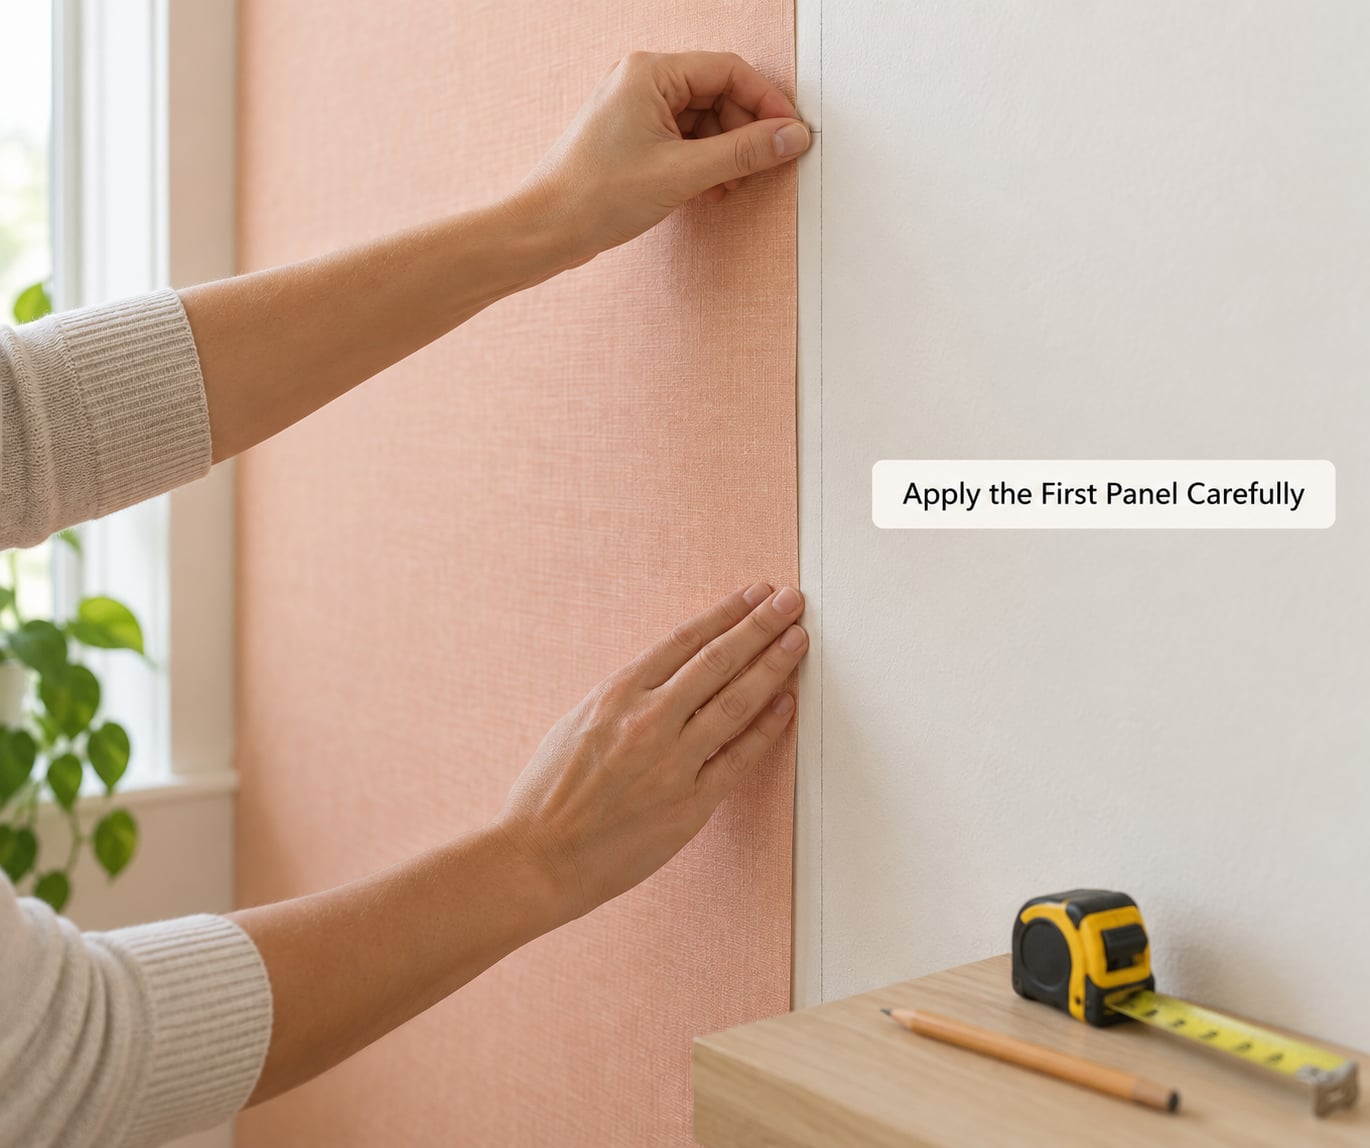
Everyone who hangs wallpaper will tell you the first strip decides how the whole wall looks. Get it right and the rest are almost automatic. Get it crooked and you will be fighting every seam for the next six feet.
There are two ways to start. Cut-and-fold is the fastest for a confident second hand: slice a short strip of backing paper near the top, fold it back on itself so the self-stick side sticks to itself, and you have a dry handle that holds the top edge exactly where you left it. The quarter-peel method is better if you are working alone, since it keeps most of the backing in place while you position the panel.
With the quarter-peel method, fold the panel in quarters lengthwise so only the top quarter of the backing is exposed. Line the exposed edge up with your pencil mark, press that quarter down lightly, then peel the next quarter of backing while keeping the panel’s edge locked against the guideline.
If the panel slides as you peel, stop and re-tack the top section with a small piece of low-tack tape. Adhesive that grabs dry paper instead of the wall can be lifted and reset; adhesive that grabs drywall cannot.
Success check: the top edge sits on your line, the panel hangs straight, and the exposed adhesive has not yet folded back onto itself.
3. Smooth the Panel from the Center Outward: How to Hang Peel and Stick Wallpaper Without Bubbles
This is the single most important technique in the entire process. Peel a few more inches of the backing liner and press that section flat before peeling the next section. Work down the panel in overlapping passes, and every time you press, sweep the smoother from the middle of the strip out toward the edges in one firm, steady stroke.
The reason for center-out smoothing is that air moves. Push from the edge inward and you are shoving the pocket deeper into the adhesive where it will sit permanently. Push from the center outward and you are driving every bubble toward the perimeter, where it can escape or be popped later.
Use enough pressure to feel the adhesive flatten and turn slightly dull as it bonds. Not so much that you stretch the vinyl. If your smoother is dragging and the panel edge is creeping outward, you are pressing too hard, and stretching is one of the main causes of bubbles that appear days later.
Honestly, this is the habit that decides whether you get how to hang peel and stick wallpaper without bubbles down pat or end up patching panels for a month. Same stroke, same pressure, every time, and the pocket has nowhere to sit.
You will see opinions everywhere about exactly how much backing to peel at once, so here is the range and when each end of it applies.
| Backing peeled at once | Best for | Trade-off |
|---|---|---|
| 4 to 6 inches (10 to 15 cm) | Beginners, complex patterns, working alone | Most control, but you will go slower |
| 6 to 12 inches (15 to 30 cm) | Standard panels on a flat wall | The balance most manufacturers and installers land on |
| Over 12 inches (30 cm) | Experienced hands on very flat, matte walls | Fast, and the fastest way to trap a big air pocket |
Hang panels edge to edge with no overlap. Do not lap one panel over the previous one. Overlaps are the single most common reason a seam lifts or later opens into a visible ridge.
Match the pattern at two points, above and below the center line, not just along the top edge. A pattern that lines up at the ceiling can still drift half an inch by the floor, and that half inch is what makes a wall look cheap.
Success check: no lifted pockets as you lay the smoother down, and the panel edge stays tight against the previous panel’s edge as you descend.
4. Trim and Fit Edges and Corners
Let the last panel run long and trim it after it is fully pressed down. Put the straightedge on the wall, hold the vinyl firmly against it, and draw the blade toward you in one continuous stroke with a fresh blade. Repeated short scratches are what create a fuzzy, torn edge.
For outlets and switches, turn off the power at the breaker before you touch anything, then cut a clean opening that is slightly smaller than the plate cover. The cover hides the cut edge, which is far easier than trying to fit vinyl right up to the plastic.
Inside corners need no special cut. Run the panel into the corner and let it wrap slightly, then press it down with the seam roller. Outside corners are where stretching happens, and stretched corners lift and bubble within a few weeks. Cut the panel so it wraps around the corner with a little overlap instead.
If a panel has to be trimmed shorter because the wall is out of square, cut it at the top and bottom rather than squeezing it side to side. A little extra material trimmed off is invisible. A squeezed panel buckles and shows a bubble along its whole length.
Success check: every cut edge is crisp, every corner is pressed down with the seam roller, and nothing is visibly stretched.
5. Fix Any Remaining Bubbles
Start by identifying what you actually have. A small air pocket is a bubble with a loose edge that lifts when you press it. A wrinkle is a crease where the vinyl is actually folded or pulled out of shape. They need opposite treatments, and using the wrong one is how people end up tearing a good panel.
Small air pocket, edge lifts when pressed: Pinch the loose edge between two fingers and slide it gently toward the nearest flat area, pressing the surface flat as it goes. Work in short movements, a few inches at a time. Most small bubbles disappear this way without any tool at all.
Bubble that will not move or sits under a finished panel: Take a straight pin and gently pierce the center of the bubble. Do not stab. Just ease the point in until you feel it break the surface. Then press the vinyl down from the edges toward the hole and push the trapped air out through the puncture. The pinhole shrinks to nearly nothing as the vinyl closes around it.
Bubble that has hardened or dried in place: Warm it gently with a hair dryer on low, held about 30 centimeters from the wall, for 10 to 15 seconds. The adhesive softens and reactivates. Press it flat immediately with your smoother while it is still warm, and keep pressure on it for a few seconds.
Wrinkle or hard crease: These do not flatten out. Lift the section carefully, peel it back only as far as the crease, smooth out the crease in the vinyl itself with your fingers, and re-lay it. If the vinyl has a permanent fold, replace that section of panel rather than fighting it.
One warning worth repeating: never re-lift wallpaper more than you have to. Every re-lift risks pulling paint or leaving a scuff, which then shows through as a lighter patch on the finished wall.
After the last panel, give the whole wall 24 to 48 hours before you press or stress anything. Peel and stick feels secure within a few hours, but it takes longer to reach full bond, and that is also when some bubbles surface for the first time. Leave them alone during that window. Many of them are just adhesive still releasing air as it dries.
Common Mistakes
Almost every bubble problem traces back to one of these, and the fix is nearly always something you do before the panel touches the wall. Getting how to hang peel and stick wallpaper without bubbles right is mostly about not skipping the boring steps.
- Applying to texture. Adhesive only contacts the high points, so the valleys become permanent air pockets. Sand and skim first, or pick a different wall covering for that surface.
- Hanging over fresh paint. Latex paint that is less than four to six weeks old is still soft. The wallpaper bonds to the paint instead of the wall, and the pair peels away together later. Wait, or prime and let the primer dry fully.
- Rushing the backing peel. Peeling a foot or more at once gives the panel time to buckle and fall into a fold. Peel less, press more, repeat.
- Smoothing from the edges inward. This traps air instead of driving it out. Always start at the middle of the strip.
- Stretching a panel to fit. Vinyl under tension eventually relaxes, and the relaxation shows up as bubbles along the run. Cut panels to fit rather than pulling them tight.
- Overlapping the seams. Lapped edges create a ridge that lifts and traps air on both sides. Hang edge to edge.
- Working in a cold or damp room. Below about 18 °C the adhesive stays stiff. Warm up the room and wait for dry conditions.
- Washing the wall and hanging too soon. Moisture under wallpaper will bubble it and prevent the bond. Give a washed wall a full day or two.
- Using it on ceilings. Gravity wins. Adhesive gives way over time and the panel sags and drops, which is why peel and stick belongs on walls only.
If you have read this far and your wall is textured, your bathroom already looks fine, and you want a full room rather than an accent wall, consider skipping peel and stick altogether. Pasted non-woven wallpaper is harder work but it bonds to textured surfaces and holds up in humid rooms, and it will still look better in 2026 than a peel and stick panel that has bubbling seams.
Frequently Asked Questions
Can you use peel-and-stick wallpaper on textured walls?
Usually not without extra prep. Adhesive needs full, even contact to bond, and on orange peel, knockdown, or popcorn texture it only touches the high points, leaving open air pockets in the valleys that read as bubbles. Sand the texture down and skim with lightweight joint compound, let it dry, and sand the edges flat before you start. On heavily textured walls, painted non-woven wallpaper is the better choice.
How do you get air bubbles out of peel-and-stick wallpaper?
Press along the edge of the bubble to see if it lifts. If it does, pinch the loose edge and slide it toward flat area in short movements while pressing the surface down. If it will not move, gently pierce the center with a straight pin, then press from the edges toward the hole and push the trapped air out through the puncture. Hardened bubbles respond to 10 to 15 seconds of low hair dryer heat.
Should peel-and-stick wallpaper be applied to a painted wall?
Yes, as long as the paint is firmly attached, smooth, and fully cured. Wash away dust and grease, fill any nail holes, and wipe the surface dry. Wait four to six weeks after a fresh latex paint job, because paint that is still curing lets the wallpaper bond to the paint rather than the wall. Prime new drywall or plaster so the board does not absorb the adhesive unevenly.
How long does peel-and-stick wallpaper take to stick?
It feels secure within a few hours, but full bond takes longer, often 24 to 48 hours, and can take several days in cool or humid conditions. Avoid pressing, lifting, or leaning anything against a fresh panel during that window. Some bubbles appear during this period as trapped air escapes, so leave them alone and reassess after two full days.
How much backing should I peel back at a time?
Six to twelve inches is the working range for a flat wall and the most commonly recommended figure. Beginners and anyone working alone do better with four to six inches, since less exposed adhesive means less chance of a fold. Peeling more than twelve inches at once is fast but is the fastest way to trap a large air pocket. Whatever the amount, press and smooth that section before peeling the next.
Why is my peel-and-stick wallpaper bubbling months after hanging?
Late bubbling usually points to the wall rather than the technique. Humidity swings, unsealed drywall, a textured surface, or direct sun heating the vinyl can cause the paper to shrink or the adhesive to let go. Keep the room’s humidity steady, avoid steamy bathrooms, and press the affected areas down with low heat. If seams have separated badly, replacing that panel is cleaner than trying to re-stick a shrunken one.
Start with the panel that people skip: prep the wall. Wash it, let it dry, and knock down any texture, because no amount of careful smoothing later will compensate for adhesive that never had surface to grab. After that, mark a true vertical with a plumb line and peel the backing in six to twelve inch sections, smoothing from the center out every time. If a bubble survives anyway, pierce it with a straight pin and press the air out through the hole.