If you want to know how to fix nail holes in walls when moving out, fill each hole with spackle, let it dry, sand it flush, then touch up the paint. A dozen picture-hook holes takes about an hour with a putty knife, a 220 grit sanding block and a matching touch-up paint. Small frame holes are usually treated as normal wear and tear, but holes from anchors, shelves and TV mounts are treated as damage and come straight out of your deposit.
That distinction is the whole reason this page exists. Most people picture a big gouge when their landlord mentions nail holes, and they either panic-paint an entire rental white or hand back keys with a wall covered in filler spots that flash grey through the paint. Neither outcome helps you.
What follows is the repair in the order that works, the fillers compared honestly, and the handful of mistakes that turn a 20-minute job into a repaint.
Table of Contents
- What You Need
- Spackle vs wood filler vs toothpaste: what actually fills a nail hole
- Step-by-Step: How to Fix Nail Holes in Walls When Moving Out
- 1. Identify the Wall Type and Hole Size
- 2. Clean and Prepare the Hole
- 3. Fill Small Nail Holes
- 4. Repair Larger Holes
- 5. Sand the Repair Smooth
- 6. Prime and Paint the Wall
- Common Mistakes That Leave a Visible Patch
- Frequently Asked Questions
- What is the easiest way to fix nail holes in walls when moving out?
- Can I use spackle instead of a wall patch for picture nail holes?
- Should I paint over a nail hole repair before moving out?
- How long does it take for a nail hole repair to dry and be ready for painting?
- What if my wall is textured or the paint color is difficult to match?
- Do I need to tell my landlord about small nail holes before moving out?
What You Need

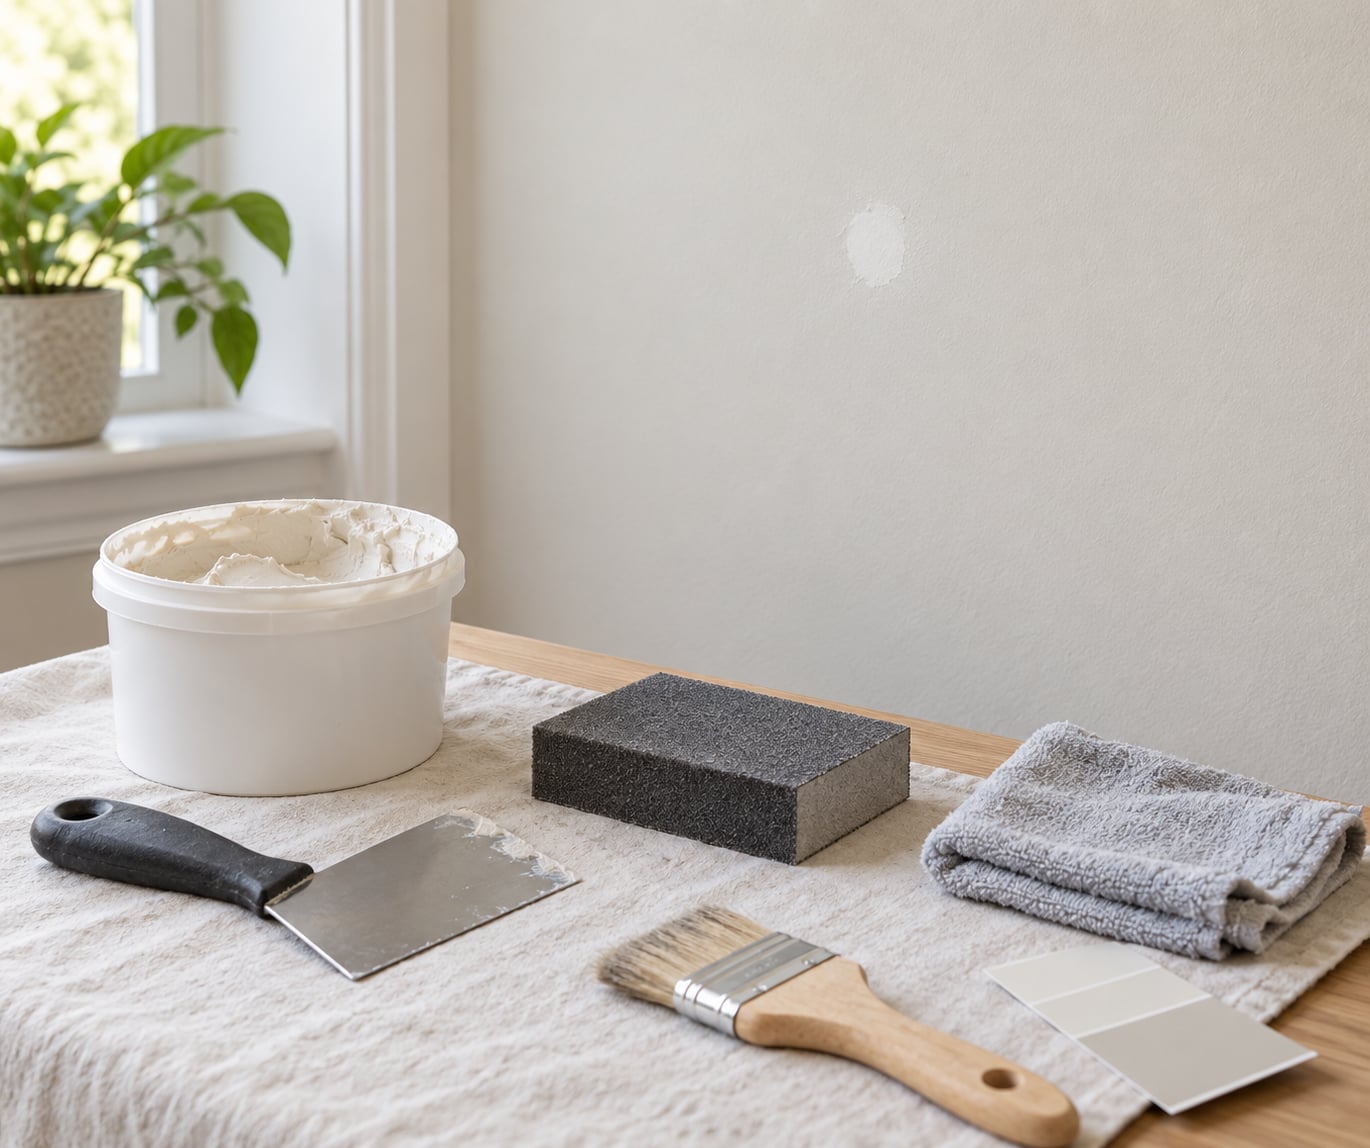
You can do an entire apartment’s worth of picture holes with a short list. Most of it fits in a kitchen drawer.
- Ready-mixed spackle for pinholes, picture hooks and small screw holes. A small tub goes a long way. Setting-type dry compound is the alternative when you need thicker build-up, but it is fussier.
- Paintable filler or caulk for cracks in drywall seams, around window returns and along baseboards where the wall moves.
- Wood filler for anything in painted wood, such as baseboards, window casings and door trim, or for holes in a wooden shelf.
- A flexible putty knife in two sizes. A 2 to 3 inch blade for picture holes, a wider 4 to 6 inch blade for baseboards and bigger damage.
- 220 grit sandpaper plus a sanding block or a small piece of folded sandpaper for flat surfaces. Grit finer than 220 wastes itself on the edges of a patch.
- A folded damp cloth to wipe the wall down and clean the knife between holes.
- Touch-up paint and a small angled brush if the wall is painted. See the paint-matching section below when the original can is long gone.
- Fine painter’s tape for baseboards, edges and trim, so you are not painting a line straight across the floor.
- A mesh drywall patch for holes wider than about a quarter inch, where spackle alone sags and falls in.
A dust mask and a vacuum or tack cloth are worth grabbing too. Dry sanding spackle puts a fine chalky gypsum dust into the room, and that dust is exactly the stuff that settles into a patch and shows through paint later.
Spackle vs wood filler vs toothpaste: what actually fills a nail hole
Different surfaces behave differently, and the mismatch is why patches on white trim keep flashing through two coats. Painters on Paint Talk and Fine Homebuilding generally land in the same place: spackle for drywall, wood filler for wood.
| Filler | Shrinks as it dries | Sandability | Best for |
|---|---|---|---|
| Ready-mixed spackle | Yes, noticeably, so it needs a second thin coat | Very easy, soft even when fully dry | Drywall pinholes, picture hooks, screw holes, drywall anchor holes |
| Setting-type drywall compound | Less, but still shrinks slightly | Harder, takes more effort and a lighter grit | Setting holes, larger drywall damage, seams |
| Wood filler | Minimal | Sands hard, holds a carved shape | Painted trim, baseboards, casings, wood shelves |
| Paintable caulk | No, stays flexible | Not really, you trim it with a knife | Cracks at drywall joints, gaps at trim and baseboards |
| Toothpaste | Cracks instead of shrinking | No, it just rubs off | Pinholes the width of a needle, as a stopgap only |
On the toothpaste trick, the honest version is this: it works on pinholes, and it fails on everything else. A larger toothpaste patch hardens into something brittle that cracks and can drop out of the hole, which is worse than the nail hole you started with. Use it for the little stuff while you are waiting for the walkthrough, then do the real repair.
For a big drywall hole, a self-adhesive mesh patch that sits over the opening and lets you skim joint compound across it beats trying to load spackle into a 2 inch hole. Two or three thin coats, not one thick one.
Step-by-Step: How to Fix Nail Holes in Walls When Moving Out
1. Identify the Wall Type and Hole Size
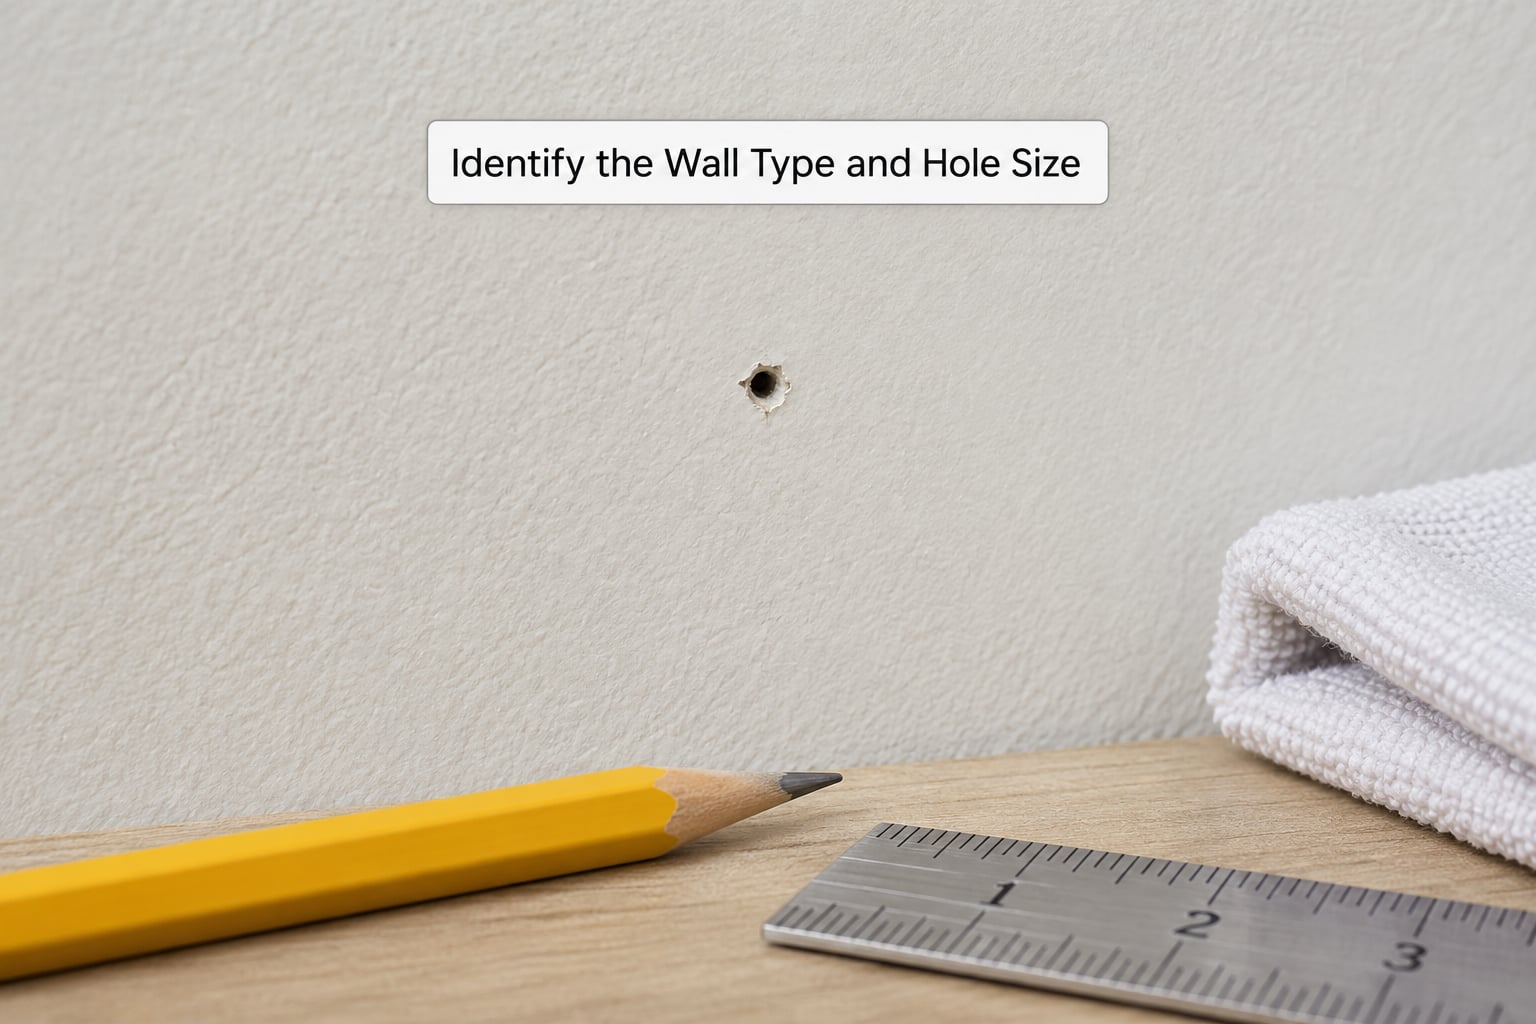
Most apartment walls are drywall: a gypsum core sandwiched between two paper skins. You can tell because a small hole shows a white, chalky edge and a thin paper face, and the back of the board sounds hollow when you tap it. Old plaster is harder, denser and often shows cracks radiating from the hole instead of clean crumbling.
Measure the hole before you buy anything. The method changes completely above a quarter inch.
| Hole type | Typical size | Method |
|---|---|---|
| Picture frame pinhole | Under 1/8 inch | Spackle, one thin coat, sand, spot-paint or leave |
| Picture hook or small nail | 1/8 to 1/4 inch | Spackle pressed in with a putty knife, second thin coat, sand |
| Screw or drywall anchor | 1/4 to 1/2 inch | Push compound or spackle, two thin coats, or a mesh patch for the wider ones |
| TV wall mount bolt | 1/2 inch and up, often a row of them | Mesh patch or a drywall plug plus compound, and expect to repaint the whole wall section |
| Floating shelf anchor | 1/4 inch, sometimes hollow stud behind | Same as a drywall anchor, check the stud is not split |
| Hole in painted trim or wood | Any | Wood filler for the hole, caulk at the joint, then paint |
Check behind the wall before you start on anchors and mounts. If the screw split the stud or left a chunk of drywall hanging, that is a different repair, and it is one worth mentioning to the landlord rather than quietly covering.
2. Clean and Prepare the Hole
Pull the nail out with pliers if it is still in the wall, working it out at a slight angle so the drywall face does not lift. A nail driven at any other angle can take a flap of paper with it.
Brush off the dust and scrape away any loose, flaking paint around the hole with the edge of the knife. Then sand the immediate area lightly. A nail displaces the chalky gypsum inside drywall and leaves a small raised ridge around the opening, and if you fill over that ridge, it reappears under the paint as a visible line. Sanding first is what makes the patch disappear instead of telegraph.
Wipe the area with a damp cloth and let it dry for ten minutes. New filler on a damp wall will not bond well and may dry in a loose shell.
3. Fill Small Nail Holes
Scoop out a dime-sized amount of spackle on the end of the putty knife, no more. Press it into the hole with one swipe, then pull the blade flat across the wall in a second swipe to shave off the excess.
Two swipes, not one. Many people scrape the filler in with the blade and then drag it again, which leaves a hollow trough in the middle. It looks thinner than it is and it cracks as it dries.
Use your fingers only to push compound into a deep anchor hole, never to smooth the surface. A fingertip leaves a shallow bowl that you will sand round later.
Let it dry until it turns uniformly pale rather than darker in the middle. Light spackle on a small hole is usually ready in 30 to 60 minutes, but a deep anchor hole in a humid room can take several hours. Thick coats dry on the outside while staying soft underneath, which is the number one cause of a patch that craters when you sand it.
4. Repair Larger Holes
Anchors, mounts and shelf holes need a different approach. Cut a piece of drywall slightly larger than the opening, or use a self-adhesive mesh patch, and secure it flat against the wall with compound worked through the mesh.
Skim a thin layer over the patch with the wide blade, let it dry, then apply a second thin coat. Wide, low-angle strokes, pulling the blade across the joint rather than along it, help you avoid ripples. Feathering the compound 2 to 3 inches past the edge of the patch blends the repair into the surrounding wall.
Even a small hole needs two coats. Spackle shrinks as it dries, so the first coat often sits below the surface and leaves a shallow dip you can see when light hits the wall at an angle. A second thin coat fixes that dip for good.
5. Sand the Repair Smooth
Sand the dried filler with 220 grit using a sanding block or folded paper. Move in light circular strokes on the flat wall, and follow the grain if you are on a wood baseboard or casement.
Stop as soon as the patch feels level with the wall around it. Do not sand the edges of the surrounding paint, because a scuffed line around a perfect patch is a repair everyone can see. Run a finger across it: you are looking for flat, with no ridge, no trough and no seam between filler and wall.
Vacuum or wipe the dust off with a damp cloth before you paint. Dust under a patch is a rough spot, and it dulls the fresh paint enough to be visible.
6. Prime and Paint the Wall
You do not always need primer, but spackle is more absorbent than the paint around it, so bare filler drinks topcoat unevenly. That is flashing: the patch reads as a dull or slightly different-coloured spot against the surrounding wall. A coat of flat primer or paintable filler sealer over the sanded patch kills it, and for a matte wall painted with flat paint, prime is worth the extra ten minutes.
When you lack the original paint can, the best option is a sample chip. Take a fist-sized piece of the wall to a paint store and have it scanned or matched. Many stores can also tint a small touch-up quantity to an older, discontinued colour from a sample, which is the part that matters for a colour nobody has sold for fifteen years.
If a match is impossible, the least bad option is painting from one clean break to another, such as from the baseboard to the ceiling line or corner to corner on the same wall. A blended spot that does not quite match draws the eye, while a whole wall that is slightly off reads as an intentional repaint.
Feather the fresh paint onto the wall with light, long strokes and keep the edges wet so they do not dry into a hard line. Mask the baseboard and the ceiling edge before you start. Two thin coats beat one thick one, and give the wall the night to dry before the walkthrough.
Common Mistakes That Leave a Visible Patch
Almost every repair people complain about comes down to one of these, and all of them are fixable without repainting the room.
Filling over loose debris or a raised ridge. The compound grips a dusty or crumbling surface badly and lets go later. Sand the ring around the hole first, scrape off flaking paint, and wipe it clean.
One thick coat instead of two thin ones. The outside skins over before the middle sets, and you sand down to a soft layer that craters. Scrape off anything that dents under a fingernail and lay on a second thin coat.
Painting before the filler is fully dry. Paint over damp spackle stays tacky, picks up the brush and traps the patch colour permanently. Wait until it is pale all the way through, not just on the surface.
Skipping primer on a porous patch. Flash-through is the number one reason a repair looks worse than the nail hole did. A flat primer over bare spackle, or a touch of paintable filler sealer, evens out the absorbency.
Sanding the surrounding paint. Feather the repair, do not scrub. If you scuff a halo around the patch, go over it with the touch-up paint, not the sandpaper.
Using spackle on white painted trim. Spackle is softer and more absorbent than trim paint and keeps flashing. Painters tend to use wood filler on wood trim for that reason, and it sands much harder, so it holds its shape better under brush strokes.
Repainting a whole wall to hide two holes. Renters on r/Renters repeat the same advice: fill the holes, do not repaint a whole room, and photograph everything before you hand back the keys. A full repaint can look like an unauthorized change and puts you in a worse position than the holes ever did.
Repairing damage without mentioning it. Fillers work well on frame and picture-hook holes. Anchor and mount holes are a different category, and quietly covering one is not always the safest move. A short message to the landlord saying you have fixed the holes and can cover paint if you prefer is a much better position than a surprise deduction later.
Before any inspection, take time-stamped photos of every wall you touched, both close and wide, and keep your move-in photos and any inventory report next to them. Rules on wear and tear and deposits vary by state and country, so it is worth a quick look at what your own tenancy agreement says about filling and painting.
Frequently Asked Questions
What is the easiest way to fix nail holes in walls when moving out?
Press ready-mixed spackle into each hole with a putty knife, shave off the excess with a second flat swipe, let it dry for 30 to 60 minutes, sand flush with 220 grit, then spot-paint if the hole shows. A dozen picture holes take about an hour. Anchor and mount holes need a mesh patch and two thin coats, and take longer.
Can I use spackle instead of a wall patch for picture nail holes?
Yes, for anything up to about a quarter inch. Spackle is the standard choice for drywall pinholes, picture hooks and small screw holes. Above a quarter inch, or on a hollow anchor hole, a self-adhesive mesh patch with joint compound over it holds far better, because spackle alone sags and drops out of larger openings.
Should I paint over a nail hole repair before moving out?
Spot-painting is the usual expectation when the wall was already painted, but filling alone is often fine for small frame holes on a wall you cannot colour-match. Avoid flashing by laying flat primer or paintable filler sealer over bare spackle first. If a match is impossible, repaint the full wall from one clean break to another rather than blending an obvious spot.
How long does it take for a nail hole repair to dry and be ready for painting?
Light spackle in a shallow nail hole dries in 30 to 60 minutes. Deep anchor holes and thick coats take several hours, and humid conditions stretch that further. The test is colour and hardness, not the clock: the filler should be pale all the way through and not dent under a fingernail before you sand and paint it.
What if my wall is textured or the paint color is difficult to match?
Match the texture first. A smooth patch on a knock-down or orange-peel wall is more obvious than a colour difference, so blend textured walls with a stippling sponge while the filler is still wet. For colour, take a fist-sized chip to a paint store for scanning or tinting, and if the colour is discontinued, repaint the whole wall from one clean break to another.
Do I need to tell my landlord about small nail holes before moving out?
Small picture-frame holes are usually treated as normal wear and tear, while holes from anchors, shelves and TV mounts are treated as damage and can be deducted from your deposit. Filling the picture holes quietly is the norm. For mount and anchor holes, send a short message noting what you filled and offering to cover the paint, and keep photos of every wall either way.
The first thing to do is walk the room with a flashlight held at an angle to the wall, so every ridge and dent shows itself before you touch anything. Pull the nails, sand the rings, then fill and sand the holes in one session so the filler cures together. Small frame holes are cheap to fix and usually not your problem. Mount holes are the ones worth a message to the landlord and a good set of photos.