The cheapest way to make large wall art on a budget is to build it yourself on a surface you already own or can pick up for very little: a thrifted canvas with an ugly painting on it, a scrap of drop cloth, a foam board panel, or a shower curtain print. Paint it, collage it, or stretch fabric over a thrifted frame, then hang it so it spans about two-thirds of the furniture underneath.
Store-bought oversized art runs into the hundreds once you add shipping, and the sizes most shops carry stop at 24 by 36 inches. Making your own takes a weekend, costs a fraction of that, and gives you a piece that fits your wall exactly rather than approximately.
Below is a project bank, the sizing and hanging math that decides whether the piece looks intentional or awkward, and the mistakes that trip up first-time makers. Every method here works for a beginner with a brush, a staple gun, and a free afternoon.
Table of Contents
- What You Need
- The essentials
- The optional extras
- Where cheap oversized surfaces actually come from
- Safety notes before you cut anything
- Step-by-Step: How to Make Large Wall Art on a Budget
- 1. Choose the format and measure the wall
- 2. Prepare the base
- 3. Create the design
- 4. Add the finishing details
- 5. Hang and style the finished art
- 6. Common mistakes when making large wall art on a budget
- Sizing and hanging cheat sheet
- Frequently Asked Questions
- How do I make large wall art without buying a large canvas?
- Can I hang heavy DIY wall art in a rental without drilling?
- How do you make budget wall art look expensive?
- How high should I hang large canvas art?
- What is the cheapest way to fill a very long blank wall?
What You Need
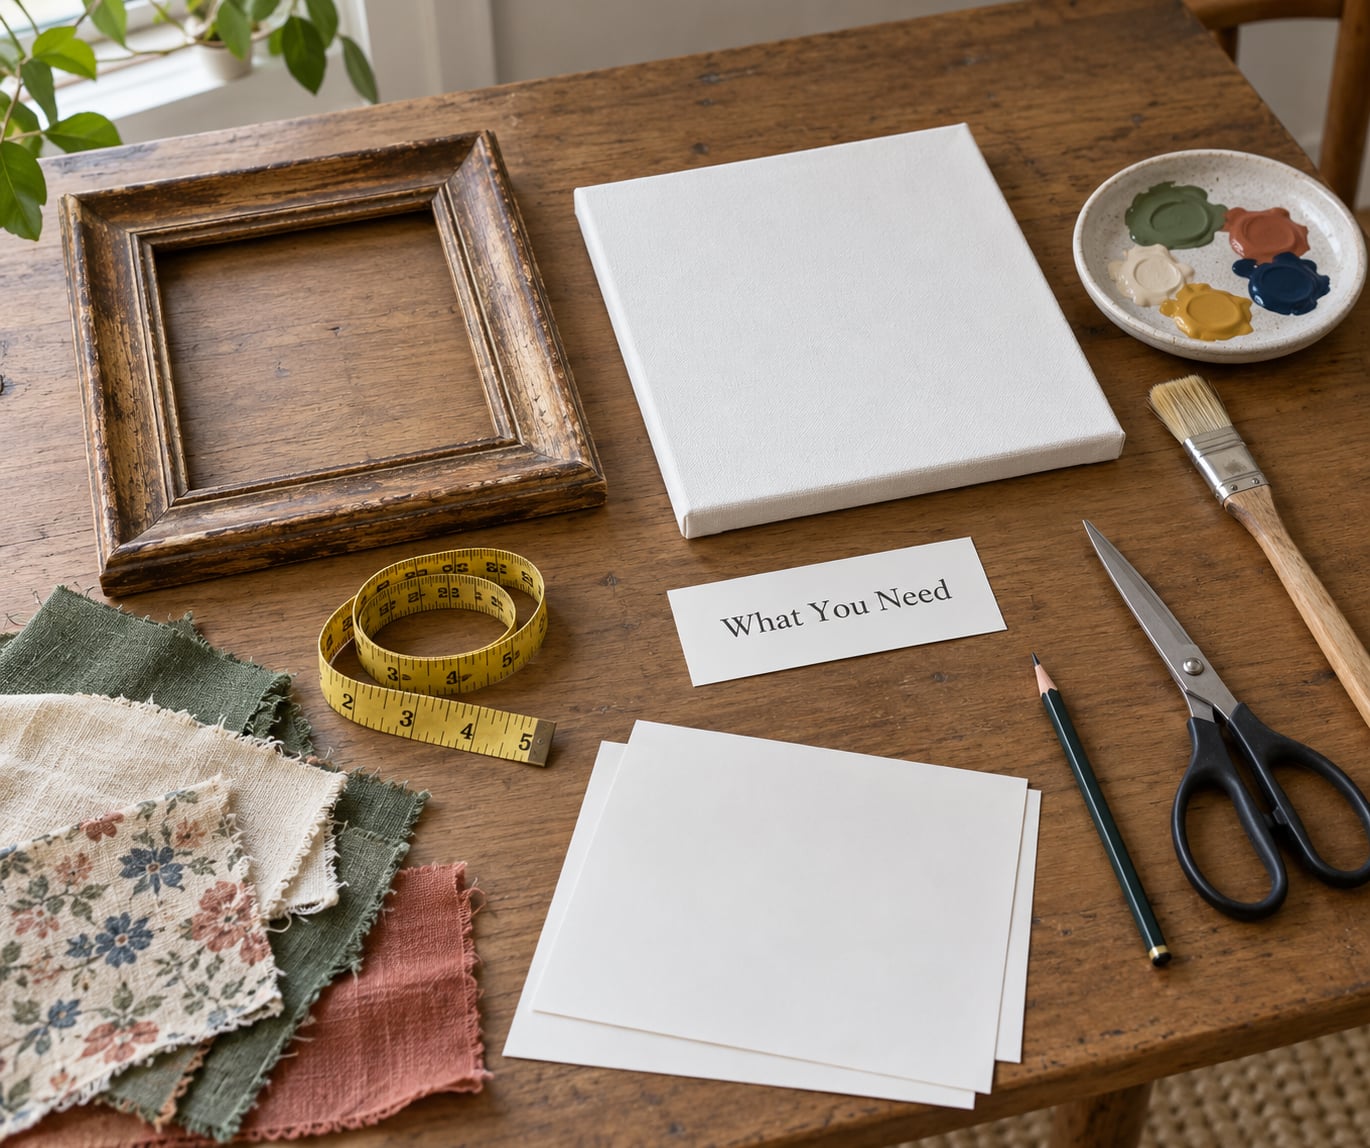
Start with the surface, then the paint, then the hardware. Everything else on this list is optional and probably already in a drawer somewhere.
The essentials
- A base surface. A thrifted stretched canvas, a sheet of foam board or insulation foam, a piece of plywood, a thrifted wooden frame with fabric, or a printed shower curtain. Each one lands in the very low to low cost tier.
- Paint. Acrylic craft paint from a dollar store, interior latex in colours you already own, or a mix of both. A base coat plus two accent colours covers most designs.
- Application tools. A wide flat brush, a roller, a sponge, or a stack of rags. Foam brushes work and get thrown away afterwards.
- Measuring and marking. Tape measure, pencil, straightedge or level.
- Hanging hardware. D-rings and hanging wire for anything on a stretcher frame, picture-hanging hooks matched to the finished weight, and a stud finder.
- Adhesive and prep supplies. Painter’s tape, craft glue or Mod Podge, sandpaper, and a clean rag for dust.
The optional extras
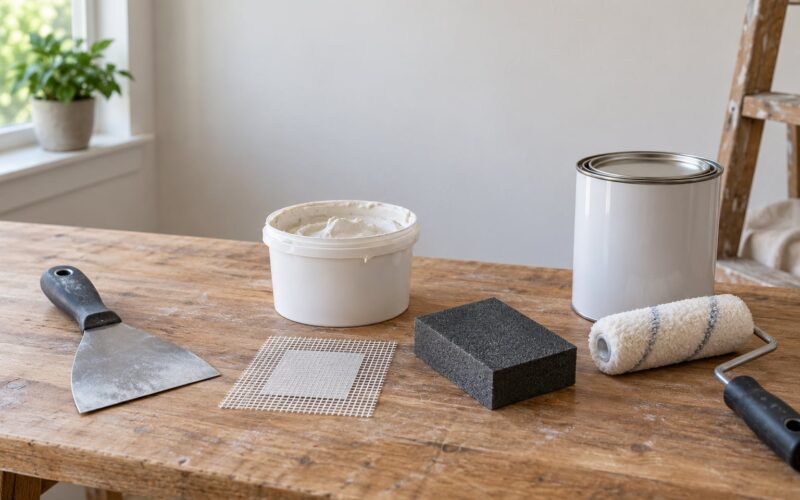
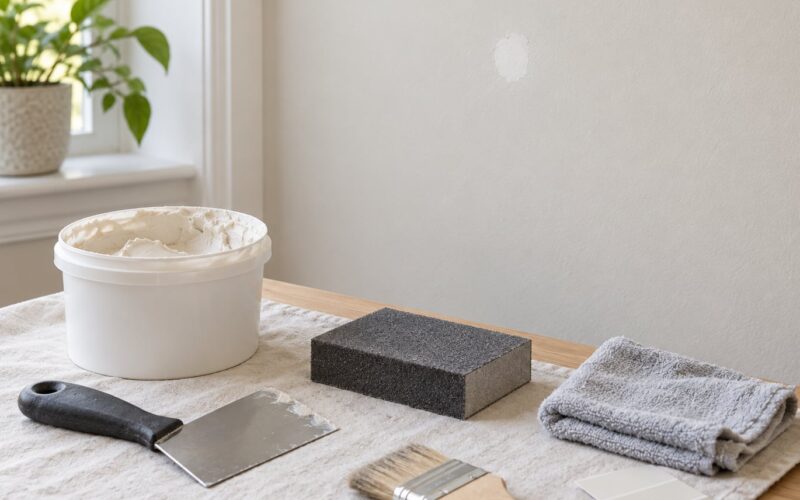
Texture medium or joint compound for a raised finish, a stencil roller for crisp graphics, wallpaper paste for mounting paper, extra nails and shims, and a hair dryer or fan to push drying along. Skip any of them and the project still works.
Where cheap oversized surfaces actually come from
This is the part most guides skip, and it matters more than the paint. Craft stores push two sizes, which is why a genuine oversized blank feels expensive everywhere else.
| Source | What you get | Cost tier |
|---|---|---|
| Thrift stores and estate sales | Stretched canvases in real large sizes, often with an existing painting you paint straight over; mismatched frames with usable joinery | Very low |
| Dollar stores | Foam board, poster board, acrylic craft paint, brushes, sponges, foam brushes | Very low |
| Hardware and home improvement stores | Cut-to-size plywood and MDF, wallpaper paste, texture medium, joint compound, D-rings, toggle bolts | Low |
| Bedroom and curtain sales | Printed shower curtains with bold graphic panels that read like oversized art | Very low |
| Fabric and remnant bins | Drop cloth, canvas yardage, thrifted sheets, table runners with strong pattern | Free to low |
| Free print services | Larger reproductions of your own photo, shipped flat or rolled, ready for mounting on foam board | Free to low |
A thrifted canvas with a dated landscape on it is not a problem. Two coats of base acrylic and it disappears completely.
Safety notes before you cut anything
Measure twice and mark the wall before you cut the surface, since a panel cut an inch short cannot be fixed later. If you staple or stretch anything, wear eye protection and keep fingers clear of the staple gun’s driver path.
For hanging, find out what is inside the wall before you load it with weight. Run a stud finder, or knock along the wall and listen for the solid knock. Anything above a bed should be hung into studs, full stop. Follow the weight rating printed on any adhesive strip or anchor you use rather than guessing, and skip strips entirely for pieces heavier than a few pounds.
Step-by-Step: How to Make Large Wall Art on a Budget
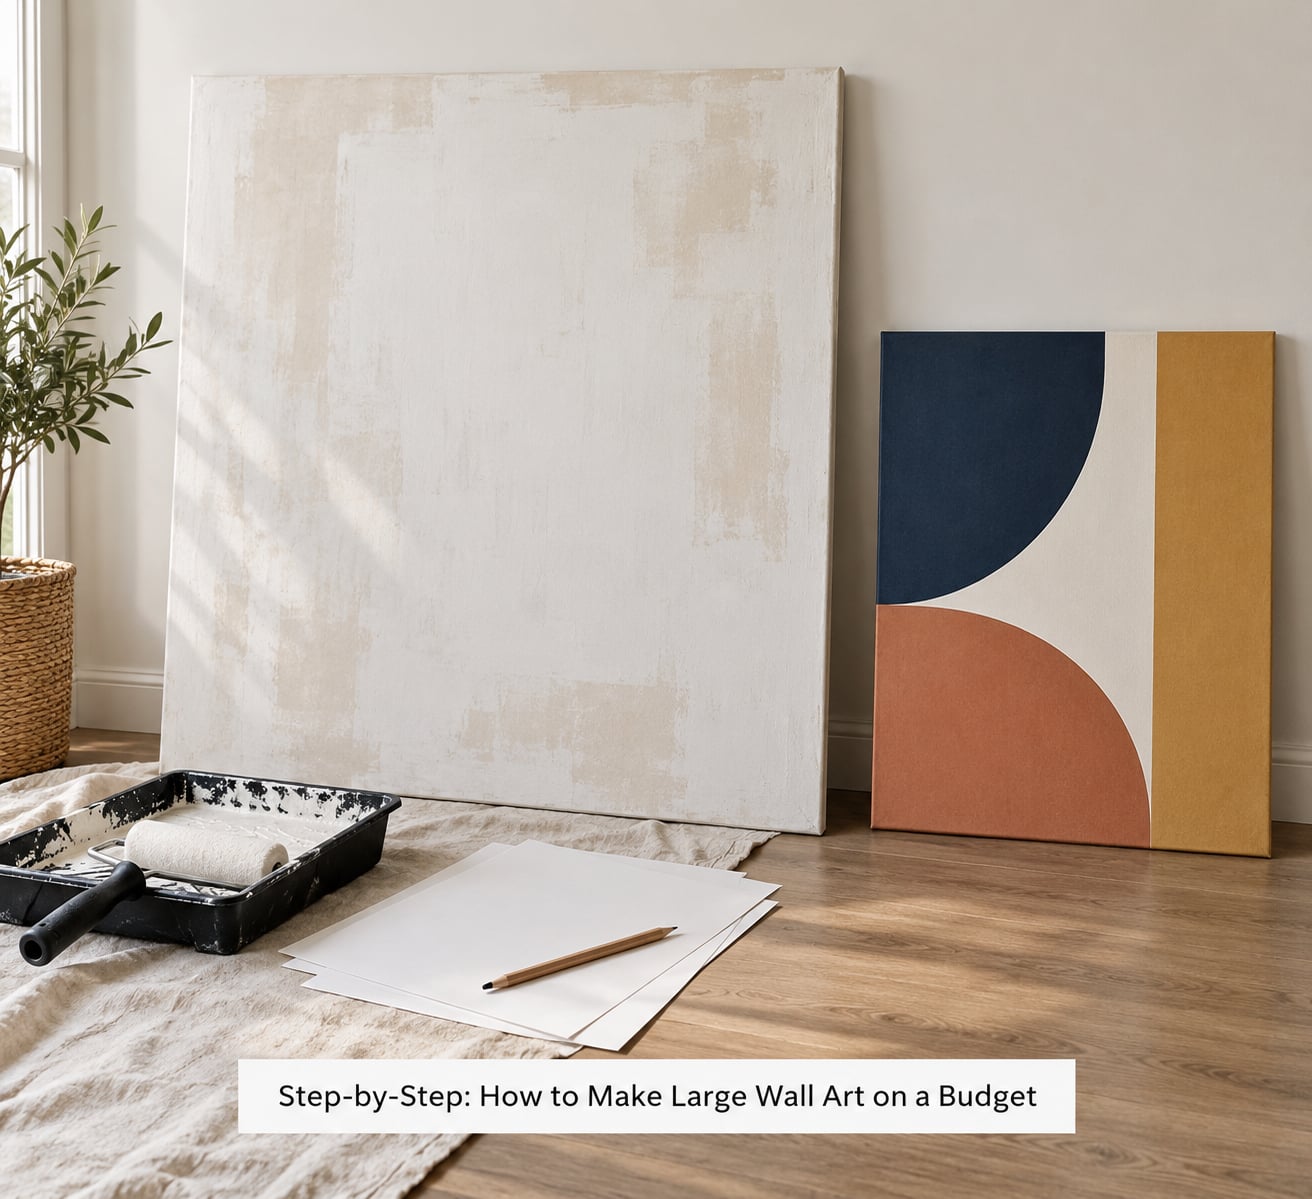
Work in this order and the project stays forgiving: measure, prep the base, lay down the design, add detail, then hang. Rushing the measuring stage is what makes large art look small.
1. Choose the format and measure the wall
Measure the furniture the art will sit above and the empty wall space around it. Aim for a piece roughly 66 to 75 percent of the furniture’s width, which is why a single narrow canvas never quite fills a wall behind a wide sofa.
If the wall is genuinely long, 15 feet or more, stop trying to find one surface that size. Build a triptych of three panels, or a grid of six, and the wall reads as a considered composition rather than a gap with a gap in it. As a general anchor, the centre of the piece sits about 57 to 60 inches off the floor, and the bottom edge lands 8 to 10 inches above the top of a sofa back.
Sketch the layout on scrap paper at actual scale and tape it to the wall. Two minutes of masking tape tells you more than an hour of painting.
2. Prepare the base
Clean the surface first. For a thrifted canvas, wipe off dust and grime with warm water and a drop of dish soap, then let it dry fully in a warm room. A canvas with a slack, hammocky feel needs backing tension: work a flat edge along the back and pull the corners square, or staple a piece of cardboard across the rear.
For foam board, cut with a sharp utility knife against a straightedge, scoring several passes rather than trying to slice it in one. Seal both faces with a coat of gesso or cheap primer if you are painting, which stops the board drinking the colour and going blotchy. Plywood and MDF want a sanding pass and at least two primer coats; wear a mask when you sand them.
For fabric or drop cloth, work a coat of gesso or primer into the weave with a stiff brush so the paint does not soak through. For leftover wallpaper or a shower curtain, trim to size and mount to foam board with paste or glue, then trim the excess flush with a craft knife once it dries.
Check the hardware while the piece is still flat on the floor. Feel for D-rings on a stretcher bar, or screw them into the back of a frame or board. If nothing is there, add it now rather than when the art is already on the wall.
3. Create the design
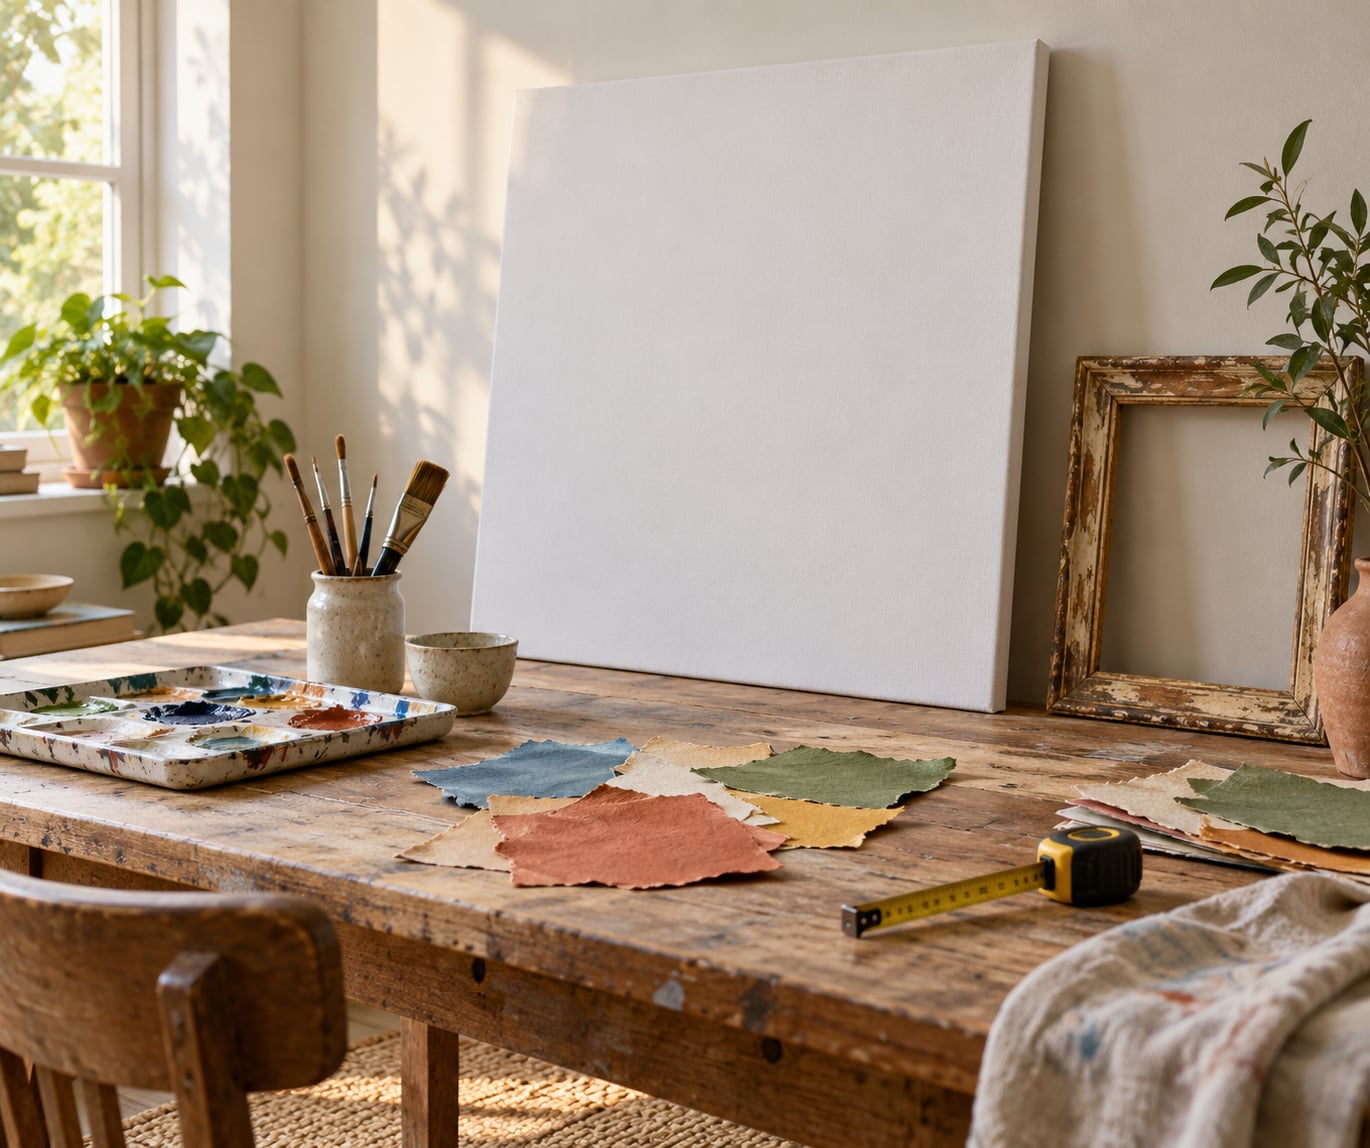
Pick three colours and commit. The most common beginner failure is a palette of six, which reads as noise at distance. Pull two or three from the room, then test them side by side on a scrap of the same surface before the base coat dries.
Abstract painting. Block in the base colour across the whole surface and let it dry. Then work loose shapes with a wide flat brush, a roller, or a rag folded into different edges. Keep the brush damp and rinse it between colours, otherwise everything turns to mud. Rotating the canvas as you go keeps your wrist comfortable and stops the composition from settling into horizontal bands.
Colour wash. Fill large areas with a diluted first colour, then blot or drag a second over the top while the first is still damp. Two translucent layers read as depth; three passes of heavy paint read as a mistake.
Sponge or stencil. Use the largest stencil you can find so you repeat it as few times as possible, and press it down with painter’s tape along every edge. Load the roller lightly and roll on, never scrub, which is what causes the bleed that ruins a crisp line. Lift the stencil while the paint is still slightly damp.
Collage and paper. Torn paper edges feel more relaxed than scissor cuts. Glue in a few large shapes rather than many small ones, leave some background showing, and let each layer dry before the next goes down.
Scaling a small print up. You do not need a poster printer. Divide the image into a grid of equal squares with a pencil and ruler, cover the surface with the same grid scaled up, then copy each square across. The lines do not have to be visible in the finished work because the drawing covers them. For a photograph with any reselling value, an online print service that ships flat will do the enlargement for less than the cost of two takeout orders.
Stretched fabric. Soak a thrifted sheet or drop cloth, wrap it over the frame, and staple it to the back, pulling taut and working from the centre out to each corner. Half the wrinkles disappear when the fabric dries. Leave a few inches of overlap at the back for the staples.
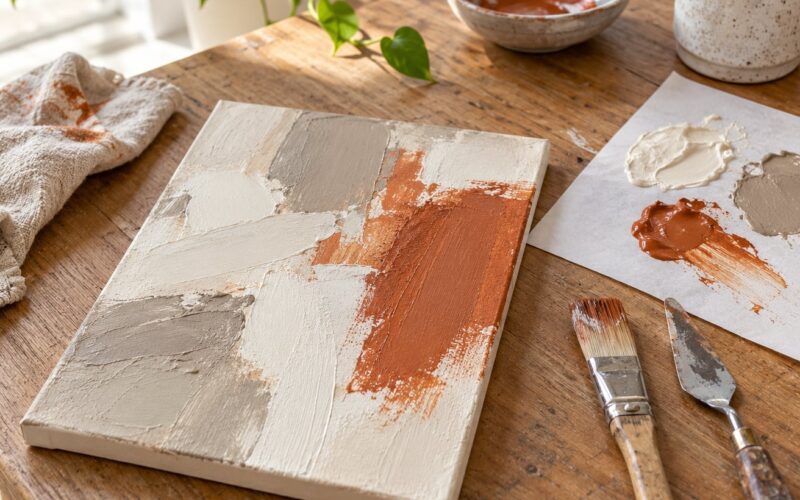
Texture. Thin layers of joint compound or texture medium, spread with a palette knife, dry pale and sandy between coats, then take acrylic paint over the top with a dry brush so the raised areas catch the colour and the recesses stay dark. Go easy on texture, since it photographs badly and collects dust.
4. Add the finishing details
Let everything dry fully between stages. Acrylic paint on a large surface will feel dry to the touch long before it is hard underneath, and stacking or hanging it early leaves marks that no amount of touch-up removes.
Small corrections are easy while the paint is still slightly damp: wipe a stray line with a damp rag, feather an edge with a clean dry brush, or add a second thin coat of base colour over a spot you do not like. Once it is cured, the fix is a small piece of matching paper or a deliberate corner cut, so save the second-guessing for the wet stage.
Negative space is the cheapest finishing trick there is. Leaving a wide margin of bare ground colour makes a simple design look intentional from across the room. Lettering needs a steady hand and a fine brush; if you are not confident, skip words and add a band or a border instead.
5. Hang and style the finished art
Tape a paper template of the piece to the wall first, stand back, and check it from the doorway. Move the template until the width feels right against the furniture, then mark the wall with a pencil behind it.
Choose hardware by the finished weight and the wall you have. Light pieces on drywall can go in with small picture hooks or plastic anchors. Anything heavier than a few pounds wants toggle bolts or a screw into a stud. Stud-mounted hooks are the correct answer above a bed, a sofa people lean back on, or anywhere a falling frame could hurt someone.
Attach D-rings to the back of the stretcher or frame, run the wire through both, and add two turnbuckles so you can level the piece after it is on the wall. A three-inch level of slop is normal, which is exactly why the turnbuckles exist.
For renters, the honest answer is that adhesive strips are only reliable for light work on painted drywall. For a large piece, a rated strip on each corner is a gamble you will eventually lose, and the damage to the wall costs more than the art did. Weight limits vary by product, so read the number on the packaging and stay well under it.
Style the finished piece by hanging it as a group rather than alone. Three panels with even gaps, or a grid of six same-size frames, looks deliberate in a way a single lonely rectangle does not.
6. Common mistakes when making large wall art on a budget
Going too small. Art narrower than about half the furniture beneath it makes both look undersized. Fix: measure the furniture, multiply by two-thirds, and treat that as your minimum width. Budget tip: if you cannot find that width, build two panels and hang them side by side.
Buying before testing the palette. Three colours swatched on cardboard behave differently on fabric or foam. Fix: test all of them on a corner of the actual base and let it dry before committing.
Overworking the design. Most beginners add layer after layer because the first one feels thin, and the surface turns heavy and muddy. Fix: stop after the pass where the colour reads from standing height, which is usually sooner than you expect.
Using an unstable frame. A thrifted frame with loose joints sags under wet paint and paint weight. Fix: check the corners for movement, reinforce them with a brace across the back, and pull any slack canvas square.
Hanging it at the wrong height. Art hung at eye level looks low in a room with high ceilings. Fix: centre the piece at 57 to 60 inches from the floor and keep 8 to 10 inches of clearance above a sofa back.
Stretched fabric too tight or too loose. Over-tensioning makes the weave pucker, and loose fabric waves once it dries. Fix: pull firmly but not white-knuckled, working from the centre out, and leave generous overlap at the back.
Sizing and hanging cheat sheet
| Situation | What to do |
|---|---|
| Above a wide sofa or console | Art 66 to 75 percent of the furniture width, bottom edge 8 to 10 inches above the back |
| Above a bed | Centre the piece 57 to 60 inches off the floor and hang it into a stud |
| Wall 15 feet or longer | Triptych of three panels or a six-frame grid instead of one piece |
| Piece under about 5 pounds on drywall | Small picture hook or plastic anchor is enough |
| Piece over 5 pounds | Toggle bolt, or a screw into a stud |
| Rental, no drilling | Keep it light, use rated adhesive strips well under their limit, or switch to several small pieces on a rail |
| Uneven hanging | Turnbuckles on the wire, then re-level before tightening |
Frequently Asked Questions
How do I make large wall art without buying a large canvas?
Stretch a thrifted sheet, drop cloth, or piece of canvas over a thrifted wooden frame and staple it to the back, pulling taut from the centre out. Mount wallpaper or a shower curtain print on foam board cut to your wall measurements, or tape-grid enlarge a small print onto a large sheet. All three routes use surfaces you can source very cheaply.
Can I hang heavy DIY wall art in a rental without drilling?
Only if the piece is genuinely light. Adhesive strips are rated by weight and that rating varies by product, so check the number and stay well under it. Above a bed or over a sofa people lean back on, drill into a stud or do not hang it at all. A safer renter route is a lighter piece on a long rail system rather than one heavy canvas.
How do you make budget wall art look expensive?
Restraint does most of the work. Limit yourself to three colours, leave a wide margin of bare ground colour as negative space, and keep the finish matte rather than glossy. A clean rectangle with confident scale and even hanging reads as considered. Busy detail, many colours, and visible touch-ups are what make homemade pieces look homemade.
How high should I hang large canvas art?
Aim for a centre point about 57 to 60 inches from the floor, and keep the bottom edge 8 to 10 inches above the back of a sofa or headboard. Width matters more than height: the piece should span roughly 66 to 75 percent of the furniture below it. Tape a paper template to the wall and check it from the doorway before you drill.
What is the cheapest way to fill a very long blank wall?
Do not look for one enormous surface. Build a triptych of three panels or a grid of six same-size frames, all from thrifted canvases or foam board mounted with a single print. Splitting a wide composition across panels makes the wall look deliberate, keeps every panel light enough to hang without heavy hardware, and costs a fraction of any single oversized piece.
Do this first: measure your furniture, multiply the width by two-thirds, and tape a paper template of that size to the wall. Once the template looks right, pick the base surface from the sourcing table above and start with a single-colour block-in. You can layer from there; you cannot add width to a piece that is already too small.