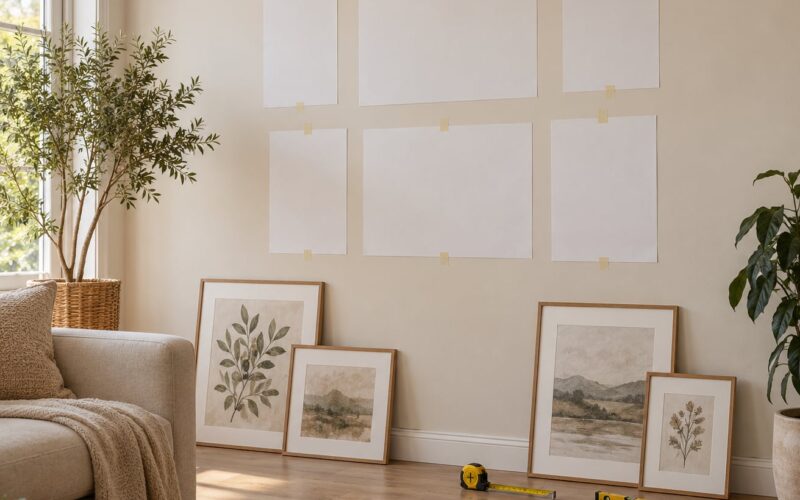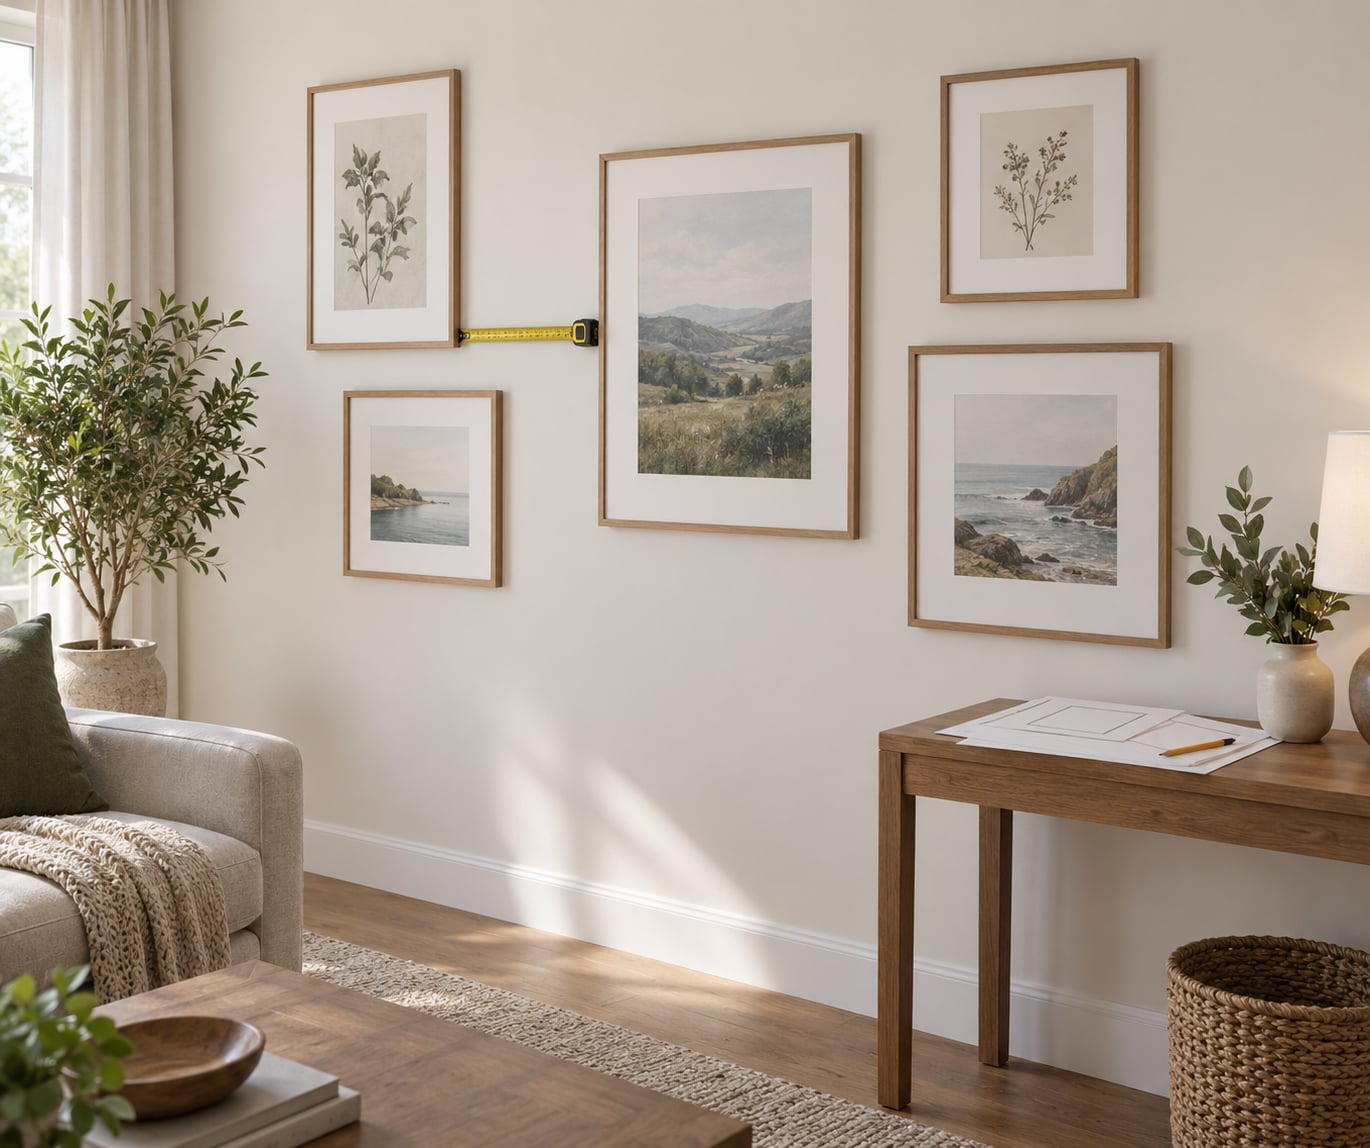
To space frames on a gallery wall, leave the same gap between every frame, and 2 to 3 inches (5 to 8 cm) is the gap that works for most arrangements. Pick that number, measure from frame edge to frame edge, and check it from across the room rather than up close. The whole job takes an hour once the layout exists on paper.
The part that trips people up is not hanging. It is deciding a spacing number and then actually holding to it, because frames come in mismatched sizes and the eye reads an uneven gap as a mistake long before it notices anything else. Plan the arrangement flat on the floor first, and you are really only transferring a layout you already approved.
Below is the method I use: paper templates on the floor, one committed gap, then a wall marking pass that works outward from a single anchor frame.
Table of Contents
- What You Need
- How to Space Frames on a Gallery Wall Step by Step
- Step 1: Measure the wall and choose one gap size
- Step 2: Map the layout on the floor before touching the wall
- Step 3: Make paper templates for every frame
- Step 4: Mark the wall and hang the anchor frame first
- Step 5: Add the remaining frames and check alignment from across the room
- Gallery Wall Spacing by Frame Size and Layout
- The 57-Inch Rule and Why It Matters
- Common Mistakes That Ruin the Spacing
- Frequently Asked Questions
- How much spacing between gallery wall frames?
- What is the rule of thumb for a gallery wall?
- Should all frames be the same distance apart?
- How high should I hang a gallery wall above a sofa?
- Can I hang a gallery wall in a rental without nails?
- How do I fix uneven spacing on a wall that is already hung?
What You Need
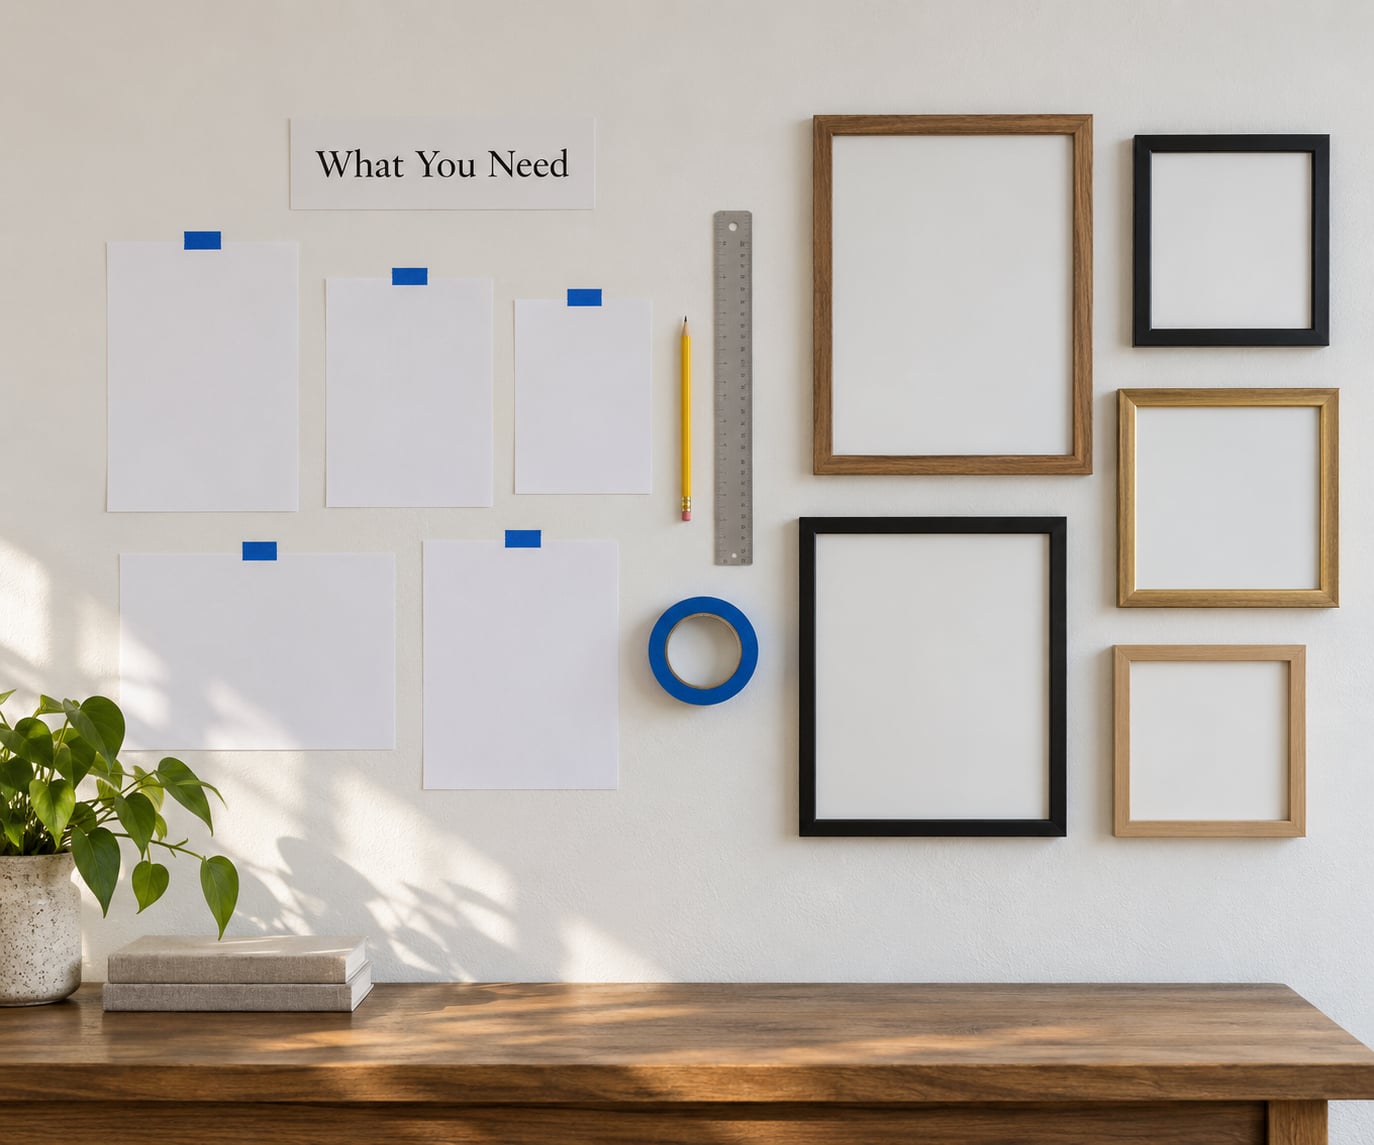
Gather everything before the first mark goes on the wall. Most mistakes come from a missing tape measure halfway through, not from bad taste.
- Paper for templates: plain printer paper, a roll of masking tape, or a roll of painter’s tape if you want the outline to sit directly on the wall.
- Pencil and ruler: for tracing frames and drawing the gap guides.
- Tape measure: a 25 foot tape reaches most walls without a second pass.
- Level or laser level: a cheap bubble level fixes a 3 inch row across six feet; a laser level does the same job faster.
- Hanging hardware: picture hangers, D-rings, or a rated adhesive strip, matched to both frame weight and wall type.
- Wall anchors when there is no stud behind the mark. Plaster and masonry walls need their own anchors, and drywall screws alone will not hold a frame with glass in it.
- A card spacer cut to your chosen gap. This one tool does more for even spacing than careful measuring does.
A putty knife and some filler paint are worth having too, because the most common wall regret is a row of nail holes from a layout you changed three times.
How to Space Frames on a Gallery Wall Step by Step
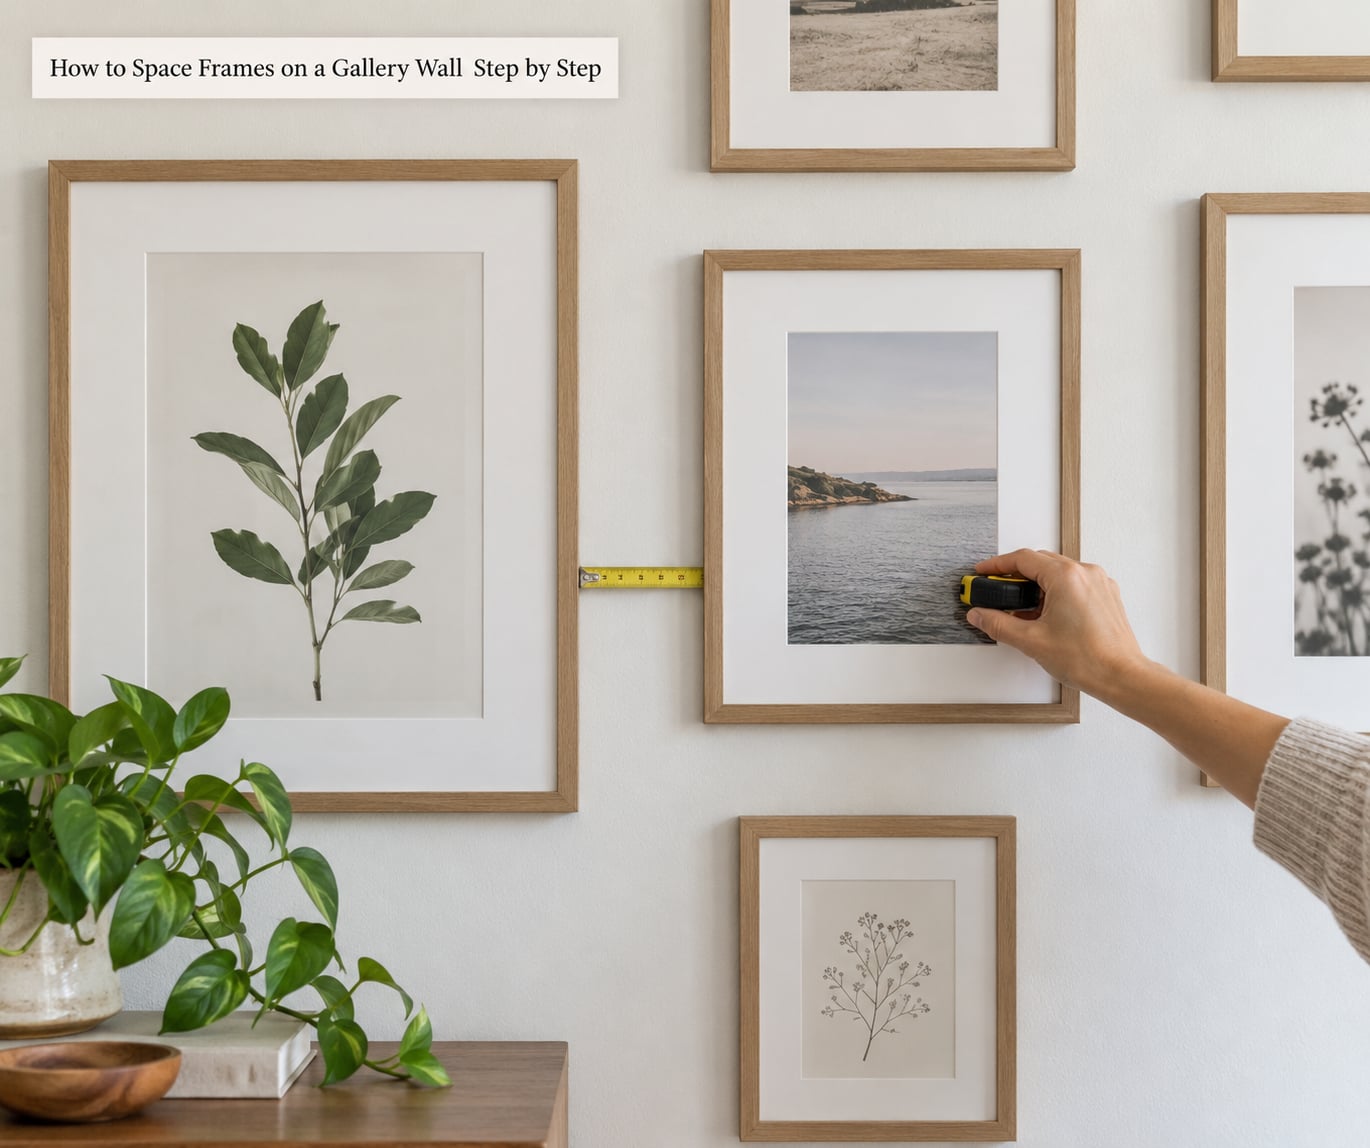
Step 1: Measure the wall and choose one gap size
Measure the usable width and height of the wall, staying a few inches clear of light switches, outlets and trim. Then choose a single gap and write it down.
For most mixed-size collections, 2 to 3 inches is the range that reads as intentional. Small frames under about 8 by 10 inches can take a tighter 1.5 to 2 inch gap. Large or oversized pieces look right at 3 to 4 inches, because a wide frame with a tight gap beside it looks accidental.
Whichever number you pick, use it everywhere on that wall. Consistency beats precision here. A wall with a uniform 2.5 inch gap looks better than a wall with mathematically varied gaps averaging the same thing, which is exactly what people report noticing in feedback threads on r/interiordecorating and DesignMyRoom.
Step 2: Map the layout on the floor before touching the wall
Cut a paper rectangle for every frame and lay the whole arrangement out on the floor, or on a large sheet of paper if your floor is not big enough. Space them with the gap you chose.
This is where the method earns its time back. You can stand over the layout and look at it from standing height, which is roughly how you will see the finished wall. Adjust until the outer edges form a shape you like, then mark each rectangle’s centre with a pencil cross.
Check the overall block against your wall measurements before you go further. If the layout is 60 inches wide and the wall is 48, it is time to drop a frame, not to hang a crowded row.
Step 3: Make paper templates for every frame
Measure each frame’s outer dimensions, including the mat and any visible border, and draw it to scale on paper. Label each template with its size and which way is up.
Two details save real time later. Note how far above the top of the frame the hanging wire or D-ring sits, and write that allowance on the template. It changes your nail height for every frame with a wire, and it is the reason so many rows drift downward as you work.
Step 4: Mark the wall and hang the anchor frame first
Tape the templates to the wall in position and mark the centre points with a pencil, not the corners. Centre marks are what let you correct a small error later; corner marks lock the error in.
Set the centre of the arrangement at 57 inches (145 cm) from the floor for a standard wall, measured to the centre of the middle row if the layout has several rows. Above furniture, measure from the top of the furniture instead, leaving 6 to 10 inches (15 to 25 cm) of clearance over a sofa, console or headboard.
Find a stud or a rated anchor for the first nail, hang the anchor frame, then check it with your level before touching anything else. Every frame after this one gets positioned relative to this one.
Step 5: Add the remaining frames and check alignment from across the room
Work outward from the anchor frame, sliding each new frame into place against your card spacer rather than measuring by eye. Measure the gap, slide the frame, measure again, and trim the difference.
Level each frame as you go and put the second nail in before moving on, because a frame hanging on one nail will pivot as you nudge it. Finish with a full pass from across the room: squint, or blur your eyes, and the equal channels of negative space between frames should be the first thing you see. Where one gap looks wider than the rest, that is the frame to adjust.
Gallery Wall Spacing by Frame Size and Layout
Here is how the gap changes with frame size. The measurement is edge to edge, not frame edge to wall edge.
- Small frames (under 8 by 10 inches): 1.5 to 2 inches (4 to 5 cm). Tight spacing keeps a cluster of small pieces from looking scattered.
- Medium frames (11 by 14 inches to 16 by 20 inches): 2 to 3 inches (5 to 8 cm). This is the standard most walls end up using.
- Large frames (24 by 36 inches and up): 3 to 4 inches (8 to 10 cm). Bigger pieces carry more visual weight and need air around them.
- Mixed sizes: stay at one gap for the whole wall, usually 2.5 inches. It is the only way a mismatched group reads as deliberate.
Layout changes the spacing slightly too. A symmetrical grid works best at 2 to 3 inches because the eye is checking straight lines. A salon-style wall with mixed frames can go wider, 3 to 4 inches, since the grouping reads as one shape from a distance. A single horizontal row wants 3 to 4 inches so the row doesn’t look cramped. Staircase walls need about 2 to 3 inches between frames plus a consistent vertical rise of roughly the same amount.
And leave negative space around the outside of the whole arrangement. A 6 to 10 inch border on each side is enough. Filling every inch of wall is the fastest way to make a collection look cluttered, which is the other complaint that comes up again and again in home design groups.
The 57-Inch Rule and Why It Matters
The 57-inch rule is the museum standard for hanging artwork: the centre of the piece sits 57 inches (145 cm) above the floor. It is called that because 57 inches is roughly the average eye height of an adult, so the art meets you where you naturally look.
For a grouped wall, apply the rule to the centre of the arrangement rather than to the bottom edge of the lowest frame. That is the difference between a wall that feels right and one that makes the ceiling look lower. People notice it immediately without being able to say why.
Two adjustments matter in real rooms. If the wall sits above a sofa, console or sideboard, hang it 6 to 10 inches above the furniture and ignore the floor measurement entirely. In a hallway or stairwell where everyone walks past rather than stands in front, go slightly higher, around 60 inches, so it reads at a glance.
Common Mistakes That Ruin the Spacing
These are the problems that show up over and over, with the fix for each.
- Measuring from a different edge on every frame. Some people measure from the left side, some from the top, and the row drifts. Fix: measure gap to gap only, edge to edge, and write the number down.
- Mixing gap sizes. A 1 inch gap next to a 4 inch gap is the single most common complaint in feedback threads. Fix: one gap for the entire wall.
- Hanging everything before confirming the layout. Fix: paper or tape on the floor first, and only bring a hammer out once you like the shape.
- Ignoring the hanging wire allowance. Frames with wires hang lower than the mark you made. Fix: note the wire drop on each template and mark the wire position, not the frame edge.
- Forgetting hardware weight limits. Adhesive strips have published weight limits that glass frames exceed. Fix: check the rating, use two strips per frame, or use an anchor.
- Choosing a gap that swallows a small wall. Four inch gaps on a narrow hall wall leaves the frames looking stranded. Fix: 1.5 to 2 inches on tight walls, wider gaps only when the wall has room.
- Judging from right in front of the wall. Fix: view from the doorway or the opposite side of the room. Spacing errors are invisible up close and obvious from ten feet away.
If the wall is already hung and the spacing is wrong, you can fix it without repainting. Take everything down, note each frame’s position on the floor, and re-lay the layout with your card spacer. Most of the work is in the removal; the second hanging is faster because you already know the order.
One exception is worth naming. On a deliberately maximalist salon wall, an uneven bottom edge often reads as intentional rather than sloppy. The judgment comes from across the room, so ask someone else to look before you spend an evening re-spacing a wall that was already fine.
Frequently Asked Questions
How much spacing between gallery wall frames?
Leave 2 to 3 inches (5 to 8 cm) between frames for most gallery walls. Small frames under 8 by 10 inches look right at 1.5 to 2 inches, while large or oversized pieces need 3 to 4 inches. The important part is using one gap consistently across the whole wall, because an uneven gap reads as a mistake even when the artwork is good.
What is the rule of thumb for a gallery wall?
Two rules cover most walls: hang the centre of the arrangement at 57 inches (145 cm) from the floor, and leave a consistent 2 to 3 inch gap between frames. Above furniture, measure from the top of the piece instead and leave 6 to 10 inches of clearance. Keep a 6 to 10 inch border around the outside so the group does not feel crowded.
Should all frames be the same distance apart?
Yes, on almost every wall. One gap used everywhere makes mismatched frames read as a single composition, and that consistency is what people notice first. The exception is a deliberately maximalist salon wall, where a slightly irregular rhythm is part of the look. Even then, keep the gaps close enough that no single gap stands out.
How high should I hang a gallery wall above a sofa?
Leave 6 to 10 inches (15 to 25 cm) between the top of the sofa and the bottom of the lowest frame, then check that the centre of the arrangement lands near eye level. For a console or sideboard, 7 to 9 inches is usually enough. Too much clearance makes the art look like it is floating away from the furniture below it.
Can I hang a gallery wall in a rental without nails?
Yes, with rated adhesive picture strips on a smooth painted wall, as long as the strips are used within their published weight limit. Glass frames are heavy, so use two strips per frame and avoid hanging anything over textured or freshly painted walls. A picture ledge system rests art on a shelf instead, which takes weight off the wall entirely but costs you the flat grid look.
How do I fix uneven spacing on a wall that is already hung?
Take every frame down, record the current order on the floor, and re-lay the layout with a card spacer cut to your chosen gap. Then rehang from a single anchor frame at 57 inches, working outward and levelling each piece before adding the second nail. The removal is the slow part, so the second pass usually takes a third of the original time.
Start with one thing: cut a card spacer to 2.5 inches, lay your frames out on the floor with it, and see whether you like the shape before anything touches the wall. Once that layout works, the hanging is just careful transfer.