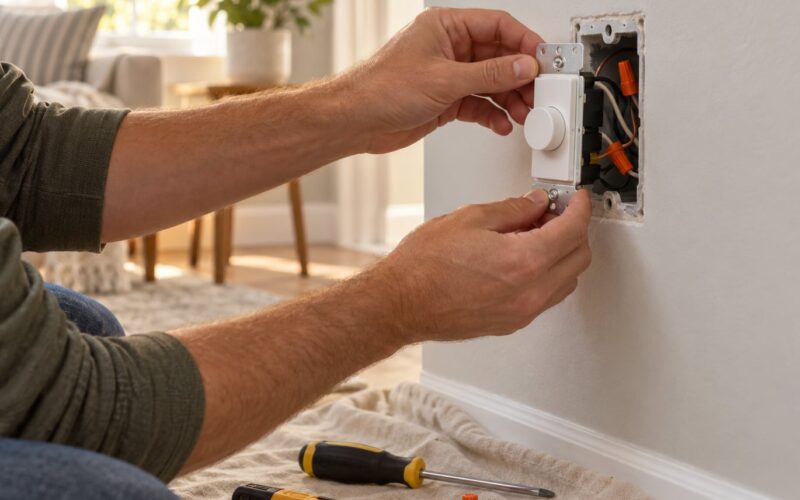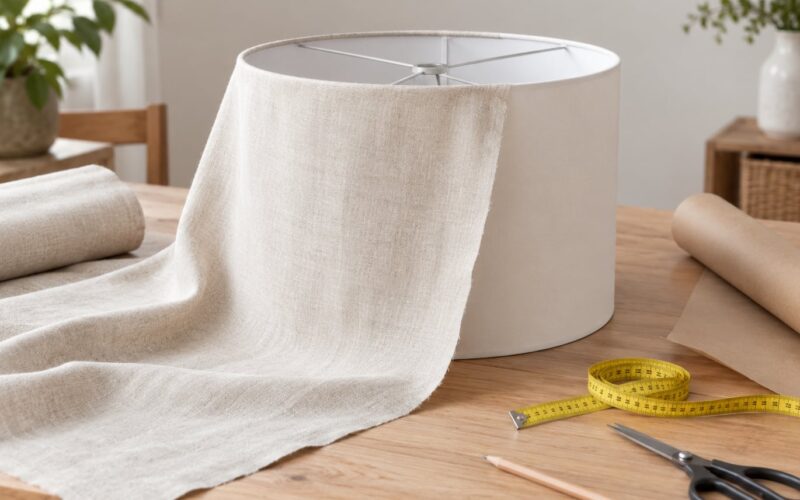
A drum shade pendant light is a ceiling-hung fixture built around a straight-sided cylinder with open ends, and making one yourself takes three moves: pick the right shade, refinish it, then hang it from a pendant kit or your existing fixture. The good news for renters is that the shade is the fun part, and you can do most of the project without touching a wire at all.
I have rebuilt three of these now, one over a kitchen island and two in rental flats where nothing could be screwed into the ceiling box permanently. The first one took an evening and a can of primer. The shade is a straight cylinder, so there is no taping, seaming, or curved-panel wrestling involved. That is why a drum is the friendliest shade shape to build by hand.
Table of Contents
- What You Need
- For a shade makeover
- For a full pendant build
- Step-by-Step: How to Make a Drum Shade Pendant Light
- Step 1: Inspect the Existing Light and Choose the Right Shade
- Step 2: Remove the Shade Safely
- Step 3: Prepare and Refinish the Shade
- Step 4: Add Decorative Details
- Step 5: Reassemble and Reinstall the Pendant
- Step 6: Test and Style the Finished Light
- Common Mistakes
- Frequently Asked Questions
- Can I turn an old thrifted lampshade into a drum shade pendant light?
- What paint or finish works on fabric and metal drum shades?
- What size drum shade should I use for my ceiling?
- How much light should come through a drum shade?
- Do I need an electrician to install a drum shade pendant light?
- Conclusion
What You Need
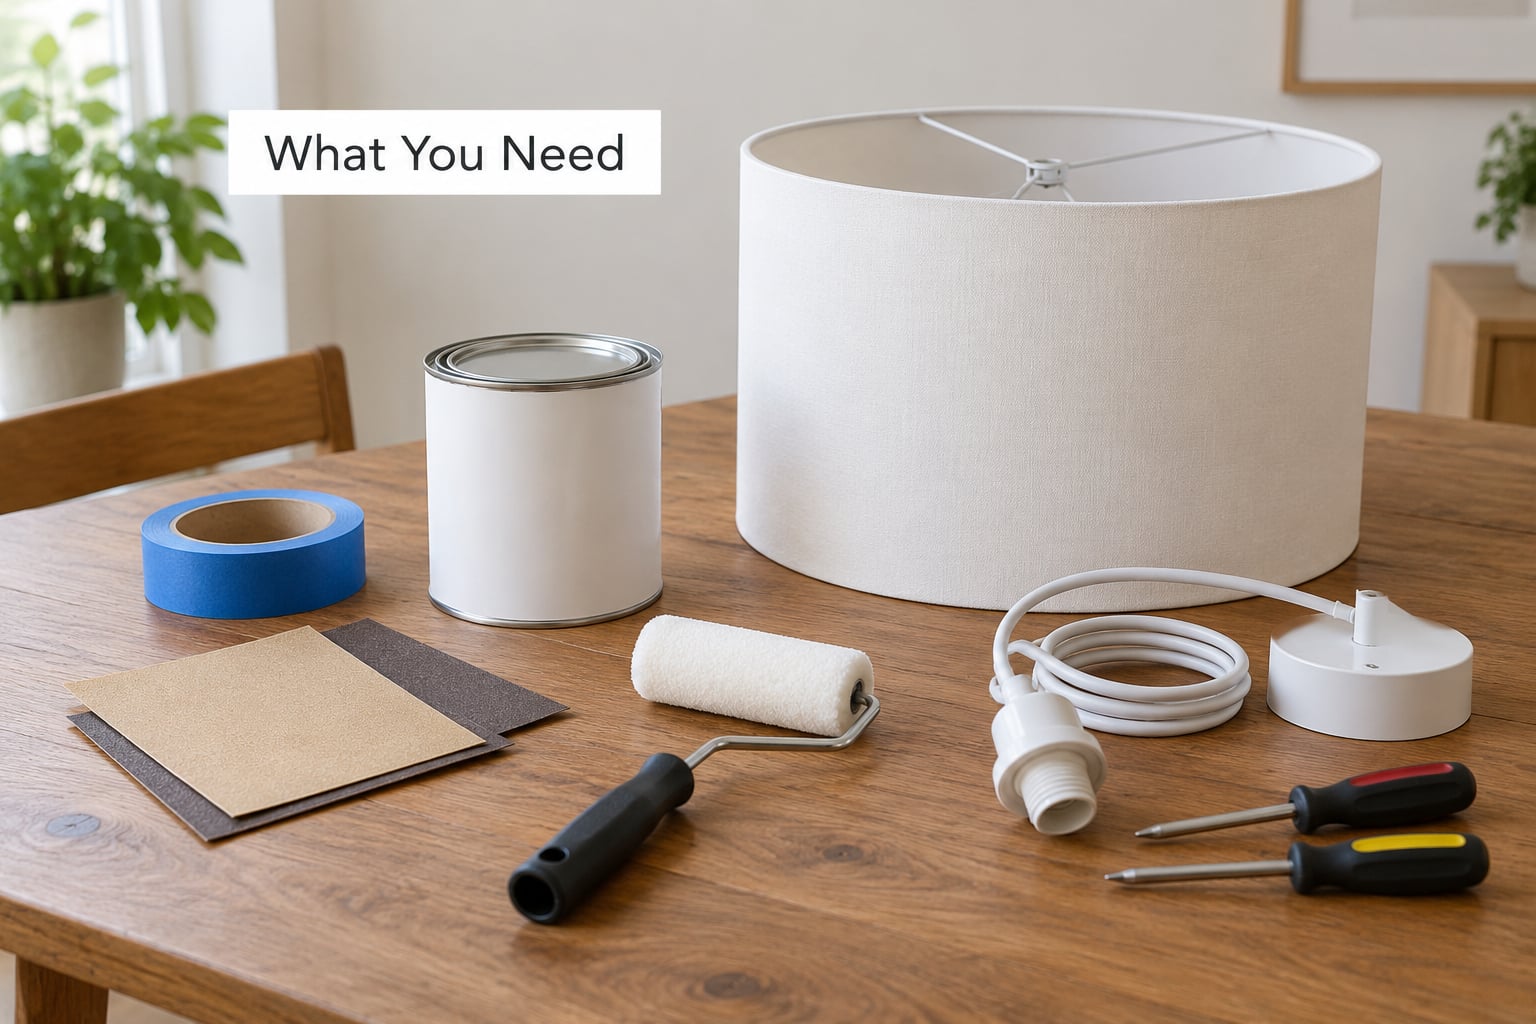
Start by deciding which job you are doing, because the list changes. If you are only restyling a light you already own, you need the refinishing supplies. If you are building a full pendant from a bare ceiling box, add the hardware list too.
For a shade makeover
- A drum shade, thrifted or new. A thrifted one is usually the cheapest route and the most forgiving of paint.
- Dish soap, a cloth, and 120 to 220 grit sandpaper or a fine steel wool pad.
- Painter’s tape and a plastic or paper drop cloth.
- Primer suited to the shade material, then paint in two thin coats.
- Optional: fabric glue or a staple gun for a fabric covering rather than paint.
For a full pendant build
- A pendant light kit with a canopy, cord, socket, and threaded nipple.
- A shade spider or crossbar that matches your shade’s top opening.
- Wire strippers, screwdrivers, and a non-contact voltage tester.
One rule comes before any of it: turn the breaker off for the room and confirm the fixture is dead with a tester before your hands go near a wire. If your plan involves connecting, splicing, or moving wires, stop at Step 4 and hand the rest to a licensed electrician. You can build and refinish a shade all weekend; the mains wiring is not where you save the money.
Step-by-Step: How to Make a Drum Shade Pendant Light
Step 1: Inspect the Existing Light and Choose the Right Shade
Look up at your fixture and decide what you are dealing with. A flush-mount with a single bulb, a chain-hung pendant, and a bare socket all take a shade differently, and the canopy and bracket sizes have to line up with what you buy.
Measure the canopy diameter, the shade opening, and the ceiling height. The shade you want should be roughly two-thirds the width of the table or island below it, and narrower than the room for a hall or entryway pendant.
| Where it hangs | Shade diameter | Drop from ceiling |
|---|---|---|
| Dining table, 36 to 42 inch wide | 16 to 20 inch | 30 to 36 inch above the tabletop |
| Kitchen island, 60 to 72 inch | 12 to 16 inch each, or one 24 inch shade | 30 to 36 inch above the counter |
| Standard 8 to 9 foot ceiling | Shade bottom 30 to 36 inch off the floor | Chain adjusted so the room reads open |
| Entryway or hallway | 10 to 14 inch | 7 to 8 foot clearance at walking height |
You will know the shade is the right size when its bottom edge sits at eye level or a little below when you stand at the table. Getting this wrong early is the mistake that costs the most time later.
Step 2: Remove the Shade Safely
Switch off the breaker, then test the fixture with a non-contact tester before touching it. Support the shade with one hand while you back out the retaining hardware, because the ring, harp, or screw that holds a shade in place often drops the moment it loosens.
Keep the canopy, socket, cord, and wires exactly where they are. Most shade-only projects need you to loosen a few screws and nothing else. The visible sign this worked: the shade comes away clean and no wire moves.
Step 3: Prepare and Refinish the Shade
Wash the shade with dish soap and water, dry it fully, then scuff the finish lightly with fine sandpaper. Wipe the dust off with a damp cloth and let it dry again.
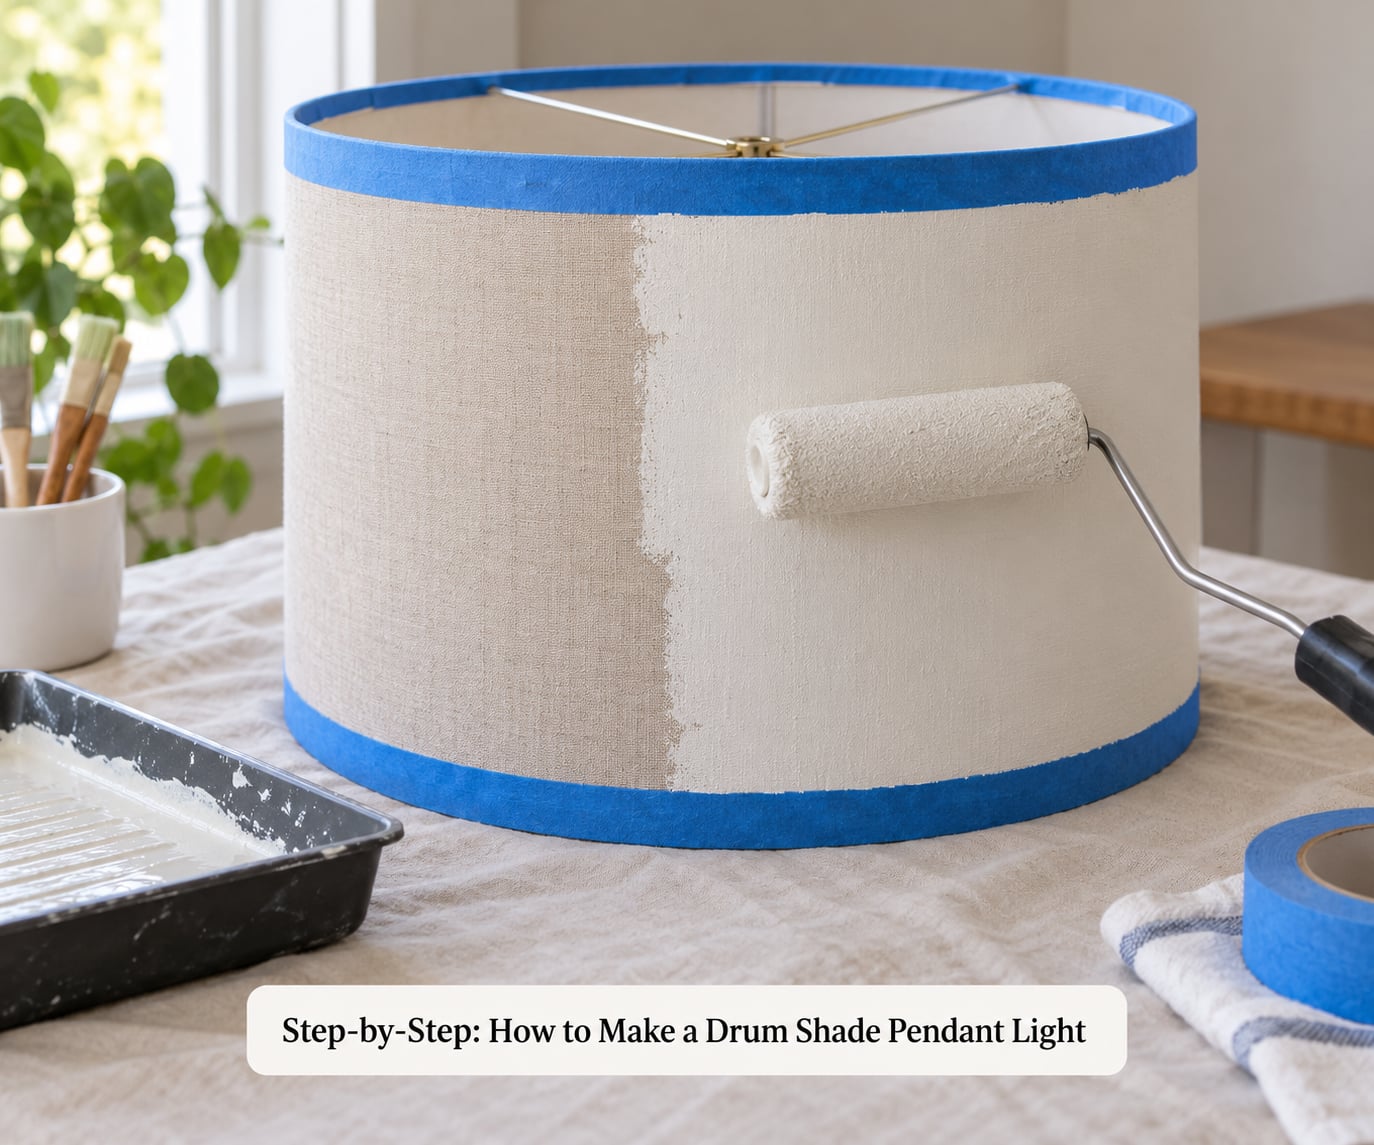
Tape the top and bottom rims and any hardware openings, then apply your primer in one thin coat. Once it is dry, follow with two thin coats of your top color rather than one heavy coat, which tends to sag and drip on a cylinder.
Known-metal or fabric shades take different products, so match the paint to the material. The visible sign it worked: the finish looks even from below, where every drip shows most.
Step 4: Add Decorative Details
Tape patterns and stencils are the lowest-risk way to make a plain drum look custom. Apply them after the base color has cured but before the topcoat, so the edges stay crisp.
Decoupage with sealed paper, a fabric wrap, or a trim band all work, but check one thing first: anything you add must not block the open top or bottom, because a drum shade vents heat at both ends. Line the interior with a light diffuser fabric if the bulb silhouette bothers you, and leave it loose enough not to trap heat.
Skip anything that pushes the shade into contact with the bulb. If it will not clear the socket with room to spare, it does not go on.
Step 5: Reassemble and Reinstall the Pendant
Reconnect the shade to the existing bracket or the shade spider from your pendant kit, then reinstall the socket and retaining hardware. Tighten every screw until the shade turns by hand but no further, and tighten the canopy according to the manufacturer’s directions.
Work that means connecting, splicing, or moving a wire belongs to a licensed electrician, and that includes installing a new kit into a bare box. Shade-only work on an existing, already-wired fixture is a different level of job, and most of the project sits there.
If you rent and nothing can be altered, a plug-in pendant kit with a fabric cord and a ceiling hook is the honest route. It needs no ceiling wiring, but the hook has to be rated for the weight of the fixture, and a drywall anchor alone is not enough.
Step 6: Test and Style the Finished Light
Restore power and test from the wall switch, never by reaching up to the fixture. Watch for flicker, buzzing, or a shade that swings when you walk past.
Adjust the chain so the shade bottom clears the tabletop by 30 to 36 inches, then step into the next room and look at it from a distance. The finished light should read as a soft glow rather than a bright bulb, and the fabric should look deliberate even from the doorway.
Common Mistakes
Uneven paint is the most common failure. Thick coats on a cylinder run, so fix it with two thin coats and a proper dry time between them.
Taped-off edges that bleed usually mean the tape went on over dust or onto a warm surface. Clean the rim, let the shade cool fully, and press the tape down hard before painting.
Blocked ventilation is the mistake with real consequences. A drum shade needs both ends open, and a diffuser or liner that touches the socket traps heat where it has nowhere to go.
Wrong measurements waste an entire project. Measure the canopy and opening before you buy, then again before you install, because secondhand shades are rarely the size their tag claims.
Loose hardware makes a shade hang crooked. Tighten set screws onto the bracket, not onto the socket threads, and check that the shade sits level before you call it done.
Exposed copper, a missing ground wire, or wires that do not reach without pulling means you have gone past shade-only work. That is the point to stop and call a licensed electrician.
Overloading the box is a weight problem, not an electrical one. Heavier-than-rated canopies and shades on an old box are common in houses with knob-and-tube or surface conduit, and those need an electrician’s judgment on the box itself.
Frequently Asked Questions
Can I turn an old thrifted lampshade into a drum shade pendant light?
Yes, and this is the most common way the project gets done. Any straight-sided shade with an open top and bottom works, whether it is thrifted or slightly tired. Cut it down to size with a hand saw if it is deeper than you want, scuff the old finish, prime it, and repaint. Skip any shade with cracks, bent metal ribs, or a fabric lining that is scorched or brittle, because those fail under a warm bulb.
What paint or finish works on fabric and metal drum shades?
Match the product to the material. On a painted metal or composite shade, use a bonding primer followed by two thin coats of interior acrylic or enamel. On a fabric or paper-covered shade, use a spray primer designed for those surfaces and pick a breathable fabric finish rather than a heavy enamel. Test on the inside of the shade first, where heat will concentrate.
What size drum shade should I use for my ceiling?
Match the shade to the surface below it. Aim for a shade diameter about two-thirds the width of your dining table or island, and keep the bottom edge 30 to 36 inches above the tabletop. In a hallway or entryway with no table below, size the drop instead, keeping the shade bottom at least 7 to 8 feet off the floor on a standard-height ceiling.
How much light should come through a drum shade?
A drum shade is meant to glow softly rather than flood the room, so if you can read print clearly from underneath with the light off, the shade is too thin. Light-colored or open-weave fabric brightens a room noticeably, while lined dark fabric drops the output. Pair it with an LED bulb near the socket’s wattage limit and keep the bulb clear of the shade material.
Do I need an electrician to install a drum shade pendant light?
Refinishing a shade and swapping it onto an existing, already-wired fixture is usually straightforward homeowner work with the breaker off. Anything that means connecting, splicing, or moving a wire, or installing a new kit into a bare box, needs a licensed electrician. Old wiring with no ground wire, aluminum conductors, or a box that cannot carry the weight is a clear stop-and-call sign.
Conclusion
Start where every successful version of this project starts: switch off the breaker, measure the canopy and the shade opening, and decide honestly whether you are refinishing a shade or installing a complete pendant. That one decision sets the tools, the cost, and how much of the work belongs to you.
From there, the order never changes. Clean and scuff, prime, two thin coats, decorate, reconnect, and test from the switch. Follow the pendant kit manufacturer’s directions to the letter, and if the project turns into wiring of any kind, that is the moment a licensed electrician takes over.