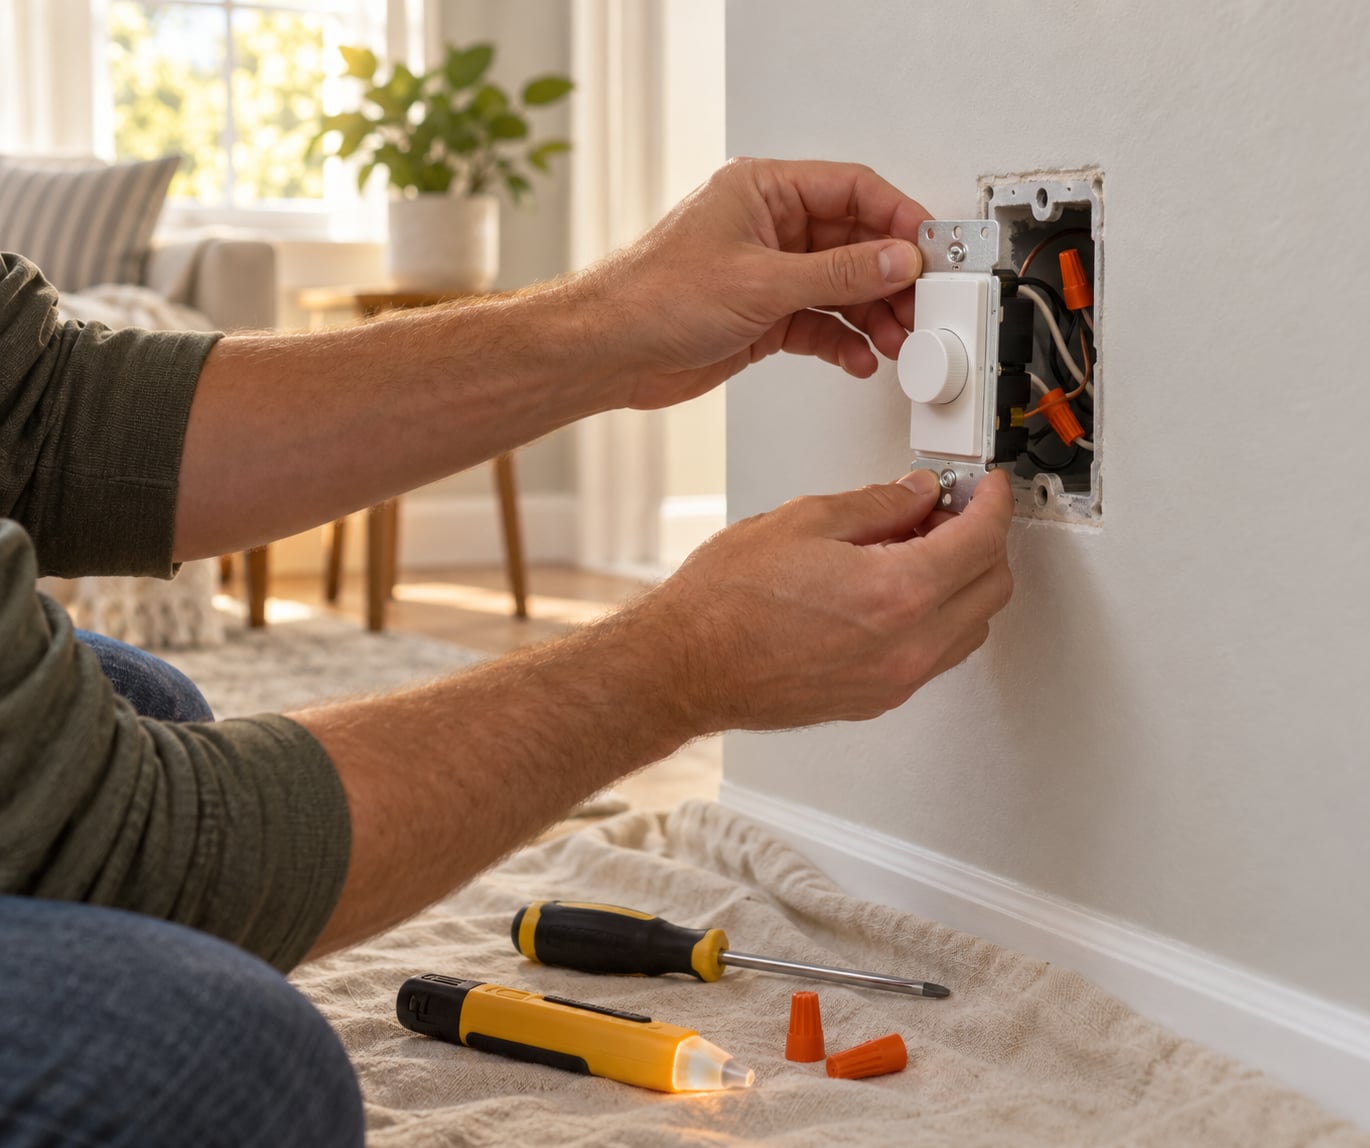
How to add a dimmer switch? You replace the existing single-pole on/off switch with a single-pole dimmer, then kill the circuit at the breaker, verify the wires are dead with a voltage tester, join the dimmer’s ground lead to the box ground, tie each black lead to one hot wire with a wire connector, screw the dimmer into the box, and turn the breaker back on. Four connections, one wall plate, about 30 to 45 minutes.
It is the most satisfying small electrical job in a house, because the payoff is instant and it changes how a room feels at 6pm. A dimmer does not change the bulb, it changes the mood: full brightness for cleaning and focus, a low warm glow for dinner, a soft wash for winding down. Dimmable bulbs also run cooler and last longer at the bottom of the range.
This guide covers swapping a standard single-pole switch for a dimmer. It does not cover three-way (staircase) circuits, aluminum or cloth wiring, or panel work, and those are the three cases where a licensed electrician is the right call. Read the whole page before you start rather than working through it with the box open.
Table of Contents
- What You Need for the Job
- Tools and materials
- How to tell if your switch is single-pole or three-way
- Check for a neutral wire
- Confirm the circuit is a lighting circuit
- How to Add a Dimmer Switch, Step by Step
- 1. Turn off the breaker and verify the circuit is dead
- 2. Remove the existing switch
- 3. Identify the wires and connect the dimmer
- 4. Fit the plate, restore power, and test
- Where a dimmer changes the room most
- Common Mistakes to Avoid
- Troubleshooting After the Install
- When to Call an Electrician
- Frequently Asked Questions
- Can I install a dimmer switch where there is an existing light switch?
- Are LED bulbs compatible with a dimmer switch?
- Can I use a dimmer switch on a three-way switch?
- What if my electrical box has no neutral wire?
- Why does my dimmer buzz, flicker, or make the bulb stay on?
- Can a renter install a dimmer switch?
- Conclusion
What You Need for the Job
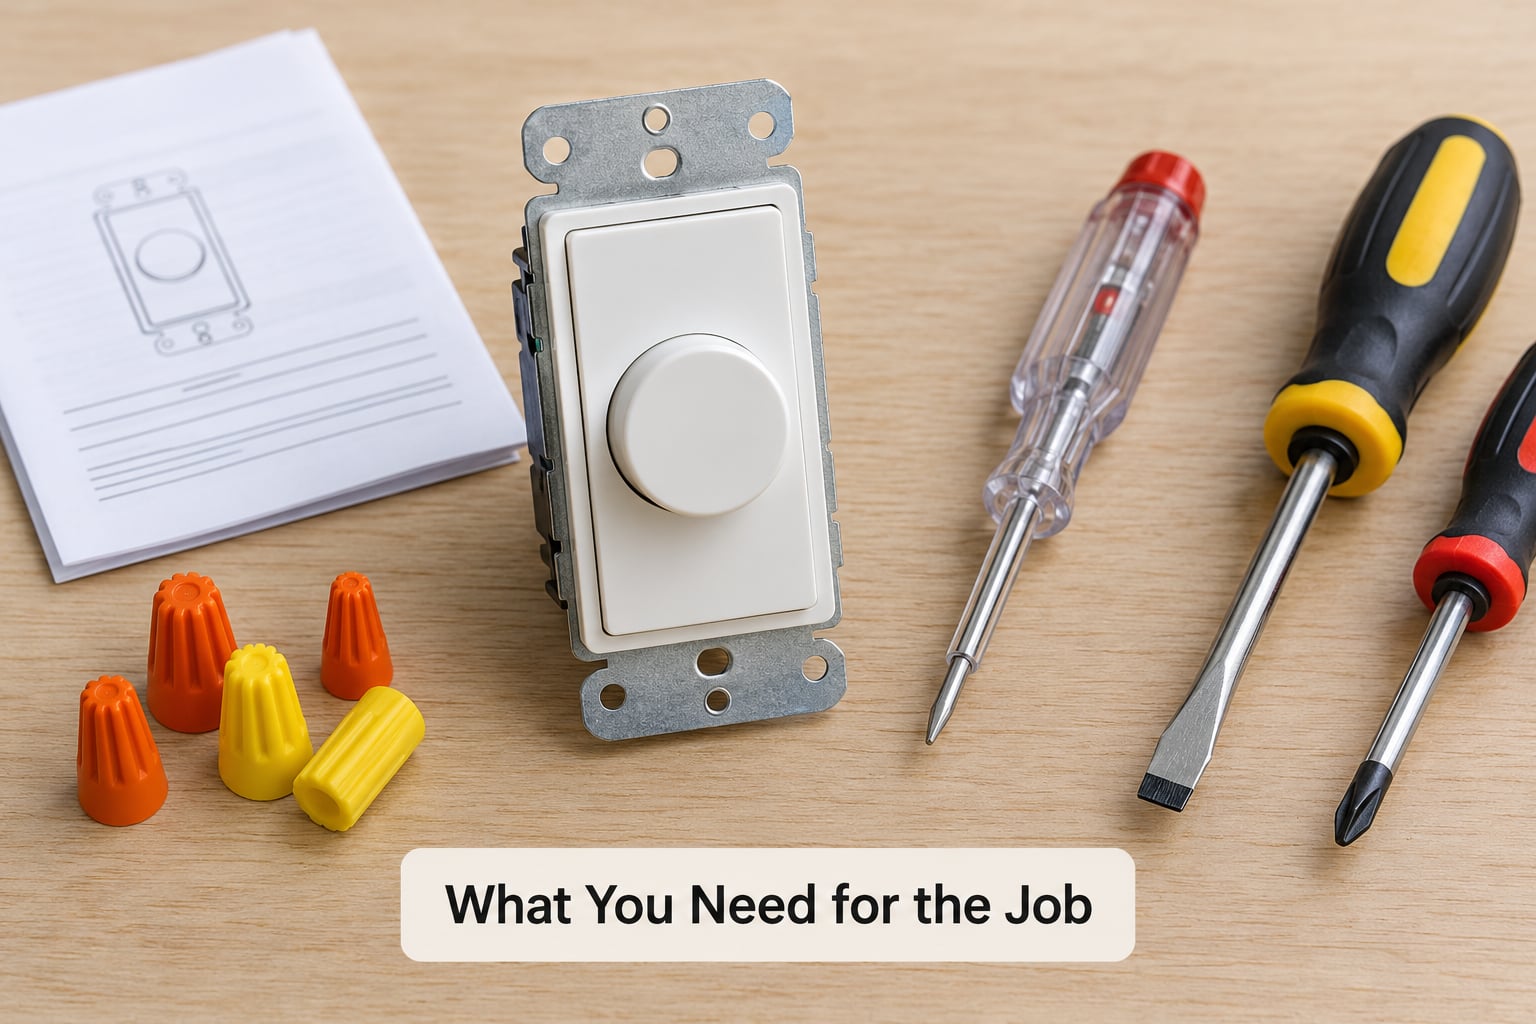
You need a dimmer switch, a voltage tester, three screwdrivers, and a handful of wire connectors. The dimmer has to match three things: the switch you are replacing, the bulbs in the fixture, and the load on the circuit.
Tools and materials
- A single-pole dimmer switch rated for LED bulbs if the fixture has LED or CFL lamps, and rated at or above the wattage of the load you are controlling
- A non-contact voltage tester and, if you want certainty, a two-pole tester with live and neutral probes
- Flathead and Phillips screwdrivers in the sizes that fit your wall plate screws
- Wire strippers or a strip-down tool for cutting insulation back without nicking copper
- Wire connectors (wire nuts) sized for the conductors, plus a screwdriver for the screw-on type
- Needlenose pliers for bending wires neatly and for twisting pigtails
- Electrical tape and a flashlight for flagging breakers and lighting a deep box
- A spare wall plate if the old one is scuffed or a different style
Check the dimmer’s own rating label before anything else. It lists the maximum wattage or VA it can control and, on LED-compatible models, the minimum load in watts. A dimmer that is not rated for the load will hum, run hot, or fail early, and no amount of careful wiring changes that.
How to tell if your switch is single-pole or three-way
Look at the wires behind the switch plate. A single-pole switch has two hot wires plus a ground, or three wires in newer work. A three-way switch has three hot wires (or four counting ground) and its body has three screws instead of two. If you see three or four conductors, stop and read the three-way section of a proper guide, because the wire mapping changes completely.
A toggle switch with a single dark screw and a pale screw is single-pole. Three-way switches usually carry a darker body and often a stamped arrow on the strap. When in doubt, photograph the existing wiring before you disconnect anything, from several angles.
Check for a neutral wire
Most basic single-pole dimmers only need the two hots and a ground, and that is what you will find in most standard switch boxes. Smart dimmers and several electronic low-voltage models do need a neutral at the switch box. If the box holds nothing but two hot wires and a ground, a no-neutral dimmer is the right product. Homes from before about 1990 frequently have no neutral at the switch location at all, because the switch never needed one.
Confirm the circuit is a lighting circuit
A dimmer controls lights, not receptacles. If the box behind the plate feeds an outlet, a ceiling fan, or anything other than lighting, stop there. Dimmers belong on lighting circuits, and matching the dimmer’s type rating to the fixture is what keeps the install safe.
How to Add a Dimmer Switch, Step by Step
Work in this order every time: power off, prove it is off, disconnect, connect, reassemble, test. Skipping the proof step is the one habit worth breaking.
1. Turn off the breaker and verify the circuit is dead
Switch off the breaker that feeds the switch you are working on, not the nearest one in the list. Test the switch first with a non-contact voltage tester held near the faceplate, then confirm with a two-pole tester on the wires themselves once the plate is off. Both probes show nothing, on every wire, before you touch a conductor. Label the breaker with tape so nobody flips it back on mid-job.
2. Remove the existing switch
Unscrew the two wall plate screws, pull the plate straight off, and loosen the two terminal screws on the switch yoke to release the wires. Do not pull on the wires to remove the switch; the conductors can tear out of the box. Photograph the wiring before disconnecting anything, because you will want a reference when the conductors are short, taped back, and hard to tell apart. Note which wire went to which screw.
3. Identify the wires and connect the dimmer
In US wiring, black or red conductors are hot, white is neutral, and bare copper or green is ground. The dimmer’s green or bare lead goes to the box ground, together with the existing ground. The two hot wires from the box each go into a wire connector with one of the dimmer’s two black leads. A standard single-pole dimmer is not polarity sensitive, so the two black leads can go to either house wire. If your dimmer also has a red lead, it is for a three-way application and stays capped and unused in this job.
| Wire in the box | What it carries | Connects to on the dimmer |
|---|---|---|
| Bare copper or green | Ground | Dimmer’s green or bare lead, and the box ground |
| Black (supply side) | Hot, line | One of the dimmer’s two black leads, joined with a wire connector |
| Red or black (load side) | Hot, switched line to the light | The other dimmer black lead, joined with a wire connector |
| White | Neutral, only when the dimmer requires one | Dimmer’s white lead, left alone on non-neutral models |
Strip back about three quarters of an inch of insulation, keep the copper strands intact, and make a secure connection. A screw-on connector wants the bare copper fully seated with no strands poking out; a lever or push-in connector wants the same, and it should feel positive when it closes. Tug gently on each wire to confirm nothing backs out, then fold the bundle into a loose S in the box so nothing is pinched by the screws. Set the dimmer so the UP marking is at the top and screw it to the box with the provided mounting screws.
If your new dimmer has three wires but the box only has two: this is the most common snag, and the answer is simpler than it looks. In a standard two-wire box, the ground is the third wire you are already counting, and the extra dimmer lead is usually the red one meant for three-way use. Cap the red lead with its own wire connector and leave it tucked inside the box, insulated and unreachable. Cap it separately, not alongside a live conductor, so it cannot migrate into contact with anything. The other common version is a dimmer with black, red and green leads where the red is a second load lead, and the same rule applies. If instead your dimmer’s extra lead is purple or labeled for a companion, it is a smart-dimmer accessory lead, and it needs a neutral at the box.
4. Fit the plate, restore power, and test
Screw the wall plate back on, replace the bulbs, and turn the breaker on. The dimmer should read at full brightness when pushed or slid up. Drag it slowly from top to bottom and watch for a smooth fade, a steady hum at the low end, and a light that goes fully off at the bottom. If the dimmer feels stiff, the knob stops turning before the light reaches full brightness, or the plate is hard to seat, wires are probably pinched behind the yoke. Power off, recheck, and re-dress the bundle.
Where a dimmer changes the room most
Start in the rooms where one fixture has to do two jobs. Living room at about 40 percent for a film night, dining room low and warm for a long table, bedside at 20 percent so it does not wake the rest of the house, hallway near the bottom of the range for a night-light level. Pair dimmers with warm bulbs around 2700K so the low end stays amber rather than going cold and clinical.
Keep smart bulbs off the same circuit as a smart dimmer. Putting a dimmable smart bulb behind a wall dimmer means two dimming systems fighting each other, and the result is flicker. Pick one: wall dimmer with a standard bulb, or smart bulb with a plain on/off switch.
Common Mistakes to Avoid
Most of these come down to skipping a check or trusting color alone. The wire color code is a strong guide, not a guarantee, especially in older homes where rewire work was inconsistent.
Working on a circuit that was never confirmed dead. A non-contact tester can miss a low-voltage or shielded conductor. Confirm with a two-pole tester on all conductors, every time.
Reversing line and load on a three-way dimmer. On a standard single-pole dimmer the two black leads are interchangeable, and swapping them on a three-way or smart model can make the switch behave erratically or flash during shutdown. Follow the diagram printed on the dimmer body rather than guessing.
Using a dimmer that is not rated for the bulbs. An incandescent-only dimmer on LED bulbs is the single biggest cause of flicker, buzz, and lamps that glow when the switch is off. Fit a dimmer marked LED-compatible, and check its minimum load rating.
Loose or under-tightened connections. A connector that has not fully seated causes intermittent flicker that gets worse with age. Trim the conductors, re-strip, and re-seat until a firm tug does not free the wire.
Forgetting the ground, or landing on the wrong screw. The ground is not optional. A dimmer that trips the breaker immediately, or lights the fixture when the switch is off, usually means a ground or neutral connection landed on a hot terminal.
Treating a three-way circuit as a single-pole job. Extra traveler wires at the box change the terminal mapping entirely, and a dimmer installed that way will work but control nothing.
Crushing wires behind the yoke. Deep dimmer bodies and shallow boxes do not mix. If the plate will not sit flush, use a shallow-body dimmer or a box extension rather than forcing the screws tight.
Fitting a dimmer on aluminum or cloth wiring. Standard twist-on connectors are not listed for aluminum conductors. Use connectors marked for copper-aluminum with a copper pigtail, and treat old cloth-sheathed cable as a job for an electrician.
Troubleshooting After the Install
| Symptom | Likely cause | Fix |
|---|---|---|
| LEDs flicker or buzz at the low end | Dimmer is not LED-rated, or the load is below the minimum | Fit an LED-compatible dimmer rated for the circuit, or raise the dim level above the point where it stutters |
| Buzz or hum at mid and high levels | Non-dimmable bulbs on the circuit, or a dimmer load mismatch | Replace every bulb on the circuit with a dimmable type, including ones in other fixtures on the same circuit |
| Light stays slightly on when off | Dimmer is not LED-rated, so current keeps the driver awake | Use a dimmer with a neutral or a true off setting at the bottom of the range |
| Switch does nothing after the breaker is back on | A wire slipped out of a connector, or the breaker was not fully reset | Switch off, re-test for voltage, photograph and re-seat every connector |
| Breaker trips as soon as it is switched on | Ground or neutral on a hot terminal, or a short in the box | Leave the breaker off and re-check terminal assignments wire by wire |
| Smart bulb flickers when used with a wall dimmer | Two dimming systems on one circuit | Use an on/off switch with the smart bulb, or a standard bulb with the dimmer |
If your fixture is on a GFCI-protected circuit and the dimmer buzzes, the interaction between the dimmer and the GFCI is a known cause of humming. Confirm all connections first, then move the dimmer to a non-GFCI lighting circuit or fit a model rated for GFCI-protected loads.
When to Call an Electrician
Call a licensed electrician, rather than opening the box, when any of these apply. The cost of a service call is small compared with a miswired circuit.
- The wiring is aluminum, or sheathed in old cloth or rubber insulation
- There is no ground wire in the box at all
- The circuit controls lights from two or three locations, such as a staircase or a long hallway
- Your panel work, sub-panel, or aluminum feeder is involved in any way
- The existing box is cracked, overfilled, or the conductors are brittle and discolored
- You cannot get a clean voltage reading on every conductor, or the tester behaves inconsistently
One switch on one lighting circuit, with modern cable and a ground present, is a job a careful beginner can finish in under an hour. Anything past that is a different trade.
Frequently Asked Questions
Can I install a dimmer switch where there is an existing light switch?
Yes, in most homes. A dimmer is designed to replace a standard single-pole on/off switch in the same wall box, using the same two hot wires and the same ground. Turn off the breaker, verify the wires with a voltage tester, match the dimmer’s ground to the box ground, and join each black lead to one hot wire with a wire connector. If the box has three or more hot wires, you are looking at a three-way circuit and need a three-way dimmer instead.
Are LED bulbs compatible with a dimmer switch?
Only with a dimmer marked LED-compatible. LED bulbs have no thermal inertia, so an older incandescent dimmer chops the current into pulses the driver cannot follow, which shows up as flicker, buzz, or a lamp that never fully goes out. Check the dimmer’s label for both a maximum and a minimum load, and dim only bulbs rated as dimmable. Very low LED loads can fall below the minimum, so match the number of bulbs on the circuit to the range.
Can I use a dimmer switch on a three-way switch?
Not with a standard single-pole dimmer. A three-way circuit uses one light controlled from two locations, and the extra traveler wires need a three-way dimmer plus one matching three-way switch at the other end. A single-pole dimmer installed there will light the lamp but will not control it. If your box shows three or four conductors, read a dedicated three-way guide or have an electrician handle it.
What if my electrical box has no neutral wire?
Most basic single-pole dimmers work fine without a neutral, because they only need the two hots and a ground. Smart dimmers and some electronic models require a neutral to power their radio and electronics, and houses built before about 1990 often have none at the switch box. Two solutions fit: use a dimmer rated for no neutral, or ask an electrician to run a neutral cable back to the panel, which is a bigger job than the dimmer itself.
Why does my dimmer buzz, flicker, or make the bulb stay on?
That trio almost always points to the bulb and dimmer pairing, not the wiring. Fixes include fitting a dimmer rated for LED loads, confirming the load sits between the dimmer’s minimum and maximum, replacing any non-dimmable bulbs on the circuit, and using an LED model with a true off at the bottom of its range. A GFCI-protected circuit can also cause humming. Recheck every terminal connection if the problem persists.
Can a renter install a dimmer switch?
Usually not without written permission. A dimmer is a permanent alteration to the wiring, and most leases treat that the same as changing a lock or an outlet. Ask the landlord in writing first, and keep a copy of the approval. In a rental where the answer is yes, replace the existing switch only, leave the existing wall plate style in place, and photograph the finished work.
Conclusion
Adding a dimmer switch comes down to a short sequence done in the right order: switch off the breaker, prove the circuit is dead, connect the ground first, tie each black lead to one hot wire, secure the dimmer with the UP mark at the top, then restore power and test the full range.
Before you buy anything, confirm the switch is single-pole, the bulbs are dimmable, and the dimmer’s rating label covers the load on the circuit. Read the wiring diagram printed on the device rather than working from wire color alone, and follow the manufacturer’s instructions and your local electrical requirements. For three-way circuits, aluminum or cloth wiring, missing grounds, or anything you feel unsure about, bring in a licensed electrician.