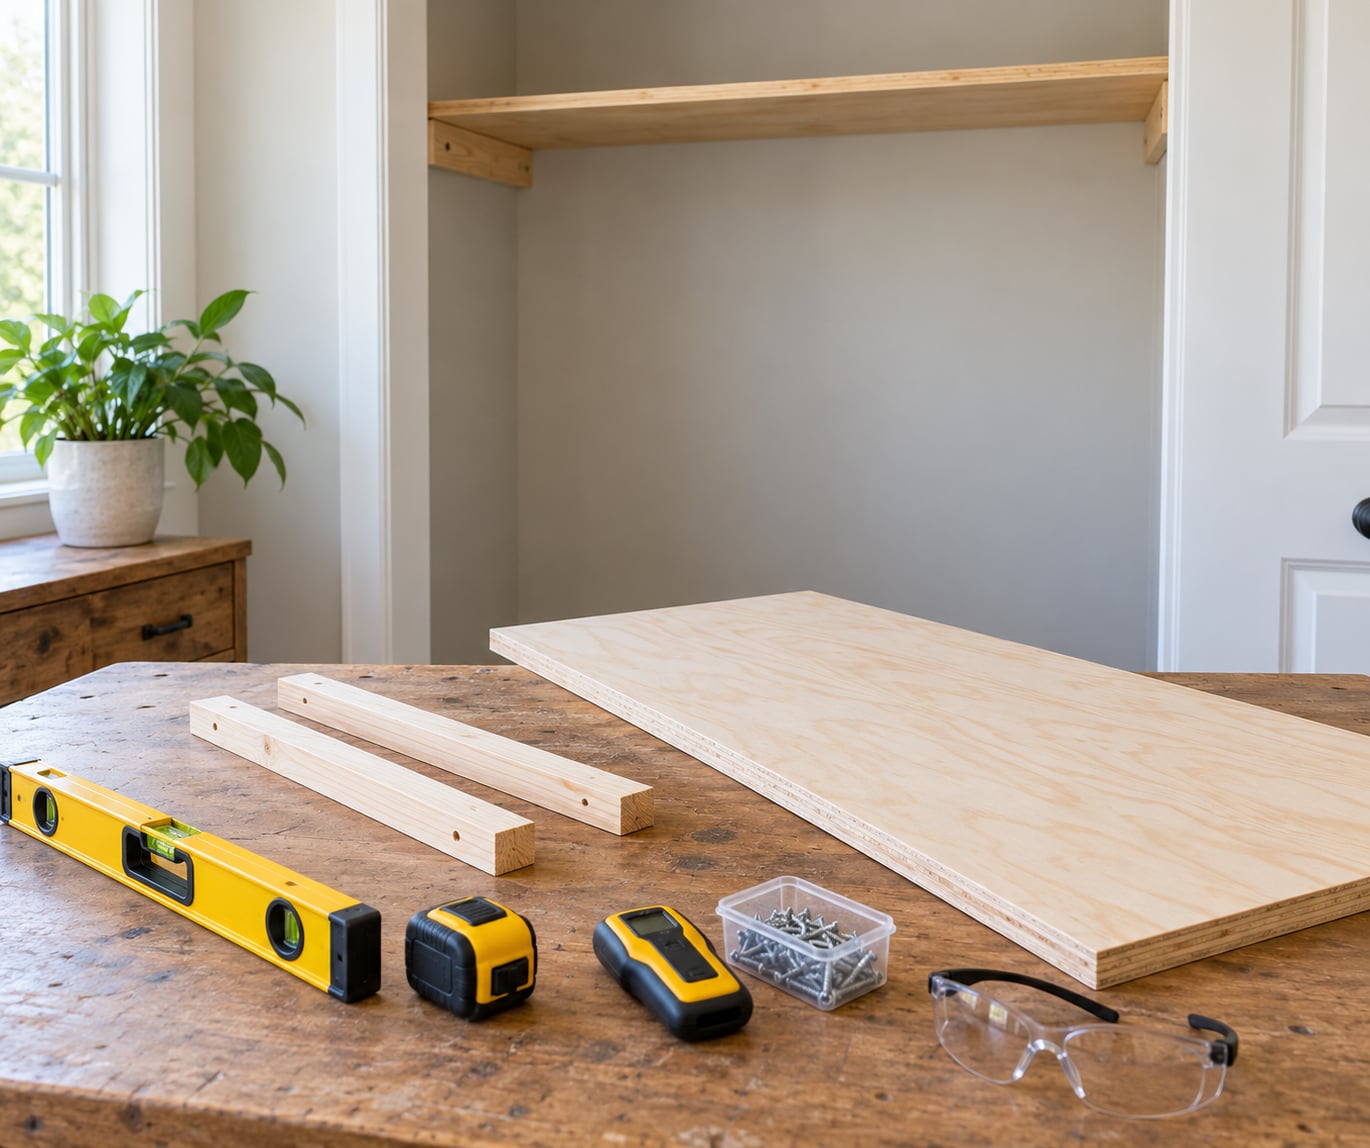
Adding shelves to a closet comes down to four things: find the studs, mark a level line, cut the board to fit, and screw the supports in straight. Most of the thinking happens before the drill comes out, and a first-timer can finish four shelves in an afternoon with a drill, a level, and a stud finder.
The honest version of how to add shelves to a closet: hit a stud wherever you can, because drywall anchors are the reason so many builder-grade shelves end up sagging on the floor. If there is no stud behind a spot, use a toggle bolt rated for the load rather than a plastic anchor, and keep the heavy stuff low.
Table of Contents
- What You Need
- How to Add Shelves to a Closet: Step by Step
- How to Choose the Right Shelf System
- How to Measure and Mark the Closet
- How to Cut and Prepare the Shelf
- How to Install the Shelf
- How to Style and Load the New Shelf
- Common Mistakes to Avoid
- Frequently Asked Questions
- Can I add shelves to a closet without drilling into the wall?
- What type of wood is best for closet shelves?
- How deep should a closet shelf be?
- How much weight can a DIY closet shelf hold?
- How do I add shelves to a closet with uneven walls?
- Can I install closet shelves in a rental apartment?
What You Need

Gather everything before you open the closet. A trip to the hardware store halfway through a project is the most common reason a shelf install stretches from one evening to two.
- A 4-foot level or a laser level
- A tape measure and a pencil
- A stud finder, plus a way to confirm what it finds
- A drill or driver with a 1/4-inch bit and a Phillips bit
- A circular saw, miter saw, or hand saw
- A speed square and a scrap piece of board for marking
- 1×2 or 1×4 pine boards for cleats, or metal shelf brackets
- A shelf board: 3/4-inch plywood, MDF, or a pre-cut laminate panel
- 2.5- to 3-inch wood screws for driving into studs
- 1-1/4-inch screws if you are mounting brackets into framing
- Toggle bolts or heavy-duty anchors for spots with no stud behind them
- Sandpaper in 120 and 220 grit, wood filler, and painter’s tape
- Safety glasses and a dust mask for the cutting
Put the clothes out of the closet before you measure anything. You cannot see the wall, you cannot mark the wall, and you cannot check the door swing with a rod of hanging clothes in the way.
There are three broad families of fix, and the choice is mostly about permanence. Fixed wooden shelves screwed into studs are the strongest and look built-in, bracket-supported shelves go up fast and are the easiest to reposition later, and tension-fit shelving needs no holes at all but is meant for folded clothes rather than heavy bins. Renters usually want the third option; anyone with a sagging shelf already in place wants the first.
How to Add Shelves to a Closet: Step by Step

The whole job takes about an hour per three or four shelves once you know the sequence. Measure first, mark second, cut third, screw fourth.
How to Choose the Right Shelf System
Cleats beat brackets in almost every homeowner closet. A 1×2 or 1×4 pine strip screwed into studs along the back and both side walls gives you a shelf with no visible hardware and a load limit set by the framing rather than the shelf board, and it costs less than brackets. The tradeoff is that the cleat line is fixed once it is in the wall.
- Cleats or a ledger board: best for a permanent, built-in look; holds the most weight; three strips per shelf means the middle never dips.
- L-brackets: fastest to install and easy to move to a new height; the visible bracket gives away the DIY look; keep them no more than 24 inches apart, and 16 inches apart when the shelf carries bins.
- Tension-fit pole system: no holes in the wall; good for folded clothes and shoes; not suitable for stacked bins, and the pads can loosen in a home that settles.
- Wire shelving: adjustable without tools and ventilates well; common complaint is the middle sagging over long spans once bins go on.
If you want how to add shelves to a closet to end with something that looks like it was always there, go with cleats and a shelf cut a fraction long so it disappears between the painted walls.
How to Measure and Mark the Closet
Measure the inside width at the top, middle, and bottom of the opening, then measure depth from the back wall to the door. Old closets are rarely square, so the width at the top of the opening can differ from the width at the bottom by a quarter inch or more, and a shelf cut to one number may not go in.
Run the stud finder across the back wall and both side walls at about waist height and again high up where you plan shelves, then mark every stud edge in pencil. Confirm each one by knocking on the wall and listening for the dull thud, or by driving a small test screw and feeling it bite wood. If no stud lines up with where you want a shelf, that is exactly the case a toggle bolt exists for.
Mark your shelf heights on the wall with a level line that wraps the back and both sides, so the shelf has support on three walls. Useful reference heights: the top shelf around 84 inches, a middle shelf 40 to 42 inches off the floor, 12 to 15 inches between shelves for folded stacks, and the same 12 to 15 inches for shoes.
Leave room for what is already hanging. A single-hang section wants about 60 inches of clear space under the rod for longer garments, and a double-hang layout puts the upper rod at roughly 80 to 82 inches with the lower rod at 40 to 42 inches and no shelf between them.
How to Cut and Prepare the Shelf
Cut each board separately and take the measurement at the height where that shelf will actually sit. Use 3/4-inch plywood for bins and shoes, and pre-finished laminate board when you do not want to paint anything.
Score the face of a laminate or melamine board with a utility knife before you cut it, cutting along the straight edge of a speed square. That first score stops the surface layer from lifting and chipping, which is the difference between a clean edge and a ragged one.
Sand cut edges with 120 grit to knock down the roughness, then 220 grit if you plan to paint. A pine strip glued along the front edge is a cheap way to make utility plywood look finished, and it gives your fingers something to grip.
For an out-of-square wall, cut the board a fraction long and scribe the end to the wall with a sharp block plane or a utility knife, then trim to the line. Test fit every board on the marks before you drill anything.
How to Install the Shelf
Set a cleat on your pencil line, hold it tight, and drive 2.5- to 3-inch screws into each stud it crosses, leaving the heads proud. Repeat on the two side walls at the same height, and check the level across all three before you go any further.
For brackets, mark the hole locations, drill pilot holes a fraction smaller than the screw shank so the screw pulls its own thread into the drywall, and use 1-1/4-inch screws into framing. Rest the board on the brackets and drive a couple of screws up through the underside into the cleats or brackets so no fastener heads show on top.
Where there is no stud behind the wall, toggle bolts are the honest answer. Drill a hole slightly wider than the bolt, push the toggle through, let it pop open behind the drywall, then tighten. Skip plastic screw-in anchors for anything heavier than a folded sweater; on r/HomeImprovement people report those pulling straight out of the drywall under a load of bins.
Know your hardware rating before you load it, and stay well under it. A 3/4-inch plywood shelf on cleats screwed into studs across a span under 24 inches will carry far more than a closet full of clothes, while particleboard and long unsupported spans are where the sagging starts.
If a builder-grade wire shelf has already pulled away from the wall, replace the nails and screws with toggle bolts at the same points and reset the shelf so it sits square. That repair takes about ten minutes and buys years.
How to Style and Load the New Shelf
Load from the bottom up and keep the heaviest things on the lowest shelf. Shoes go on the shelf nearest the floor, folded knits mid-closet, and bins across the top, which keeps the useful reach zone clear and the load path sensible.
Use matching bins and dividers rather than stacks of loose folded piles, and leave an inch of clearance in front of the hanging clothes so you can actually see and reach the shelves behind them.
If you turned a closet into a pantry or linen closet, leave gaps between bins on every shelf so air can move. Closets have no ventilation, and a closed door plus stored moisture is how a nice shelf board ends up swollen at the edges.
Common Mistakes to Avoid
Almost every failed closet shelf install is one of seven things. Each has a quick fix you can still make after the shelf is up.
- Measuring once instead of three times. Closet walls taper. Measure each opening at the height of that shelf, and scribe the ends rather than trusting a single number.
- Missing the studs. Confirm the stud finder with a test screw or a knock on the wall. A plastic anchor in drywall is not a shelf support.
- Supports spaced too far apart. Keep brackets 24 inches apart maximum and 16 inches for heavy loads; a center support on a wide shelf stops the dip in the middle.
- Overloading the shelf board. Particleboard sags before it breaks, and it sags permanently. Spread the weight and keep bins on the lower shelves.
- Drilling without checking what is behind the wall. Know where electrical lines and plumbing run before you drill, especially in shared walls where the framing surprises you. Turn off the circuit and use a shallow test hole when in doubt.
- Boards too deep for the opening. A shelf wider than the opening will not seat square, and it will hit the door track. Match depth to the closet minus clearance.
- Forgetting the door. Open and close the door fully with the new shelves in place. A shelf at head height often blocks a door that used to swing all the way open.
A few closing tips. Work from the bottom shelf upward so the level always has a reference. Painter’s tape on the wall holds your pencil marks and stops the level from scuffing the paint. And if a shelf feels borderline, leave it out — a second cleat above it costs less than a repair.
Frequently Asked Questions
Can I add shelves to a closet without drilling into the wall?
Yes. A tension pole shelving system stands between the closet floor and ceiling on rubber pads, an over-the-door rack hooks onto the door frame, and a freestanding tower needs no wall contact at all. None of them will carry stacked bins the way a shelf screwed into studs does, but for folded clothes and shoes they are completely adequate. Check your ceiling is level first, because tension poles lean in a room that has settled.
What type of wood is best for closet shelves?
Three-quarter-inch plywood is the best all-around choice for weight because it stays flat across a longer span and resists moisture. MDF is smoother to paint and cheaper but sags once it gets wet, and particleboard is the weakest of the three. Pre-finished laminate board needs no sanding and has sealed edges, which is why it is popular in closets. Solid wood is nice for short spans and looks best if you stain it.
How deep should a closet shelf be?
Roughly 12 inches for folded clothes, around 10 inches for shoes, and 14 to 16 inches for sweaters and storage bins. Deeper is not better here, because anything past 16 inches pushes clothes toward the front where they wrinkle. Match the depth across the whole closet so every board sits square, and leave a few inches of clearance so the door and its track still work.
How much weight can a DIY closet shelf hold?
A three-quarter-inch plywood shelf on cleats screwed into studs, spanning less than 24 inches, comfortably carries 40 to 60 pounds of clothing, shoes, or bins. Particleboard and MDF sag at much lower loads over the same span. The real limit is usually the fastener, not the board, which is why anchors in drywall give way long before the shelf itself does.
How do I add shelves to a closet with uneven walls?
Measure each opening at the height where that shelf will sit, since the walls taper from top to bottom in older homes. Cut the board a fraction long and scribe the ends against the wall with a sharp block plane or a utility knife, following your pencil line. Once it is trimmed to fit, the shelf sits tight on three walls with no gap to see, and the cleats carry the load.
Can I install closet shelves in a rental apartment?
Usually yes, but read your lease first, since some landlords treat wall damage as a charge against your deposit. The safest options are tension pole shelving, an over-the-door organizer, or a freestanding tower, none of which leave holes. If you do drill, patch every hole with wood filler or spackle, sand flush and paint to match before move-out, and save the receipt for the filler.
Start by clearing the closet and running the stud finder across all three walls. Mark your shelf heights with a level, choose one height and get it right — every shelf you add after that is easier than the one before it.