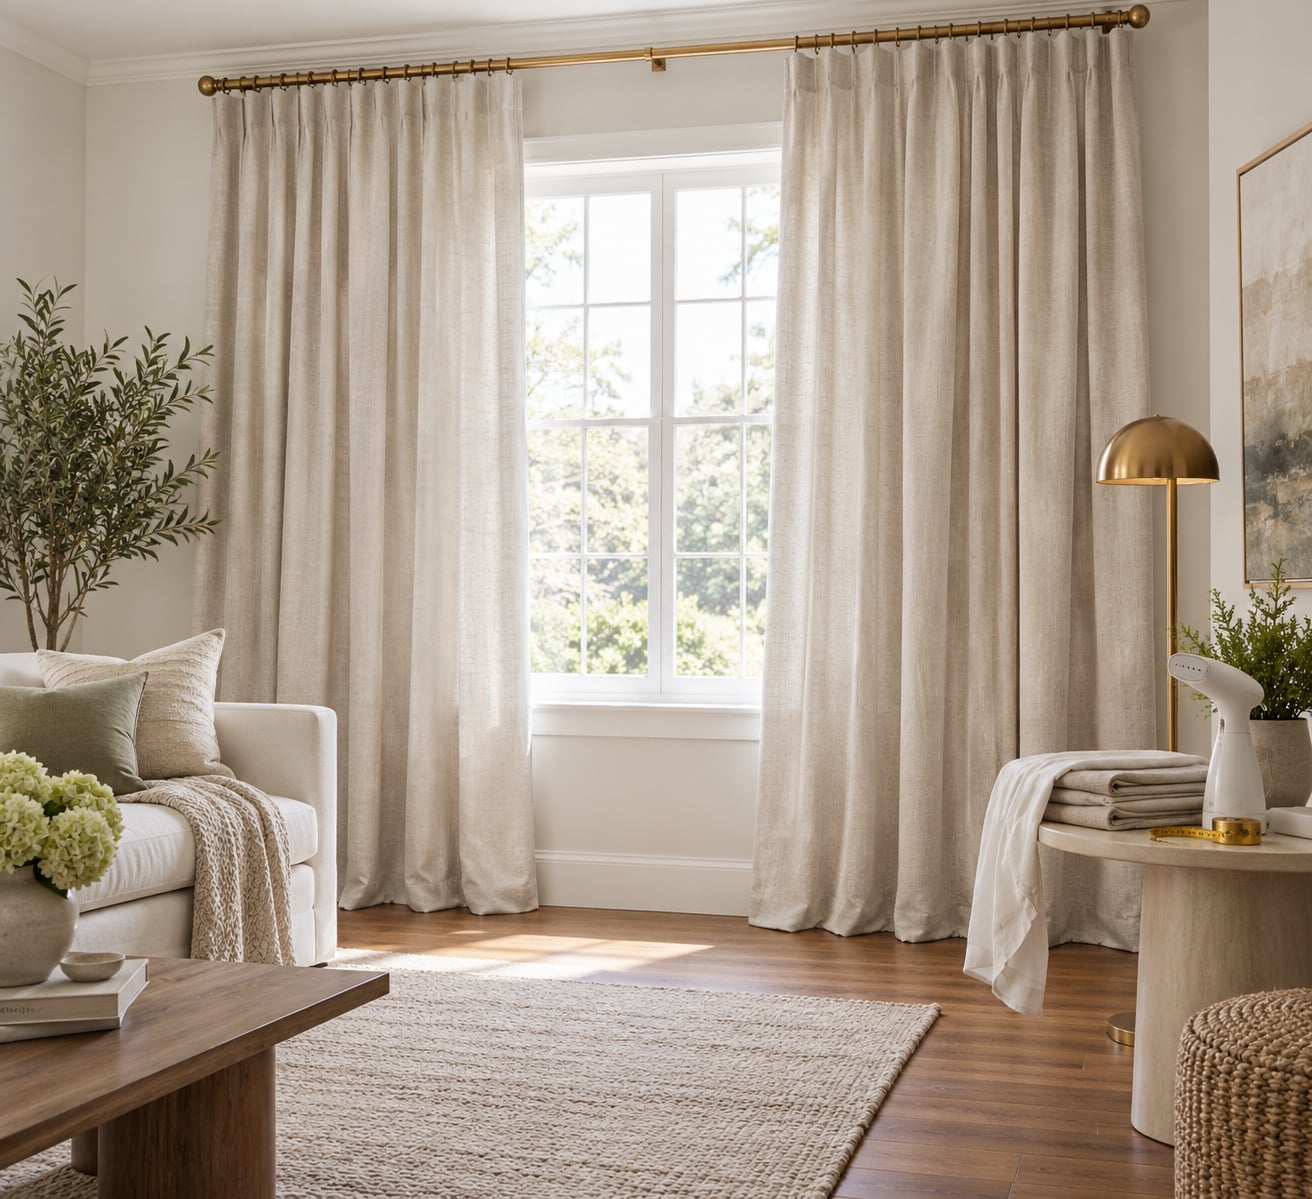
If you’re wondering how to make curtains look expensive, the answer is almost never the fabric. It’s the hanging: a rod mounted higher and wider than you think you need, panels with real fullness, hardware that matches, and a hem that lands on purpose. Get those four right and a set of basic panels reads as custom work.
The whole project takes an afternoon for one window. You can do the first two steps with no tools beyond a tape measure and a steampot, and you can stop halfway and still see a difference.
Table of Contents
- What You Need
- Step-by-Step: How to Make Curtains Look Expensive
- 1. Wash, Steam, and Assess the Panels
- 2. Choose a Wider Rod and Mount It High
- 3. Create Fullness to Make Curtains Look Expensive
- 4. Replace or Refine the Hardware
- 5. Neaten Hems, Seams, and Panel Bottoms
- 6. Style the Panels for a Finished Look
- 7. Make the Final Luxury-Looking Check
- Common Mistakes
- Frequently Asked Questions
- Can inexpensive curtains look expensive?
- What is the best curtain fabric for an elegant look?
- How wide should curtains be for the window?
- How high should I hang curtains to make a room look taller?
- How can renters make curtains look more expensive without drilling?
- Should the curtains touch the floor?
- Conclusion
What You Need
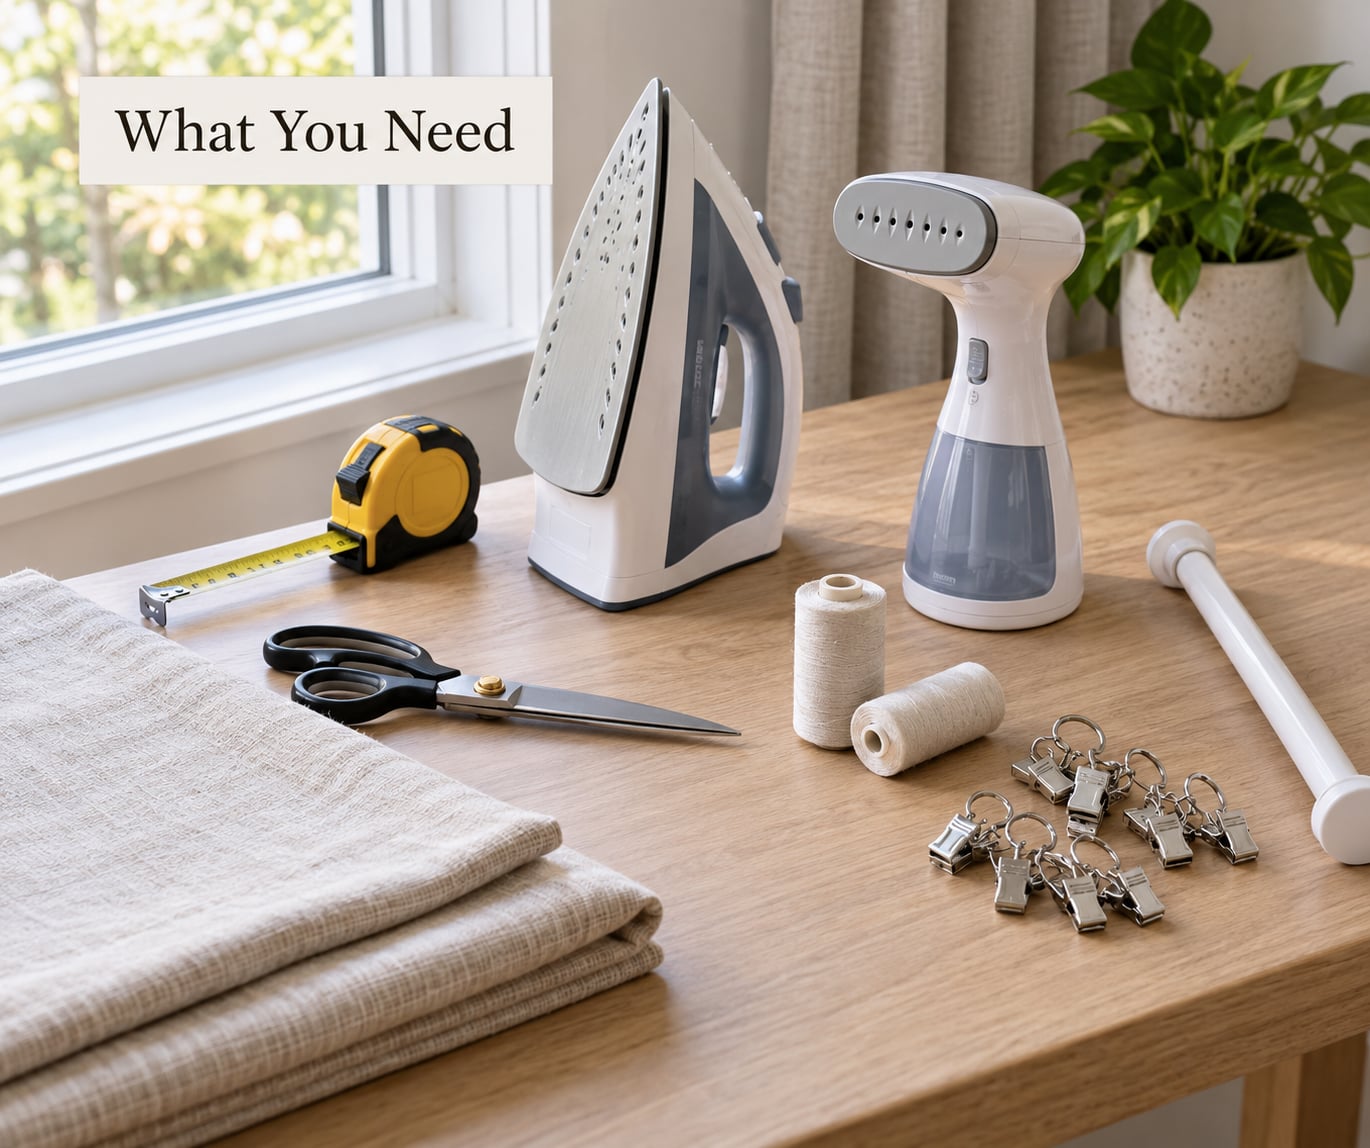
Everything here is optional. The list is ordered by how much each tool changes the result, not by what a project needs all at once.
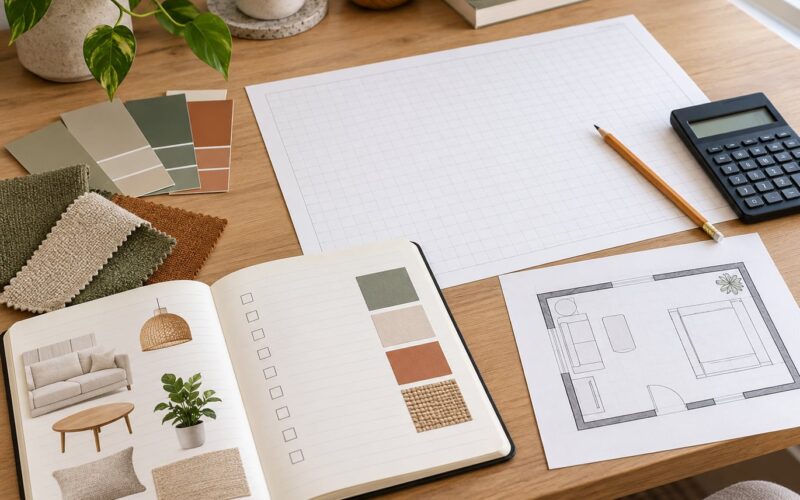
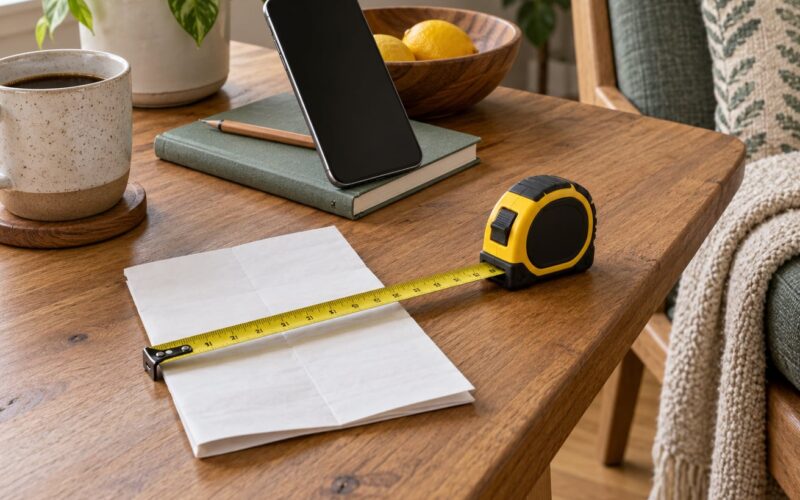
- Tape measure plus a pencil and a scrap of paper for recording window width, rod width and finished panel length.
- Steamer or iron with a spray bottle. Steam, not pressing, is the kinder option for lined and polyester panels.
- Step ladder and a drill with a stud finder, for high mounting. A level matters more than a good screw.
- Sewing machine or iron-on hem tape, depending on which hem you go with.
- Curtain rings or clips that match your rod diameter, plus any new rod, finials or brackets.
- Rings and a length of thin cord if you plan to train the folds.
Renters can skip most of that. A tension rod gives you width and a clean hang with no holes in the wall, and command-strip hooks hold a light rod or a valance if the bracket weight is within the strip’s rating. Iron-on hem tape replaces the machine, and clips stand in for sewn pleats. You lose a little of the custom look and keep most of the improvement.
Step-by-Step: How to Make Curtains Look Expensive
1. Wash, Steam, and Assess the Panels
Wash or freshen the panels first, then steam them from hem to top while they hang on a shower rail or over a door. Set aside 20 minutes per window. Permanent creases from a folded panel in a closet usually fall out; deep-set creases along a seam sometimes don’t, and those are a sign the panel is at the end of its life.
You worked, so check three things. Is the fabric opaque when held up to a window? Are the side seams straight? Is the top band wide enough to hang from clips or rings? A panel that fails the opacity test is the one problem no amount of hanging will fix, so replace it before you start and leave the rest alone.
You’ll know it worked when the panel hangs free of horizontal wrinkles and passes light evenly with no hot spots or thin patches.
Difficulty: easy. Time: 20 to 30 minutes per window.
2. Choose a Wider Rod and Mount It High
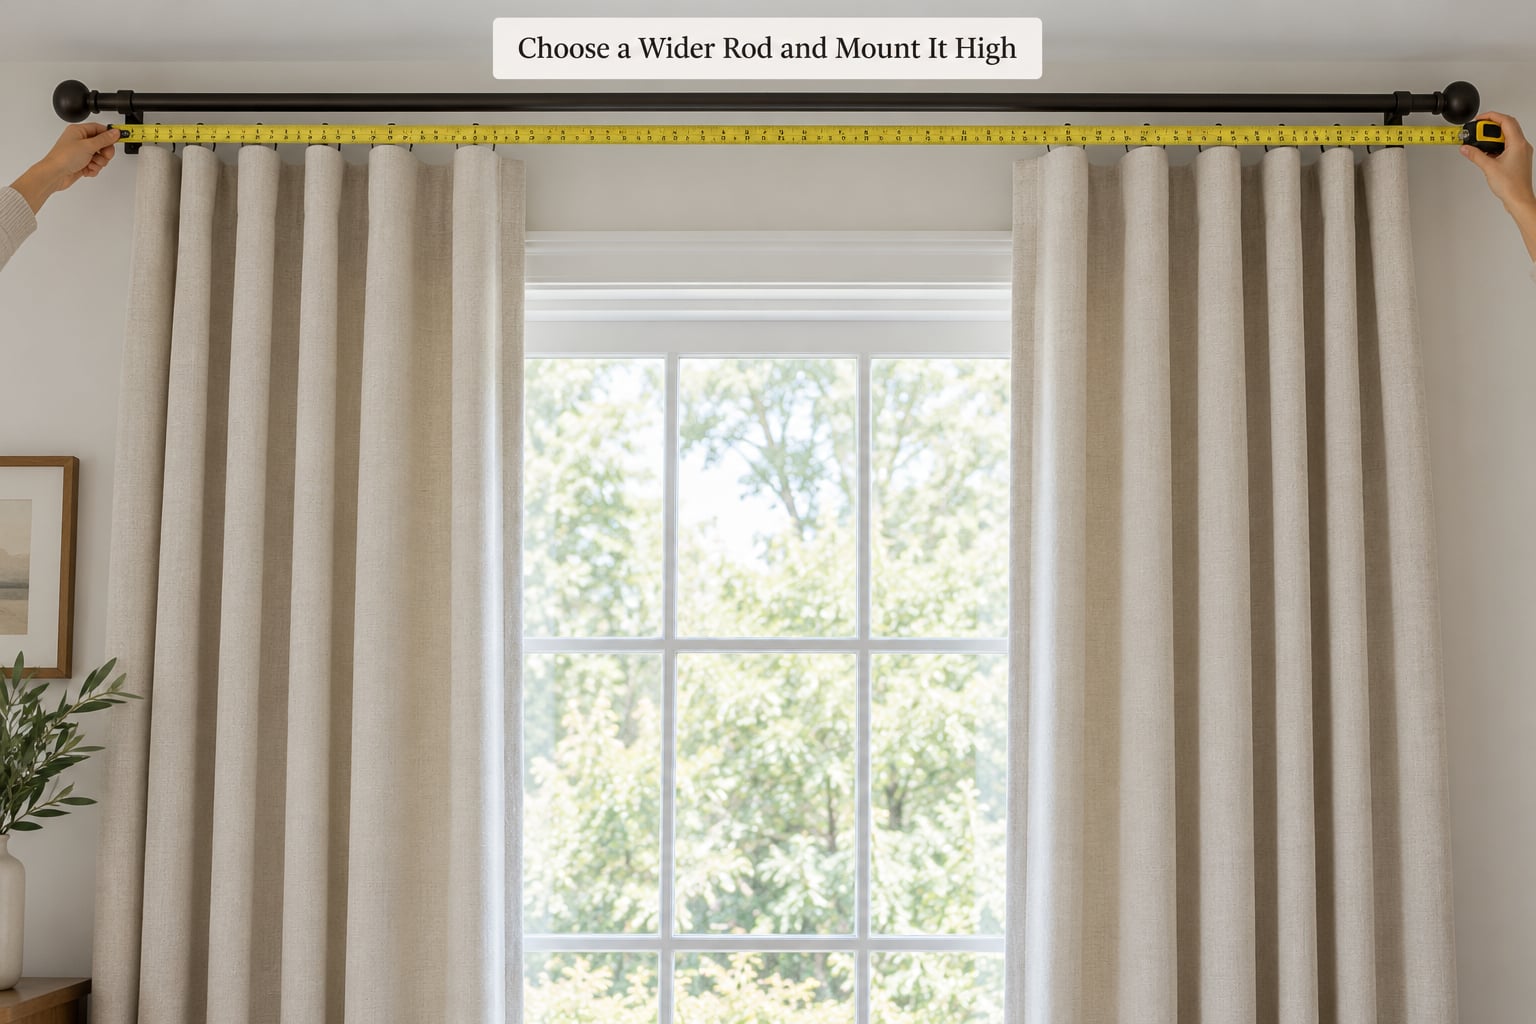
This is the highest-impact change you will make, and it costs nothing but a longer rod and a stud finder. Two rules cover most rooms. The rod should extend 6 to 12 inches past the window frame on each side, and the mounting point should sit 6 to 12 inches above the top of the frame — or 4 to 6 inches below the ceiling, whichever leaves the smaller gap.
Rod width is measured end to end, not window width. For a 60 inch window, a 72 to 84 inch rod gives the generous frame that makes a small window read as generous. Mount it high and the room gains height, mount it wide and the window gains presence. Both together are what a designer does first and what a renter skips first.
For high ceilings, scale the gap: 12 to 18 inches above the frame works well in a room with 10 foot ceilings. Deep soffits or a wall-mounted air conditioner change your options, so measure the obstruction first and plan around it.
You’ll know it worked when the rod runs level from end to end, the panels clear the floor and any furniture in front of them, and the gap above the frame is visibly smaller than the gap below it.
Difficulty: moderate with drilling, easy with a tension rod. Time: 45 to 90 minutes including bracket placement.
3. Create Fullness to Make Curtains Look Expensive
Fullness is the amount of fabric relative to the width of the rod, and it is the single clearest difference between a panel that looks skimpy and one that looks generous. The usual target is 2 to 2.5 times the rod width in fabric. On a 72 inch rod, that means about 18 yards of material across both panels.
For structured pleats such as a triple pinch pleat, push toward 2.5 to 3 times, because the pleats eat fabric. For rod-pocket panels that gather loosely, 1.5 to 2 times is enough. If you own panels that are already too narrow, work with what you have: hang a second panel on the same track, place a narrow sheer in front, or add a gathered fabric panel at each side of the window to build the appearance of width.
Fold style matters as much as the amount. Spread the folds evenly from one end of the rod to the other, and vary the spacing by less than an inch. Uneven spacing is what makes cheap curtains read as cheap, even when the fabric is good.
You’ll know it worked when the folds are deep, consistent, and slightly irregular in a natural way, and the panel still closes fully to cover the window.
Difficulty: easy with clip rings, moderate with hand-sewn pleats. Time: 15 minutes per rod to arrange, plus 2 to 3 hours for sewn headers.
4. Replace or Refine the Hardware
Hardware is the part of a curtain job most people see from three feet away, so basic hardware reads as basic. Replace thin white plastic rods with wood or metal in a finish that appears elsewhere in the room: matte black in a modern space, brass or oil-rubbed bronze in a traditional one, painted to match the wall in a quiet room. Mixing a metal rod with a wood pole and two different ring styles is the fastest way to undo good fabric.
Check the diameter too. Rings have to pass over the rod without scraping, and clips have to grip it securely. A ring that sits loose leaves a gap at the top of each fold, and a small gap breaks the clean vertical line that makes a panel look expensive.
There’s a useful test. Close your eyes and look only at the top 12 inches of the hung panel. If the finials, brackets, rings and clips all read as one deliberate set, the hardware is working.
You’ll know it worked when every metal piece is the same finish, the rings move freely but do not sag, and no mismatched leftover piece from the original rod is still visible.
Difficulty: easy. Time: 20 to 40 minutes.
5. Neaten Hems, Seams, and Panel Bottoms
Length is where most budget curtains give themselves away. Hanging panels that stop two inches above the floor, or puddle on the floor unevenly, undo everything above. For most rooms the panel should just kiss the floor: one half inch of clearance, so it brushes without pooling. Puddling suits formal, traditional or layered styling and needs extra length, not a shorter panel.
Measure the drop from the top of the hanging panel, not from the rod, because rings and pleats take up length. Mark the finished length on the fabric while it hangs, on both side seams, then take the panels down.
There are three routes to a clean hem. Machine stitching is the most durable: fold, press, pin, and stitch with a long straight stitch. Iron-on hem tape is faster and works well on cotton and polyester, though it can lift after repeated washing if you use too little heat. The no-sew version is double-sided tape or a weighted hem chain sold for curtains; neither is as crisp as stitching, and both need the fabric pressed flat underneath to bond properly.
Check the side seams while the panel is down. Panels that flare at the bottom have lost their straight line, usually from being hung too long, and a weighted hem or a hidden lining strip at the bottom corrects the flare so the panel hangs plumb.
You’ll know it worked when both side seams hang parallel, the hem line is level across the width, and the panel skims the floor or puddles evenly on both sides.
Difficulty: easy with tape, moderate with a machine. Time: 30 to 60 minutes per panel.
6. Style the Panels for a Finished Look
Hanging is only half of it. The other half is how the fabric is arranged once it’s on the rod, and that decision is made at the sofa rather than the ladder. When open, the panels should fall just outside the window frame so they don’t lose the width you paid for in rod length. When closed, they should meet or overlap at the center so no light gap undermines the room.
Leave the folds alone after you hang them for a few days. New fabric needs a week of being drawn back and forth to settle into a memory of its own. Many decorators find the panels look better after a month than on the first day, and fighting that with daily re-pinning is the reason curtains look fussy.
Tiebacks, tassels and rope trim add a finished note without a sewing machine, and they give a plain panel one deliberate focal point. Match the tieback finish to the rod and rings so the hardware story stays consistent.
Check the relationship with everything else in the room. Curtains that stop an inch above the sofa back or the dresser line look intentional; curtains that stop in the middle of an empty stretch of wall look measured by accident. The same applies to the floor: the panel length should relate to where the floor line or furniture line sits.
You’ll know it worked when the open panels frame the window, the closed panels cover it completely, and the folds fall in the same rhythm from top to bottom.
Difficulty: easy. Time: 10 to 15 minutes per window, then a week of settling.
7. Make the Final Luxury-Looking Check
Stand back into the far corner of the room and run this list. It’s the same check a designer does before leaving, and it takes a minute.
- Rod is level, and the gap above the frame is smaller than the gap below the hem.
- Folds are even in depth and spacing from one end to the other.
- Hems are level, side seams hang straight, and nothing flares at the bottom.
- Floor clearance is deliberate: a kiss, a defined break, or an even puddle.
- Hardware is one consistent finish, with nothing mismatched showing.
- Fabric reads the same across both panels, with no fading, stains or thin patches in sunlight.
- No wrinkles radiating from the header, which is the giveaway of a panel hung without training.
- No gaps at the center, and no panel visibly narrower than its pair.
Fix what fails. Most of the time it’s a folded header, a low rod, or a panel that needed steaming, and each of those is a fifteen-minute job.
Common Mistakes
These are the problems that show up most often, usually borrowed panels, builder-grade rods, or a rod mounted where the previous owner’s hardware fit. Work down this list in order, because the first two change everything that follows.
- A rod that’s too narrow. If the rod barely passes the frame, the window looks small. Fix: add 6 to 12 inches on each side, or fit a longer rod over the top of the existing one with offset brackets.
- Hanging too low. Rods at or just above the frame cut the room in half. Fix: move the rod up 6 to 12 inches, or within 4 to 6 inches of the ceiling.
- Sparse fabric. Panels that cover the window when closed but not when open have nowhere near enough fullness. Fix: aim for 2 to 2.5 times the rod width in fabric, or add a second panel on a second track.
- Even hem, wrong length. Level is only half of it; the drop still has to be intentional. Fix: decide between kissing the floor, breaking above furniture, or puddling, then rehem to that decision.
- Mismatched hardware. A plastic rod with brass finials and silver clips reads as assembled from leftovers. Fix: match all the metal pieces, or paint the odd ones to the same colour.
- Unsteamed panels. Wrinkles and a folded header are the two things that make budget curtains look budget. Fix: steam from the hem up, and hang with the folds already arranged.
- Panels that block the window or the furniture. Fullness is only worth having if the room is still usable. Fix: check the swing and the clearance before you commit to a long rod.
- Over-decorating thin fabric. Trim, tiebacks and tassels on a sheer panel just draw attention to how little substance is behind them. Fix: layer instead. A sheer over a blackout panel gives the same decorative weight with better light control.
One maintenance habit keeps all of this in place. Every few months, rehang the folds in the same pattern, steam the header, and check that the rings have not crept. Curtains are the one decorative element in a room that gets touched daily, and ten minutes twice a year will hold the finish.
Frequently Asked Questions
Can inexpensive curtains look expensive?
Yes. The expensive look comes from proportion and finishing, not price: a rod mounted 6 to 12 inches above the frame, 2 to 2.5 times fullness, a consistent hardware finish, a straight hem at a deliberate length, and steamed fabric. Most of the improvement is free or close to it, and you can stop after the first two changes and still see a clear difference.
What is the best curtain fabric for an elegant look?
Weight and texture do more than thread count. Linen and linen blends hang in soft irregular folds, velvet and cotton velvet look formal and light-absorbing, and lined cotton or polyester holds a pressed fold and blocks light. Sheers suit layered, minimal rooms. Whatever you choose, add lining or a second layer if the fabric is thin enough to show the window through.
How wide should curtains be for the window?
Measure the rod, not the window. A good rule is 1.5 to 2 times the window width for the finished rod, and 2 to 2.5 times the rod width in fabric for fullness. So a 60 inch window usually takes a 72 to 84 inch rod and around 18 yards of material across both panels.
How high should I hang curtains to make a room look taller?
Mount the rod 6 to 12 inches above the top of the window frame, or within 4 to 6 inches of the ceiling, whichever leaves the smaller gap. In rooms with 10 foot ceilings or more, scale that up to 12 to 18 inches above the frame. The panel then runs from that height to the floor as one unbroken vertical line.
How can renters make curtains look more expensive without drilling?
Use a tension rod for width, mounting it as high as the wall allows, and command-strip hooks rated above the weight of a light rod or a valance. For fullness, hang two narrower panels on one rod and overlap them at the center. For hems, iron-on double-sided tape or a weighted hem chain avoids a sewing machine entirely.
Should the curtains touch the floor?
For most rooms, the finished hem should just kiss the floor, so it brushes with about half an inch of clearance. Stopping two inches above the floor is the most common reason curtains look skimpy. Puddling works in formal and traditional rooms, or when you layer sheers over blackout panels, and it needs extra length rather than a shorter drop.
Conclusion
Four things decide whether curtains look expensive: a wide rod, a high mount, real fullness, and a straight hem at a deliberate length. Hardware and steaming sit just behind those, and everything else is optional.
Start by washing and steaming the panels and checking whether the fabric is opaque enough to keep. Then measure, buy or extend the rod, and mount it 6 to 12 inches above the frame and 6 to 12 inches wider on each side. Once the fabric hangs in full, even folds, fix the hardware, rehem to a chosen length, and let the panels settle for a week before you judge them.