A room design plan is a to-scale sketch, made before you spend anything, that shows where each piece of furniture will sit, how much clearance it needs, and how people will walk through the space. Making one takes an afternoon with a tape measure and a sheet of paper, and it catches scale and clearance mistakes while they are still a pencil line instead of a delivery you have to refuse.
The order matters: measure the space and note fixed features, decide what the room is mainly for, trace the walkway people will use, place the biggest anchor piece first, apply the clearance numbers for that room type, then test the whole thing with painter’s tape or cardboard before you order. Skip a step and you are guessing at furniture that has to fit through a door and live with a layout you cannot walk around.
I have watched friends do this backwards more times than I care to remember. A sofa chosen first because it looked good on a website, a rug sized by guessing, a dining table that blocks the only path to the kitchen. The money went, the furniture arrived, and some of it stayed boxed in the hallway for a month.
Table of Contents
- What You Need
- Step-by-Step
- Define the Room’s Main Job
- Measure and Sketch the Space
- Set a Realistic Budget
- Create a Color and Style Direction
- Test the Layout Before You Buy
- Make a Shopping Plan
- Common Mistakes
- Frequently Asked Questions
- How can I design a room without buying anything?
- Is there an app that will help me design my room?
- Can ChatGPT generate a floor plan?
- What is the 2/3 rule for furniture?
- What is the 3-5-7 rule in interior design?
- What makes a home look cheap?
- Conclusion
What You Need
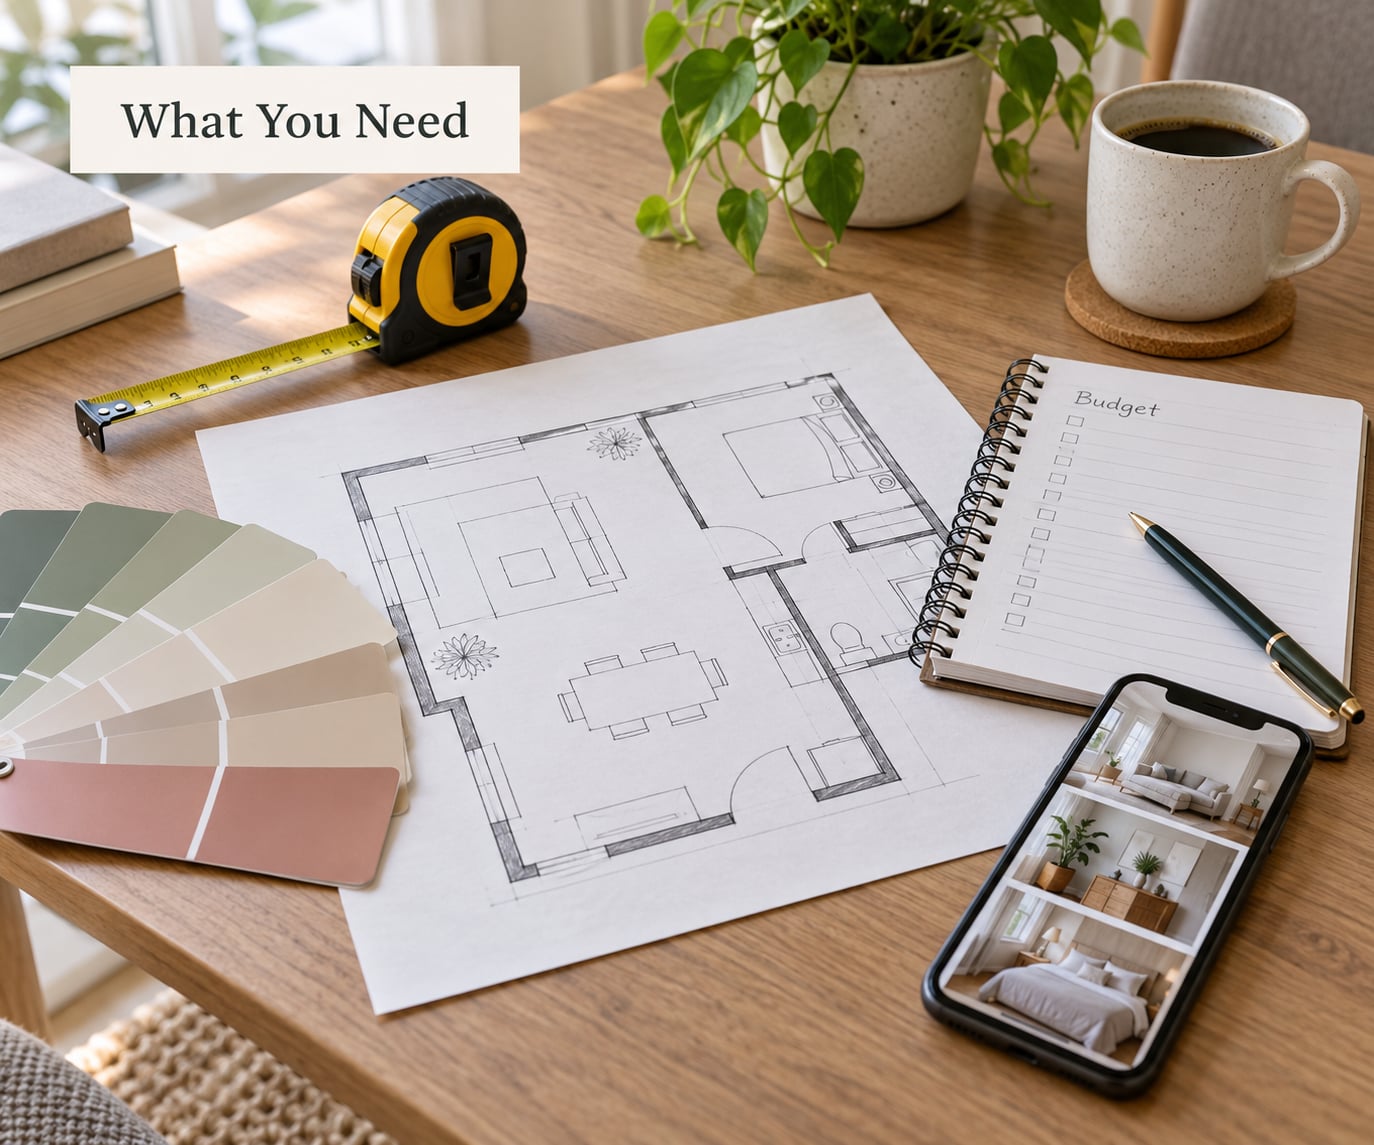
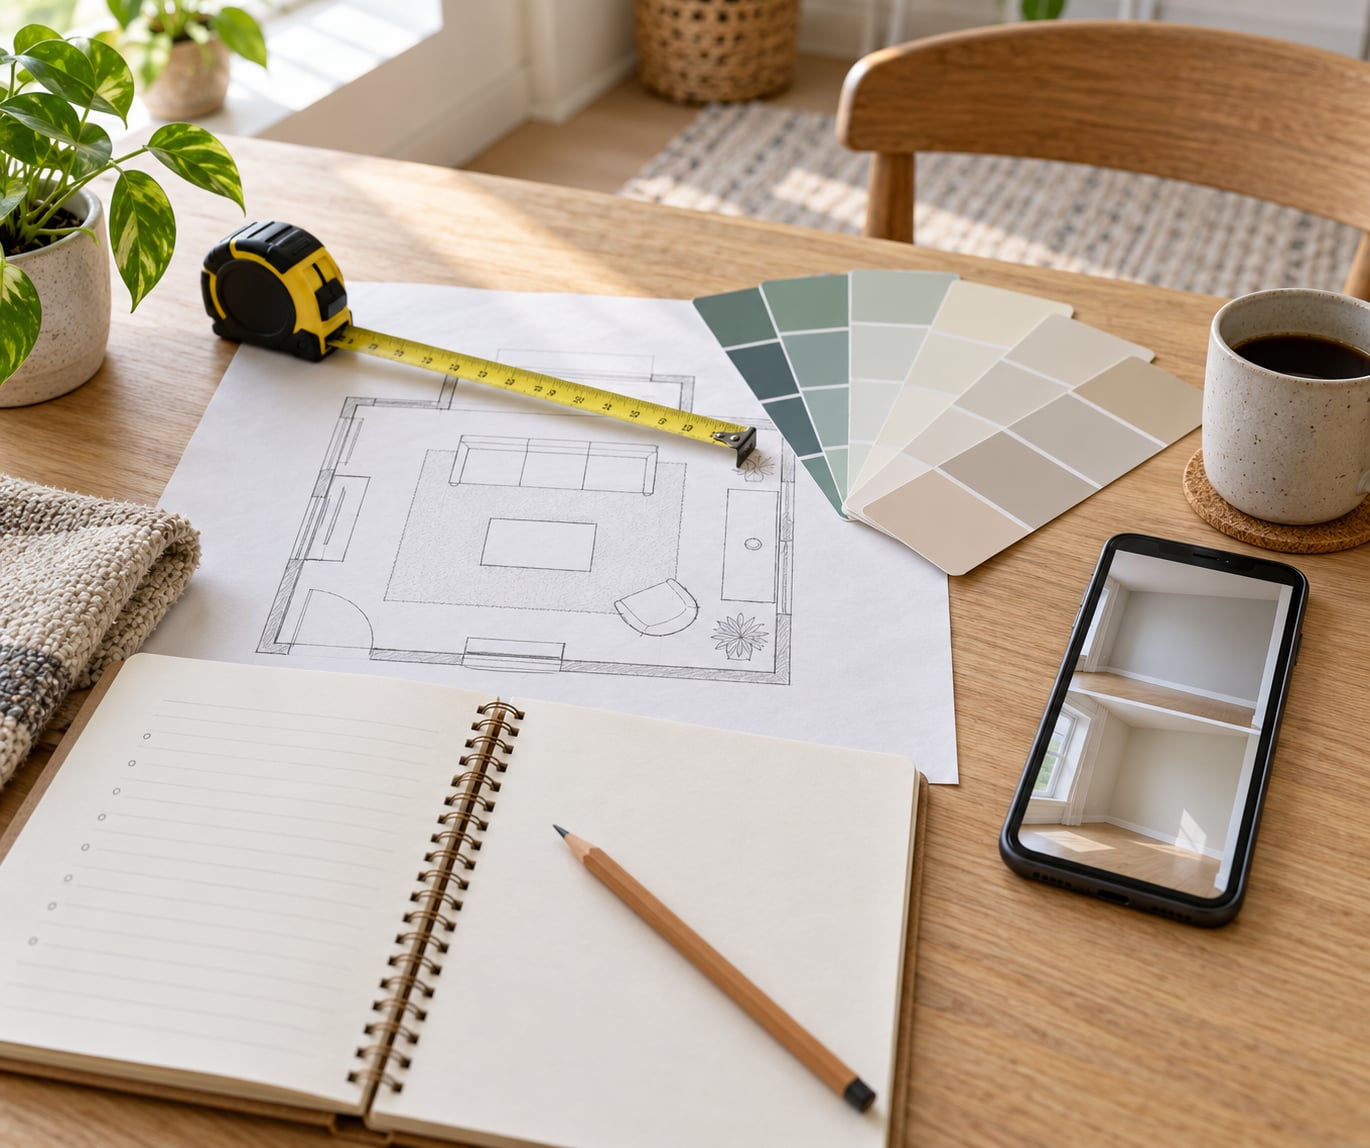
None of this costs more than a coffee. The point of gathering it before you browse is that a plan built on real numbers is boring and fast, while a plan built on memory takes three weekends and a return.
- A 25 foot tape measure. Longer than you think you need, because a room diagonal is longer than any wall.
- Graph paper or squared notebook paper. Pick a scale and stay on it. A quarter inch per foot is comfortable for most rooms; use a half inch per foot for a small one.
- A pencil, ruler and eraser. Plans change. That is the point of sketching.
- Your phone. Photograph every wall from each corner, including skirting, hooks and anything fixed to the wall.
- A written budget with a total number. A ceiling for the whole room, plus a separate number for paint, delivery and assembly.
- An inventory of furniture you already own. Measure each piece and write down where it currently lives. Most rooms have to work around what stays.
- A short reference list. Three or four rooms you like, saved with a note on what you actually like about them: the colour, the layout, the light, not just the styling.
Add a carpenter’s square for drawing true right angles and a cheap laser distance measurer if you hate wrestling with a tape in tight corners. Neither is required, and both do less for you than an honest inventory of what is already in the room.
Step-by-Step
Define the Room’s Main Job
Decide what the room is mainly for before you decide what goes in it. A living room that doubles as a home office has different furniture than a living room for conversation, and the difference shows up in the layout rather than in the shopping list.
Write three short sentences: who uses this room, what they do in it, and what it should feel like. Then go through four practical checks.
- Daily activities. Reading, watching, eating, homework, work calls, sleeping, hosting. Every activity needs a chair, a surface or a light, and two of them often compete for the same square foot.
- Storage. Count what has to be stored and how it will be stored. Shoes, coats, toys, papers and board games each need a specific kind of space, and shelves are easier to plan for before the wall is occupied.
- Traffic sources. Note every door, and where people come from. A room with a door on two sides is a passageway first and a room second.
- The feeling. One word is enough. Calm, energetic, generous, orderly. It becomes a filter later, when two possible pieces of furniture both fit.
If two activities genuinely need equal space, say so on paper. The alternative is buying for one and resenting the room.
Measure and Sketch the Space
Measuring only the floor is the single most common planning error, because the floor is not what limits you. Doors, windows, radiators, alcoves and the swing of a cupboard door all eat into the usable area, and they are the parts you discover on delivery day.
Measure in this order, and write every number down rather than trusting your memory.
- Wall lengths at two heights. Measure each wall at about knee height and again at shoulder height, then use the smaller figure. Rooms are rarely square, and a 2 inch difference decides whether the sofa you liked clears the door casing.
- Ceiling height. Measure once, in the middle of the room. It matters for pendants, tall shelving and anything hung high.
- Doors and their swings. Note the hinge side and the arc. A door that opens inward into your planned walkway needs that quarter circle drawn on the plan.
- Windows, sills and radiators. Record width, height and floor to sill. Furniture in front of a radiator wastes heat, and tall pieces in front of a window block daylight.
- Outlets, switches and vents. Mark each one. Where a sofa or bed lands determines whether you can reach a plug without an extension lead trailing across a walkway.
- Fixed architecture. Chimney breasts, alcoves, built-in shelving, radiators and support columns. In an awkward room this is where the layout actually happens.
Now draw the plan at your chosen scale, one square per foot or per half foot. Sketch the room outline, add windows and doors as gaps with swing arcs, then add the fixed features you measured. Mark the ceiling light positions too, because lighting planned after the layout is lighting planned around furniture instead of for it.
Your working drawing is finished when you could hand it to someone who has never seen the room and they could tell you which wall has the window. Scale errors are the ones that cost you, and a sketch is where you catch them for free.
Set a Realistic Budget
Write a single total for the room before you look at anything, then split it into three buckets: essentials, upgrades, and a reserve. The reserve is for sales tax, delivery fees, assembly, extra yards of rug or the one tool you will need at 9pm on a Sunday.
Essentials are the pieces the room cannot function without: the anchor piece, seating, lighting, window treatment if the room needs it, and storage if there is nowhere to put things. Upgrades are the swap-outs later: the side table, the second rug, the artwork, the lamp you noticed in month two.
Layout density drives how many pieces a room needs, and piece count drives the number. An open layout with a few large pieces usually costs less than a cosy layout with more of them, even at similar comfort levels, because each smaller piece carries its own delivery and assembly.
Put the ceiling on the anchor piece first and let the rest work under it. A plan that requires ten pieces to look finished but only funds four ends up with one lonely chair in a corner and no way to fix it without money you did not set aside.
Check the ceiling against something real rather than a memory. If you are still undecided on a piece, put a wide range on the plan and reserve at the top of it. Being wrong in your own notes costs nothing; being wrong at checkout costs the difference between the piece and a return fee.
Create a Color and Style Direction
A room tolerates more than people expect as long as the colours repeat. Pick two neutrals, one main colour and one accent, then decide in advance where the accent goes: the rug, the cushions, one wall, or one chair. Decide before you shop, because the accent is exactly the decision that stalls people at the till.
Two or three repeatable materials do a lot of work. Timber, metal, woven fibre and one fabric family repeated across the room will hold together even when individual items come from different sources.
Write the style in one sentence you would actually say out loud. “Warm oak, cream walls, relaxed and a bit formal” is more useful than a style label, because it tells you what to reject later. Labels such as Scandinavian or mid-century modern describe a look you can already see in a photograph; a sentence describes constraints you can check.
Test colours where the room will actually be used. Paint a sample board, or tape a paper swatch to the wall, and look at it in morning light, under lamps at night, and next to furniture you already own. A colour that looks correct under showroom light at midday can turn greenish in a north-facing room by evening, and you only learn that by leaving it up for a few days.
Test the Layout Before You Buy
The plan is a hypothesis until you test it at full size. Tape and cardboard cost very little and remove almost every doubt about clearance, walking space and proportion before a heavy item is booked for delivery.
Mark your main walkway on the plan first: the route from the door to wherever people are going, usually through to a kitchen or another room. Keep it 30 to 36 inches wide as the main route, and about 24 inches for secondary paths that people use less often. Sketch furniture as rectangles at true scale, then check whether your walkway survives.
Those numbers are the layout’s arithmetic. Conversational distance between seating in a living room runs about 3 to 8 feet, closer for talking and further for watching. Dining chairs need roughly 36 to 42 inches behind them to be pulled out and stood up from. A bed wants 24 to 36 inches along its longer sides. Total furniture should cover roughly 35 to 55 percent of the floor: below that a room reads as empty, above that it reads as crowded.
| Room type | Main clearance to protect | Spacing that matters most | Furniture floor coverage |
|---|---|---|---|
| Living room | 30-36 inch walkway | 3-8 feet between seats | 40-55 percent |
| Bedroom | 24 inch side path | 24-36 inches beside a bed | 35-45 percent |
| Dining room | 36 inches behind chairs | 36-42 inches for chair pull-out | 35-50 percent |
| Home office | 30-36 inch main path | 36-42 inches behind a desk chair | 30-40 percent |
| Small or awkward room | 24 inch paths | Multi-functional pieces, vertical storage | 30-40 percent |
| Open-plan space | 36 inch through-route | Zones defined by rug, not by walls | 35-45 percent overall |
Place the anchor piece first every time: the sofa, the bed, the dining table, the desk. It is the largest thing in the room, so it sets the scale and the orientation for everything else, and placing it first is what stops a room from ending up with three medium pieces arguing for attention.
Then orient that piece toward the focal point, which is usually the fireplace, the window with the best view, or the television. Point the long side of the sofa at it, and give it somewhere to be seen from, not just somewhere to face. If the focal point is a corner or an awkward angle, an L-shaped arrangement or a pair of chairs angled in works better than a sofa rammed flat against a wall.
Float the furniture when the room allows. Pushing everything against the walls leaves a dead centre and makes a furnished room read as empty, while pulling the seating 6 to 12 inches off the wall usually creates a better conversation group. In a long, narrow room, do the opposite and lean on the walls properly.
Anchor a zone with a rug once you know where the seating is. Size it so the front legs of at least the main pieces sit on it, which is why the rug belongs on the plan with the furniture rather than after delivery. If a rug is not in the plan, people tend to buy one that sits like a mat in the middle of the floor.
Three ways to test, roughly in order of how much they teach you.
| Method | What it costs | Good at | Weak at |
|---|---|---|---|
| Paper scale drawing | Nothing | Clearance, walkway, overall proportion | Judging texture and comfort |
| Painter’s tape on the floor | One roll | Real scale, sightlines, walking the route | Colour and material decisions |
| Cardboard cutouts | A few boxes | Proportion of a large piece, seeing over and around it | Small adjustments |
| Phone or tablet room planner | Free to paid apps | Comparing options quickly, trying sizes | Trusting auto-measured rooms or AI-drawn plans |
Digital planners are genuinely useful for trying a sofa in three widths in the time it takes to sketch one. SketchUp is the most capable free option people mention, RoomSketcher and Magicplan handle floor plans well, and Magicplan can scan a room with a phone’s LiDAR. The trade-offs are real: libraries are limited, some export with watermarks, and monthly subscriptions add up against a plan you only need for a fortnight.
Do not let a tool draw your room for you without checking it. People on decorating forums have posted AI-generated floor plans that came back with the wrong room shape entirely, which is harmless on a screen and expensive on a sofa order. Measure anything an app claims to have measured.
Whichever method you use, do the last step on foot. Walk the route you drew, from door to wherever the room leads, at the pace someone carrying a cup of tea would walk it. Open the door fully. Sit in the chair position and look around. This sense check catches more real problems than any app, and it takes two minutes.
Make a Shopping Plan
Turn the plan into a list you can shop from, so that decisions are made once instead of under showroom pressure. For every item write six things: the item, the maximum dimensions including clearance, the colours it must work with, the highest amount you will spend, when you need it by, and one substitute you would accept.
The substitute line is the one people skip and the one that saves a project. Showrooms are good at talking, and arriving with a specific measurement in hand changes the conversation from a suggestion into a check.
Order the list by what everything else depends on, not by what you like most. Anchor piece first, then seating and the table, then lighting, then rugs and window treatment, then the small pieces. Buying decor early is the most common way to end up with a lovely cushion in a room that has nowhere for anyone to sit.
Check the route to the front door before you commit. Measure the narrowest part of the hallway, any tight turn, and the door opening itself, then compare the item’s largest boxed dimension against it. This one check prevents the most common delivery disaster, which is a piece that fits the room perfectly and cannot get through the house.
Add lead time to each line. Made-to-order upholstery, custom shades and anything with a frame take longer, and a piece that arrives after the rest of the plan leaves an unbalanced room until it turns up.
Before you click through, run the whole list past the plan one final time. Every item fits its footprint, every clearance is intact, every colour appears in the palette, and the total is still under the number you wrote down in step three. If a line fails, change the item rather than the plan, unless the plan itself was the mistake.
Common Mistakes
Almost every expensive decorating error traces back to one of seven habits. Each has a straightforward fix.
- Buying the focal piece first. It sets everything else, so it should follow the measurements and the function, not lead them.
- Measuring the floor only. Add doors, windows, radiators, outlets and alcoves, and draw them. The fixed features are what actually constrain the layout.
- Ignoring door swings and through-routes. Draw the arc. A blocked door gets opened into a corner you are glad to have tested on paper.
- Pushing everything against the walls. Float the seating 6 to 12 inches off the wall where space allows, and group it around the focal point.
- Choosing decor before the palette. Fix two neutrals, one main colour and one accent first. Decor decisions made early will not match later.
- Sizing the rug by eye. Take the furniture layout to the rug, not the other way round. Front legs of the main pieces on the rug, every time.
- Shopping without the written list. Bring measurements, colours and your ceiling to the showroom. Salespeople will fill the gaps if you do not.
Two habits are worth keeping beyond this room. Plan the lighting on the same drawing as the furniture, since a single ceiling light is the most common reason a finished room feels flat. And keep the plan, with its notes on what stayed and what changed, because the next piece you buy in a year has to fit what you built.
Frequently Asked Questions
How can I design a room without buying anything?
Use paper, painter’s tape and cardboard. Draw the room to scale on graph paper, mark every fixed feature, then tape furniture footprints directly on the floor with tape and stand in the positions you would normally sit or stand in. Cardboard cutouts at true size let you check a large piece before it is ordered. Both methods cost only a few dollars, and both expose clearance and walkway problems that a product photo hides.
Is there an app that will help me design my room?
Yes. Free options such as RoomSketcher and SketchUp cover measured 2D plans well, and apps with AR let you hold a virtual sofa in the room through a phone camera. Magicplan can scan a room with LiDAR for a faster floor plan. Check that the app exports without watermarks and lets you enter your own dimensions. Treat any auto-measured or AI-drawn plan as a draft and verify it with a tape measure.
Can ChatGPT generate a floor plan?
Not reliably. It can describe a layout in words or sketch rough proportions, but it has no knowledge of your actual room, so the dimensions and geometry are guesses. People on decorating forums have posted AI-generated plans with room shapes that did not match their homes at all. Use text models for ideas, checklists and questions about clearance, and use measured drawings or your own tape measurements for anything you intend to order.
What is the 2/3 rule for furniture?
The rule of thumb is that furniture should occupy about two thirds of a room’s usable floor area, leaving the rest for walking and negative space. In practice the useful range is wider, roughly 35 to 55 percent depending on the room and how formal it is. Small rooms sit at the lower end and look calmer; large rooms can carry more before they feel crowded.
What is the 3-5-7 rule in interior design?
It is a decorating guideline about how much visual weight each colour should carry: roughly 60 percent in a dominant neutral, 30 percent in a supporting colour and 10 percent in an accent. Some versions phrase it as three colours, five shades and seven textures. Treat it as a starting point rather than a law, and check every sample on the actual wall at different times of day before committing.
What makes a home look cheap?
Usually proportion and finish rather than spending. Furniture crammed to the walls, a rug too small to sit under the front legs, mixed metals and finishes, furniture blocking door swings, overhanging matching pieces that leave no breathing space, and lighting from a single ceiling point all read as unfinished. Fixing scale and clearance first usually improves a room more than any decorative purchase.
Conclusion
Start with the tape measure, not the showroom. Decide what the room is for, draw it to scale with the doors and windows marked, protect a 30 to 36 inch walkway, place the anchor piece and check its clearance, then tape it on the floor and walk the route.
When you know how to make a room design plan before you buy, shopping stops being a guessing game. You are buying pieces that fit a plan you already tested, inside a budget you already wrote, in colours that already agree with each other.