The common paint mistakes to avoid when painting a room come down to two things: rushing the prep and losing control of the paint while it is still wet. Almost every streaky wall, lap mark and peeling patch traces back to one of those two.
Here is how to use this guide. Read the whole thing before you buy a single roller, and if paint is already on your walls, jump straight to the fix advice at the end of each section.
Table of Contents
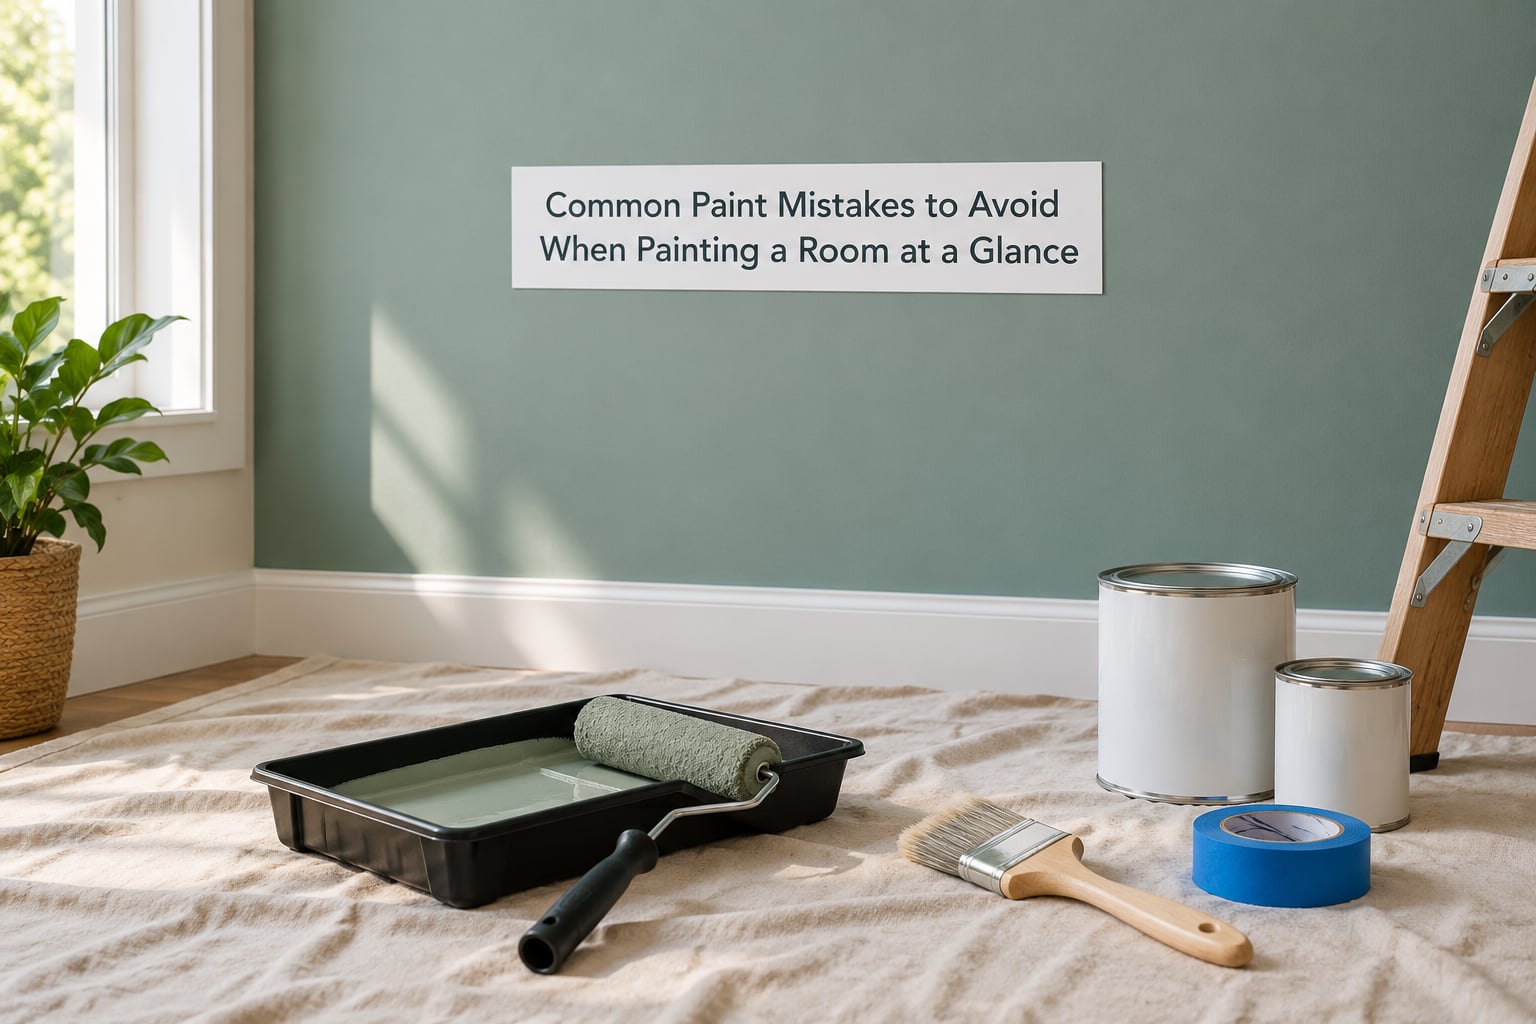
- Common Paint Mistakes to Avoid When Painting a Room at a Glance
- 1. Painting Over Dust, Grime, or Loose Debris
- 2. Skipping the Patching and Sanding Step
- 3. Choosing the Wrong Paint Sheen
- 4. Testing Colors Only on a Small Swatch
- 5. Forgetting to Account for the Room’s Lighting
- 6. Pouring Too Much Paint Into the Tray
- 7. Using Too Little Paint or Reloading the Roller Improperly
- 8. Painting Over a Previously Applied Coat Without Preparing It
- 9. Losing the Damp Edge and Leaving Visible Lap Marks
- 10. Rushing the Drying and Cleanup Process
- How to Tell Whether the First Coat Worked
- Frequently Asked Questions
- How long should you wait between coats of interior paint?
- Do you always need to prime before painting a room?
- Can you paint over wallpaper without removing it?
- What is the best way to fix streaks or lap marks in wall paint?
- Should you use the same paint sheen on walls and ceilings?
- How should you clean paint rollers and brushes after finishing a room?
- Conclusion
Common Paint Mistakes to Avoid When Painting a Room at a Glance
| The mistake | What it gets you | How to prevent or fix it |
|---|---|---|
| Painting over dust or grime | Patchy coverage, peeling film | Wash, scrape, sand, vacuum before you roll |
| Skipping patching and sanding | Nail holes and cracks stand out | Fill, sand level, dust off the filler |
| Wrong sheen for the room | Shows every scuff, wipes blotchy | Match sheen to use and traffic |
| Testing color on a tiny swatch | Disappointment on the full wall | Sample 20 inch squares on the real wall |
| Ignoring the room’s light | Undertones you did not expect | Look at samples morning and evening |
| Overfilling the tray | Drips, waste, faster fatigue | Pour a few inches deep, no more |
| Rolling a nearly dry roller | Streaks and skipped patches | Roll the nap out evenly on the tray liner |
| Rolling over an unprepared old coat | Poor adhesion, peeling | Clean, scuff-sand glossy spots, spot prime stains |
| Losing the damp edge | Lap marks across the wall | Work in sections you can finish before it dries |
| Rushing drying and cleanup | Tape marks, ruined tools, fumes | Wait for recoat time, pull tape at 45 degrees, wash out |
1. Painting Over Dust, Grime, or Loose Debris
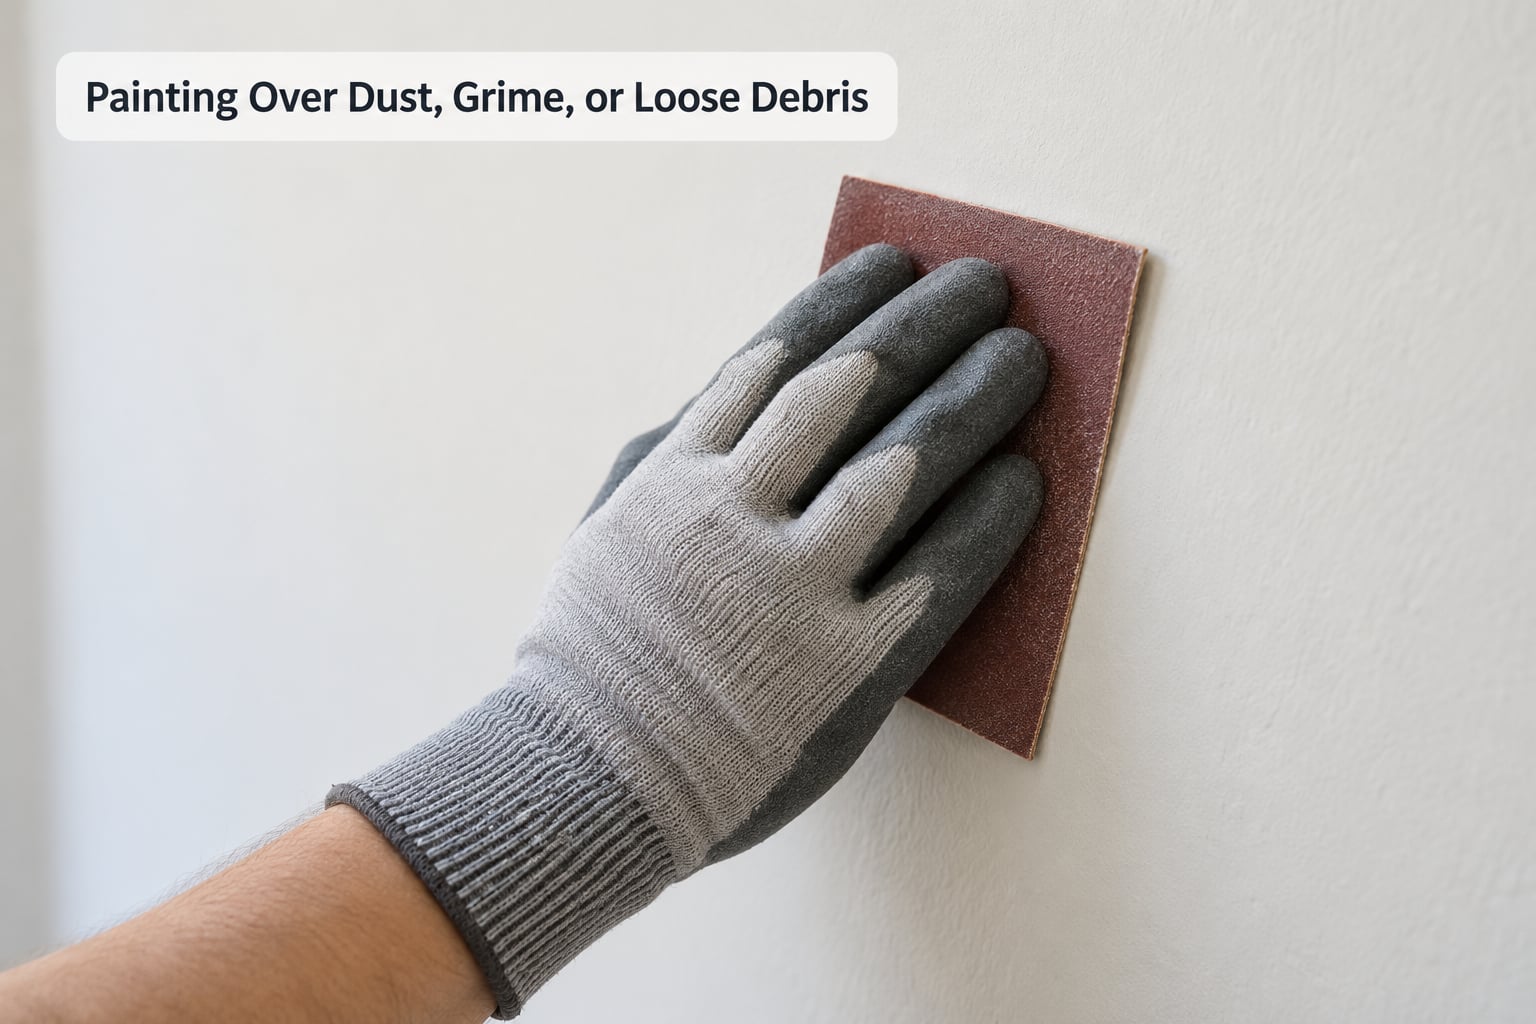
Paint bonds mechanically to the surface underneath it. Dust, grease, soap residue and sanding debris form a barrier that the film cannot grip, and the result peels or flakes later.
What goes wrong: coverage looks uneven on the first coat and the finish starts lifting at the edges after a few weeks.
Why it happens: people wipe a wall down with a damp cloth and call that clean, then leave sanding dust everywhere from the day before.
How to avoid it: wash greasy areas with a sugar soap or TSP substitute and rinse, scrape off loose flakes, sand glossy or peeling spots, then vacuum the whole wall and the floor edges. A tack cloth on a dry wall catches what the vacuum leaves behind.
If you already did it: let the paint dry fully, sand the affected area lightly, wipe off the dust and apply a second coat. If the film is already peeling, it has to come off down to bare drywall first.
2. Skipping the Patching and Sanding Step
Dents, nail holes and hairline cracks are invisible in a dim room and impossible to hide under fresh paint. The new finish exaggerates them because it removes every shadow that was hiding them.
What goes wrong: the wall looks worse after painting than it did before.
Why it happens: patching feels like a separate chore, so it gets pushed to the end and rushed.
How to avoid it: fill nail holes with spackle or lightweight filler using a putty knife, let it dry, sand it level with 120 to 150 grit, then sand any proud joint compound ridges lightly. Wipe the dust off with a damp cloth and dry it before the primer or first coat.
If you already did it: spot-fill the visible defects on the dry wall, sand flush and recoat the area. A second thin coat over filler hides far better than a third coat over unfilled holes.
3. Choosing the Wrong Paint Sheen
Sheen is how much light the dried film reflects, and it changes with cleaning, durability and how much every fingerprint and scuff will show.
| Room or surface | Sheen that works | Why |
|---|---|---|
| Ceilings, bedrooms | Flat or matte | Hides roller texture on the largest surface in the room |
| Living rooms, dining rooms | Eggshell | Forgiving to roll on, still scrubbable |
| Kitchens, bathrooms | Satin or semi-gloss | Wipes clean and resists moisture |
| Hallways, stairwells | Satin | Takes the traffic without showing every scuff |
| Skirting, doors, trim | Semi-gloss | Durable where hands and shoes hit |
How to avoid it: match the sheen to the use of the surface, and remember that higher gloss shows bad drywall preparation more honestly than matte does.
If you already did it: painting flat paint onto a satin wall leaves a milky, uneven look that cannot be fixed with more of the same paint. Sand the whole surface, prime it and repaint in the sheen you actually wanted.
4. Testing Colors Only on a Small Swatch
A swatch is a few square inches under store lighting. Your wall is ten square yards under your own lighting. Those are not the same test.
What goes wrong: the paint you love in the store looks flat and grey in the room.
Why it happens: small samples cannot show how a large field of one color reads, and a big enough patch of paint is the only honest test.
How to avoid it: paint at least two or three 20 inch squares in different spots on the actual wall, let them dry fully, and paint a fourth square with the sheen you plan to use rather than a flat sample. Live with them for two days.
If you already did it: do not judge the color from one wall of paint while the roller is still wet and the room is dark. Wait until it dries, then look again at the same time of day you use the room most.
5. Forgetting to Account for the Room’s Lighting
The same color reads differently depending on where the light comes from. A warm gray can go flat and cold on a north-facing wall and look rich and creamy in the same room’s south corner.
What goes wrong: the whole wall seems to change shade from one end to the other.
Why it happens: painters test in the morning, buy immediately, and never look at the wall again under evening light.
How to avoid it: check your samples in daylight, under the bulbs you actually use at night, and from the doorway, which is the view that matters. Rooms with a strong single light source exaggerate differences; rooms with bounced light hide them.
If you already did it: you cannot fix a lighting problem with more paint. If the room is dark and the color feels heavy, a lighter tone on the ceiling and a lighter sheen on the walls will help more than a color change.
6. Pouring Too Much Paint Into the Tray
Overfilling a tray looks efficient and wastes paint with every reload. It also puts more paint on the roller than you can spread before it starts to dry.
What goes wrong: drips down the side of the tray, splatter on the floor and a tired painter by the second wall.
Why it happens: people fill the tray until the roller can be fully submerged, then keep topping it up through the job.
How to avoid it: a couple of inches of paint in the reservoir is enough to load a roller. Keep the paint in the can and pour what you need, so what is left in the tray stays workable and skippable.
If you already did it: let the excess dry in the tray and peel it out later rather than rinsing a full tray, or set the tray aside and work from the can with a paint pad. Skim the thick skin off the surface before loading the roller.
7. Using Too Little Paint or Reloading the Roller Improperly
A roller that is half loaded lays down a thin coat with streaks, and one that is soaking wet lays down a thick coat that takes forever to level.
What goes wrong: streaked walls, skipped patches near the baseboard, and a second coat that drags over a dry first coat.
Why it happens: the roller is run straight up and down the tray, so the nap absorbs paint at one end and dries nearly bare at the other.
How to avoid it: roll the roller back and forth across the tray ribs several times so the nap is loaded evenly with no bare streaks, then roll it against the end of the tray to take off the excess. On the wall, work in a W pattern so every pass lays down the same amount of paint.
If you already did it: let the coat dry, sand the streaks lightly and roll a second, evenly loaded coat over the whole wall rather than touching only the streaked patches, which makes the difference more obvious.
8. Painting Over a Previously Applied Coat Without Preparing It
Not every repaint needs primer. A clean wall already covered in sound, matte paint usually takes a new coat of the same finish without any prep at all.
What goes wrong: new paint lifting in sheets weeks later, or the topcoat drying at different rates across patched and bare areas.
Why it happens: people treat primer as a rule rather than a fix. It is genuinely necessary on bare drywall, patched areas, stains, bare wood or metal trim, and dramatic color changes, and unnecessary on a clean, stable, matte wall.
How to avoid it: wash the wall, scuff-sand any glossy or taped areas so the new coat has something to grip, and spot prime only the stains, bare patches and repairs. Primer is also a sealer and a stain blocker, and those three jobs are not interchangeable.
If you already did it: this is fixable in place. Scrape or sand the failing areas back, prime them, and repaint the full wall so the sheen matches.
9. Losing the Damp Edge and Leaving Visible Lap Marks
The damp edge is the wet boundary you are painting up against. Keep moving toward it and each pass blends into the last. Lose it and the roller or brush drags over paint that has started to set.
What goes wrong: faint shiny bands every few feet where one pass overlapped a semi-dry one.
Why it happens: a whole wall takes longer than people expect, and the section that was started first has already started drying when you come back to it.
How to avoid it: work in sections you can finish inside your working time, always rolling from the unpainted area back into the wet paint rather than starting in the middle. Cut in first, roll second, and do not touch the roller marks until the whole section is laid off.
If you already did it: lap marks on a fully dry wall sand down with fine sandpaper, then take a fresh thin coat over the whole area. Partial touch-ups over lap marks usually make the banding worse.
10. Rushing the Drying and Cleanup Process
Dry-to-touch and ready-to-recoat are not the same thing. Paint that feels dry to a fingertip can still be soft underneath, and the brush or roller impression stays in the finish.
What goes wrong: brush hairs embedded in the coat, roller texture pressed into a surface that was not ready, and tape that tears the paint off with it.
Why it happens: people paint late in the day, taping the next morning when everything is fully cured, and washing brushes the following morning.
How to avoid it: check the can for its recoat time and give the coat the full window. Pull tape while the paint is still slightly soft, pulling it back slowly at a 45 degree angle. Clean rollers and brushes out with warm soapy water the same evening and use a roller spinner to push the water through the nap.
If you already did it: lift bristles out with a fine sanding block, then apply another thin coat. Where tape lifted the old paint, patch, prime and repaint that strip.
How to Tell Whether the First Coat Worked
Stand back into the room with the lights on the way you normally use them and look for coverage gaps first. Any drywall paper or filler you can see needs another coat; a well-covered wall reads as one continuous surface.
Next, check the sheen from an angle with the light raking across the wall. Roller texture, lap bands and brush marks show up first under raking light, and they are easier to fix while the second coat is still ahead of you.
Then look for color uniformity, drips near the baseboard, missed strips beside the trim and any holes or cracks that the first coat has made obvious.
Frequently Asked Questions
How long should you wait between coats of interior paint?
Follow the recoat time printed on the can rather than how the wall feels, which is usually several hours for a latex paint. Dry to the touch is not the same as ready for a second coat. In cold or humid conditions, give it longer than the label says. Two thin coats with a full recoat window between them will always beat one thick coat.
Do you always need to prime before painting a room?
No. A clean wall already finished in matte paint usually takes a new coat of the same finish with no primer at all. Primer earns its place on bare drywall, patched areas, stains, bare wood or metal trim, glossy surfaces that have been scuff-sanded, and dramatic color changes. Priming everything costs a full extra coat for very little gain.
Can you paint over wallpaper without removing it?
You can, and it works best on wallpaper that is firmly stuck with no loose edges. Clean it, fill any seams or bubbles, sand the surface, and prime it with a product made for wallpaper so the adhesive does not draw moisture out of the topcoat. Any peeling or loose seams should be removed first, otherwise they will lift the new paint with them.
What is the best way to fix streaks or lap marks in wall paint?
Let the wall dry completely, then sand the streaks and lap bands lightly with fine sandpaper. Roll a fresh thin coat over the whole area rather than touching only the marked parts, because a spot fix makes the difference more visible. If the wall has lost paint entirely in places, prime those spots first so the new coat dries at the same rate as the rest.
Should you use the same paint sheen on walls and ceilings?
Usually not. Ceilings take flat or matte paint because the flat surface hides texture on the largest area in the room, while walls take eggshell in living areas and satin in kitchens, bathrooms and hallways where they need to wipe clean. Using satin on a ceiling is the classic mistake, because every roller pass shows under raking light.
How should you clean paint rollers and brushes after finishing a room?
Rinse them out the same evening while the paint is still soft, using warm soapy water and a roller spinner to push water through the nap. Work the paint out of the bristles with your fingers, then comb them with your fingers or a metal comb. Reshape the bristles, dry them flat or hanging bristles-down, and wrap the roller in plastic for storage.
Conclusion
The paint mistakes worth fixing first are the ones you cannot undo cheaply. Prep the surface properly, test the color on the real wall, and complete one even coat per section before you touch the rest of the room.
Everything else on this list is a habit rather than a disaster: pour a little paint, load the roller evenly, keep a damp edge going, and give the coat its full dry time. Start with the surface, and most of the rest takes care of itself.