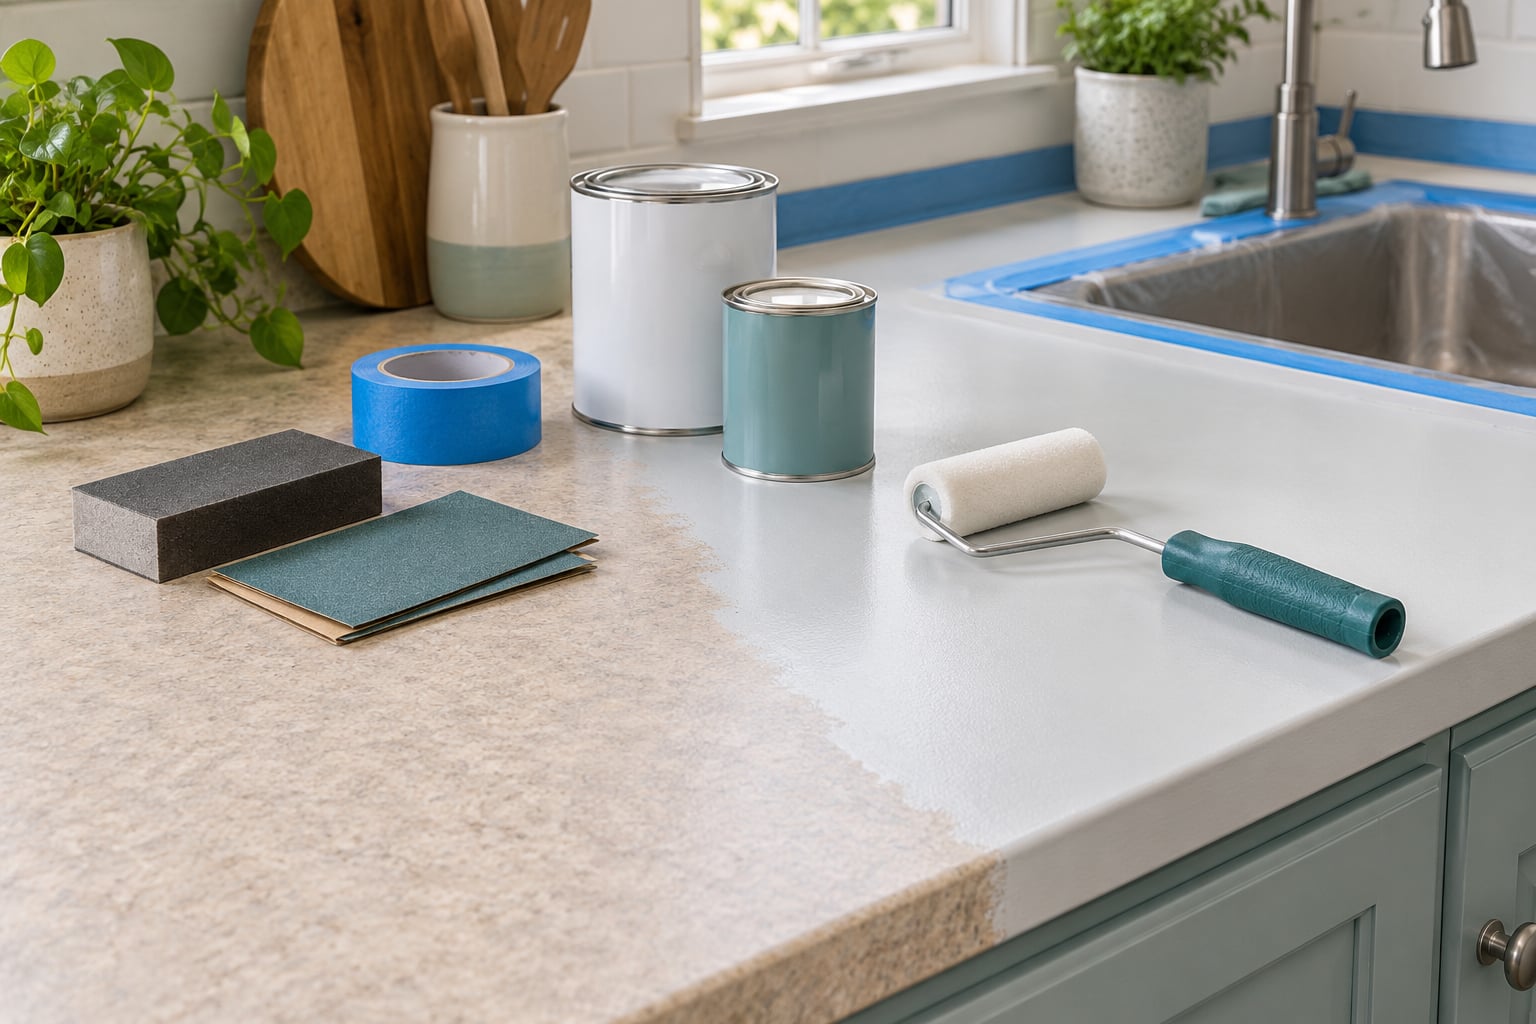
You can paint a laminate countertop in five steps: clean it, repair chips, scuff the surface with sandpaper, prime it with a bonding primer, then roll on countertop paint and a clear topcoat. Done properly, the job takes a day and a half of work plus about a week of curing, and it costs a fraction of replacing the counter. This guide walks through how to paint a laminate countertop that still looks good years later.
That first sentence matters more than it sounds. Laminate is a thin plastic or paper layer glued to particle board, so it will not absorb ordinary paint the way drywall does. The finish only stays if you give it something to grip and a primer that chemically bonds to a non-porous surface.
Laminate is also not a one-size-fits-all material. Formica, melamine and post-formed panels all behave a little differently, and the condition of the counter matters as much as the product. Below is the process I would follow, including the parts that are easy to rush.
Table of Contents
- What You Need
- How to Paint a Laminate Countertop Step by Step
- 1. Repair and clean the countertop
- 2. Sand the laminate surface
- 3. Mask and prime the countertop
- 4. Paint the countertop
- 5. Seal and finish the painted surface
- Common Mistakes
- Frequently Asked Questions
- Can you paint laminate countertops with regular latex paint?
- What type of paint is best for a laminate countertop?
- Do laminate countertops need primer before painting?
- How long should painted laminate cure before using the counter?
- Can painted laminate countertops be exposed to water and heat?
- How do you remove paint from a laminate countertop?
- Conclusion
What You Need
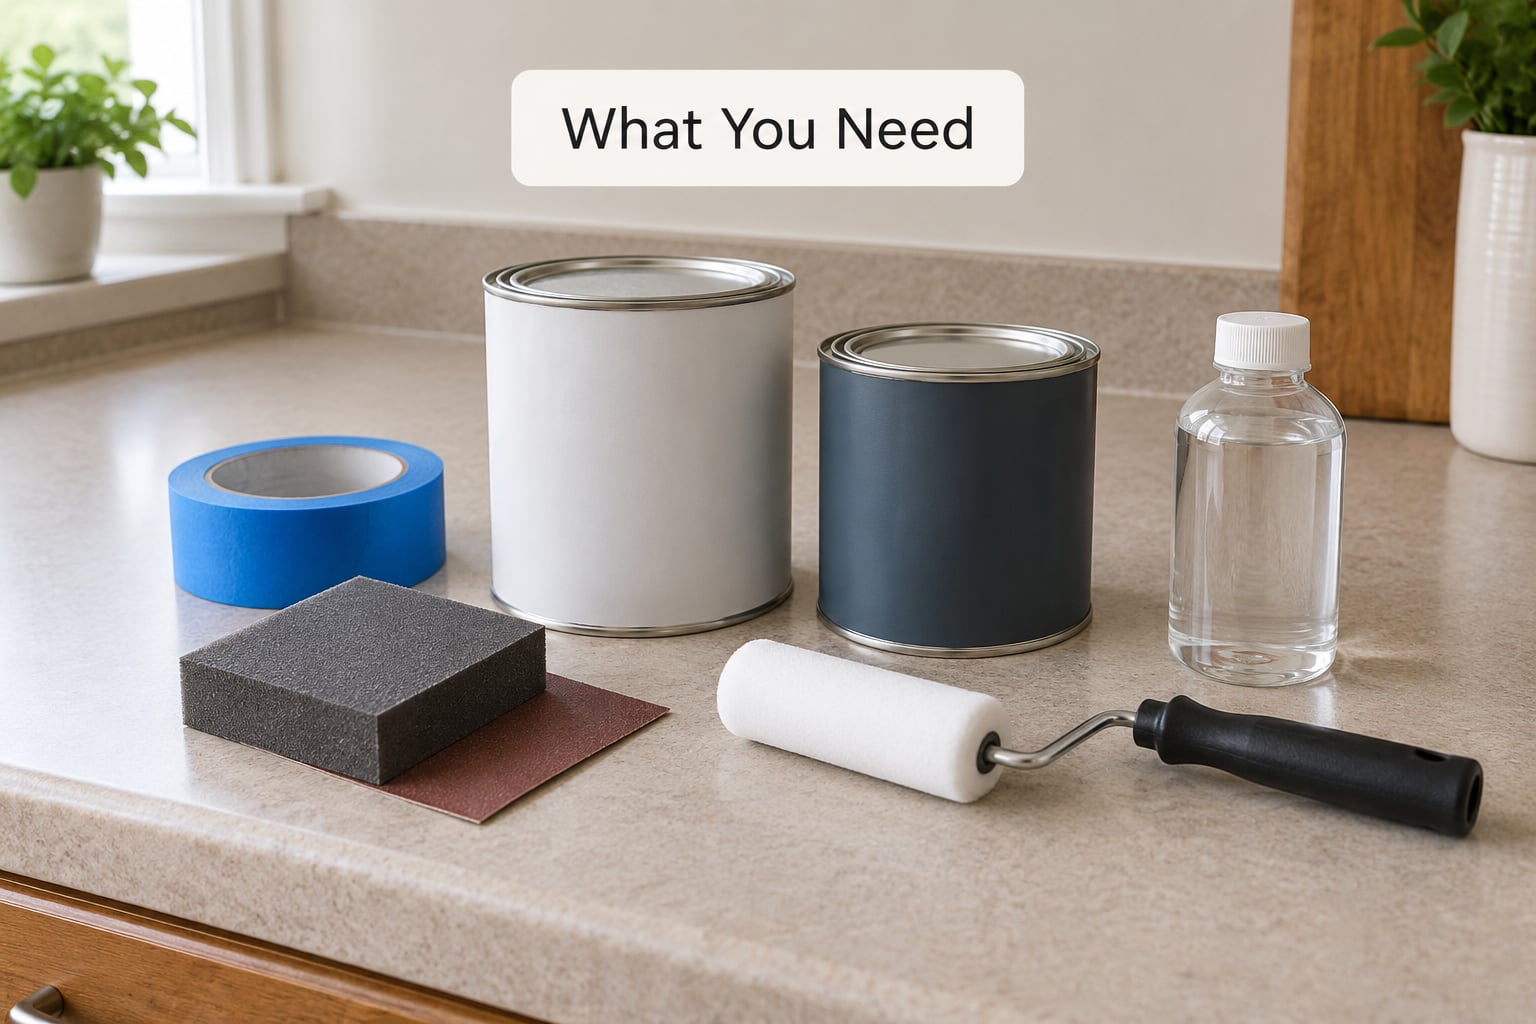
Gather everything before you start, because the steps run in order and stopping halfway to find a missing item usually means a dried-out brush and a skin of primer you have to sand off again.
Cleaning supplies
- A degreaser or all-purpose cleaner strong enough to cut cooking grease
- Denatured alcohol for a final wipe-down and to check the surface is dry and grease-free
- Microfiber cloths, a small bucket, and a soft brush for the seams and the back edge
- Touch-up filler or color-matched repair compound for chips and cracks
Preparation tools
- 120-grit and 220-grit sandpaper plus a sanding block
- A vacuum or brush and tack cloth for dust removal
- Painter’s tape, plastic sheeting or a drop cloth, and a stiff brush for countertop debris
- Safety glasses, a dust mask for sanding, and nitrile gloves
Paint products
- A high-adhesion bonding primer rated for laminate and other non-porous surfaces
- Water-based acrylic paint or a cabinet and countertop enamel in eggshell or satin
- A short nap foam roller, a tray with liners, and a 2 inch angled brush for edges
- A clear topcoat matched to your paint: water-based polyurethane, or an epoxy coating if you want the hardest finish
Primer and paint choice drive how long the job lasts. Bonding primers are formulated to stick to surfaces that have no porosity, and they are the single biggest factor in whether the counter is still solid in two years. If you buy one kit, buy the countertop paint kit with its matching primer and sealer rather than mixing a general primer with a specialty topcoat.
Ordinary interior latex paint will dry and it will look fine for a week. Then it peels, because nothing in it is designed to bridge to plastic laminate.
How to Paint a Laminate Countertop Step by Step
1. Repair and clean the countertop
Fill chips, gouges and hairline cracks first, and let the filler dry fully before you clean. Sand the filled spots smooth with your 120-grit paper so the repair does not telegraph through the finish later.
Next, degrease. Laminate near a sink or stove is coated in a thin film of oil and cooking residue that sanding will not remove, and any paint applied over it will slide off. Work the degreaser in with a cloth or sponge, give it a few minutes to break down the grease, then rinse with clean water and dry with a microfiber cloth. Wipe the whole surface with denatured alcohol as a final check, then let it air dry completely. If you paint while the surface is still damp, you will get bubbles that stay in the finish forever.
How do you know it is ready? Run a clean finger across the surface: no oiliness, no damp cool feeling, no visible haze.
2. Sand the laminate surface
Sanding is not about leveling. You are knocking off the gloss and roughening the surface so the primer has texture to grab, so work across the entire counter, not just the visible middle.
Start with 120-grit to take down any shine, damaged paint or stubborn marks, then finish with 220-grit for a consistent matte scuff. Sand the front edge, the back edge, the rounded corners and the strip around the sink cutout with the same attention as the flat top. Those vertical faces are where peeling usually starts.
Vacuum the dust, then wipe with a tack cloth or a barely damp cloth and let it dry. Do not use a wet cloth heavily; water trapped in seams can raise the particle board underneath. Wear a mask, and open a window or run a fan, because laminate dust is fine and gets everywhere.
3. Mask and prime the countertop
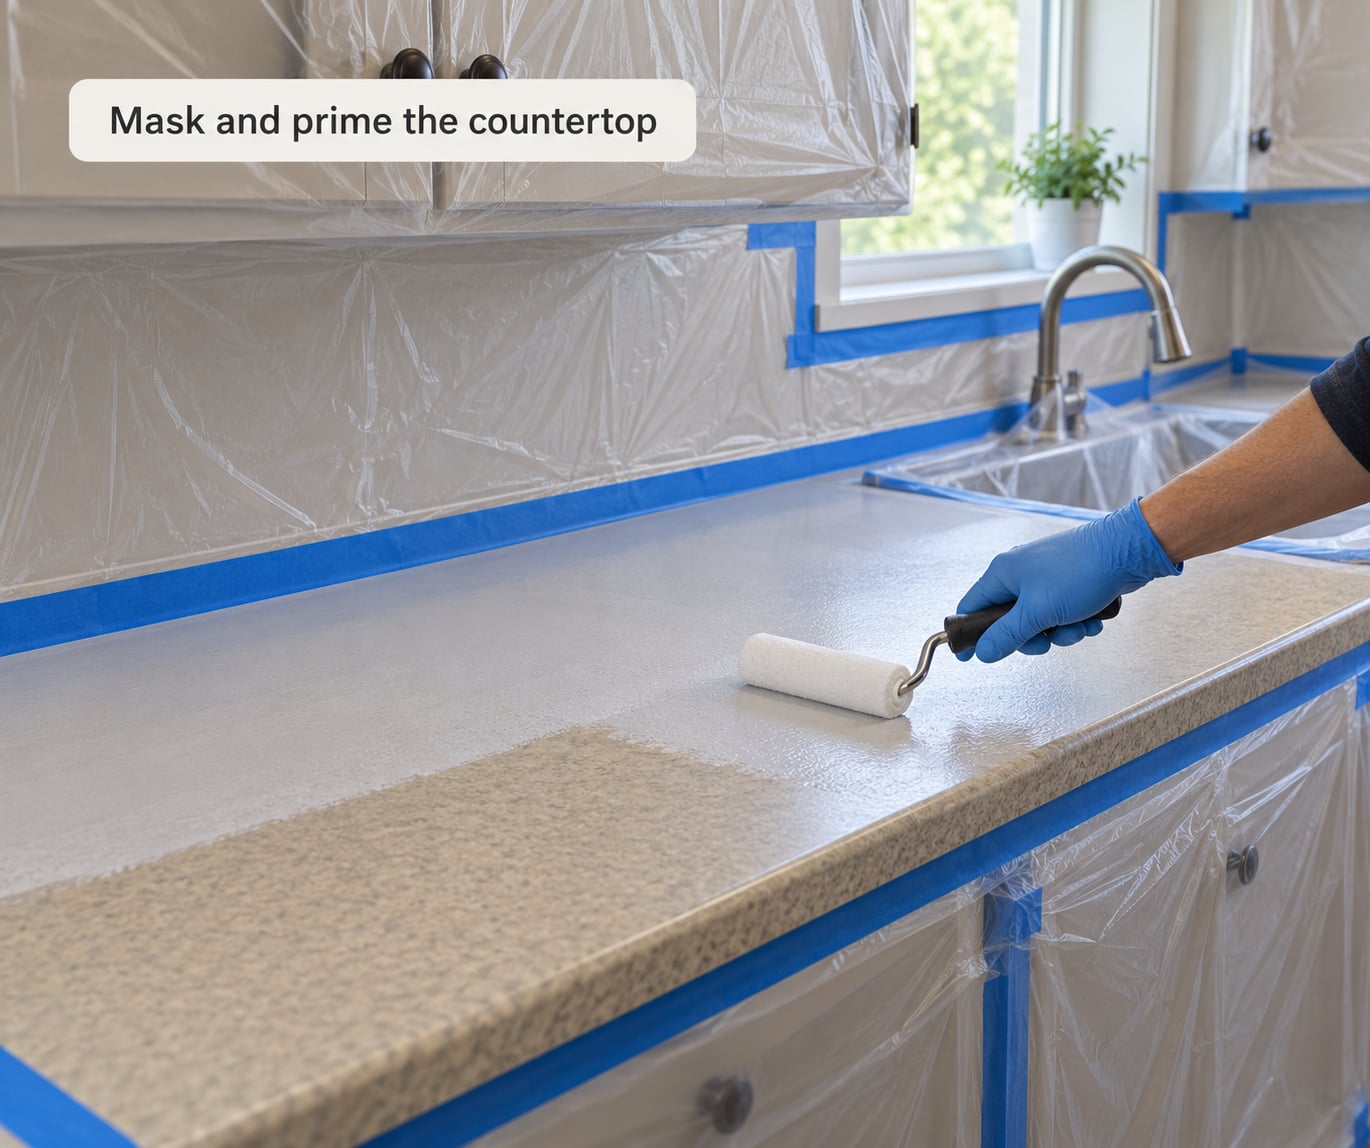
Mask before you prime, not after. Tape off the cabinets, walls, backsplash and any fixture that sits close to the surface, and lay down a drop cloth or plastic sheeting over the sink and anything you do not want flecked.
Stir the bonding primer thoroughly, pour it into a lined tray, and roll it on with a short nap roller in thin, even passes. Cut the front and back edges and the sink surround with a 2 inch angled brush first, then roll the flat areas and blend into the edges while the primer is still wet.
Two thin coats beat one thick coat. A thick coat skins over on top while staying soft underneath, and that soft layer is exactly what peels later. Follow the label for the interval between coats and the full cure before painting over it, which is usually at least a few hours rather than the 30 minutes printed on the paint can.
Check your work: the primed surface should look uniformly matte and slightly darker, with no glossy patches. A glossy patch means too little primer or too little sanding. Lightly scuff any drips or specks with 220-grit and wipe clean before moving on.
4. Paint the countertop
Stir the paint again from the bottom of the can, then roll it on the same way as the primer: edges first with the angled brush, flat areas with the foam roller, always working in one direction and keeping a wet edge so the strokes blend instead of overlapping into visible roller texture.
Apply two to three thin coats rather than trying to cover in one. Each coat should look slightly streaky and uneven as it goes on, which is normal; it evens out as it dries. Widen your working area if you see lap marks appearing, and reload the roller lightly. Too much paint on the roller is the usual cause of bubbles, ripples and a slightly lumpy surface.
Give each coat the full dry time on the label, usually several hours, and sand lightly between coats with 220-grit to knock down any texture. Wipe off the dust before the final coat. Work on the final coat in good light, with the windows open, so you can see roller marks while the paint is still workable.
5. Seal and finish the painted surface
A clear topcoat turns a painted surface into a usable countertop. Paint alone gives you color; the sealer gives you the waterproof, scratch-resistant layer that stands up to a wet glass or a hot pan set down without a coaster.
Wait until the last paint coat is fully dry, then apply the topcoat the same way, thin and even. Water-based polyurethane and epoxy both want several coats with sanding between them, and both need real cure time before the counter takes abuse.
Give it at least 24 to 72 hours before light use, and treat a full cure of about a week as the point where the finish reaches its hard, chemical-resistant state. Follow the product instructions, because cure and dry time are not the same thing and only one of them matters here.
Once cured, treat it like a real countertop: set hot pans on a trivet rather than the surface, keep knives and cutting boards off it, and skip abrasive cleaners and scouring pads. Wipe spills promptly and clean with a soft cloth and a mild dish soap.
Common Mistakes
Painting over grease without a real degrease. The paint looks fine and then lifts in sheets a few months later, usually around the sink and stove. Degrease, wipe with alcohol, and let the surface dry fully before sanding.
Using ordinary interior paint. Standard latex and cheap enamel have no adhesion to a non-porous surface, and no amount of extra coats fixes that. Use a bonding primer plus countertop or cabinet paint, or a kit that includes all three layers.
Loading the roller. Thick coats trap air, and trapped air becomes bubbles and bubbles become bare laminate. Reload often, roll out the paint, and keep the coat thin enough that you can see the primer underneath.
Rushing the sanding. A glossy counter is a counter the primer cannot grip. Scuff the full surface, including edges, corners and the sink surround, and vacuum plus tack before priming.
Ignoring edges, seams and the caulk line. Vertical faces and the joint where the counter meets the sink are where failures start. Cut them in by hand, keep a wet edge, and touch them up before the final topcoat.
Using the counter too soon. Paint that is dry to the touch can still be soft underneath. Respect the full cure on the label before setting anything heavy or hot on the surface, or you will leave an imprint in the finish.
Frequently Asked Questions
Can you paint laminate countertops with regular latex paint?
Not if you want it to last. Ordinary interior latex has nothing that bonds to a non-porous plastic surface, so it typically peels or scratches off within months. Use a high-adhesion bonding primer over the sanded laminate, then countertop or cabinet enamel on top. A well-prepped counter with the right three layers can hold up for years in moderate use.
What type of paint is best for a laminate countertop?
Water-based acrylic paint or a cabinet and countertop enamel in eggshell or satin finish works well for most DIY projects, applied over a bonding primer rated for laminate. All-in-one countertop paint kits are the simplest route because the primer, paint and sealer are formulated to work as a system. Whatever you choose, pair it with a clear topcoat.
Do laminate countertops need primer before painting?
Yes. Laminate will not absorb paint, so primer is what makes the coating stick. Sand the surface with 220-grit, clean off the dust, then roll on a bonding primer designed for laminate or other non-porous materials in two thin coats. Skipping it is the most common reason painted laminate peels within a year.
How long should painted laminate cure before using the counter?
Wait at least 24 to 72 hours for light use, and plan on roughly a week for the finish to reach full hardness before setting hot pots or heavy items on it. Paint that feels dry can still be soft underneath, which is how dents and impressions end up in the surface. The product label cure time takes priority over any other guidance.
Can painted laminate countertops be exposed to water and heat?
Water is fine once the finish has fully cured, provided you wipe standing moisture away rather than letting it sit. Heat is the real limit. Use a trivet under a hot pan and avoid setting cookware straight on the surface, because repeated heat cycles cause the coating to soften, yellow or lift. Never cut directly on a painted counter.
How do you remove paint from a laminate countertop?
Sand with 120-grit and work up to 220-grit, then wipe away the dust and paint any bare laminate you exposed. For a spotty result, a heat gun on low plus a plastic scraper lifts the coating quickly. If the counter is peeling badly or the particle board underneath feels soft, stripping it is a sign to replace the counter rather than keep patching.
Conclusion
Start at the boring end. Clean and degrease the laminate, repair any chips, let everything dry, scuff the whole surface with 220-grit, mask the cabinets and fixtures, and use a bonding primer rated for laminate before any color goes on. Those five things decide whether the paint is still there in three years.
After that, follow the product instructions on coat timing and cure, and test a small hidden corner or an offcut piece of laminate first. If your counter takes constant heat, heavy chopping or undermount-sink water, painting may not be the right fix; replacing the surface might be.