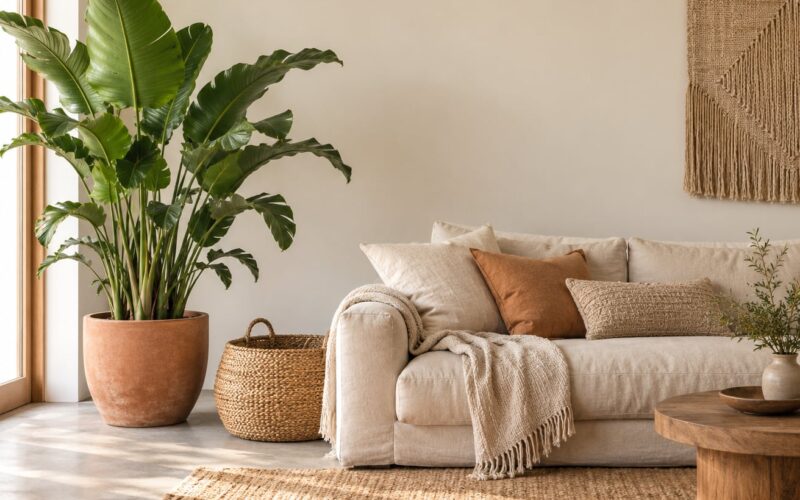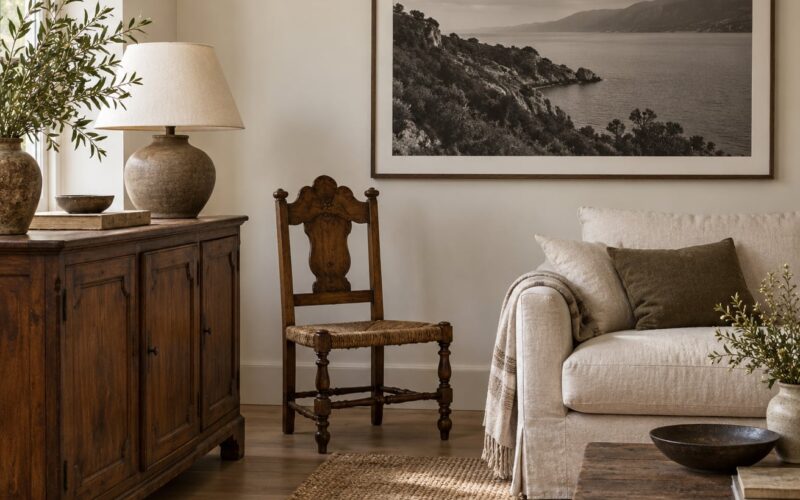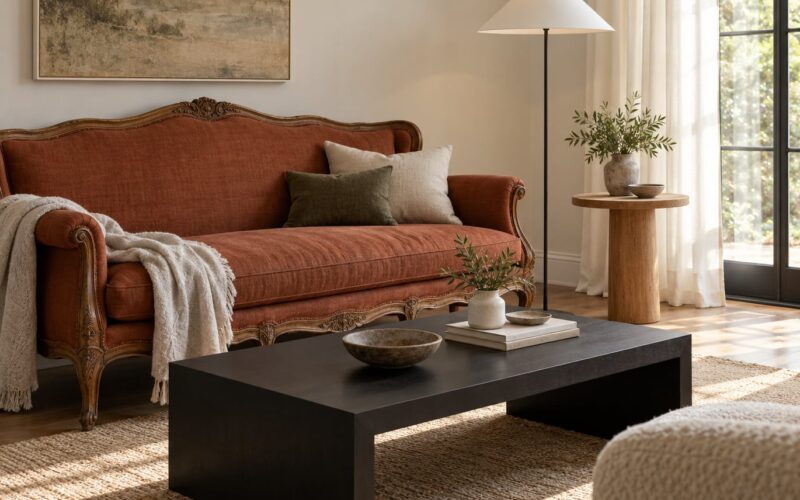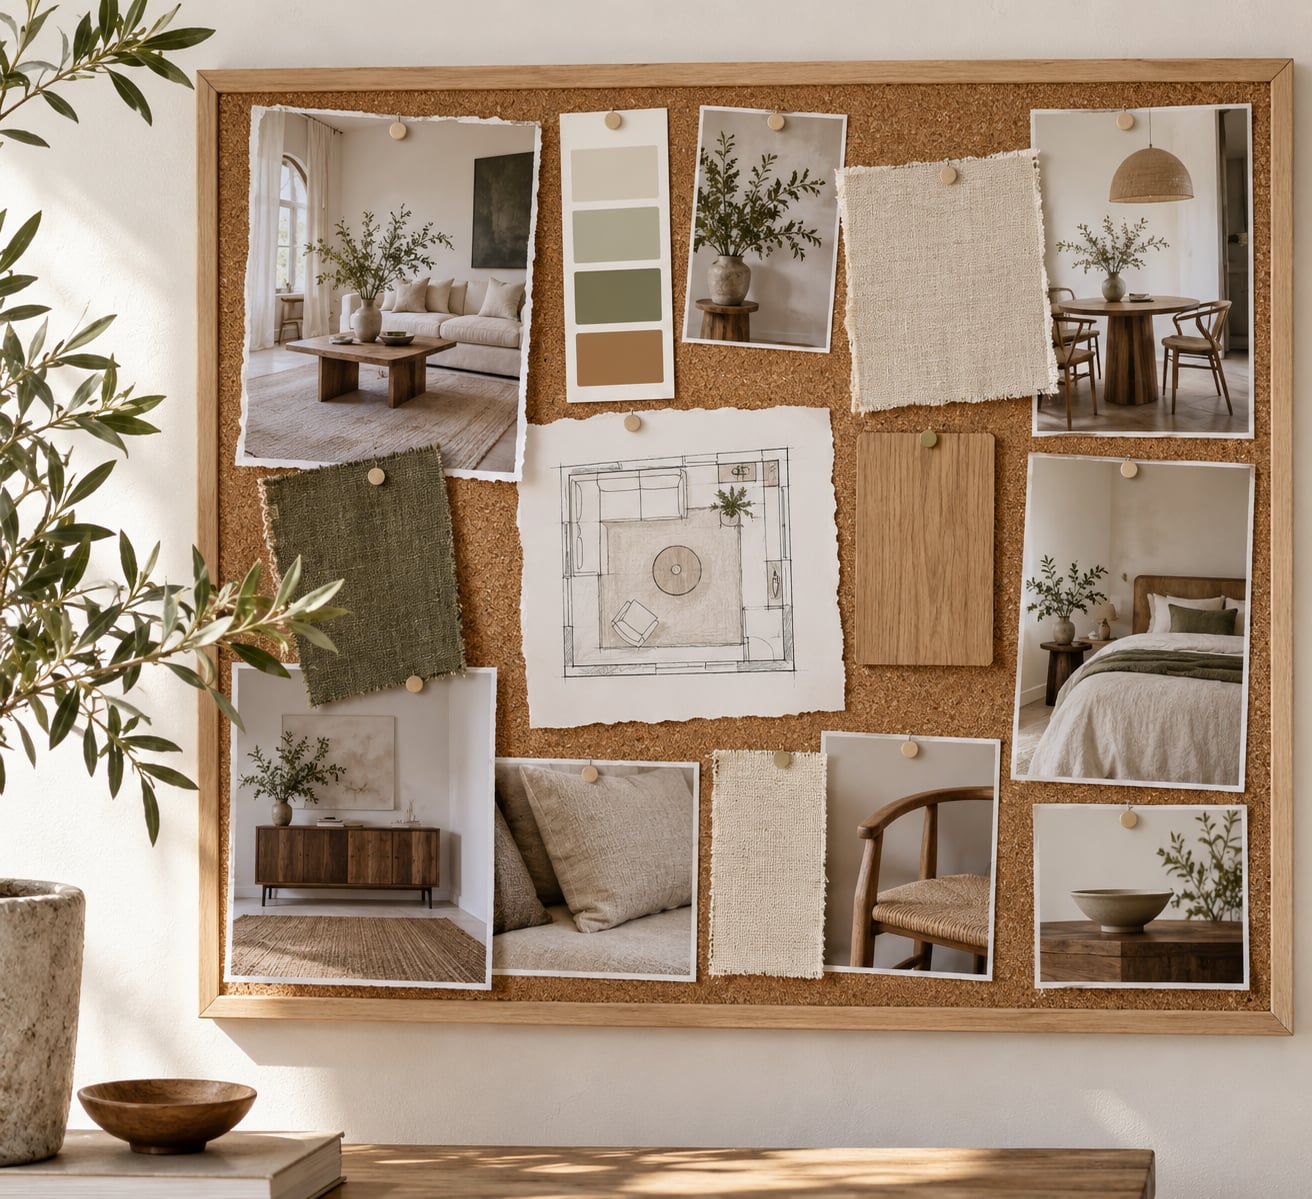
A mood board is a collage of colors, textures, materials and reference photos that settles what a room should feel like before you spend money on it. Learning how to build a mood board for a room takes about an hour and costs next to nothing, and it cures the expensive habit of buying a sofa that fights the walls. Gather images, pick one anchor, narrow to three to five colors, then let that board drive every purchase.
Table of Contents
- What You Need
- How to Build a Mood Board for a Room Step by Step
- Define the Room and Its Main Goal
- Collect Inspiration for a Room Mood Board
- Choose a Color Palette and Key Finishes
- Add Texture, Scale, and Practical Details
- Arrange the Board and Review the Whole Room
- Turn the Mood Board Into a Decorating Plan
- Common Mistakes
- Frequently Asked Questions
- What are the three main components of a mood board?
- Physical or digital mood board, which is better?
- How many ideas should go on a mood board?
- How do I choose a dominant color for a room?
- How do I mood board a rental?
- What if my room does not match the inspiration images?
- Conclusion
What You Need
None of this is required, and experienced decorators improvise with whatever is in a drawer. A cork board is nice; flattened shipping cartons taped edge to edge work exactly as well.
- A surface: a cork noticeboard, a sheet of foam core, butcher paper taped to a wall, or two pieces of heavy cardboard taped together. Make it big enough that you can spread ideas out without cramming.
- Reference material: magazines, catalogs, paint charts, wallpaper books, fabric swatches, a hardware card, and your own photographs of the room.
- Basic tools: scissors, a craft knife, a pencil, a glue stick or painter’s tape, and a few push pins.
- A phone or laptop for saving images and checking product dimensions.
How you arrange those materials matters less than you think. Here is how the three common formats compare.
| Format | What you use | Best for | Watch out for |
|---|---|---|---|
| Physical | Swatches, paint chips, torn magazine images | Judging real color and texture | Hard to rearrange once glued down |
| Digital | Phone or laptop, a free design app | Fast edits, sharing with a partner | Screen colors lie about warmth |
| Hybrid | Digital layout with swatches pinned over it | Most rooms, most people | Takes an extra step to assemble |
How to Build a Mood Board for a Room Step by Step
Define the Room and Its Main Goal
Write down the room’s purpose, its single biggest problem, and the feeling you want when you walk in. For a small living room that feels dim and cluttered, the goal might be brighter and calmer, and the visual result is a room where one large piece anchors the space instead of six small ones competing.
That one sentence is the filter for everything you collect later. If an image does not move you toward that goal, it goes back in the folder.
Collect Inspiration for a Room Mood Board
Save ten to fifteen images, not sixty. Sixty looks like a research project; fifteen looks like a decision. Pull from separate categories so the board covers the whole room: one photo for the layout, two or three for the main furniture, one for lighting, one for a rug, one for art, and a few for paint, hardware and trim.
Photograph your actual room first, including the awkward corner everyone tries to hide. Mixing that photo with the references keeps you honest about what you are working with.
Choose a Color Palette and Key Finishes
Pick one dominant color that covers roughly sixty percent of the room, then two or three supporting shades and a small accent used sparingly. Three color families do most of the work: monochromatic, where a single hue shifts in lightness; analogous, where neighbors on the color wheel sit together; and complementary, where opposites bring contrast.
Tape your chosen paint chips and fabric swatches to the wall in their intended spots and look at them at morning, midday and evening. A gray that looks soft at noon turns muddy under a warm evening bulb, and no amount of screen research tells you that.
Add Texture, Scale, and Practical Details
A mood board full of pretty rooms fails when the real furniture does not fit. Write actual measurements next to each piece, draw the rug shape and size, and note where the lamps and storage go. Then add material samples: a velvet ribbon, a wood veneer chip, a tile offcut, a strip of wallpaper.
Renters can still use the same method. Board the removable pieces — textiles, art, lighting, hardware finishes, window treatments — and leave the walls out of it entirely. That constraint actually makes the plan easier to shop for.
Arrange the Board and Review the Whole Room
Start with the largest reference, usually the room or layout photo, and build outward. Group related pieces into small clusters rather than scattering them, leave an empty margin around the edges, and pin the palette together in one corner.
Now step back about six feet and look at the board the way a guest would. If your eye lands on a different object each time, the composition is still fighting itself. Adjust until one thing clearly leads.
Turn the Mood Board Into a Decorating Plan
The board stops being decoration once it has a list attached. Write each item on a separate line with a rough cost and a size, sort the list into must-have and can-wait, and pick the single highest-impact change to do first. Often that is paint or the anchor piece.
Many people test the cheap unknowns before committing: hang the fabric on the wall, buy one small accessory in the accent color, borrow a lamp. Buyers who keep a running total beside the board tend to finish the room instead of abandoning it halfway, because the total shows progress while the board alone never does.
Common Mistakes
Most failed rooms trace back to one of these six.
- Too many unrelated images. Fix: cap the board at fifteen references and three to five core colors. If it looks busy, it is.
- Choosing colors from a screen. Fix: tape the chips in place and check them at three times of day in the real room.
- Ignoring scale and function. Fix: write real measurements on the board and trace the walking path through the layout.
- Copying a look that does not fit the space. Fix: keep the mood, swap the furniture. Borrow the palette and the moodiness, not the exact square coffee table.
- Buying before measuring. Fix: measure every doorway, alcove and ceiling drop before the first order goes in.
- Never leaving the board. Fix: set a date, then make one change that week. A board that stays on the wall has not done its job.
One practical habit covers most of them: after each purchase, swap the photo on the board for a picture of the item in the room. The board turns into a running record of what is done and what is next.
Frequently Asked Questions
What are the three main components of a mood board?
The three main components are color, texture and imagery. Color covers your paint chips and fabric swatches, imagery covers room photos and furniture references, and texture covers the physical materials like wood, metal and tile. A board missing one of the three tends to feel flat, because you are seeing the idea without feeling it.
Physical or digital mood board, which is better?
Physical boards win on color accuracy, since you judge a real paint chip under real light. Digital boards win on speed, easy editing and sharing with a partner. The hybrid route is the one most people land on: build the layout digitally, then pin real swatches over it before you commit to anything.
How many ideas should go on a mood board?
Aim for ten to fifteen references and three to five core colors. That is enough to show the direction and small enough that you can still make decisions when shopping. More than twenty images usually signals indecision rather than research, and it makes every later choice slower.
How do I choose a dominant color for a room?
Look at what the room already contains and what light it gets, then pick the color you want to see first when you walk in. That color should cover about sixty percent of the visible surface. Test it with taped chips in the actual room at morning, midday and evening before buying a full gallon.
How do I mood board a rental?
Skip everything you cannot change: wall color, trim, cabinetry and flooring. Build the board around textiles, art, lighting, hardware finishes and window treatments, all of which move with you. A rental board is smaller and cheaper to act on, which makes it easier to finish in a single weekend.
What if my room does not match the inspiration images?
Keep the mood and swap the furniture. The color relationships, texture mix and lighting quality are what you are copying, not the exact pieces. If a reference image is much larger than your room, read it as a guide for warmth and tone rather than a layout to reproduce.
Conclusion
Building a mood board for a room comes down to four moves: define the room’s job and its biggest problem, collect a focused set of references, narrow them to a palette with one anchor piece, then step back and check the whole thing before buying. Start with the room you walk into most often, keep the first board to about an hour of work, and let it change as the room does. The board is a tool for deciding, not a poster to admire.