A tray is the fastest way to make a bare surface look deliberate: pick one that covers roughly two-thirds of the tabletop, group three to five objects on it at varying heights, and leave open space around them. The whole arrangement takes about fifteen minutes and needs nothing you do not already own.
That is the honest appeal of trays. They corral small mismatched objects into one zone, protect wood from rings and hot pans, and give you a single thing to pick up and move when the season changes. Nothing else in home decor does all three jobs at once.
Table of Contents
- What You Need
- How to Decorate with Trays
- Step-by-Step
- Step 1: Choose the Surface and Purpose
- Step 2: Select the Right Tray
- Step 3: Group Three to Five Items When You Decorate with Trays
- Step 4: Balance the Arrangement
- Step 5: Finish with Color and Texture
- Common Mistakes
- Frequently Asked Questions
- How do I display items on a tray?
- What size tray should I use for my coffee table?
- What are the 2/3 and 3-5-7 rules for decorating with trays?
- Are tiered trays still in style?
- What should I do with an old or inherited serving tray?
- Should a decorative tray match or contrast with the table?
- Conclusion
What You Need
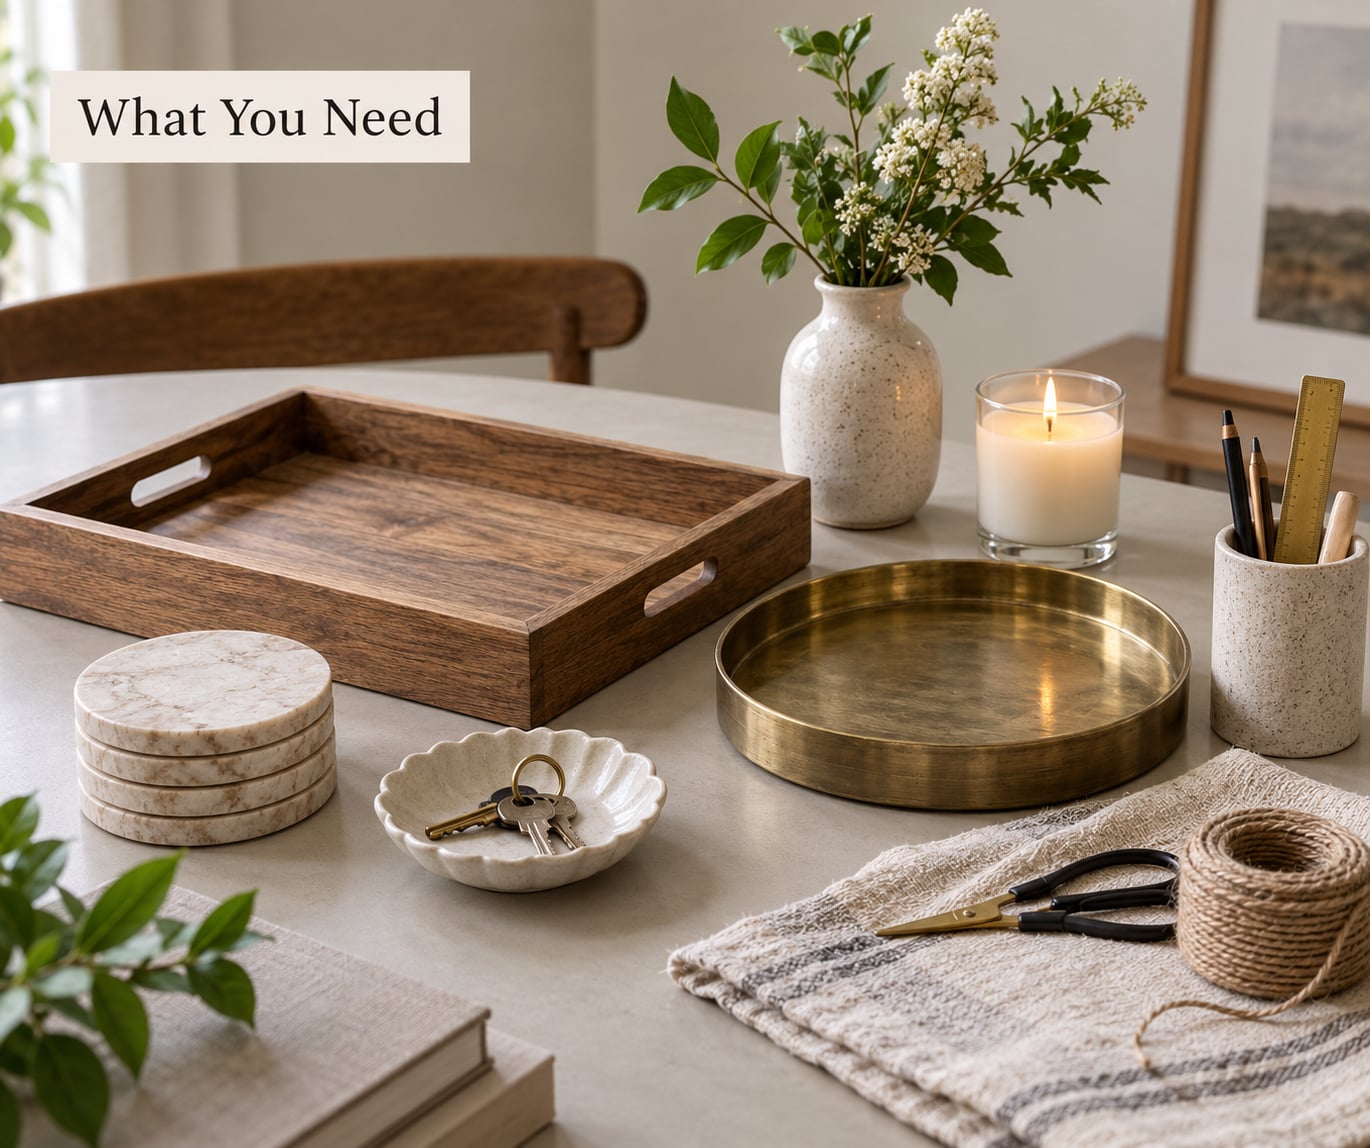
You need very little. Start with the tray itself, a small group of objects you already own, and about ten minutes.
- Trays in at least two sizes. A round one roughly 12 to 16 inches across for a coffee table or ottoman, a rectangular one around 16 by 12 inches for a console or dining table, and a small 8 by 10 inch tray for a nightstand or vanity.
- One anchor object. Usually the biggest item on the tray, such as a vase, a decanter, a book stack, or a lamp base.
- Two to four supporting objects with different heights, shapes, and textures: a candle, a small bowl, a coaster set, a stack of cards, a soap dispenser, a sprig of greenery.
- A finishing material if you want more texture: a folded napkin or piece of linen, a small riser or book, or a shallow dish to subdivide a group.
- Optional tools for a thrifty tray: paint and a small brush, painter’s tape, stencil paper, peel-and-stick contact paper, or a piece of sandpaper.
Skip anything scented. A tray lives next to candles and food, and fragrance competes with the room.
How to Decorate with Trays
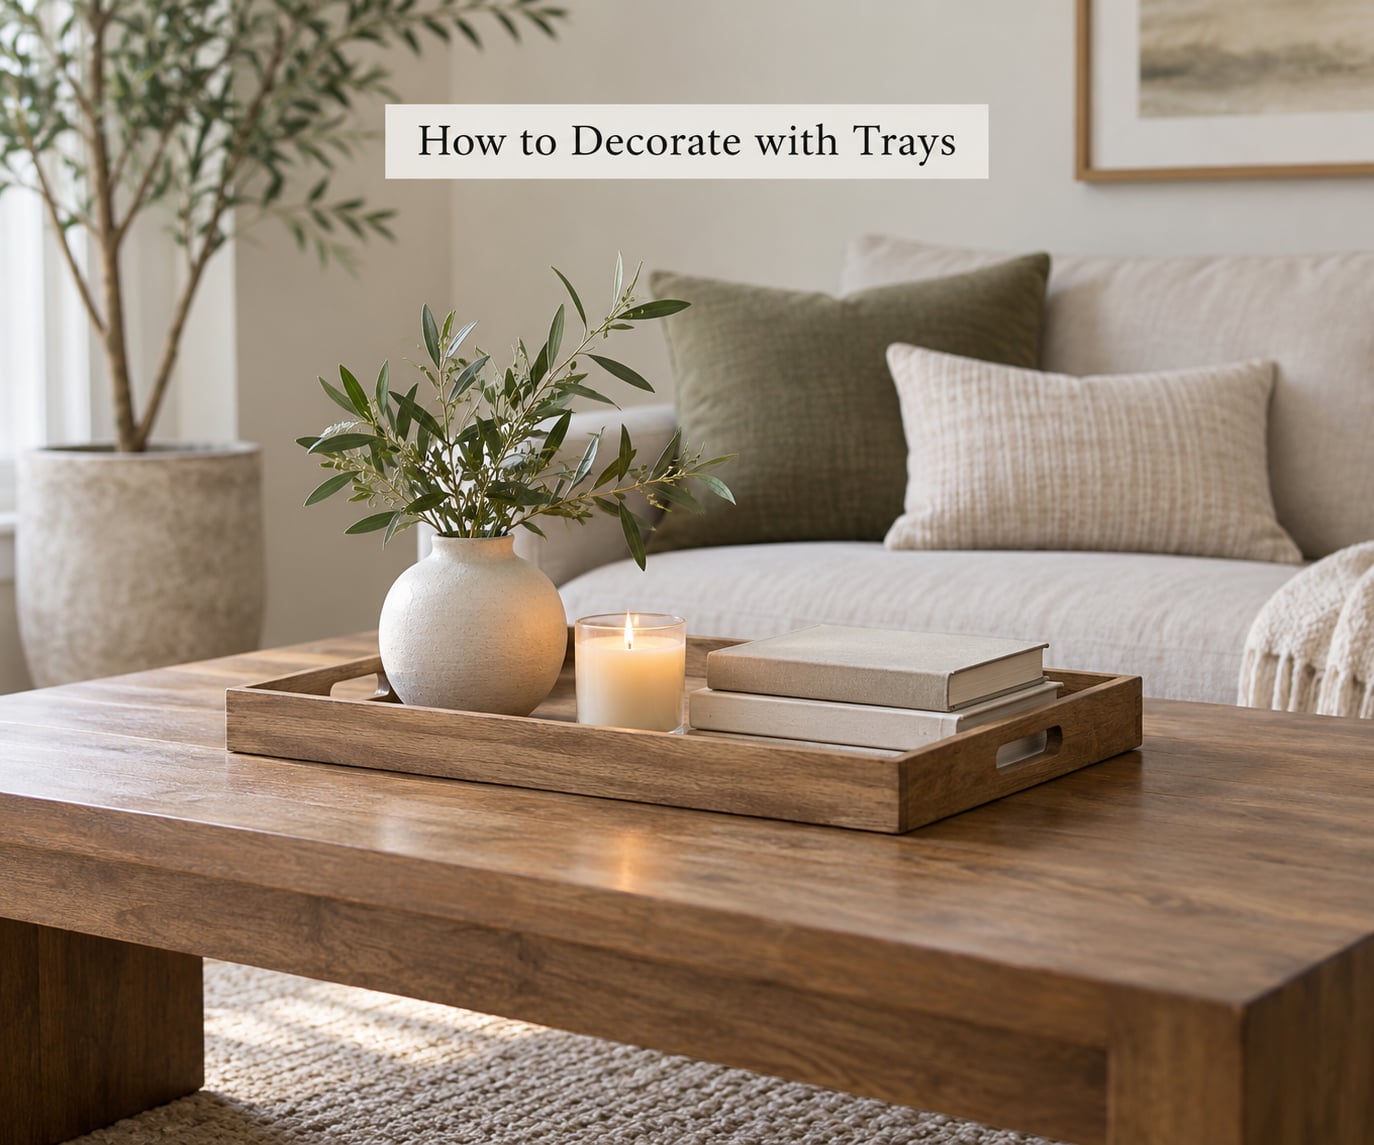
Decorating with trays means grouping objects on a shallow dish or board so the surface reads as one intentional composition instead of a scatter of leftovers. The tray supplies a border, and that border is what makes a handful of unrelated things look like a set.
Five rules carry almost every arrangement:
- Vary the heights. Tallest object under 1.5 times the tray’s own height.
- Group in odd numbers. Three or five items feel settled; two or four feel unfinished.
- Mix textures. Pair something hard with something soft.
- Leave negative space. Empty tray surface around the group.
- Anchor with the largest piece. Set it slightly off-center, never dead center.
The odd-number rule is not arbitrary. An even count splits the eye between two competing sides, while an odd count gives one item a clear job and lets the pair beside it balance each other. The negative-space rule matters just as much: a tray with visible surface between the objects looks arranged, and a tray packed edge to edge looks like a drawer.
Size follows two numbers. The tray should cover about two-thirds of the table or counter, leaving a visible border on all sides. And the tallest object should stand no more than about 1.5 times higher than the tray rim, or the composition loses its base.
Step-by-Step
Step 1: Choose the Surface and Purpose
Decide what the tray is for before you buy or dig one out. Three purposes lead to three very different arrangements, and mixing them is the fastest way to get a tray that looks wrong.
- Catch-all tray. Entryway console, kitchen counter, or vanity. Holds daily items: keys, mail, jewelry, soap, sunglasses. Organization wins here, so use small compartments and keep it shallow.
- Decorative vignette. Coffee table, dresser, console in the living room, ottoman. Holds objects with no function at all. This is where height and texture do the work.
- Serving surface. Coffee, breakfast in bed, drinks after dinner, bar cart. Needs to be sturdy, easy to wipe, and reachable.
Step 2: Select the Right Tray
Match the tray to the surface, then match it to what goes on it. Use these as starting points, then adjust for the shape of your furniture.
| Surface | Recommended tray size |
|---|---|
| Standard coffee table (about 36 by 18 inches) | Rectangular 16 by 20 inches, or round 16 to 18 inches |
| Large coffee table (48 inches or wider) | Rectangular 20 by 24 inches, or pair two small trays |
| Console or entryway table (about 30 inches wide) | Rectangular 12 by 18 inches |
| Side table or pedestal table (about 18 inches) | Round 12 inches, or square 10 by 10 inches |
| Kitchen counter run | Rectangular 16 by 22 inches near the sink, 10 by 14 inches near the range |
| Dining table (any size) | Long and low: 24 by 6 inches, or 18 by 8 inches |
| Nightstand (about 18 inches wide) | Small round 8 inches, or 8 by 10 inches |
| Bathroom vanity | 10 by 14 inches, solid or mirrored |
Material follows the room. Metal, glass, marble, and lacquered wood suit the kitchen and bathroom because they wipe clean. Rattan and wicker suit the living room and bedroom, but avoid them in a bathroom, where the open weave collects dust, lint, and hair and cannot be cleaned properly.
Shape has one rule worth remembering: round and oval trays soften hard surfaces and suit round or oval tables, while rectangular trays echo the lines of a console, coffee table, or dining table. A round tray on a long rectangular coffee table can look like an afterthought unless it is centered deliberately.
Step 3: Group Three to Five Items When You Decorate with Trays
Three is the reliable number. Five works when the tray is large enough that the objects do not touch. Beyond five, most trays turn into a pile.
A dependable group contains one tall item, one low item, and one textured or reflective item. A vase with greenery, a low bowl of fruit, and a brass candlestick is one such group. So is a book stack, a small dish of shells, and a candle.
Choose objects that share something. Same wood tone, same metal, same ceramic family, or the same color as something already in the room. People spend far too long hunting for a tray when coordinating the objects on it would have solved the problem instantly.
Step 4: Balance the Arrangement
Set the largest item first, slightly off-center or toward the back. Everything else builds around it, and nothing important sits directly in front of the tallest piece, where it disappears.
Then spread the visual weight side to side. If one side is all tall objects, add a wide low object on the other. If the group hugs one edge, rotate the tray a few degrees instead of moving every item.
Finish by looking at the tray from across the room. If you can see the tray surface around the objects, the arrangement is right. If the objects form one solid mass, take one away.
Step 5: Finish with Color and Texture
Echo a color already in the room. Pull it from the rug, the sofa, or the wall, and repeat it twice on the tray rather than once.
Add one softening element: a folded napkin under a candle, a piece of linen under a bowl, a small riser to lift the middle item. Texture is what stops a tray of hard objects from looking like a hardware display.
One live finishing touch is enough. A sprig of greenery, a small stack of seasonal items, or a single bloom. Two finishing touches usually start to compete.
Common Mistakes
Overfilled tray. The most common problem, and the easiest to fix. Take out half the objects, group what remains into three, and spread them to the edges of the tray.
Mismatched scale. A small tray on a large table looks like an accident, and a huge tray on a side table swamps everything else on it. Use the sizing table above and stop when the tray covers roughly two-thirds of the surface.
A tray that matches the table exactly. Identical material and color makes the tray disappear into the furniture. Contrast by one step: dark wood tray on a light table, or a clear glass tray on dark wood.
Everything lined up in a row. A single row reads as a shelf. Push items to different depths and vary the gaps between them.
Everything seasonal all year. Pumpkins in July or faux snow in January age a room fast. Keep one item permanently on the tray and swap the rest.
Two more that come up constantly: grouping in twos and fours, which looks unresolved, and placing the anchor object dead center, which flattens the arrangement. Break both habits first and most trays improve immediately.
Frequently Asked Questions
How do I display items on a tray?
Place your largest object first, slightly off-center or toward the back of the tray. Add two to four smaller objects around it with varied heights and at least one contrasting texture. Keep about a third of the tray surface visible, and place nothing directly in front of the tallest item. Three items is the most reliable number.
What size tray should I use for my coffee table?
For a standard coffee table around 36 inches wide, use a rectangular tray roughly 16 by 20 inches or a round tray 16 to 18 inches across. A large table over 48 inches needs a 20 by 24 inch tray or two smaller trays. Small side tables take a 12 inch round tray. Aim for about two-thirds surface coverage.
What are the 2/3 and 3-5-7 rules for decorating with trays?
The 2/3 rule says a tray should cover roughly two-thirds of the surface it sits on, leaving a visible border of table on every side. The 3-5-7 rule says grouped objects should appear in odd numbers, with three as the most common count. Seven only works on a large tiered tray or an extended buffet surface.
Are tiered trays still in style?
Yes, tiered trays are still a practical choice, especially for tea, coffee, or breakfast service. They work best when the tiers step down toward the viewer and each level holds one or two small items. On a coffee table, fill only the lower two tiers, since upper tiers block the view across the table.
What should I do with an old or inherited serving tray?
Clean it, sand any loose finish, then decide between four options: paint it a new color, apply peel-and-stick paper or a stencil to the base, hang it flat on a wall as decor, or use it as-is with objects that pick up its color. Metal trays only need a polish. Deep tarnish on silver often disappears with a baking soda and salt scrub.
Should a decorative tray match or contrast with the table?
Contrast by one step works best. A dark wood tray on a light table, a light rattan tray on a dark table, or a clear glass tray on a stained wood surface. A tray in the exact same wood and finish as the table tends to disappear into it and the arrangement reads as clutter rather than a group.
Conclusion
Pick one surface that looks bare and one tray that covers about two-thirds of it. Gather three objects you already own: one tall, one low, one with an interesting texture. Set the largest off-center, leave a third of the tray empty, and walk away. Refine it the next time you walk past.