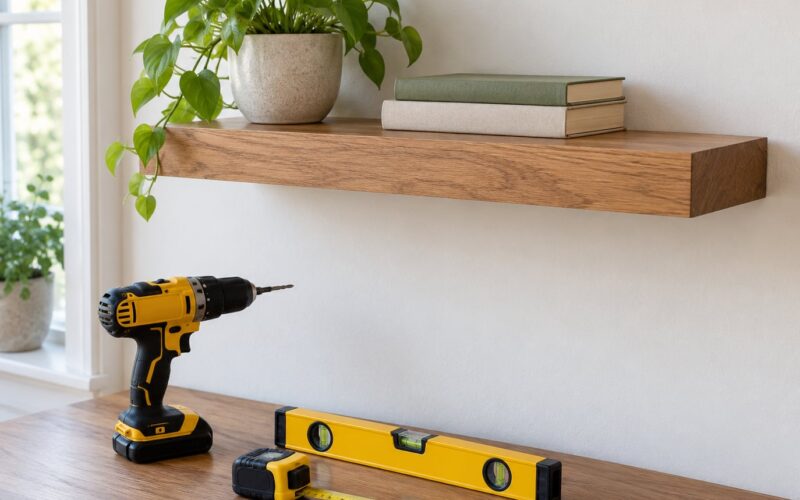
To install floating shelves on drywall, screw the mounting bracket into at least one wall stud with heavy lag screws, then back every remaining hole with heavy-duty toggle bolts or molly bolts. Hit at least one stud and a 48 inch shelf holds books without the drywall tearing out. Most people finish in 45 to 90 minutes with a drill, a level, and a stud finder.
That one rule — studs first, heavy anchors for the holes that miss — is the difference between a shelf that stays put for a decade and one that sags into the paper within a month.
Floating shelves are harder to hang than standard bracket shelves because nothing is visible underneath to hold the front edge. All the weight pulls out from the wall as well as down, so the hardware works harder than a straight downward hang. Get the framing right and the styling part is easy.
Table of Contents
- What You Need
- Step-by-Step: How to Install Floating Shelves on Drywall
- Step 1: Choose the Location and Check the Wall
- Step 2: Locate Studs or Select the Right Anchors
- Step 3: Mark Level Bracket Positions
- Step 4: Drill the Mounting Holes
- Step 5: Attach the Brackets and Slide On the Shelf
- Step 6: Level, Secure, and Load the Shelf
- Common Mistakes
- Guessing Where the Studs Are
- Using Small Plastic Anchors for a Loaded Shelf
- Drilling Into Wiring or Plumbing
- Forgetting to Level Before the Last Screw
- Overloading the Front Edge
- Skipping the Manufacturer’s Instructions
- Frequently Asked Questions
- Can you install floating shelves on drywall without hitting a stud?
- What kind of drywall anchors should I use for floating shelves?
- How much weight can floating shelves hold on drywall?
- Do I need to use a stud finder before installing floating shelves?
- How do I make sure the shelf is level and securely mounted?
- Can floating shelves be installed in an apartment or rental?
- Conclusion
What You Need

The whole job needs about ten items, and six of them you probably own already. Gather everything first because halfway through a bracket you cannot finish is how shelves end up crooked.
- Drill/driver with a bit matched to your anchors, plus a 1/4 inch bit for pilot holes in studs
- Stud finder with fresh batteries, plus a 3/16 inch drill bit to confirm a stud reading
- Bubble level — a 9 inch torpedo level is easier on a wall than a 48 inch box level
- Tape measure, pencil, and a sharp utility knife
- Hammer or rubber mallet for setting plastic anchors
- Safety glasses and a dust mask if you are drilling in an old house
- Lag screws — 2.5 inch is the sweet spot for standard 1/2 inch drywall, giving about 1 inch for the board and 1.5 inch of bite into the stud
- Heavy-duty toggle bolts or molly bolts sized for the bracket hole diameter
- Wall anchors and screws supplied with the shelf, plus any extra hardware the manufacturer specifies
- Optional: a mounting board or plywood backplate, a second pair of hands for long shelves
Skip the drill bit guesswork by reading the shelf instructions before drilling. Most brackets ship with the right screw and the right hole size already worked out, and the fastener size has to match the anchor sleeve or the whole thing is decoration.
For metal studs, wood lag screws will not bite. Use self-tapping metal screws or a small toggle bolt instead, since the hollow cavity behind a metal stud gives you nothing to screw into.
Step-by-Step: How to Install Floating Shelves on Drywall
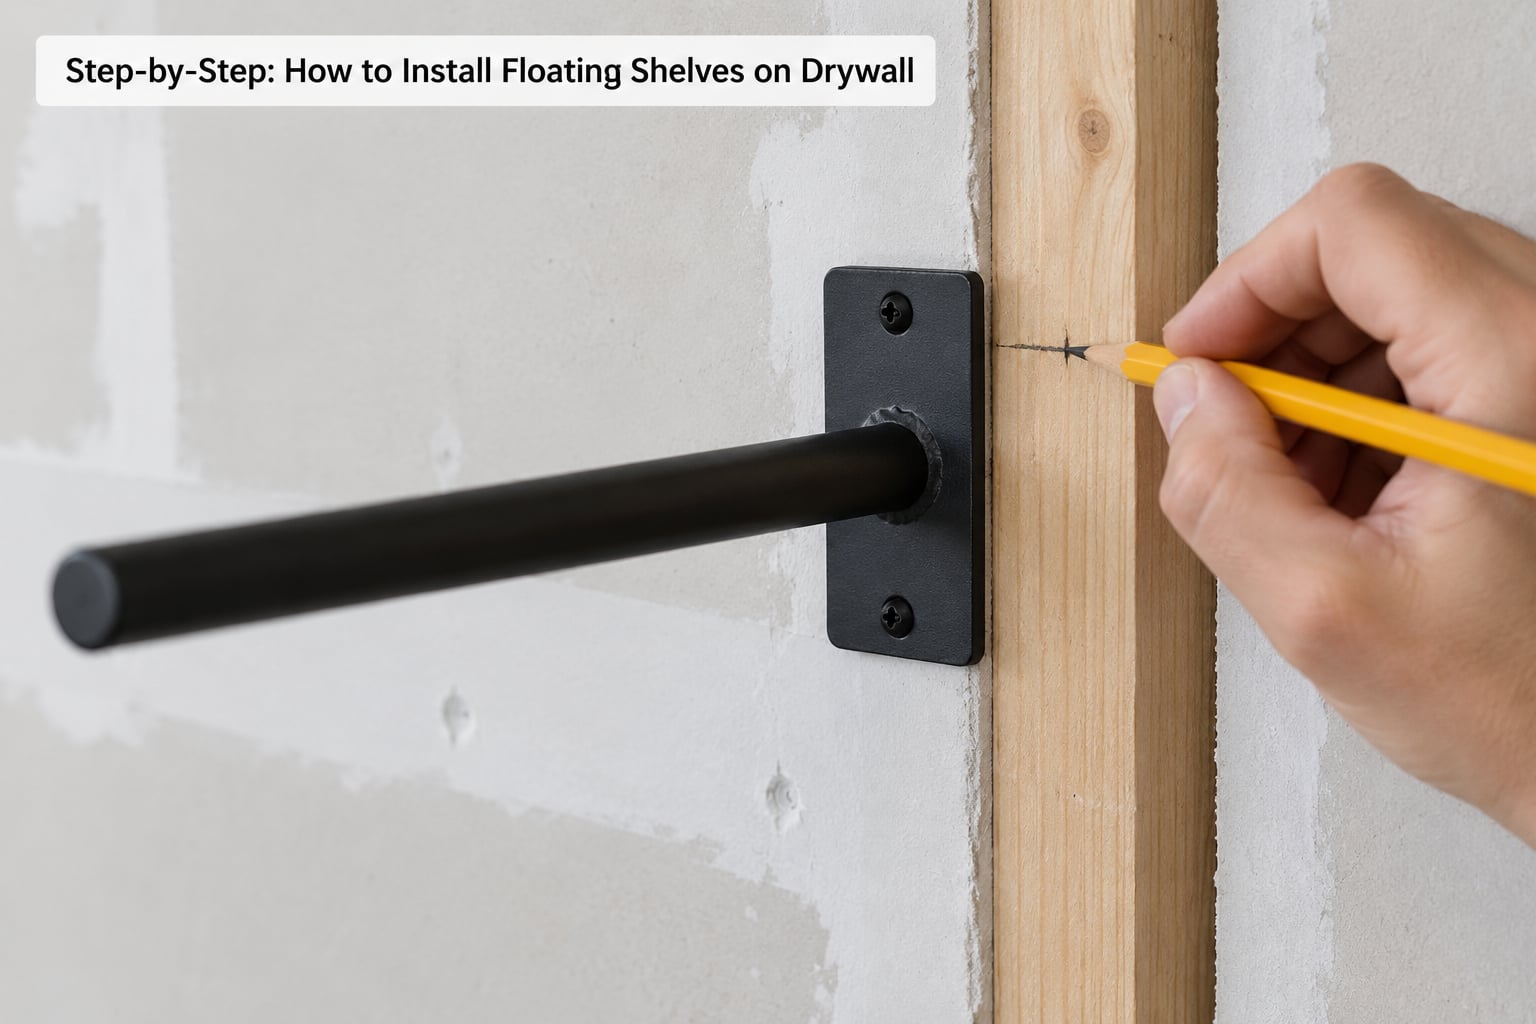
The sequence below runs stud-first, with anchors for whatever holes miss. Each step ends with a check so you know it worked before you move to the next one.
Step 1: Choose the Location and Check the Wall
Start by picking a spot away from electrical boxes, light switches, and bathroom or kitchen fixtures, because wiring and plumbing run through those areas behind the board. Hold the shelf up to the wall and look for flat, unfilled areas.
Push a thumb firmly into the sheet. If you feel give, a hollow spot, or a soft crater, that is a cut or patched area and a poor choice for a shelf carrying anything real.
Mark the shelf’s height and both ends with a pencil. Measure the wall stud spacing before you buy anything — framing is usually 16 inches on center, and knowing that tells you whether your bracket will reach.
Step 2: Locate Studs or Select the Right Anchors
Yes, you need studs wherever you can get them, and a stud finder finds them fast. Sweep it across the wall at the marked height, mark both edges of each reading, and write down the center.
Verify before drilling. Stud finder readings are sometimes fooled by fireblocking, metal brackets, or a pipe in the cavity, so confirm each hit with a 3/16 inch pilot hole — wood shavings and resistance mean you found solid framing, silence or a metal screech means you did not.
Every hole that lands between studs needs an anchor rated above the load you plan to put on the shelf. Metal over plastic, as a general rule, and skip the small plastic anchors that come in a random box; they are fine for a picture frame and rarely fine for a shelf.
Step 3: Mark Level Bracket Positions
Hold the mounting bracket against the wall at your pencil mark, keeping it level, and transfer each hole location with a pencil. Mark studs and non-stud holes in two different colors so you cannot mix them up once the drill is running.
Check the marks again with the level both across and up the wall. A bracket that is off by an eighth of an inch over 18 inches becomes visible on the finished shelf, because the shelf front shows every error in the line.
Step 4: Drill the Mounting Holes
Drill pilot holes at every mark using the bit size the anchor manufacturer specifies. For a toggle bolt or molly bolt in 1/2 inch drywall, a 1/2 inch bit is the usual starting point, and for plastic anchors a 1/8 inch bit works.
For stud marks, drill a 1/4 inch pilot hole, which is what lets a 2.5 inch lag screw bite properly instead of splitting the wood. Drill straight in, keep the bit square to the wall, and use a scrap block behind the bracket as a guide so the hole cannot wander.
Probe first, always. Drill a shallow test hole with a masonry bit in an inconspicuous spot to check for pipe, or keep clear of the 6 inch zone above and below switches and outlets, where cable runs are most likely.
Step 5: Attach the Brackets and Slide On the Shelf
Push plastic anchors in with a light tap so their flange sits flat, then screw the bracket into each anchor. For a toggle bolt, feed the folded flanges through the hole, let them open behind the board, then tighten until the head seats snugly.
Back the stud holes with lag screws and tighten them with a ratchet feel. The screw should bite hard and stop, not spin. Fit all brackets first, then set the shelf on before final tightening so you can still adjust the line.
Slide the shelf on the way the manufacturer describes — blind rod systems push straight onto steel rods, bracket systems seat on the rod and drop down onto the bracket arm. A light tap with a rubber mallet on the back edge settles it fully.
Step 6: Level, Secure, and Load the Shelf
Re-check the level with the shelf fully seated, then tighten every fastener and set screw until they stop turning. No force, no ratcheting past snug, because over-tightening cracks the drywall face around the hole.
If your bracket system has locking hardware or retaining pins, fit them now. They are what stops the shelf sliding off its rods years later when someone leans on it.
Load it gradually rather than all at once. Set the heavy items near the wall first, add the lighter pieces toward the front, and pause for a few days to watch for a widening gap at the back or any tilt. If the shelf creeps, the load is too far forward or the hardware is under-rated.
Common Mistakes
Guessing Where the Studs Are
Trusting a stud finder without confirming means drill after drill into hollow board, and a hole full of crumbling paper is a mess to patch. Confirm each reading with a small pilot hole before you commit the bracket.
Using Small Plastic Anchors for a Loaded Shelf
Those hollow plastic anchors are rated around 10 to 20 pounds in a straight pull, and a floating shelf pulls out from the wall as well as down. Use heavy-duty toggles or molly bolts instead, and the more weight the shelf carries the more it matters.
Drilling Into Wiring or Plumbing
A live wire or a punctured line turns a shelving job into an emergency. Stay clear of switch and outlet zones, avoid shower and tub areas, and probe with a shallow test hole before any deep bit.
Forgetting to Level Before the Last Screw
A bracket tightened crooked stays crooked, and the shelf face magnifies the error. Level, mark, drill, and only then run the final screws.
Overloading the Front Edge
The distance between the wall and the object is the load arm. A 12 inch deep shelf with 20 pounds at its front edge pulls harder on the same fastener than that weight sitting 4 inches back, so heavy books belong near the wall and plants and frames can go forward.
Skipping the Manufacturer’s Instructions
Bracket, blind rod, and adhesive systems all install differently, and the fastener and hole size are matched to the design. Read the sheet, use the supplied hardware, and skip a step only if you know why it is skipped.
One more worth naming: the mounting board trick. When no studs line up with the bracket holes, screw a 1 to 2 inch thick plywood strip into the studs first, then fasten the bracket to that strip. Carpenters use this constantly and it turns a weak install into a strong one.
Frequently Asked Questions
Can you install floating shelves on drywall without hitting a stud?
Yes, but you need metal anchors rated for the load. Heavy-duty toggle bolts or molly bolts spread behind the board and typically hold 30 to 60 pounds when every hole uses one. A more reliable option is to screw a plywood mounting board into the studs first and fasten the bracket to the board, which is what carpenters do when studs and holes never line up.
What kind of drywall anchors should I use for floating shelves?
Metal over plastic, always, for anything you plan to load. Toggle bolts and molly bolts open behind the wall and carry roughly 30 to 60 pounds each; heavy toggle bolts rated for 100 pounds or more exist for full shelves of books. Small plastic anchors, around 10 to 20 pounds in a straight pull, suit light decor only. Match the drill bit to the hole size the anchor requires.
How much weight can floating shelves hold on drywall?
It depends almost entirely on what you anchored into. Two studs with lag screws can carry 100 to 200 pounds, one stud plus heavy toggles around 50 to 100 pounds, all toggles roughly 30 to 60 pounds, and plastic anchors 10 to 20 pounds. Treat those as straight-pull ratings and keep the load near the wall, because a floating shelf pulls outward as well as down.
Do I need to use a stud finder before installing floating shelves?
A stud finder makes the job fast, but the reading alone is not proof. Fireblocking, metal brackets, and pipes all confuse it. Confirm every hit with a small pilot hole: wood shavings and firm resistance mean solid framing. Even with a finder, expect the outer holes on a long shelf to land between studs and plan a metal anchor for those.
How do I make sure the shelf is level and securely mounted?
Level the bracket with a bubble level before the final screws go in, and check it again across the full width once the shelf is seated. Tighten fasteners and set screws until they stop, without forcing them, since over-tightening cracks the board around the hole. If the system has retaining pins or locking hardware, fit those before you load anything, then add weight gradually and watch for tilt.
Can floating shelves be installed in an apartment or rental?
Yes, and drywall is the normal wall type there, so the same method works. Check your lease first, since fixing holes in some rentals is not allowed or requires patching and repainting on the way out. If you want a no-damage option, a peel-and-stick shelf rated for light decor is the only adhesive system worth trusting, and even those fail if the wall is painted with low-tack paint.
Conclusion
How to install floating shelves on drywall comes down to four things: find the studs, confirm them with a pilot hole, back every remaining hole with heavy-duty toggle or molly bolts, and keep heavy objects close to the wall. Mark a level bracket line before you drill, load the shelf gradually, and check back on it after a few days.
Before anything else, read the weight rating printed on the shelf system and pick hardware that beats it. Then locate the studs and mark your level line.