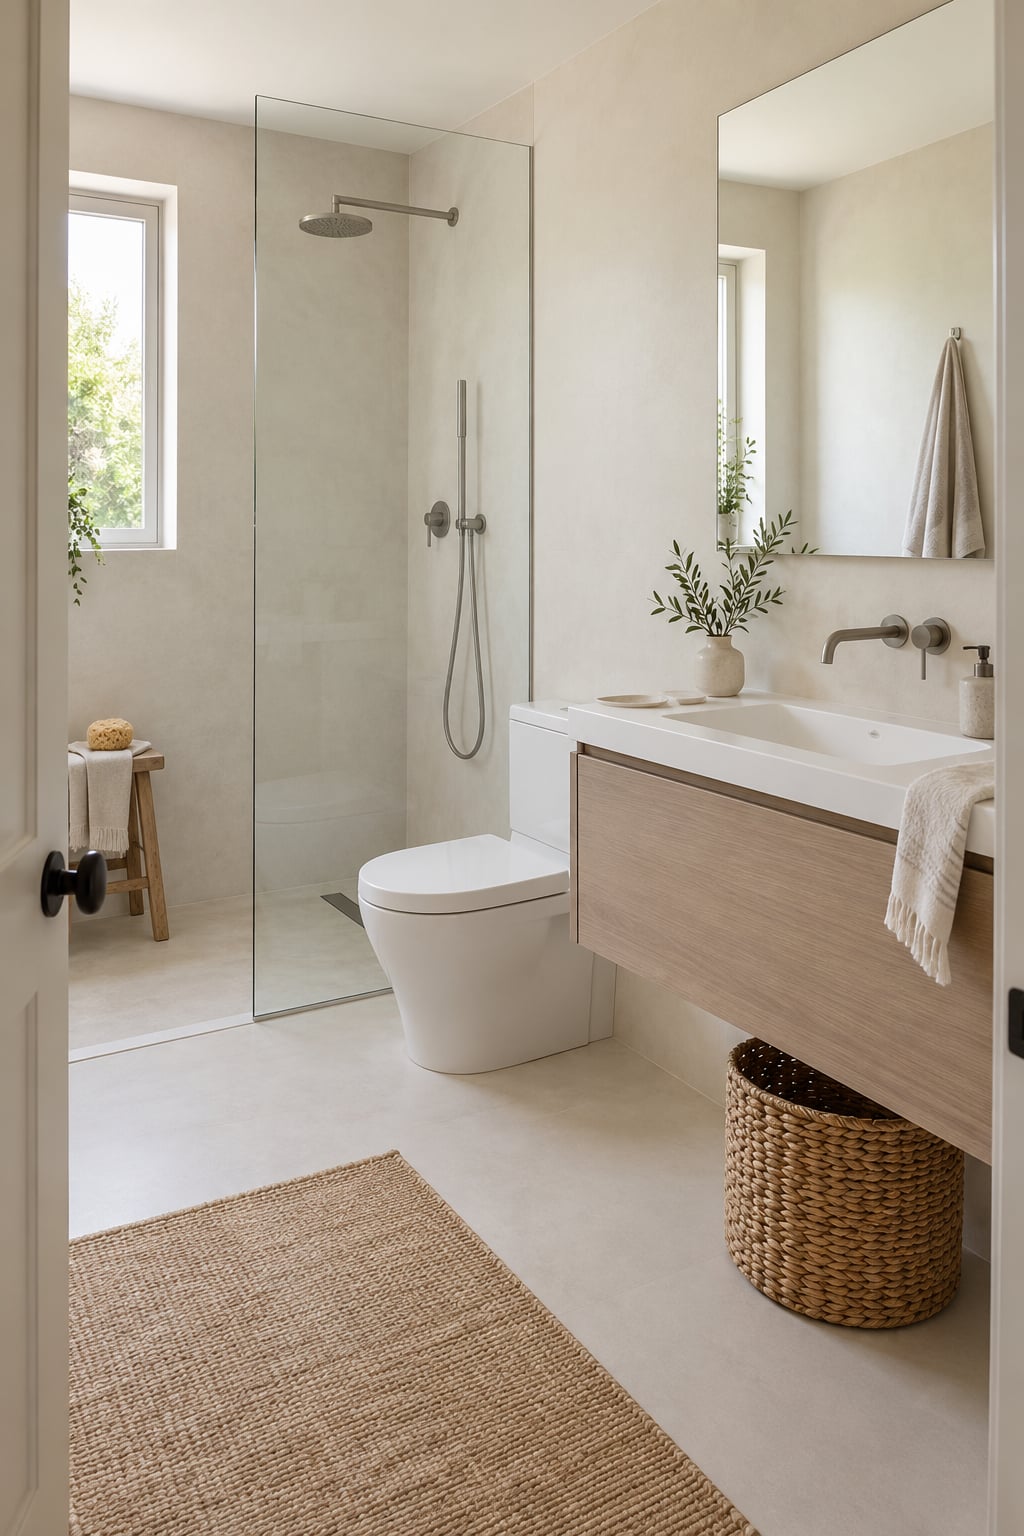
To make a small bathroom look bigger, you change what the eye reads first: light, color, and clear floor. Paint the ceiling the same as the walls, hang one large mirror instead of a small one, cut clutter down to a few essentials, and push storage onto the wall. Most of that is a weekend of work and no demolition.
A 5-by-8-foot bathroom is the size that trips people up. It is a real room with a door, a toilet, a tub, and a sink, and every one of those things takes up floor you cannot get back. So the work is not about adding space. It is about removing the visual breaks that make a small room feel chopped up.
Table of Contents
- Quick wins: how to make a small bathroom look bigger this weekend
- What You Need
- Step-by-Step
- Step 1: Measure the bathroom and find the real problem
- Step 2: Remove visual clutter so the floor reads as open
- Step 3: Use light colors on the walls, ceiling, and floor
- Step 4: Maximize mirror and lighting coverage
- Step 5: Choose a floating or wall-mounted vanity
- Step 6: Add vertical storage and closed storage
- Step 7: Use the right shower curtain and window treatment
- Step 8: Coordinate hardware, textiles, and accessories
- Bonus: the doorway and door swing
- Common Mistakes
- Frequently Asked Questions
- What color makes a small bathroom look larger?
- Can you make a small bathroom look bigger without remodeling?
- How do you make a bathroom without a window look bigger?
- What lighting makes a small bathroom look bigger?
- Does a large mirror really make a small bathroom look bigger?
- How do I add storage to a small bathroom without making it look smaller?
- Conclusion
Quick wins: how to make a small bathroom look bigger this weekend
Start with the four changes below if you want the biggest return before the weekend is over.
- Paint the ceiling the same color as the walls. A different ceiling reads as a lid pressing down on the room.
- Swap a small mirror for one that covers most of the wall width. Reflection does more for perceived size than any paint color.
- Remove every countertop item that does not get used daily. A mostly empty counter reads as space.
- Replace a dark, heavy light fixture with something that spreads light out. One dim fixture in the middle of the ceiling makes shadows that shrink the room.
None of those need a contractor. That is why they come first.
What You Need
The full job below needs very little. Most of it you can pick up at a home improvement store in one trip.
- Tape measure and a notepad to record wall widths, ceiling height, and the window position.
- Painter’s tape, a large roller, and a small angled brush for cutting in around trim.
- Two or three paint samples in large swatch sizes, not the little squares on a shelf. Paint a test patch on the wall and live with it for a day.
- Semi-gloss or satin paint for walls. Both hold up to bathroom humidity and wipe down easier than flat finishes.
- Painter’s drop cloth, a step ladder, and a vent fan that actually works, because paint fumes and damp ceilings do not mix.
- Command-style hooks or removable adhesive strips if you rent and cannot drill.
- A level and a stud finder for mounting anything heavy on the wall.
Budget constraints are normal here. Painter’s tape and a cheap roller do the same job as the expensive versions. If a mirror is out of reach, a large framed mirror from a secondhand store painted to match your hardware works just as well.
Read the label on whatever paint, adhesive strip, or light fixture you buy before you use it. Ceiling and wall paints differ, and some adhesive strips will strip the paint off a wall when you pull them down. Follow what the manufacturer says rather than what a forum post says.
Step-by-Step
Step 1: Measure the bathroom and find the real problem
Most people start by picking paint. Start by measuring. You need the width of each wall, the ceiling height, where the window sits, and how far the door swings into the room.
Write the numbers down and take three photos from the same spot: standing in the doorway, one shot at eye level, one aimed down at the floor, one aimed up at the ceiling. Those photos become your before shots, taken from an angle you can repeat later.
Now diagnose the actual problem. Look at your photos and pick one:
- The room is dark, so shadows sit in the corners.
- Everything is mid-tone or dark, so nothing recedes.
- The counter is crowded and there is nowhere else to put things.
- Fixtures look bulky, especially a vanity that touches the floor.
- The door swing eats a chunk of usable floor.
Fixing the wrong problem is how people spend a weekend painting a room that still feels cramped. Clutter needs storage. Darkness needs lighting. Bulky fixtures need replacing. Those are three different projects.
Step 2: Remove visual clutter so the floor reads as open
Edit what lives on the counter first. Most small bathrooms have a toothbrush cup, a soap dish, three bottles of lotion, a jar of cotton swabs, and a small plant nobody waters. Keep the daily items and move the rest into a drawer, a cabinet, or a basket.
Use matching containers for whatever stays visible. Three bottles in a row look busier than the same three bottles on one plain tray. It is a small trick with an outsized effect.
Give the laundry basket a home outside the sightline from the doorway. A hamper pushed into the corner still counts as furniture in the room’s visual field. A slim rolling cart parked beside the vanity or a lidded basket tucked under it reads better.
Then test it. Stand in the doorway and look at the bathroom the way a guest would. If you can see more than five distinct objects in the first glance, take two more things away.
Step 3: Use light colors on the walls, ceiling, and floor
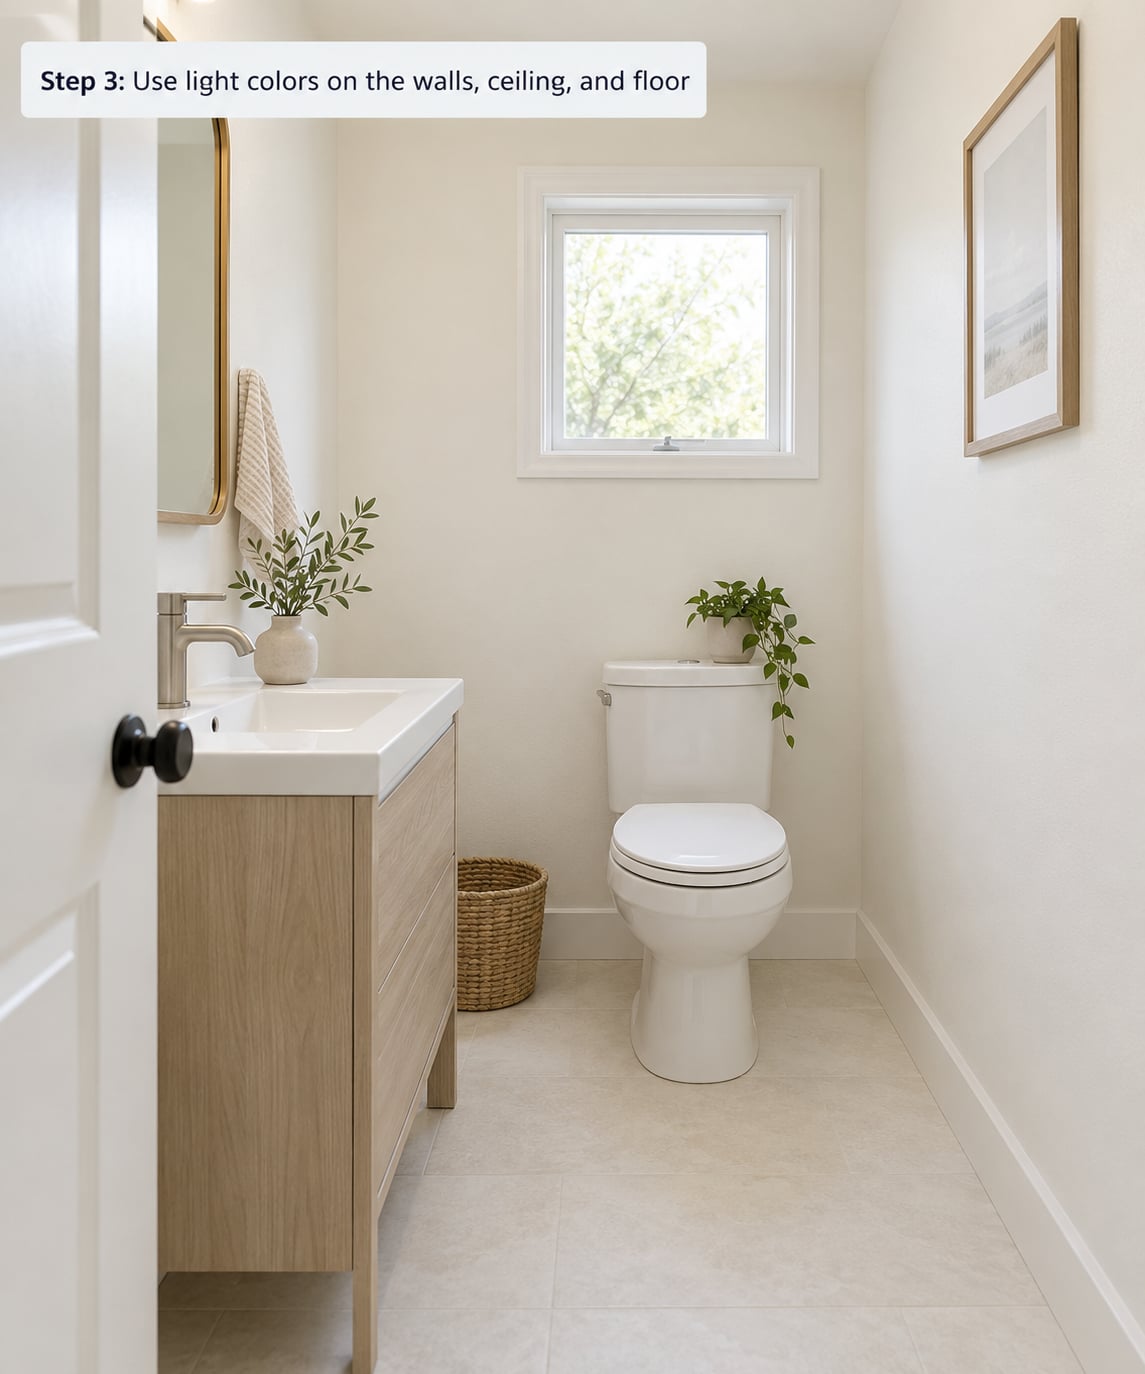
Light colors reflect light back into the room instead of absorbing it. That is the whole reason a white or off-white bathroom reads bigger than a dark one, and it is not a close call.
Go further than most people do: use the same color on the walls and the ceiling. A contrasting ceiling creates a hard horizontal line right where the eye registers height, which is exactly the wrong place to interrupt the room. Color-drenching the ceiling in the wall color removes that line.
Warm whites beat pure white in most homes because they soften the room. Pale greige, soft sage, and light clay tones also work because they read light without the clinical feel of a clinic waiting room.
Test before you commit. Buy large samples, paint a patch about 2 feet square in a spot you see from the doorway, and look at it at morning, midday, and evening with the actual bulbs you use. Colors shift dramatically as the day moves and as artificial light hits them.
On the moisture question: semi-gloss and satin hold up in bathrooms and wipe clean. Full gloss shows every imperfection in drywall, so skip it unless the walls are perfectly smooth.
For the floor, continuity matters more than color. If you can, run the same tile from the main floor into the bathroom, or use one large-format tile with minimal grout lines so the floor reads as a single surface.
Step 4: Maximize mirror and lighting coverage
A mirror does two jobs at once. It reflects light back into the room and it doubles the apparent depth behind it. Small mirrors scattered around do both jobs badly.
Go as wide as the wall allows. A mirror that covers most of the vanity wall width makes a small bathroom look noticeably larger than a small square one hung above a sink. If you already own a decent mirror, repainting the frame in your hardware finish is a cheap way to update it.
Avoid competing reflective surfaces. Mirrored medicine cabinets combined with a full-width mirror and mirrored accessories create visual noise, not more light. Pick one reflective plane and let it do the work.
Light the face, not the mirror. A single fixture above a mirror throws shadows down onto the face of anyone standing at the sink, which is unflattering and makes the room feel dim. Wall sconces on each side of the mirror, or a mirror with integrated lighting, fix both problems.
Layer your lighting with three jobs:
- Ambient from the ceiling, spread out rather than concentrated in one dark spot.
- Task lighting at the mirror.
- Accent light in a recess or under a floating vanity.
On bulb color temperature, aim for 3000K to 4000K. Below 3000K reads yellow and dim. Much above 4000K reads clinical and can look blue-green against warm paint.
Add a dimmer switch if you do not have one. Being able to drop the overhead to a low level at night changes how the room feels far more than the fixture itself does.
Any new fixture, dimmer, or recessed light is electrical work. Use a licensed electrician, shut off the breaker, and follow the manufacturer’s instructions. If you rent, this is also the wrong place to save money.
Step 5: Choose a floating or wall-mounted vanity
A vanity that touches the floor turns into a solid block, and your eye stops counting floor beyond it. A floating vanity hangs on the wall, so you see floor all the way to the back of the room.
This is the single change that renters envy and homeowners get for free with a remodel. When the cabinet hangs, the floor continues underneath, and the bathroom reads as deeper than it measures.
A wall-mounted sink with a pedestal or exposed trap goes further in the same direction, but there is a catch that a lot of people discover late. Homeowners on forums report losing storage after removing a vanity for a wall-hung basin. If you have nowhere to store toiletries now, check whether a slim cabinet or a recessed niche is a better move than an open sink.
For tight floor plans, a corner vanity fits into dead space that a straight vanity wastes. Drawers beat doors for storage because you can see what is inside them, and seeing your things is how you stop buying duplicates.
Small bathrooms usually work best with a single-sink vanity rather than a double. Two sinks in a narrow room split the counter into two small zones, and both zones look cluttered.
Renters can borrow the look without replacing fixtures. A slim rolling cart in a finish that matches the room gives you the same floating footprint and the same reveal of floor, and it comes with you when you move.
Step 6: Add vertical storage and closed storage
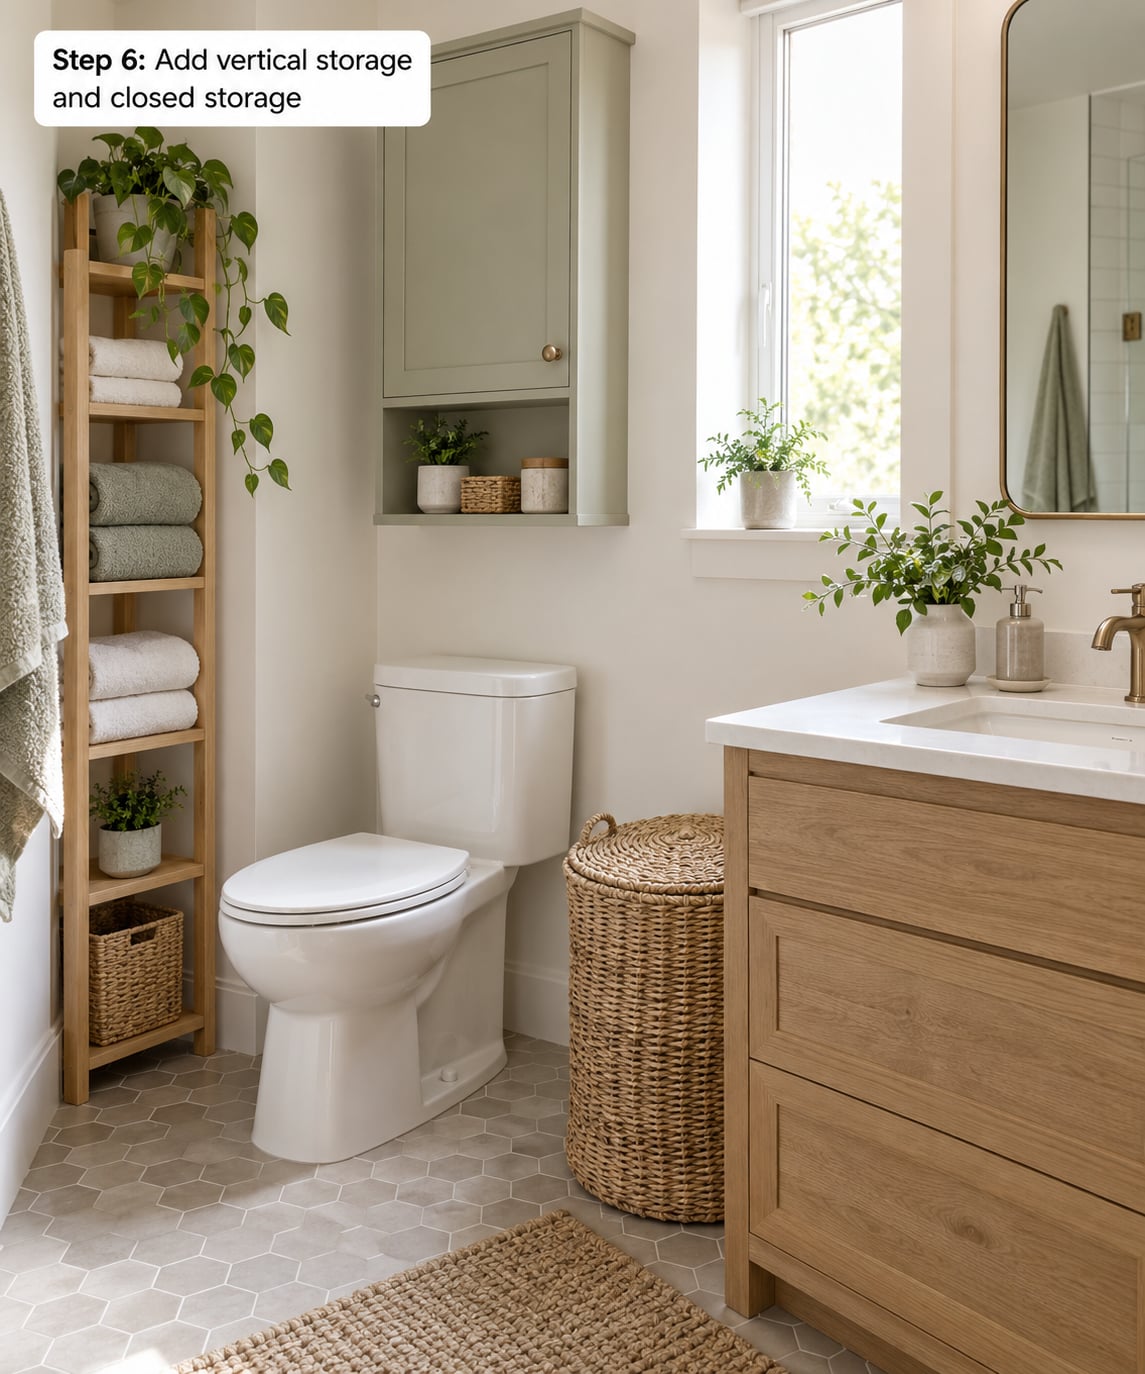
Small bathrooms have walls nobody is using. Every shelf you move up off the floor puts visible surface back on the floor.
Start above the toilet. An over-the-toilet cabinet is the least glamorous storage in the world and the most useful square footage in the room. Keep its bottom edge high enough that it does not sit directly behind a seated person’s head.
Between the studs, a recessed niche in the shower holds shampoo and soap without adding a corner shelf that chops the space. Homeowners who installed one during a remodel report zero regret and heavy daily use.
For towels, hooks and rods take up less visual space than shelving. Towel bars mounted on the back of the bathroom door are a classic small-space move since nobody sees that wall anyway. Open shelves look airier than closed cabinets, but only if you keep them half empty.
Closed storage is underrated. Woven baskets and lidded containers hide the visual mess of small objects, and a room where nothing is visible reads as calmer and larger. A mix works well: two or three closed baskets at counter height, open shelving high on the wall where clutter cannot accumulate.
Measure twice before you buy. Over-the-toilet units come in specific heights and depths, and a unit that is an inch too tall will not fit between the tank and the ceiling. Measure the space, then measure the unit, including the space you need to open it.
Step 7: Use the right shower curtain and window treatment
A shower curtain hung from a rod near the ceiling makes the shower area taller and the room less chopped. Hang the rod as high as practical and let the curtain run to the floor so it reads as one plane.
Light, simple curtains are the better choice. A heavy patterned curtain adds visual weight right where the eye expects an opening. If the tub is the problem rather than the curtain, frameless or lightly framed glass keeps sightlines clear and shows off the tile behind it.
Curbless showers go one step further because there is no threshold at all. Owners who made this change describe the floor reading as continuous, which makes the whole room feel longer. It is a bigger job than swapping a curtain and it needs proper waterproofing.
Clear glass shows off tile but needs more cleaning, since limescale shows up more. Frosted or reeded glass hides the glass stains and keeps more privacy in a tight space where the shower faces a neighbor’s window.
For a window, keep the treatment simple. A cellular shade or a frosted privacy film keeps light coming in and avoids fabric that visually shortens the wall. If the window is the main light source, never cover it during the day just because it looks better in a photo.
Step 8: Coordinate hardware, textiles, and accessories
Small rooms amplify every finish you mix. Pick one metal for hardware, towel hooks, the shower trim, and the faucet, and repeat it. Two finishes can work if one clearly dominates, but three or more starts to look accidental.
Keep the textile palette to two tones. Towels, a bath mat, and a shower curtain in the same two colors make the room read as one space instead of three separate surfaces competing.
Limit accessories. A small room cannot hold the collection of open shelves a larger one can, so pick a few and let them breathe. One bold focal point is a good idea: one framed print, one plant, one colored towel set. Two bold things and you have clutter.
Matte finishes in dark metals give the room a quiet look that does not fragment it. High-contrast finishes, like glossy black against bright white tile everywhere, pull the eye to hard lines and make a small space feel busier.
Bonus: the doorway and door swing
Check where your door opens. A standard swing door claims roughly the width of the door and blocks the entry path. A pocket door slides into the wall and gives that footprint back, which matters more in a small bathroom than in any other room in the house.
Pocket door hardware quality varies widely, and cheap rollers are the most common complaint among people who install them. The frame is the real work, because the wall has to be opened and rebuilt. Budget for carpentry, not just the door.
For renters, a tension rod curtain in place of a door can swing the other way and free floor space. Bi-fold and outward-swinging options are worth a look if the door frame cannot be changed.
Common Mistakes
Using too many colors. Three or more competing colors divide the room into boxes. Fix: pick a main light tone, one supporting tone, and one accent, then repeat the main everywhere.
Choosing oversized decor. A big piece of art on a small wall creates the exact crowding you were trying to fix. Fix: hang art at a scale where it fills about two-thirds of the wall, and only one piece per wall.
Blocking natural light. Dark window treatments, tall shelving over a window, and a dark shower curtain all cut daylight. Fix: keep the glass clear with a simple shade or privacy film.
Buying shelving before measuring. Over-the-toilet units and tall cabinets have tight height and depth limits. Fix: measure the alcove and the unit’s true dimensions, then buy.
Pushing furniture against the wall and calling it storage. Anything sitting on the floor stops the eye. Fix: move storage to the wall and let the floor run continuous.
Painting the ceiling a different color from the walls. That horizontal line reads as a low lid. Fix: color-drench the ceiling in the wall color.
Mixing dark and light in a way that fragments the room. Small-scale dark-and-light checks chop a tiny room into pieces. Fix: use quiet contrast, where tones shift slightly within one family, instead of hard light-against-dark contrast.
Doing electrical work yourself. New fixtures, dimmers, and recessed lights in a damp room are not a DIY weekend job. Fix: hire a licensed electrician and follow the fixture’s instructions.
Forgetting the floor and the door. Changing the walls while leaving a dark floor and a swinging door in place leaves the two biggest space-eaters untouched. Fix: address floor continuity and door swing early, even if both wait until later.
Frequently Asked Questions
What color makes a small bathroom look larger?
Light colors win because they reflect light back into the room instead of absorbing it. Warm white, pale greige, soft sage, and light clay all read bigger than mid-tone or dark shades. The single most effective move is painting the ceiling the same color as the walls, which removes the horizontal line that makes a room feel low.
Can you make a small bathroom look bigger without remodeling?
Yes. Decluttering the counter, painting the ceiling in the wall color, replacing a small mirror with a wide one, adding wall sconces at the mirror, and moving storage off the floor change how the room reads without touching plumbing or walls. Renters can also use adhesive hooks and a slim rolling cart for the same floating-vanity effect.
How do you make a bathroom without a window look bigger?
Replace the ceiling fixture with several sources of spread-out light, light the mirror with sconces on both sides rather than a single overhead, and add a dimmer so the room is not flat all day. Use one large mirror on the longest wall to fake a second light source. Very light walls, a light floor, and a glass shower door add up to more reflected light.
What lighting makes a small bathroom look bigger?
Layered light does the most work: a ceiling source for general brightness, sconces beside the mirror so light hits your face instead of casting shadows, and one accent light in a niche or under a floating vanity. Bulbs between 3000K and 4000K read clean without going blue. A dimmer lets you soften the overhead at night.
Does a large mirror really make a small bathroom look bigger?
It does, more than almost any other single change. A wide mirror reflects both light and the opposite wall, which doubles the apparent depth behind it. The effect is strongest when the mirror covers most of the vanity wall and there is no other competing reflective surface nearby. A secondhand mirror repainted in your hardware finish works the same as a new one.
How do I add storage to a small bathroom without making it look smaller?
Move storage up and off the floor. Over-the-toilet units, recessed shower niches, tall slim cabinets, and hooks on the back of the door all add capacity without using floor. Pair them with closed baskets so small objects are hidden, and keep open shelves at high eye level where clutter cannot pile up. Measure every alcove before ordering.
Conclusion
If you only do three things, clear the counter, paint the ceiling the same color as the walls, and put one wide mirror up. Those three change how the eye reads the room more than any single purchase you can make.
Measure first, take your before photos from the doorway, and fix the actual problem rather than the one you assume. In 2026, the small bathroom trends worth borrowing are the same ones that have always worked: light tones, quiet contrast, vertical storage, and one bold moment instead of five small ones.