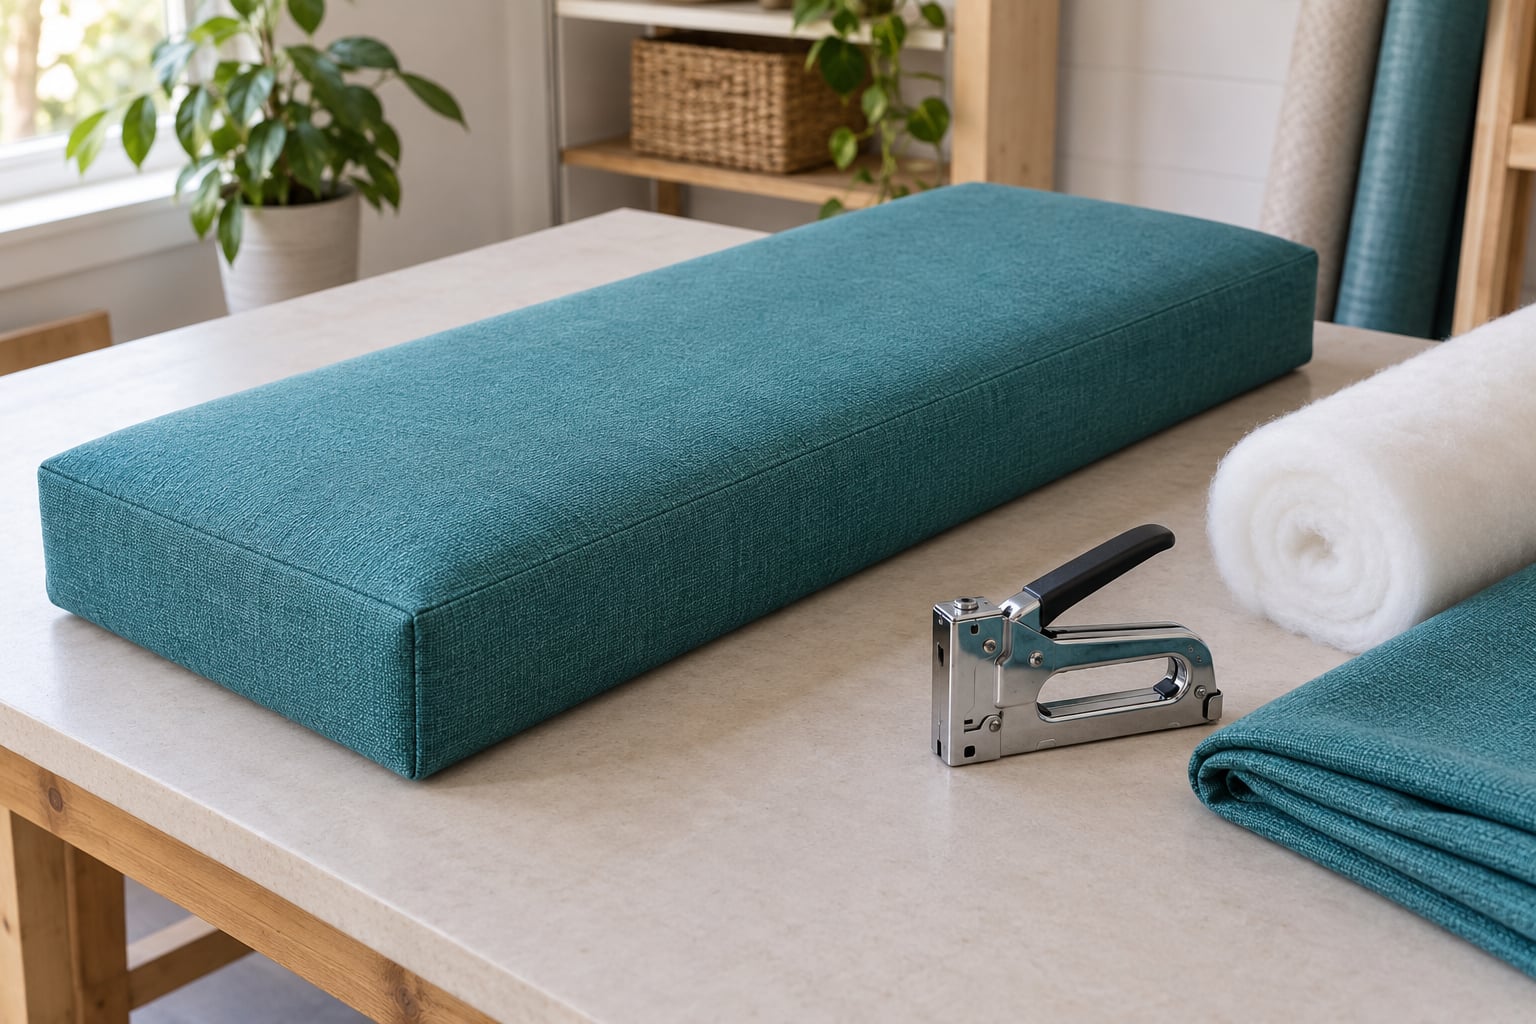
You can recover a bench cushion without sewing by wrapping new fabric over the existing foam and stapling or gluing it to the base. It takes about an afternoon, costs far less than having the seat reupholstered, and the only tools involved are a staple gun, pliers and something to pull fabric tight.
The catch is honest: no-sew is a three to five year fix, not a permanent restoration, and most of the failures come down to two things — fabric that runs out halfway around, and corners that bunch. Both are avoidable once you know the yardage rule and the fold order. Whether you are working on a built-in window seat, a kitchen banquette, an entryway bench or a thrifted find, the method is the same.
Before you buy anything, decide which of the three routes you are on. Re-cover the foam that is already in the cushion, replace worn foam and re-cover it, or build a brand-new cushion from board, foam and fabric. Recovering is the fastest of the three and by far the cheapest.
Table of Contents
- What You Need
- Step-by-Step: Recover a Bench Cushion Without Sewing
- Method 1: Use a Staple Gun for a Wrapped Cover
- Method 2: Use Fabric Glue for a No-Sew Cover
- Method 3: Make a Fitted Slipcover-Style Cover
- Common Mistakes When You Recover a Bench Cushion Without Sewing
- Tips for a Professional-Looking Result
- Frequently Asked Questions
- Can I recover a bench cushion without sewing?
- What is the best fabric to use for a no-sew bench cushion?
- How do I keep the corners from looking messy?
- Can I use fabric glue instead of staples?
- Can I make a removable cushion cover without sewing?
- How do I remove wrinkles from a recovered cushion?
- Conclusion
What You Need
Tools and materials for all three methods, listed so you can gather everything before the cushion comes apart.
- Tape measure and a straightedge — measure the finished cushion, not the bench opening, and add the wrap allowance below.
- Staple gun and upholstery staples — 8mm or 10mm staples if the base is plywood, longer ones only if you are into solid wood. A light-duty gun is fine; an electric one is faster on a banquette with four cushions.
- Staple remover and pliers — for pulling old staples without gouging the board.
- Upholstery fabric — see the fabric guidance in the mistakes section below for how much to buy and which type suits the room.
- Cotton batting or wadding — one layer if you want a soft edge, two if you want a crisp tailored look.
- Foam — reuse the existing foam if it springs back, or cut a new slab. A memory foam mattress topper is the cheapest source and works fine under a bench.
- Thin plywood, MDF or particleboard for a new base, cut half an inch smaller than the finished size on every side so the wrapped fabric covers the bulk of the foam.
- Spray adhesive or fabric fuse tape — only for the no-staple method. Peel’n Stick tape needs no heat and no iron.
- Felt strips — to cover staple heads on the underside so they do not scratch the bench frame.
How much fabric: measure width, length and height of the cushion, then add the height again for each of the two ends. A 20 by 20 by 4 inch cushion needs 20 + 20 + (4 x 2) = 48 inches of fabric in each direction, so a 1.25 yard piece covers it with a little left for corners. Round up to the next half yard and buy 54 inch width or wider.
Step-by-Step: Recover a Bench Cushion Without Sewing
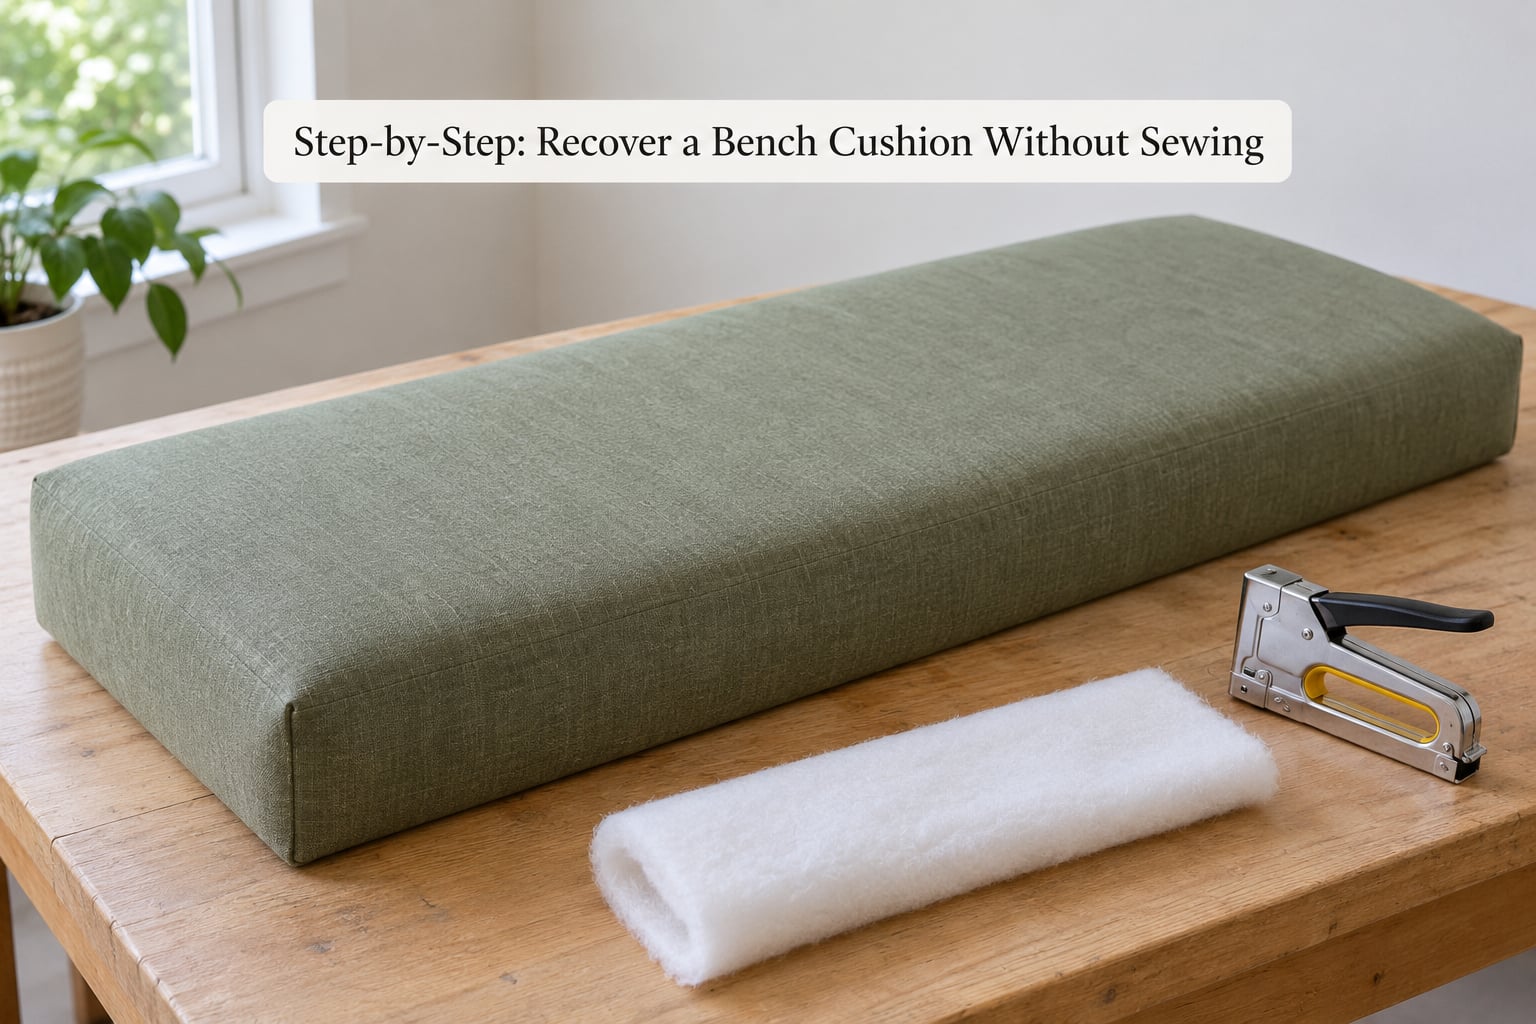
Pick one method and work through it start to finish. Staple-and-wrap is the one that holds up on a seat people actually sit on.
Method 1: Use a Staple Gun for a Wrapped Cover
This is the reliable route. The fabric ends up stapled to the underside of the board, so it can be pulled genuinely tight and stays tight for years.
- Remove the old fabric. Set the cushion on a work surface, dig every staple out with a staple remover and pliers, and pull the fabric off slowly so the foam does not tear with it.
- Check the foam. Press a palm into it. If it springs back and has no smell, keep it. If it is brittle, flattened or has a pet odour, cut a new slab.
- Trim any uneven foam. A serrated bread knife or an electric carving knife gives a far cleaner cut than a straight knife.
- Lay the fabric out. Put it face down on a large flat surface, with the finished cushion measurement plus wrap allowance in the centre.
- Lay the batting. Place one or two layers of batting over the fabric, leaving the same wrap allowance on all sides.
- Set the foam on the batting with the batting sitting 2 to 3 inches short of the fabric edge on each side.
- Drop the base board on top of the foam. If you are keeping an old cushion base, use it. Otherwise cut plywood half an inch under the finished measurement.
- Staple the midpoint of one side to hold the stack together, pulling the fabric toward you as you press the staple. Then staple the midpoints of the other three sides before you do anything else.
- Work outward from each midpoint, stapling every 2 inches and pulling the fabric taut before each staple. The corner pulls should feel firm, not like you are wrestling the foam.
- Fold the corners like a wrapped present. Pull the slack out of the two side flaps, fold the top flap down over them, and staple through all layers into the board. Do one corner, check it, then repeat.
- Trim the loose fabric about an inch below the staples so nothing flops loose underneath.
- Glue or tape the seam along the staple line for extra hold, then wrap felt strips over any staple heads that sit proud of the board.
A tight staple line is the whole trick. If the fabric sags in the middle of a side, you pulled before you stapled; if it puckers near a corner, you are stapling before the side runs are tightened.
Method 2: Use Fabric Glue for a No-Sew Cover
Spray adhesive or Peel’n Stick fuse tape works well when the cushion is decorative or lightly used — a window seat that gets sat on occasionally, or a bench at the end of a bed. On a seat that takes daily traffic, adhesive alone will not hold for long, and you will be peeling fabric off in a year instead of three.
- Follow the same measuring and layering steps as Method 1 through the foam and board placement.
- Test the adhesive first. Spray a small hidden patch, press it down, and wait the full cure time before you commit.
- Work in sections, not all at once. Lift one side at a time, spray about 12 inches, and press the fabric into place with the back of your hand.
- Stretch as you press. Push the fabric toward the staple line direction so it lies flat, then smooth from the centre outward to push trapped air to the edges.
- Fold and press the corners the same gift-wrap way, then press hard along the seam with a flat weight on top for an hour.
- Leave the cushion untouched for 24 hours before anyone sits on it. Full cure takes longer than tack, so keep it off the bench for a day if you can.
A hybrid works well if you want one strong edge: glue the flat sides, staple only the two short ends. Most of my projects end up like this when the bench lives in a busy kitchen.
Method 3: Make a Fitted Slipcover-Style Cover
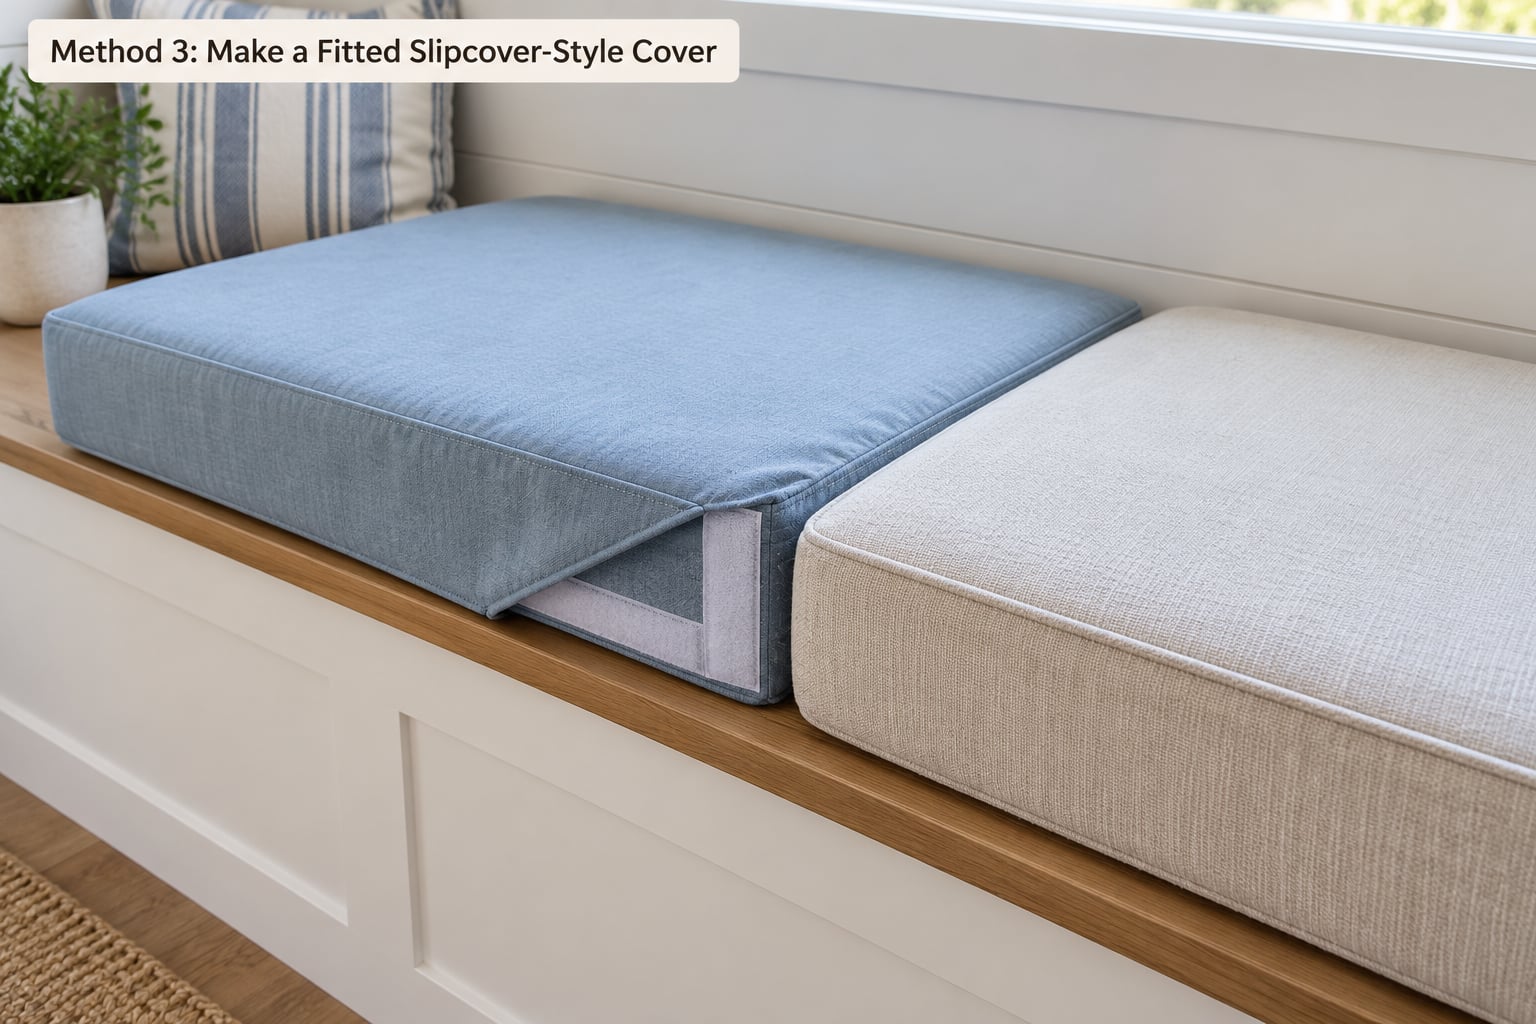
This is the washable option. Nothing touches the cushion permanently, so you can toss the cover in the machine and swap fabrics seasonally.
- Measure the finished cushion including its thickness, and add 1 inch of ease to each edge so the cover slides on rather than fighting you.
- Lay the fabric face down and place the cushion on top, face to the fabric.
- Mark each side where the cushion ends, then add the 1 inch ease. Cut one long panel for the top and one long panel for the underside.
- Fold the short edges in over the cushion ends by about 3 inches and hold them with hook-and-loop tape, also called Velcro. Buy the sew-on or peel-and-stick kind so no stitching is needed.
- Close the underside with a second strip of hook-and-loop tape running the length of the panel.
- Add a welt-look trim by sewing or gluing a flat cord or ribbon along the open edge to hide the closure and give the tailored look.
Fitted covers are the only one of these three methods that can go in a washing machine, which is the deciding factor for me whenever a pet sleeps on the seat.
Common Mistakes When You Recover a Bench Cushion Without Sewing
Nearly every disappointing cushion comes down to one of these, and each has a simple fix.
- Fabric runs out mid-cushion. Cause: the wrap allowance was not in the measurement. Fix: add the cushion height twice per direction before you cut.
- Bunched, wrinkled corners. Cause: corners folded before the side runs were pulled tight. Fix: staple the midpoints of all four sides first, corners last.
- Sagging middle of a side. Cause: stapling without tension. Fix: pull the fabric away from the board before every staple.
- Staples splitting the board. Cause: oversized staples on particleboard or MDF. Fix: use 8mm staples in plywood, or back the board with a thin wood strip.
- Staples scratching the bench. Cause: heads standing proud of the base. Fix: wrap felt strips over the staple line on the underside.
- Cushion slides around. Cause: light foam with no base board. Fix: add a plywood base, or stick hook-and-loop tabs to the bench frame.
- Old smell returns. Cause: foam soaked with pet urine or damp. Fix: replace the foam, because re-covering just traps the odour.
- Peel and stick fails early. Cause: adhesive on a daily-use seat. Fix: staple the long sides and keep glue for the corners.
Two more worth naming. Stapling fabric too tight flattens the foam underneath and leaves a dented seat, so pull firmly rather than brutally. And check the bench frame before you touch the cushion — sagging webbing under a good cushion still reads as a bad cushion, and no amount of recovering will fix it.
Tips for a Professional-Looking Result
Measure twice, cut the board small. A base half an inch under the finished size disappears under the wrapped fabric and leaves the foam a soft, full edge. A board cut to full size makes a boxy cushion with a hard lip.
Use batting where the corners are. Two layers on the foam face, one on the sides, gives you the crisp tailored edge that reads as expensive. Wadding does the smoothing that foam alone cannot.
Strip the cushion back completely. Take the old fabric off entirely and lay the cushion out flat. Pulling new fabric over old fabric is the fastest route to wrinkles you cannot get out.
Stretch in one direction per side. Work from the middle of each side outward, always pulling toward the next unstapled area. This keeps the grain straight and the seam aligned around the corner.
Fold corners with three distinct flaps. Two side flaps pulled tight, one top flap folded down over them, all three stapled through into the board. It is exactly how you wrap a box, which is why it works.
Pick fabric for the room, not the swatch. For a bench that gets sat on daily, a tightly woven polyester or cotton blend in at least 30,000 double rubs holds up. Solution-dyed acrylic is the one to use outdoors or in an RV. Vinyl and marine-grade poly are wipeable but breathe badly, so skip them indoors unless pets are the deciding factor. Skip anything thin and loose-weave — it shows every staple and every flaw underneath.
Let adhesives cure properly. Tack is not a bond. Give spray adhesive the full time printed on the can before anyone sits down, and keep a weight on glued corners overnight for a flatter press.
Know when to stop. If the frame is cracked, the webbing has rotted or the foam smells of pets even after replacement, recovering it is money poured into a problem that sits somewhere else. Look at this project as a three to five year refresh, plan for it, and it will not let you down.
Frequently Asked Questions
Can I recover a bench cushion without sewing?
Yes, and most people find it easier than reupholstering. You pull the old fabric and staples off, then secure new fabric to the underside of the base board with upholstery staples or fabric adhesive. There is no stitching and no sewing machine anywhere in the process. The one thing you cannot do without sewing is a tailored cover with real seams and piping.
What is the best fabric to use for a no-sew bench cushion?
For a seat used daily, choose a tightly woven upholstery-weight polyester or cotton blend rated at 30,000 double rubs or more. Solution-dyed acrylic is the best choice for a porch, patio or RV bench because it resists sun and moisture. Cotton and linen look better but crease along the staple line. Always buy wide width, at least 54 inches, so you are not seaming the middle of the cushion.
How do I keep the corners from looking messy?
Staple the midpoints of all four sides before you touch a corner. Pull the fabric firm from the centre of each side outward, then treat the corner like a wrapped present: two side flaps pulled tight, one top flap folded down over them, all three stapled into the board. Do one corner, press it flat, and check it before repeating the pattern.
Can I use fabric glue instead of staples?
You can, and Peel’n Stick fabric fuse tape needs no heat or iron at all. It works well on decorative pieces and lightly used seats. For a bench that takes daily traffic, staples are stronger because the fabric is pinned continuously rather than at a few adhesive points. A good compromise is glue on the long flat sides and staples on the two short ends.
Can I make a removable cushion cover without sewing?
Yes. Cut two long panels to the finished cushion size plus 1 inch of ease, fold the short ends over the cushion, and close them with hook-and-loop tape instead of stitching. Add a second strip of tape along the open underside so the cover slides on and off. This is the only method on the list you can put in a washing machine, which makes it worth the extra ten minutes on pet seating.
How do I remove wrinkles from a recovered cushion?
Wrinkles that appear in the first few days usually stretch out on their own. Mist the fabric lightly, then press with a warm iron set to the fabric care label, working from the centre outward and never letting the iron touch the foam or the staples directly. Persistent lumps are almost always a staple placed before the side was pulled tight, and those need the staple lifted and reset rather than more steam.
Conclusion
Measure the finished cushion first, then choose the method that matches how the bench gets used. Daily traffic means staple-and-wrap; decorative or occasional seating is fine with fabric glue; pets and washing argue for a hook-and-loop slipcover. Strip the old fabric fully, work the midpoints before the corners, and give the wrap allowance the yardage rule demands — that is the whole project, finished in an afternoon.
Reviewed and refreshed for 2026.