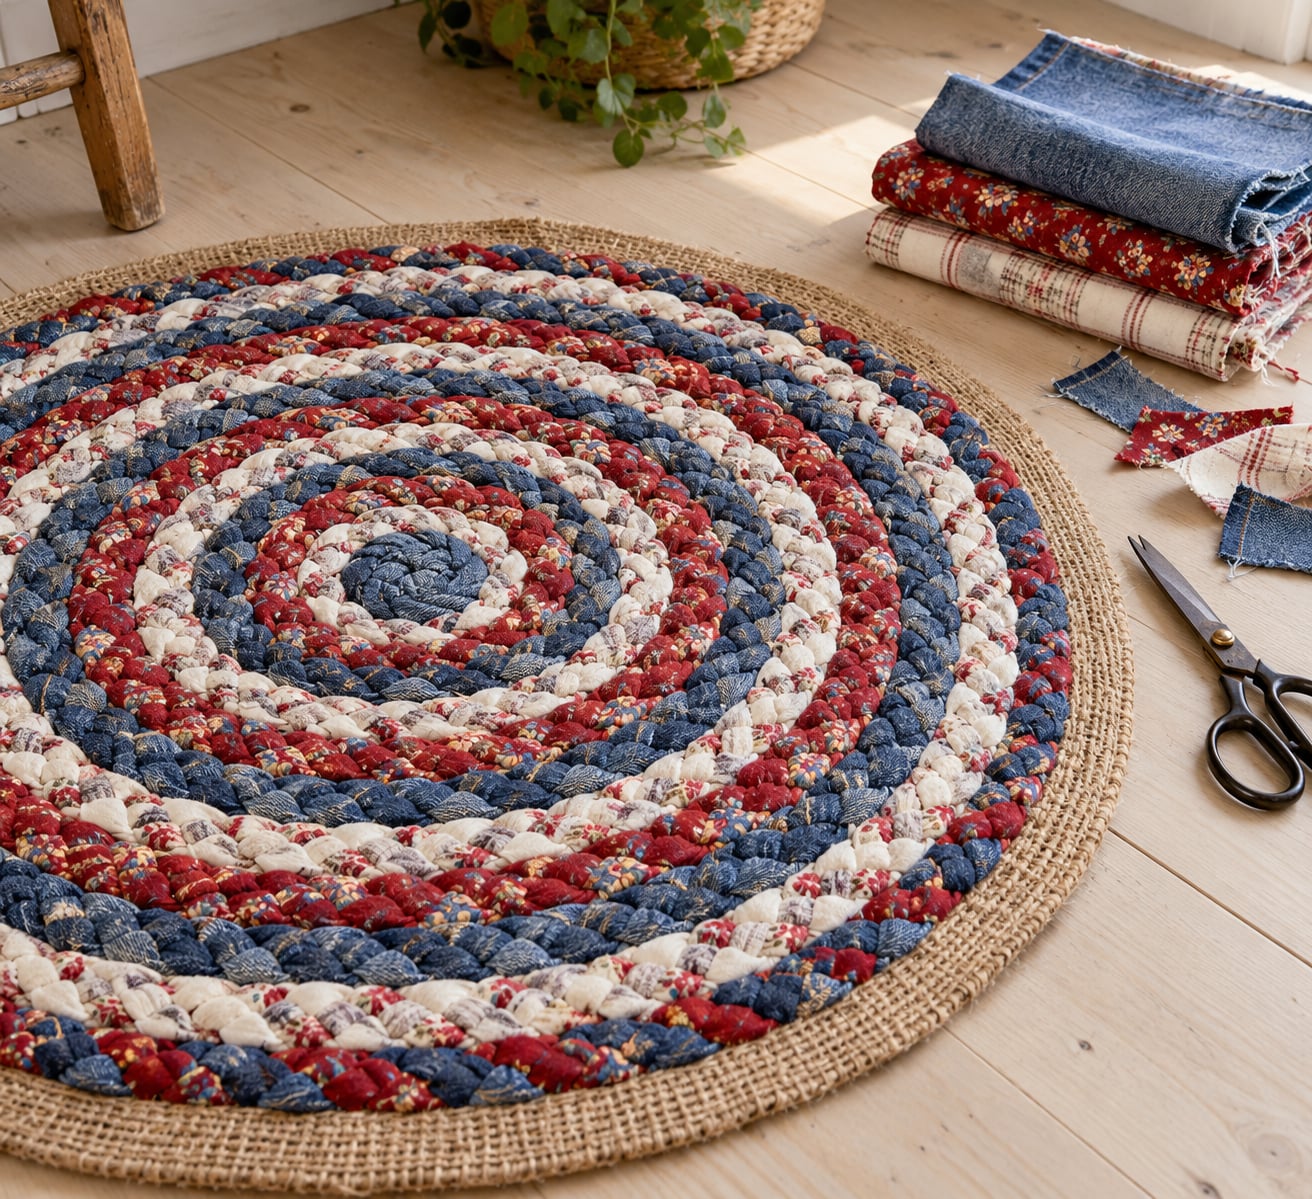
To make a rug out of fabric scraps, cut your fabric into 1.5 to 2 inch strips, sew them end to end into one long cord, then braid three cords together and stitch the braid in a spiral onto a piece of hessian. A small kitchen mat takes an evening. A rug that reaches a living room takes most of a weekend.
A rag rug is simply a mat woven, braided, hooked or sewn from strips of old or spare fabric, usually cotton flannel, jersey, denim or felted wool, backed with hessian so it stays flat and survives being walked on. It is one of those projects where the material is genuinely free, because you already own it.
I’m not going to pretend this is a two-hour project. The fastest method in this guide, the woven strip rug, still asks for six to eight hours of actual work for a 2 by 3 foot mat, and that’s with the cutting done properly. The bigger risk for a first-timer isn’t time, it’s picking a size you can’t finish and running out of fabric halfway through. So the plan below starts with sizing, not stitching.
Everything here works on a sewing machine, and the last technique works with no machine at all.
Table of Contents
- What You Need
- Essentials
- Nice to have
- How much fabric do you actually need?
- Step-by-Step: How to Make a Rug Out of Fabric Scraps
- 1. Choose a Rug Size and Layout
- 2. Wash, Sort, and Cut the Scraps
- 3. Arrange the Fabric Pieces
- 4. Sew the Pieces Together
- 5. Add a Backing for Durability
- 6. Bind or Finish the Rug Edges
- 7. Press, Shake Out, and Check the Rug
- Common Mistakes
- The pieces are all different sizes
- The braid comes apart at a join
- The edges fray into a mess
- The rug curls after washing
- You run out of fabric halfway through
- The colours look accidental
- The rug slides on a hard floor
- Frequently Asked Questions
- Can a beginner make a rug out of fabric scraps?
- What is the best fabric to use for a rag rug?
- How many fabric scraps do I need for a rug?
- Can you make a rug without a sewing machine?
- Do rag rugs shed and how do you wash them?
- How long does it take to make a rug out of fabric scraps?
- Start With a Small One
What You Need
The core list is short, and most of it is already in a sewing box. The one material people rarely have is the hessian backing, so buy that first and see how you feel about the project before you cut anything.
Essentials
- Fabric off-cuts — old jeans, cotton shirts, flannel, t-shirts, cotton sheets, pillowcases. Aim for roughly twice the surface area of the finished rug so you have room for mismatched pieces you reject later.
- Hessian (burlap) — cut to the finished size plus 3 inches on every side. This is the single purchased item in the whole project.
- Cotton thread and a few large needles for hand-tacking.
- Scissors, pins and a measuring tape.
- Seam ripper or small scissors for trimming seam allowance bulk later.
Nice to have
- A rotary cutter, cutting mat and quilting ruler — these turn a two-hour cutting job into forty minutes and give you strips of identical width, which is what stops a finished rug from looking wavy.
- Pinking shears or a wide zig-zag stitch, to stop woven cotton edges from fraying before you even start.
- Fabric glue or fusible web for the no-sew version.
- Rubber shelf liner for a grippy underside on a hard floor.
- A cropped, sharpened dowel or an old toothbrush for the latch-hook and loomed methods.
How much fabric do you actually need?
This is the question almost every tutorial dodges, so here are real working numbers. They assume roughly 1.5 to 2 inch strips and include a 20 percent allowance for pieces you reject.
| Finished size | Fabric you need | Good source | Working time |
|---|---|---|---|
| 18 x 24 in mug rug | 1.5 sq ft | A pair of jeans | 45-60 min |
| 2 x 3 ft mat | 8-10 sq ft | 2 cotton sheets, or 8-10 pairs of jeans | 6-8 hrs |
| 3 x 5 ft | 20-24 sq ft | 4-5 duvet covers, 20+ pairs of jeans | 15-20 hrs |
| 5 x 8 ft | 50-55 sq ft | Old curtains, bedding, a garage sale haul | 40+ hrs |
A 5 by 8 foot rug is genuinely achievable, but almost nobody’s first attempt. I would make two or three small mats first, learn how the fabric behaves, and then decide whether you want a rug that size.
Step-by-Step: How to Make a Rug Out of Fabric Scraps
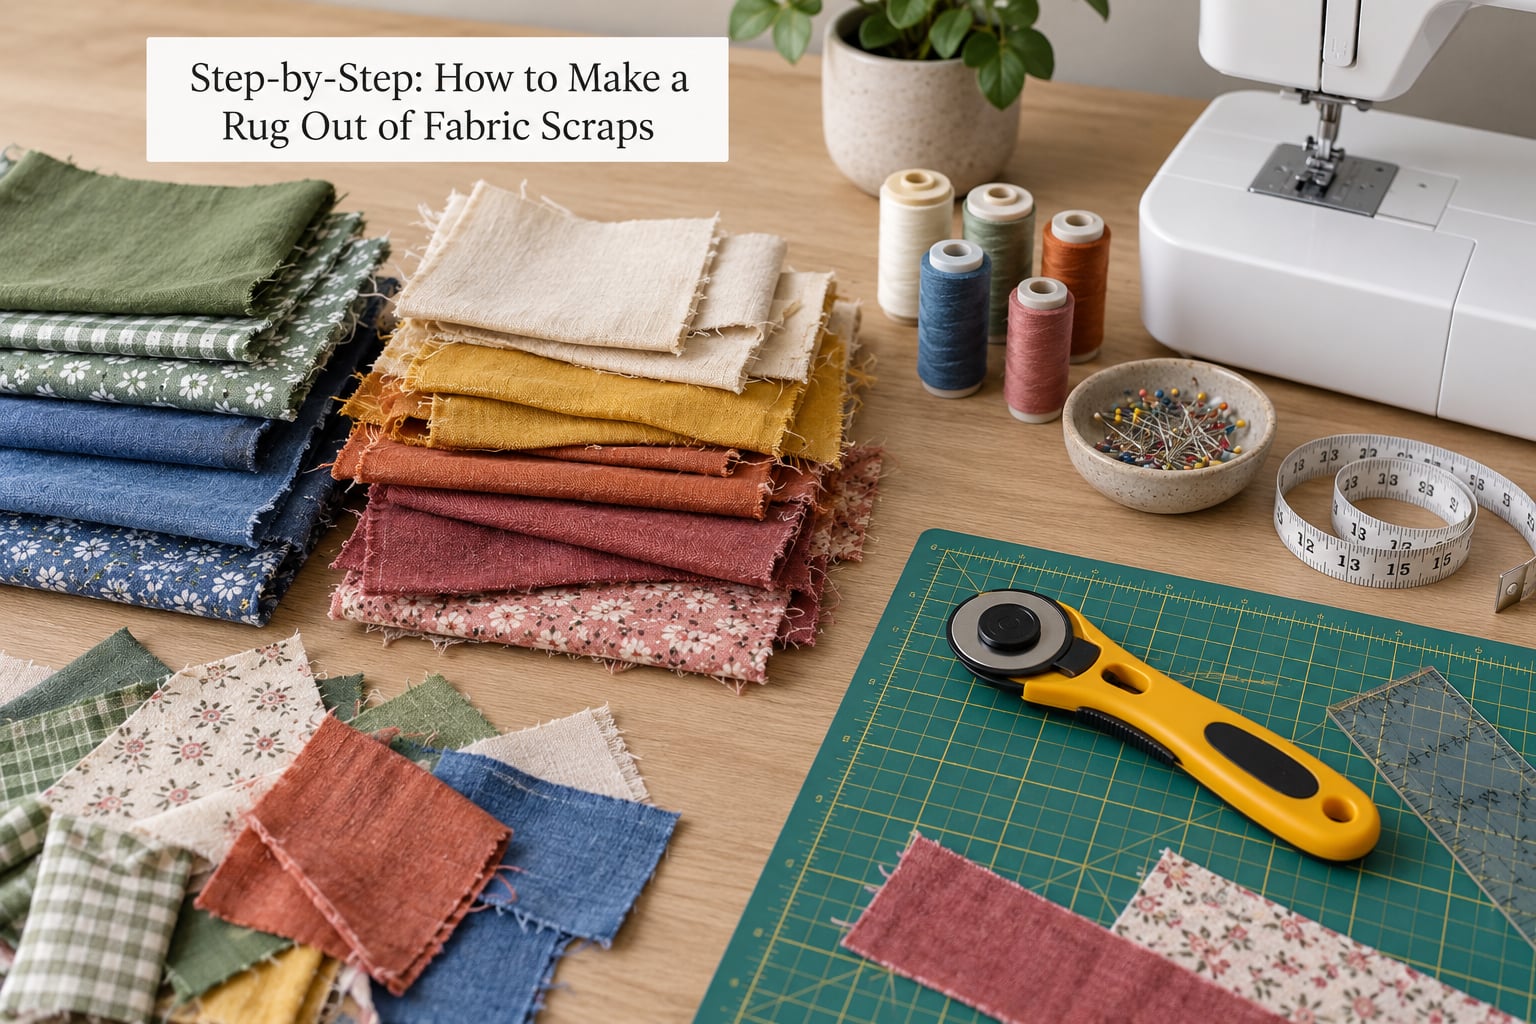
This is the woven strip method, the one I’d hand a beginner. It’s flatter than a braid, it lies down better, and it doesn’t unravel at a join if something snags it. The whole thing hinges on one rule: every strip gets the same width, and every join is sewn so the seam is a smooth continuation rather than a lump.
1. Choose a Rug Size and Layout
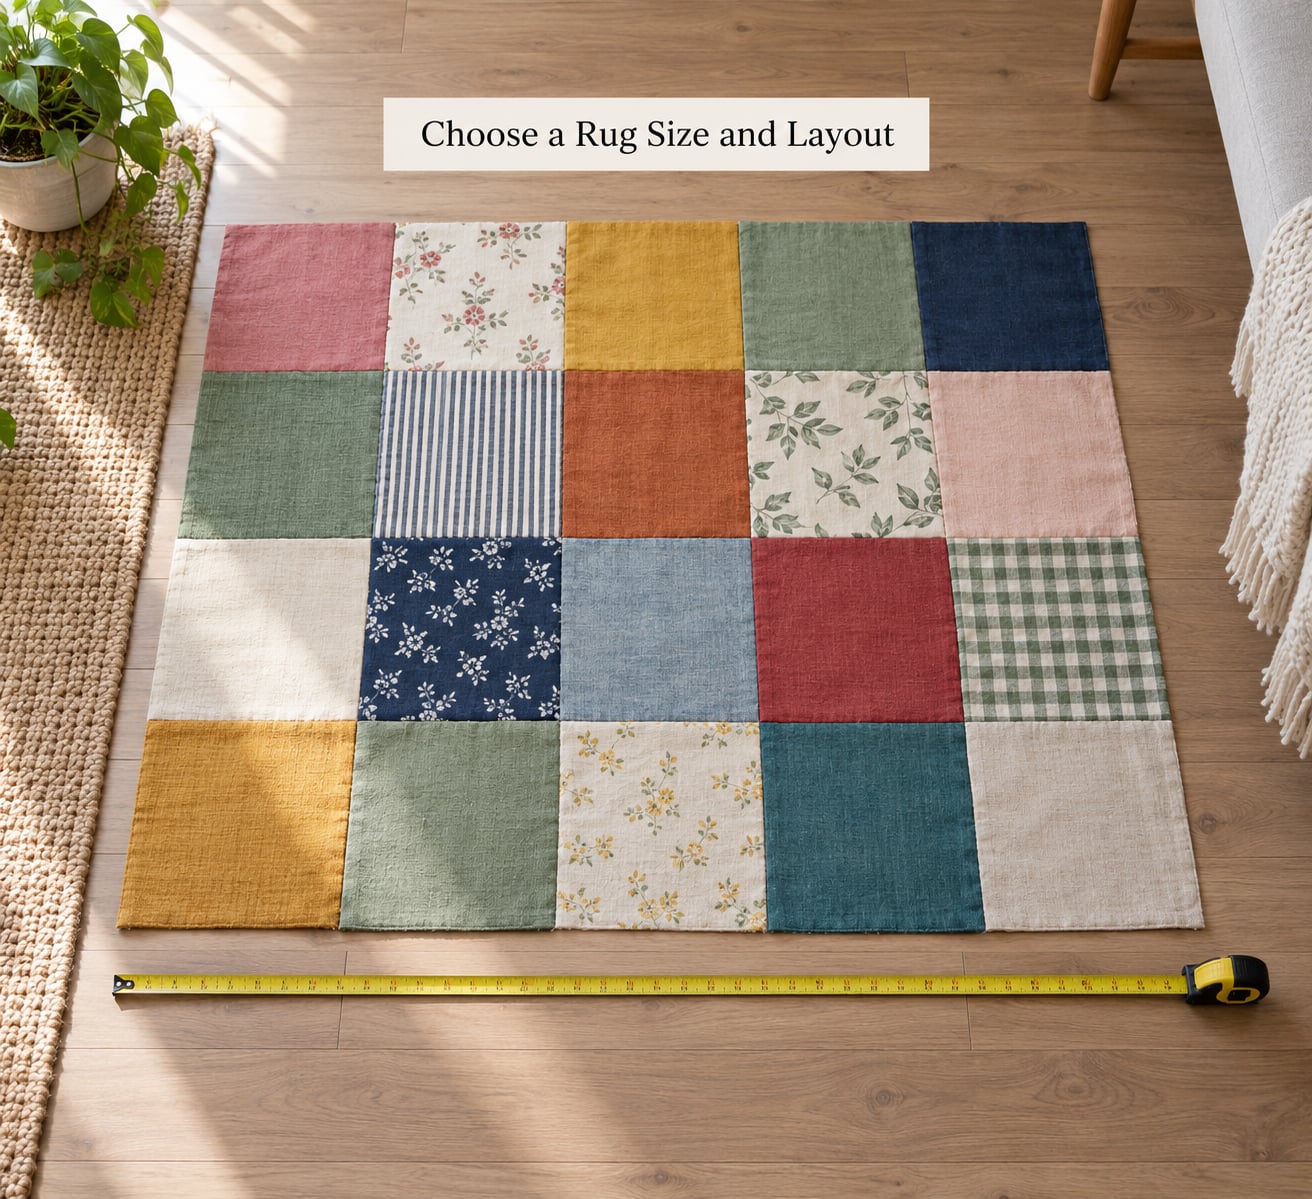
Start with the size, because it determines how much hessian and how much fabric you commit to. For a first project, 2 by 3 feet is the sweet spot: big enough to look like a rug, small enough to finish in a couple of sittings.
Decide between two construction types. A rag rug is built from continuous strips joined into a single long cord, then coiled. A patchwork rug is built from squares or rectangles sewn in rows. Rag rugs are softer and drape better; patchwork rows are faster to sew and easier to extend when you run short of one particular colour.
Sketch the shape before you cut anything. Round and oval shapes suit braided and coiled constructions, rectangles suit woven and patchwork. Then measure your hessian and mark the finished dimensions on it with a fabric marker, so you have a target the whole way through.
2. Wash, Sort, and Cut the Scraps
Wash every fabric before it touches the rug, and dry it fully. Unwashed fabric shrinks later, and a dye that hasn’t been tested can bleed into neighbouring colours the first time someone spills tea on it.
Sort as you wash. Keep woven cottons in one pile, knits in another, denim in a third, and set aside anything shiny, very fuzzy or loosely woven. Then cut.
For strips, use a rotary cutter and a quilting ruler. Cut 1.5 to 2 inch strips running with the grain wherever the fabric allows it. Strips cut across the grain stretch; strips cut on the bias stretch more but lie flatter and ravel far more, which is why bias is a poor choice for beginners working with knits.
Denim and knit jersey fray at the cut edge the moment you handle them. Run pinking shears along every denim edge, or set your machine to a wide zig-zag and overcast each strip, before the strips touch anything else. Cut torn garments into rectangles rather than strips when the piece is too small, and keep them for patchwork rows.
3. Arrange the Fabric Pieces
Lay every strip out on the floor before you join a single one. This is the step that decides whether the rug looks deliberate or chaotic, and it takes five minutes.
The rule most people find by accident: pick three colours you actually like, then vary the prints within them. Denim in three washes of blue, plus one red print, plus a cream cotton reads as a considered rug. Six unrelated prints in random order reads as a mistake, even when every print is lovely on its own.
Order the strips so large, busy prints are scattered rather than clumped, and place your plainest, most neutral pieces where the rug will get the most foot traffic. Take a phone photo of the layout. When you start sewing in a new sitting, you will be glad to have it.
4. Sew the Pieces Together
Join strips into one continuous cord. Set the machine to a medium-length straight stitch, about 2.5 mm, and use a 6 mm seam allowance, which is a quarter inch.
Butt two strip ends right sides together, pin across the seam, and sew. Now the part that matters: turn the new piece right side out and check it. The seam should look like one continuous band of fabric, with no step where the two widths differ. If one strip is narrower than the other, trim the wider one down to match before you sew. Every small mismatch you ignore here becomes a curl in the finished rug.
Press each seam open and flat as you go, or the cord will pucker and the braid will run out of shape. When the cord is long enough to reach across your work surface doubled, stop sewing and start braiding.
Braid three cords together, keeping the tension even and the fabric face forward. At the natural ends of a braid it frays apart, so finish with a small machine zigzag across the very tip, or whip it with thread, before you stitch the braid down.
Then coil. Mark your spiral on the hessian with a marker and pin the braid around it, following the line. Work outward from the centre, sewing down the outer edge of the braid as you go, and keep the coil tight. If you have to stop, finish at a point where the next session can pick up cleanly, and tack the braid end to the hessian so it can’t unwind in a drawer overnight.
5. Add a Backing for Durability
The backing is what turns a pile of braided cord into a rug. It handles the tension, stops the braid from working loose, and gives you something flat to grip the floor.
Cut hessian three inches larger than your finished size on every side, and hem those edges with a tight stitch so the hessian itself cannot fray outward. A plain hem works; a rolled and hand-stitched hem is tidier and barely takes longer.
Once the coil is stitched down, trim the excess hessian close to the edge of the braid, leaving about an inch. For a grippy underside, glue a layer of rubber shelf liner to the back with a thin, even coat of craft adhesive, then press it down under something heavy overnight.
Alternative backings work too. A layer of batting gives a softer, slightly padded rug. A second piece of hessian makes a double-thick mat that handles a kitchen better. A piece of old carpet turned upside down gives real grip. Whichever you use, keep it a consistent weight — a heavy backing under a light braid pulls the edges out of square over time.
6. Bind or Finish the Rug Edges
Raw braid edges look good on a ragged rag rug and terrible on one that’s supposed to sit in a hallway. For a clean edge, bind the perimeter with bias tape or 1.5 inch strips cut from a single solid colour.
Work in short sections. Fold the binding over the raw edge, stitch it to the face of the rug, fold again to cover the back, and stitch that down. At each corner, cut the binding away rather than trying to fold the extra bulk through, then continue with a fresh piece. The seam sits at the corner and stays invisible.
Skip binding entirely if you like the braided look — just trim the hessian flush and run a firm zigzag along the whole perimeter to lock the last coil. Tie off every loose thread with a double knot before you call it finished.
7. Press, Shake Out, and Check the Rug
Give the rug a hard shake outdoors, then a second one the next day. Fibres that were trapped in the braid during sewing loosen with shaking, and most of the shedding happens here rather than later.
Steam the face or press it on the reverse with a cloth between the iron and the fabric. Never press straight onto printed cotton at full heat; scorch marks on a scrap rug are permanent and very obvious.
Now check the four things that actually matter. Are the edges square against a tape measure, or has anything drifted? Are any joins lumpy? Is the backing flat, or is it rippling where the braid is heavier? Does the rug lie flat on the floor with no curls lifting at the corners?
For any curl, block it: dampen the rug, lay it face down on a towel, roll it up, and leave it under something heavy for a few hours. For a wavy edge, dampen and re-press that section. For a lumpy join, open the seam and redo it — a rug made of well-made seams survives years of daily use, and one shortcut join usually shows within a month.
Wash the finished rug once before it goes into the room, on a gentle cycle with cool water, and dry it flat. Anything that bleeds or shrinks will do it now, on your floor, and not under someone’s feet.
Common Mistakes
Most of these come straight from the places people talk about making these: r/sewing, r/upcycling and the crochet forums, where the same complaints come up over and over.
The pieces are all different sizes
Trim every strip to the same width before you sew, and buy strips of different thicknesses from the same pile. A denim strip beside a jersey strip will always sit higher, and no amount of pressing hides it. If your denim is much heavier, cut the denim narrower, or save it for the outer rows where it takes the least traffic.
The braid comes apart at a join
Reinforce every join. Sew the seam, turn it right side out, check it’s flat, then run a short zigzag right across the cord 2 cm from the seam. On a r/sewing spiral-rug project, that single extra bar of stitching is the difference between a braid that snags occasionally and one that unravels.
The edges fray into a mess
Overcast every cut edge before assembly, not after. Denim and jersey need pinking shears or a wide zig-zag. Bias-cut strips fray the most of all, which is another reason to cut with the grain for your first rug.
The rug curls after washing
Expect this once, and let it happen deliberately: wash the rug, lay it face down on a towel, and weight it flat until completely dry. Curls come from uneven tension in the cord, so blocking fixes the symptom. Recutting the strip that caused it fixes the cause.
You run out of fabric halfway through
Work out your yardage before the first cut, then go and find more before you start. If you genuinely cannot, stop the spiral at the current outer edge, cut the hessian down to size, bind the edge and use it as a smaller rug. A trimmed 2 by 2 foot mat is a finished project; a part-finished 4 by 5 foot spiral is not.
The colours look accidental
Narrow the palette to three colours and two neutrals before you start, and treat your plainest fabric as the background. Scatter the bold prints across the rug rather than bunching them. If a print is fighting everything else, leave it out — the pile it came from is still there for the next project.
The rug slides on a hard floor
The hessian grip is not enough on tile or laminate. Cut a second layer of hessian to the same size and glue it to the back, or add rubber shelf liner. Both take ten minutes and neither shows once the rug is down.
Frequently Asked Questions
Can a beginner make a rug out of fabric scraps?
Yes, and the easiest route is the woven strip method in this guide: cut strips, sew them into one long cord, braid three cords together, and coil the braid onto hessian. It uses only straight stitches, so a confident beginner can manage it. Start with an 18 by 24 inch mug rug or a 2 by 3 foot mat, finish it in one or two sittings, then scale up.
What is the best fabric to use for a rag rug?
Cotton and cotton-rich blends work best. Woven cotton like sheets and pillowcases gives an even, hard-wearing face; flannel and denim are the most durable; jersey t-shirts are soft and work well as long as you overcast the cut edges. Avoid silk, satin, satin-backed polyester, very fuzzy mohair, and anything that melts or pills in a hot wash.
How many fabric scraps do I need for a rug?
For strips 1.5 to 2 inches wide, a 2 by 3 foot mat needs about 8 to 10 square feet of fabric, roughly two cotton sheets or eight to ten pairs of jeans. A 3 by 5 foot rug needs 20 to 24 square feet, and a 5 by 8 needs around 50. Add about 20 percent for off-cuts you reject once you see them in a row.
Can you make a rug without a sewing machine?
Yes. Cut fabric strips and loop them through a hessian backing with a latch hook, an old toothbrush or a sharpened dowel, pulling each loop from the back through to the front and knotting it over the previous one. It is slow, but it needs no machine, and the same technique makes a good first project for children.
Do rag rugs shed and how do you wash them?
A little at first, mostly from loose fibres trapped during sewing. Shake the rug outdoors twice, a day apart, and the shedding largely stops. Wash on a gentle cool cycle and dry flat, weighted, so the edges do not curl. Always wash the finished rug once before putting it in a room, so any bleeding dye reveals itself on your own terms.
How long does it take to make a rug out of fabric scraps?
Cutting takes about an hour per rug; the rest is sewing. An 18 by 24 inch mug rug is roughly an hour of work, a 2 by 3 foot mat takes six to eight hours, a 3 by 5 takes fifteen to twenty, and a 5 by 8 takes forty hours or more. Budget the small ones first — they teach you the technique at a size you will actually finish.
Start With a Small One
Decide the size before you cut a single strip, wash every fabric first, and keep your strip widths identical — that one habit does more for the finished rug than any other step. Then make an 18 by 24 inch mug rug from a pair of jeans, get comfortable with the joins, and the floor covering you’ve been meaning to replace becomes a weekend of sewing rather than a project that goes in a drawer.